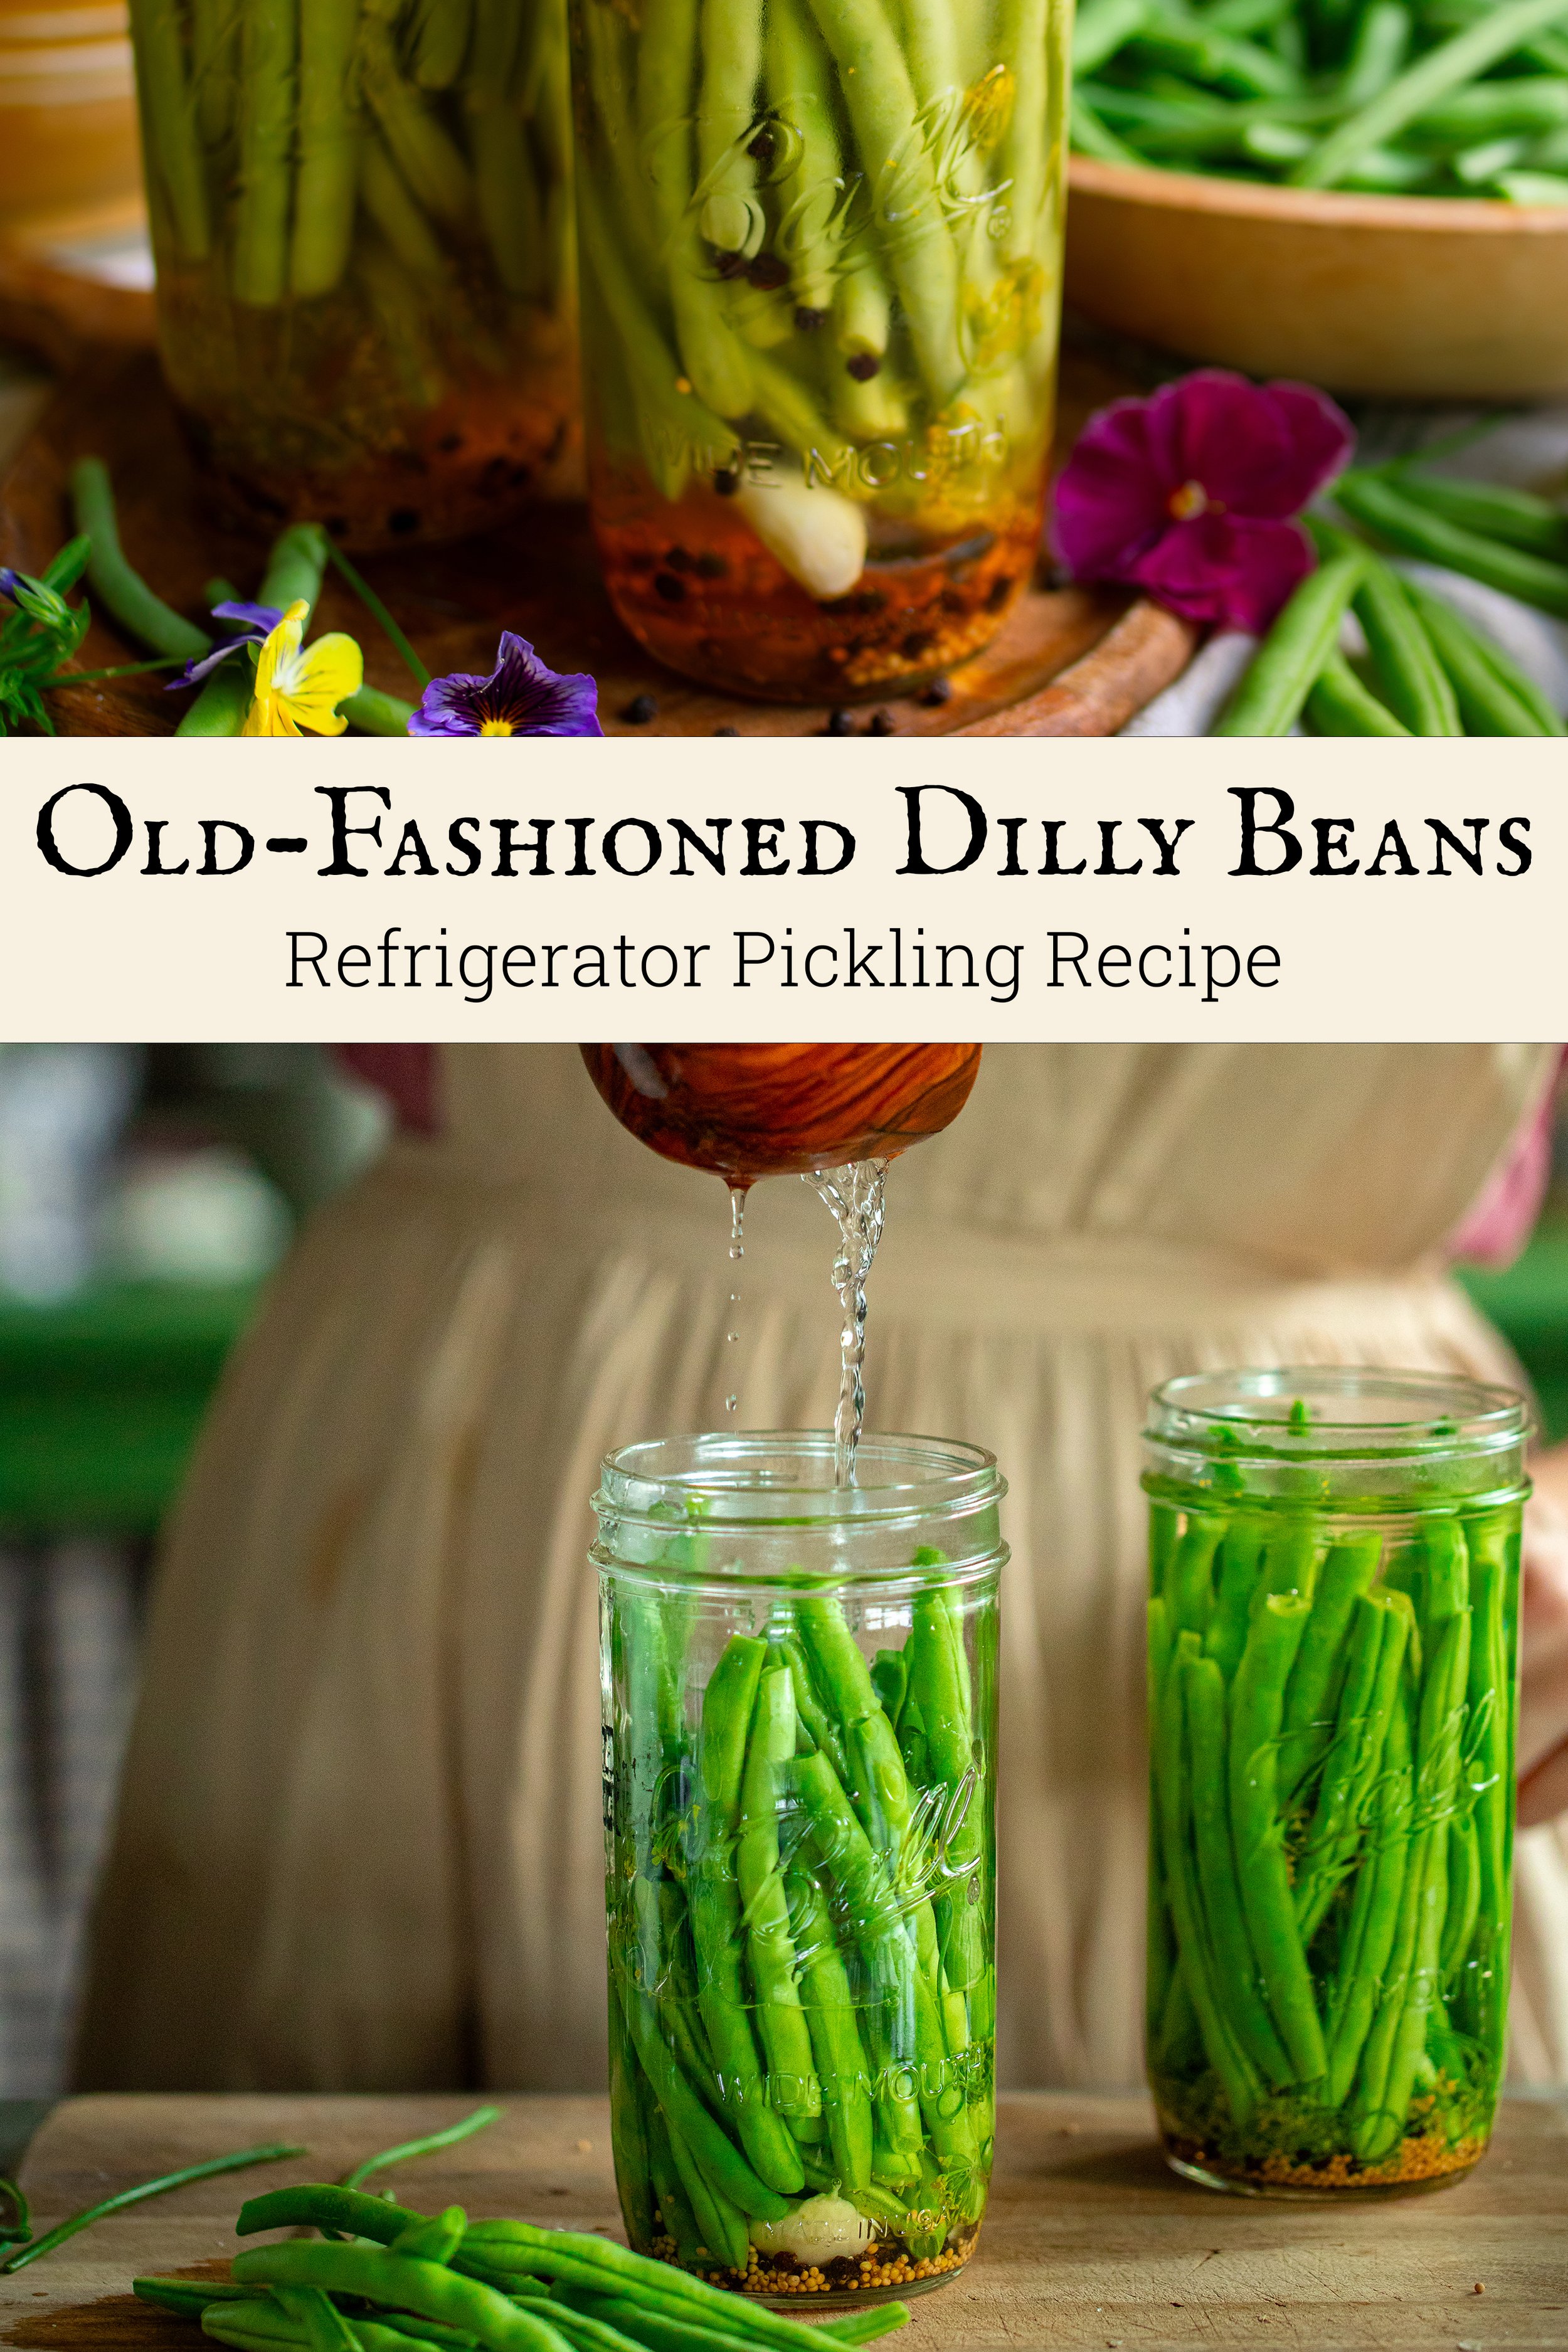
Refrigerator Dilly Beans: Easy Pickling Recipe
This post may contain affiliate links, please see our privacy policy for more information.
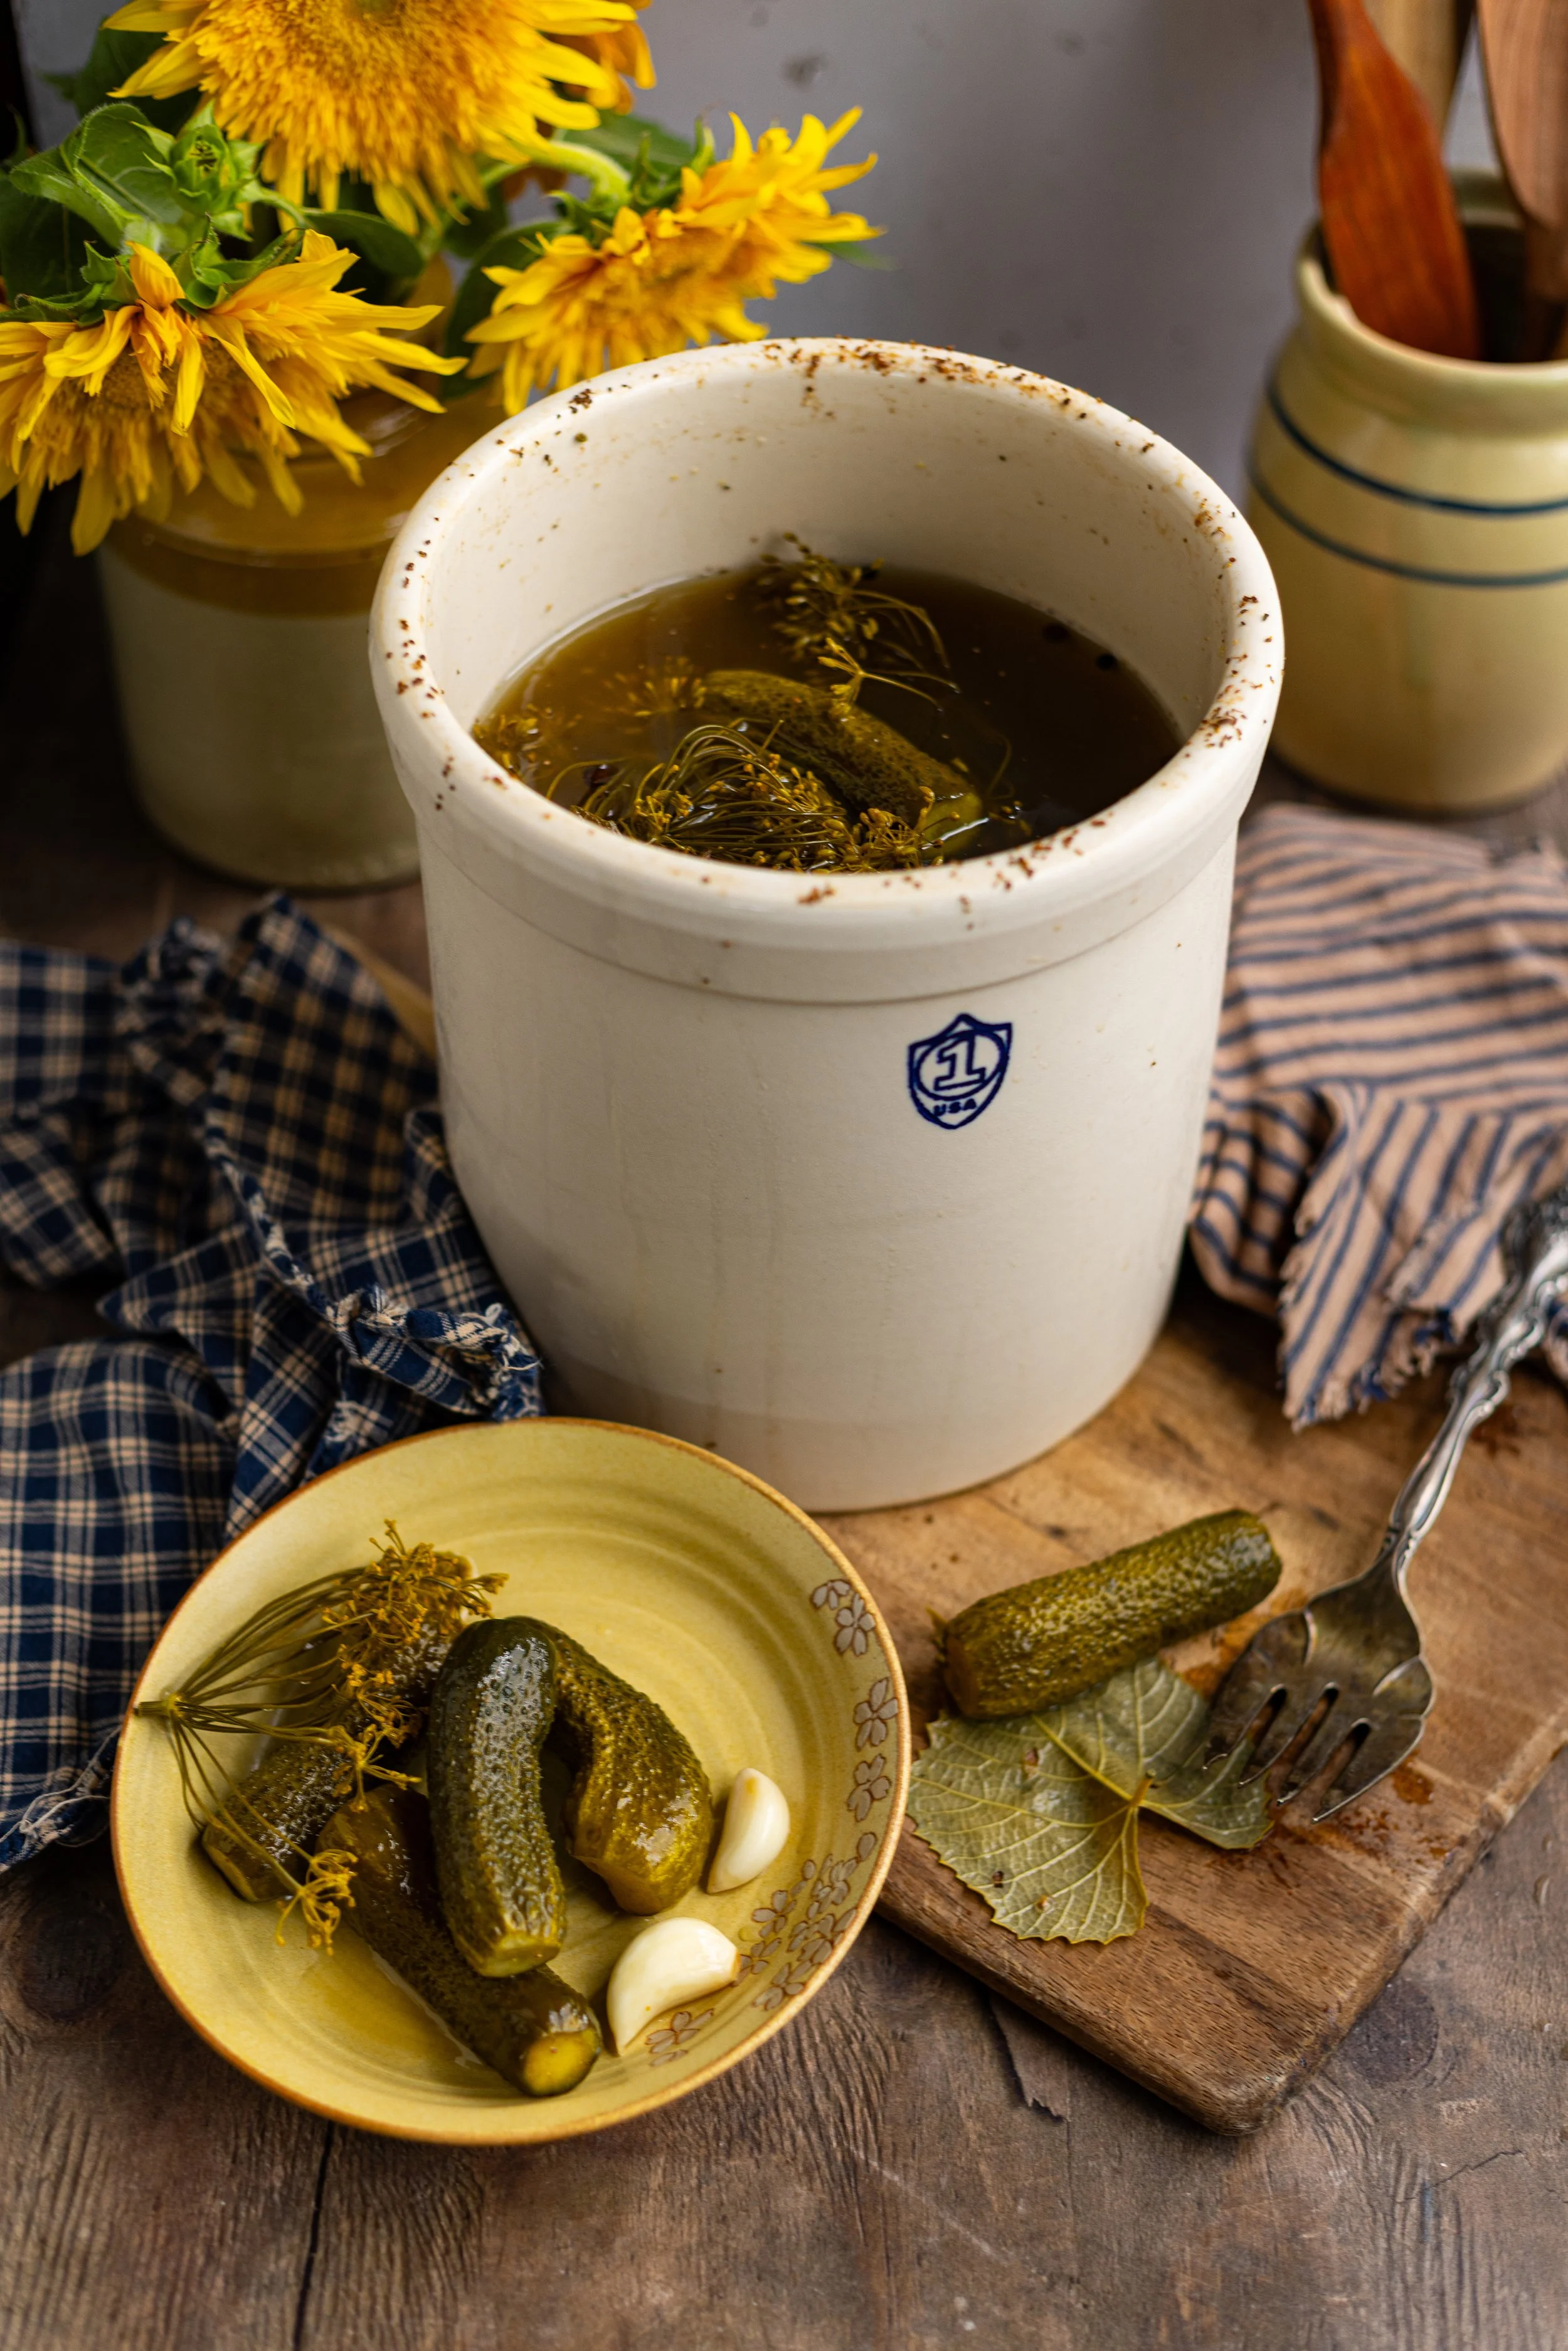
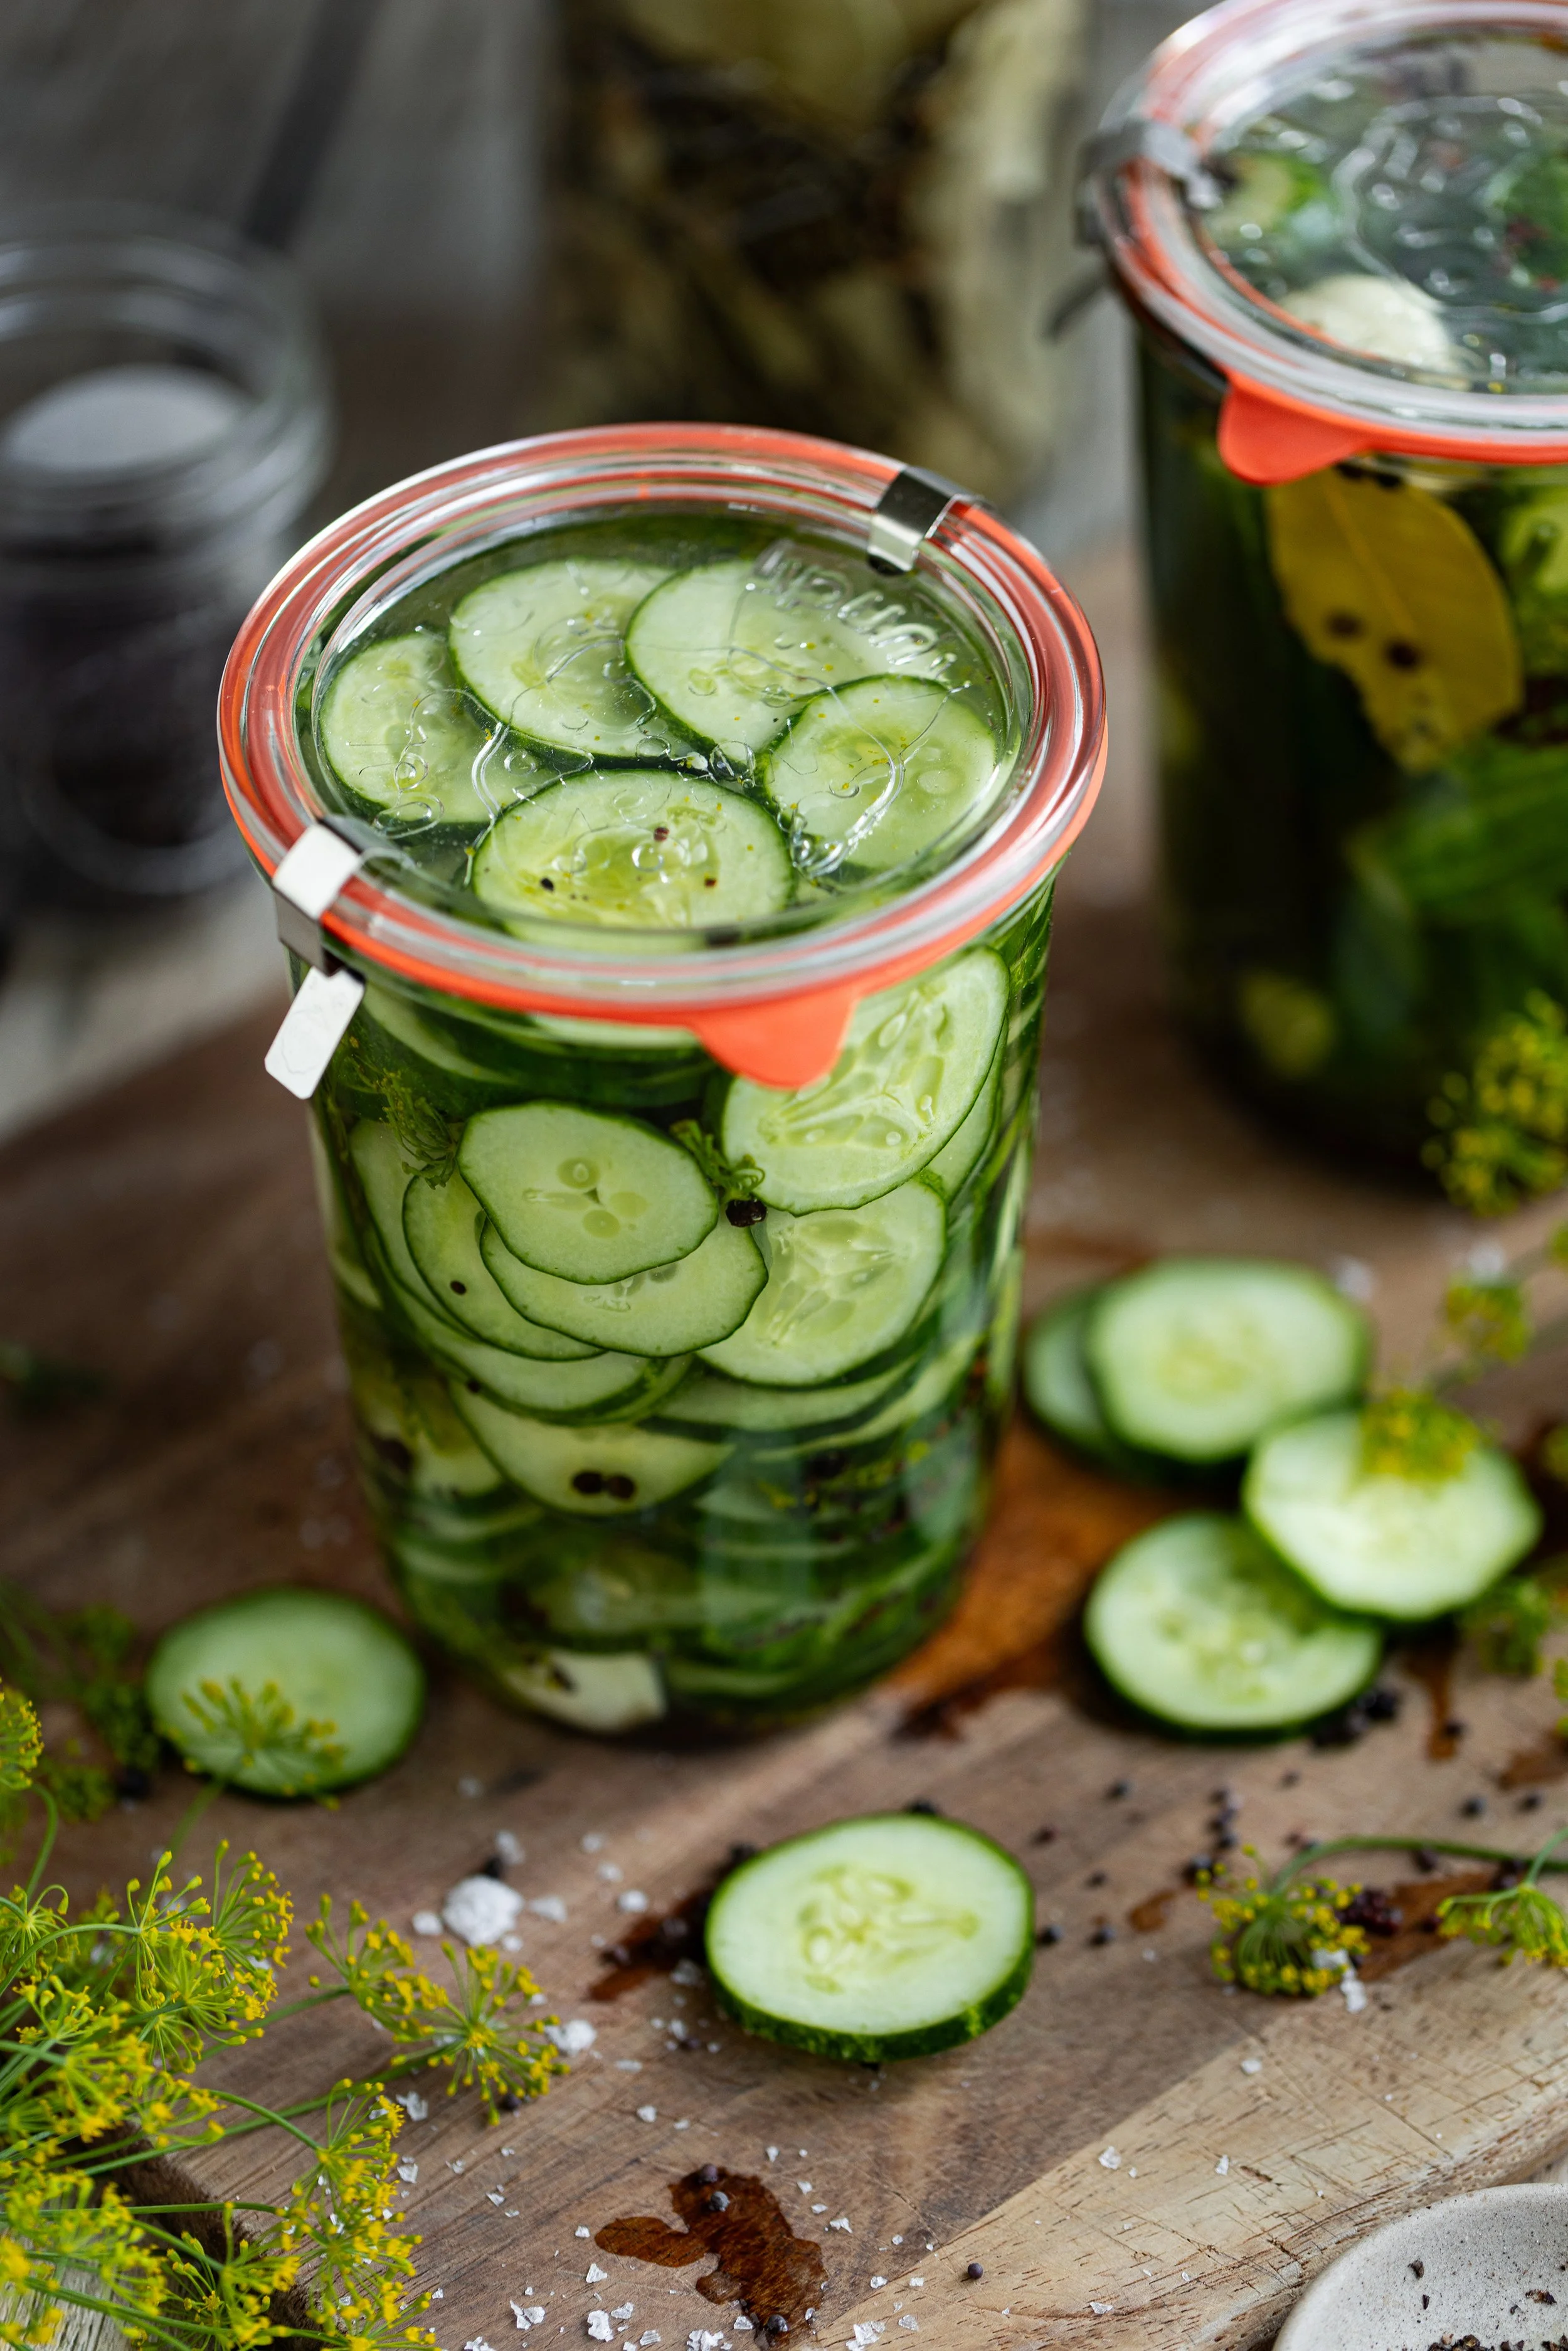
If you love dill pickles, you will absolutely making old-fashioned dilly beans! These summer snap beans are pickled in a delicious sweet and salty brine with garlic, dill flowers, peppercorns, and mustard seed. They’re super easy to make and ready to eat in 1 to 2 weeks!
what are dilly beans?
Dilly beans are simple just pickled green beans flavored with dill, garlic, and spices. They are a fun way to preserve green beans in the summer and add some interesting pickling methods to your kitchen. So often we see pickled dill cucumbers, but it can just as tasty to pickle other garden veggies! You can enjoy dilly beans as a snack, alongside a main dish, or mixed into a salad.
Dilly beans have a long history in the USA, and they had quite the resurgence in the late 1950s are they were developed as a commercial product you could purchase at the grocery store. Today, they are most often made in the state of Vermont as green beans are largely grown there.
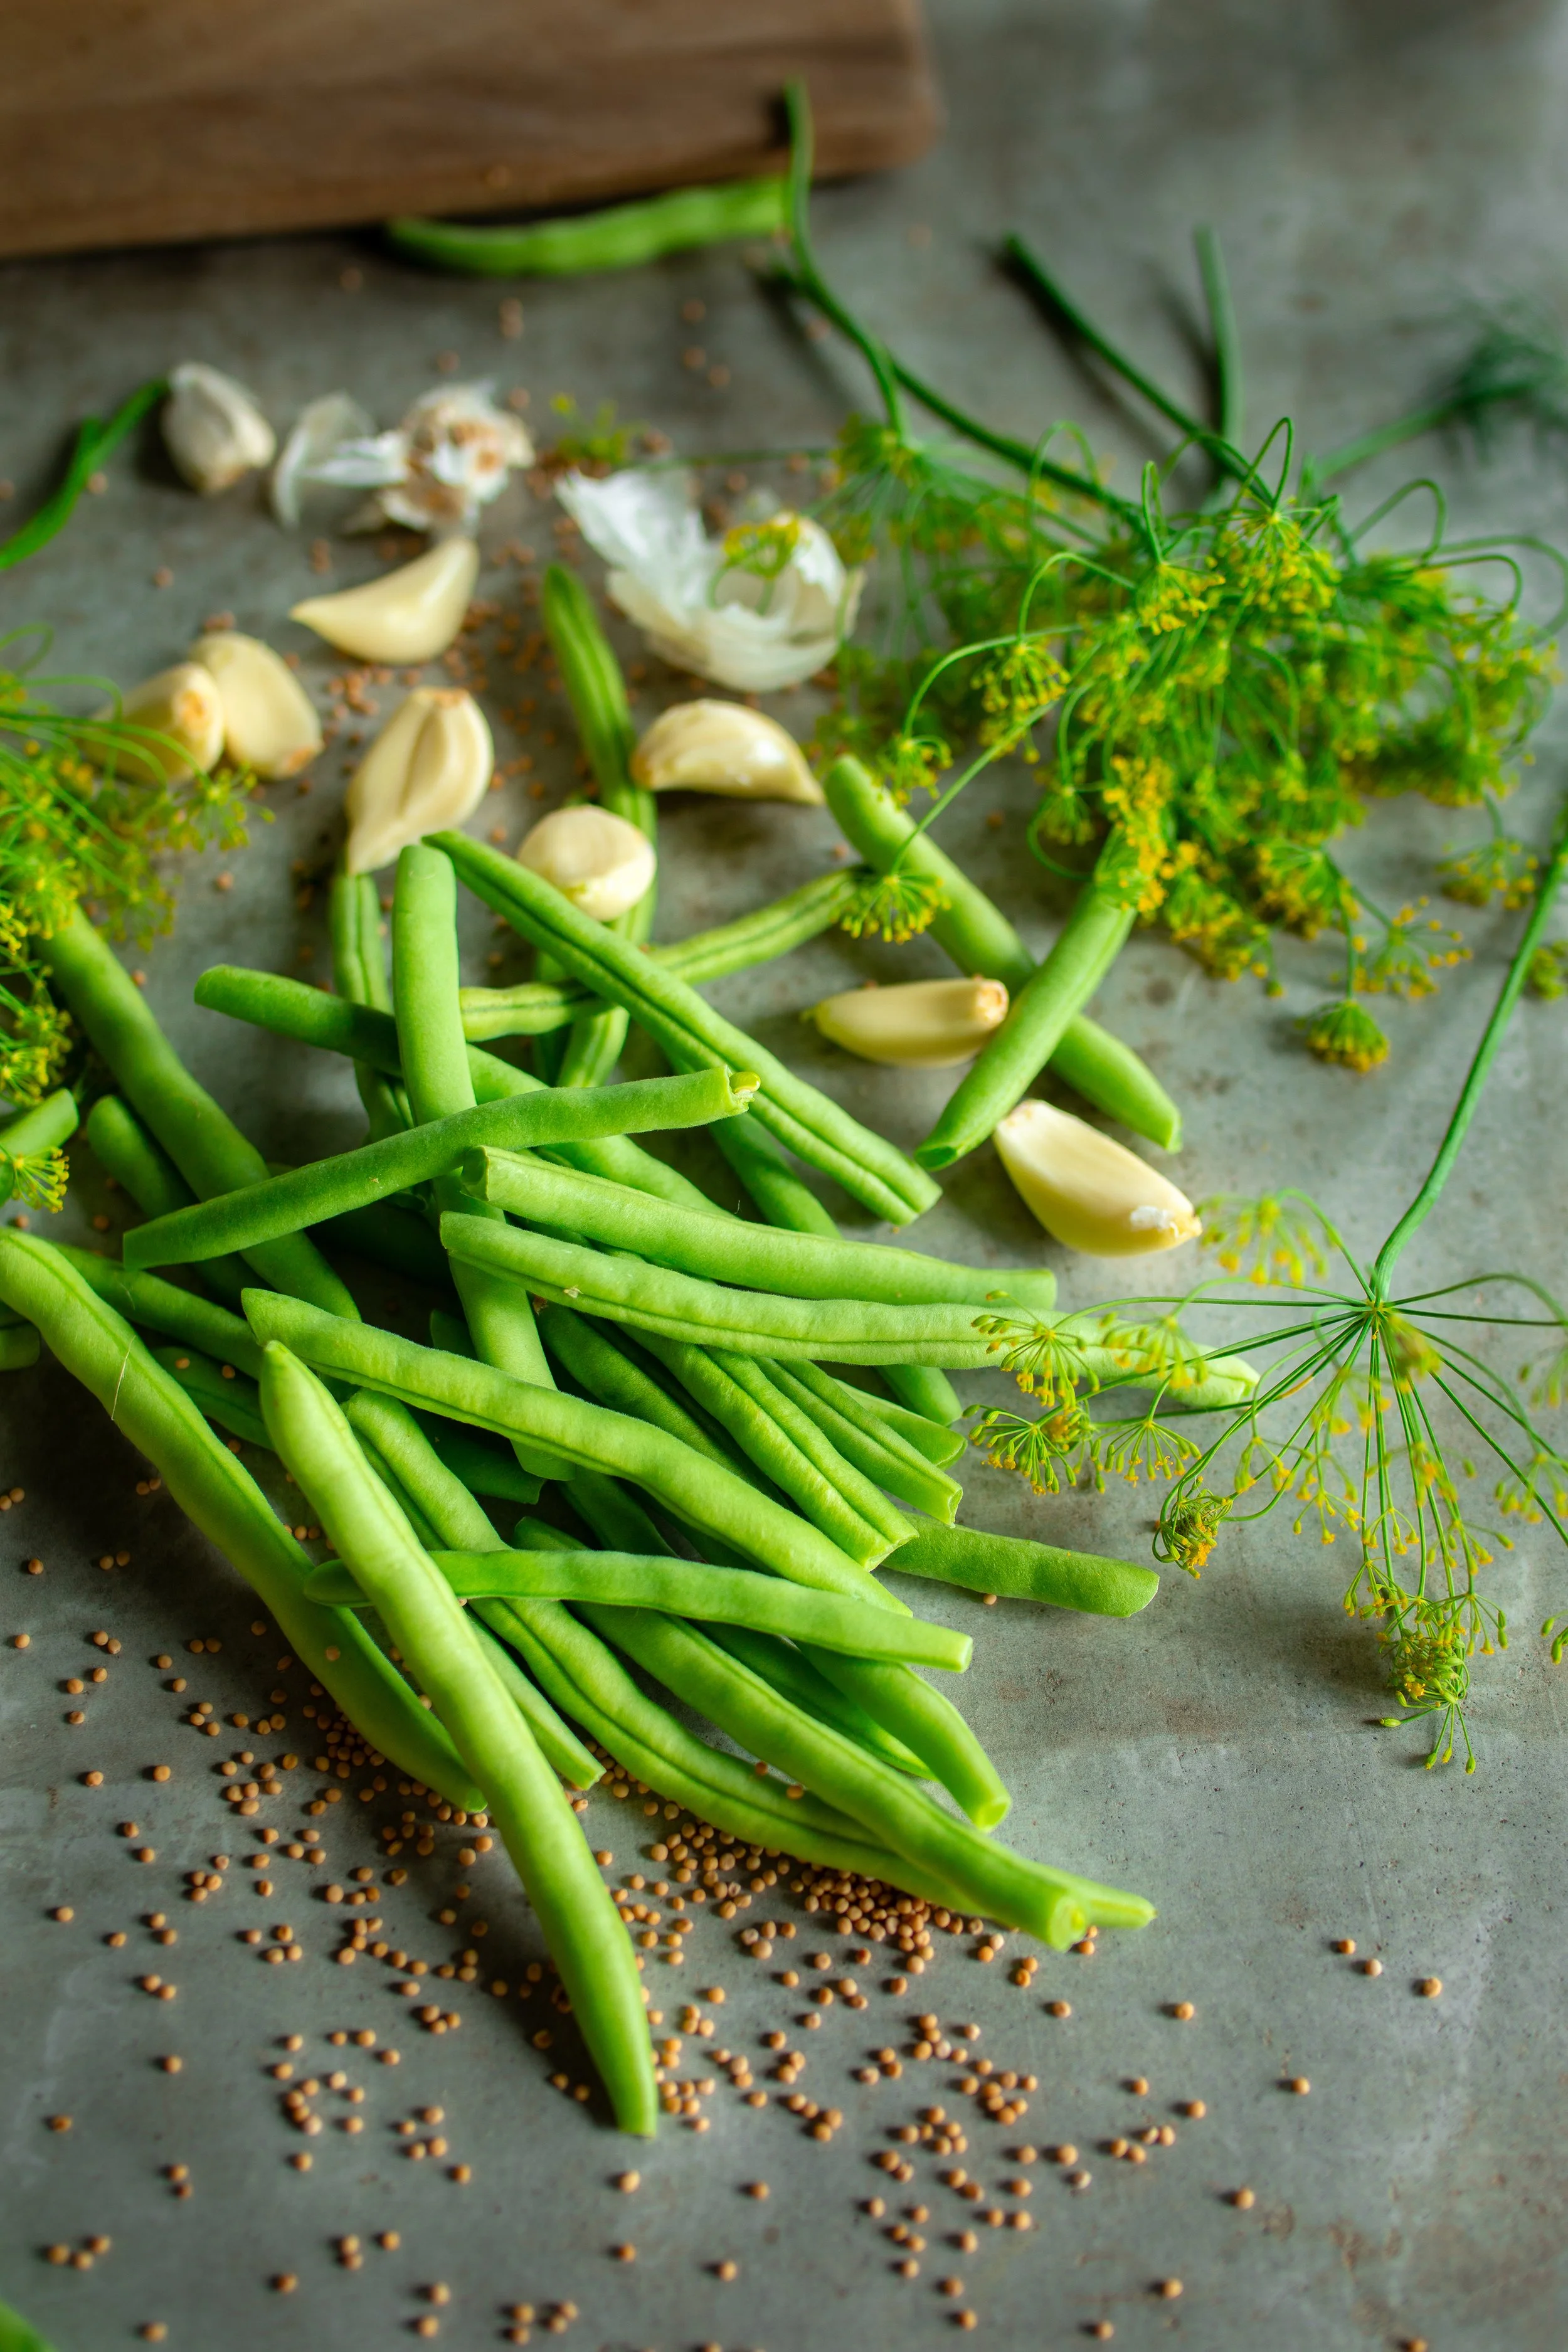
gathering ingredients:
To make your own homemade dilly beans, you will need to gather a few key ingredients! For this recipe, I stuck with my favorite refrigerator pickle base. You can adjust this recipe’s ingredients how you like them best because they are being refrigerated and not canned in a hot water bath!
Green Beans. You will want to use fresh green bean pods that are filled but tender, straight, and crisp.
Vinegar. The type of vinegar you use will determine the flavor of your pickles and their color, too. I use distilled white vinegar, but you can also use apple cider vinegar.
Pickling Salt. Pickling salt or canning salt is non-iodized, or just pure granulated sodium chloride. Table salt should not be used for canning as it contains iodine and anti-caking agents, which will make the brine cloudy.
Sugar. For this recipe, I recommend using granulated sugar to prevent the brine from becoming discolored.
Garlic. Use whole, peeled garlic.
Mustard Seed. You will want to use seed and not ground mustard.
Bay Leaves. Use fresh or dried bay leaves.
Dill Flower Heads. If you do not have access to fresh dill flower heads, you can use dill seeds instead. Use 2 teaspoons of dill seed for every 1 flower head.
Peppercorns. Use whole peppercorns and not ground pepper.
Red Pepper Flakes. Use dried pepper flakes.
Ball® Pickle Crisp. This is pure calcium chloride, which can help to crisp up your pickles and make them super crunchy! You do not have to add this unless you want to, and there are other brands you can find as well.
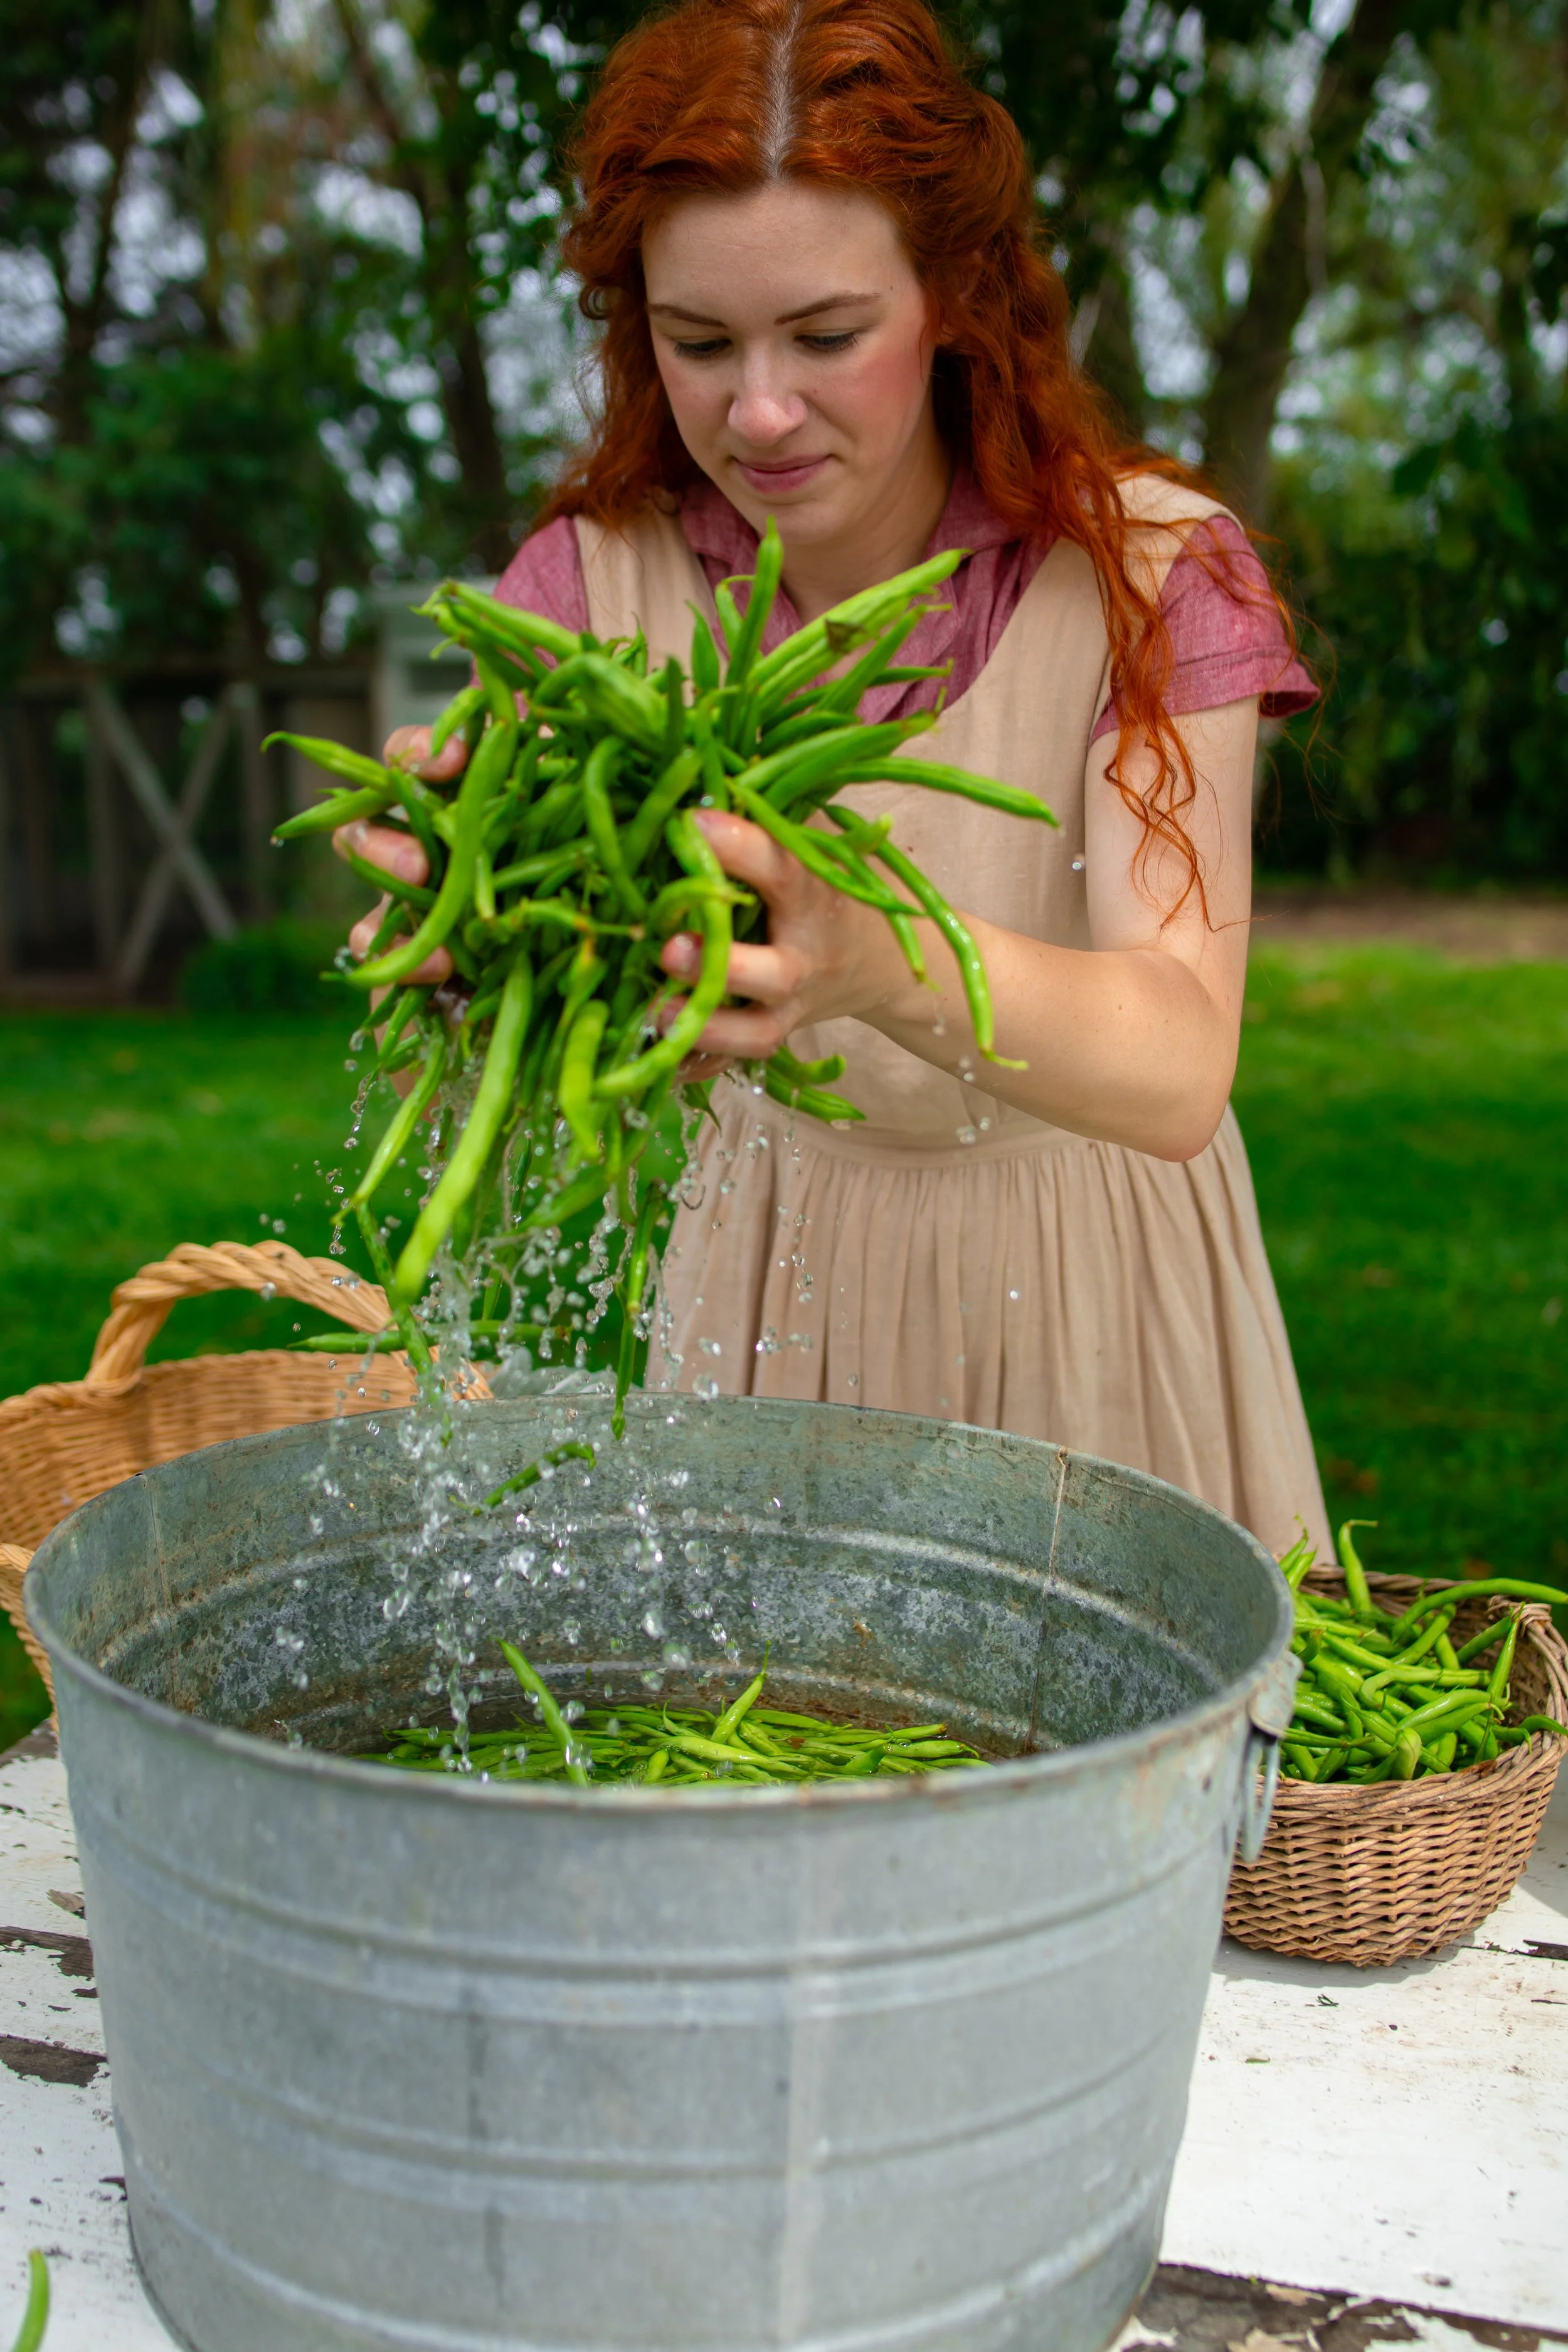
tips for picking green beans:
Before you begin pickling your green beans, you will need to gather them and prepare them for processing! This pickling method works for any snap and Italian beans, such as green beans and wax beans.
If you grow green beans like I do, then you will soon come to learn just how many beans you can pick! You can literally pick green beans every single day during the peak season (usually May through October), which is an excellent problem to have if you are hoping to preserve them for winter storage.
For canning, you will want to pick filled but tender, crisp pods. Remove any damaged, diseased, or rusty colored pods.

supplies you will need:
To make these homemade old-fashioned pickled beans, you will need to gather some supplies. You can easily make these beans without these tools, but they do come in handy, especially if you plan to start canning or preserving your food using other methods!
Canning Jars, Lids, and Bands. I prefer to use Ball® jars, lids, and bands. You will need NEW canning lids to safely can your green beans. Do not can with used lids, as the seals can be damaged.
Canning Funnel. A funnel can be nice to have to avoid spills. Use a nonmetallic funnel to avoid breakage.
Nonmetallic Spatula. Another tool that can be helpful to avoid breakage of your jars, and it can be great for removing air bubbles.
Headspace Measurer. This tool is made to easily measure the headspace of your food, which is necessary for low-acid canning to avoid siphoning! It can also double as an air bubble popper.
how to make dilly beans:
Step One: Begin by cleaning and sanitizing your canning jars, lids, and bands. You will want to boil them in some water with a splash of vinegar to sanitize them. You do not have to keep them jars hot for this recipe.
Step Two: Wash your beans and trim the ends. It's a bit easier to work with beans that have grown straight, but you can pickle any beans. If necessary, trim or snap your beans into smaller lengths to fit them into the jar. Set the beans aside for now.
Step Three: In a large saucepan, combine the water, vinegar, pickling salt, and sugar. Whisk until the salt and sugar are dissolved. Bring to a boil and then immediately turn off the heat.
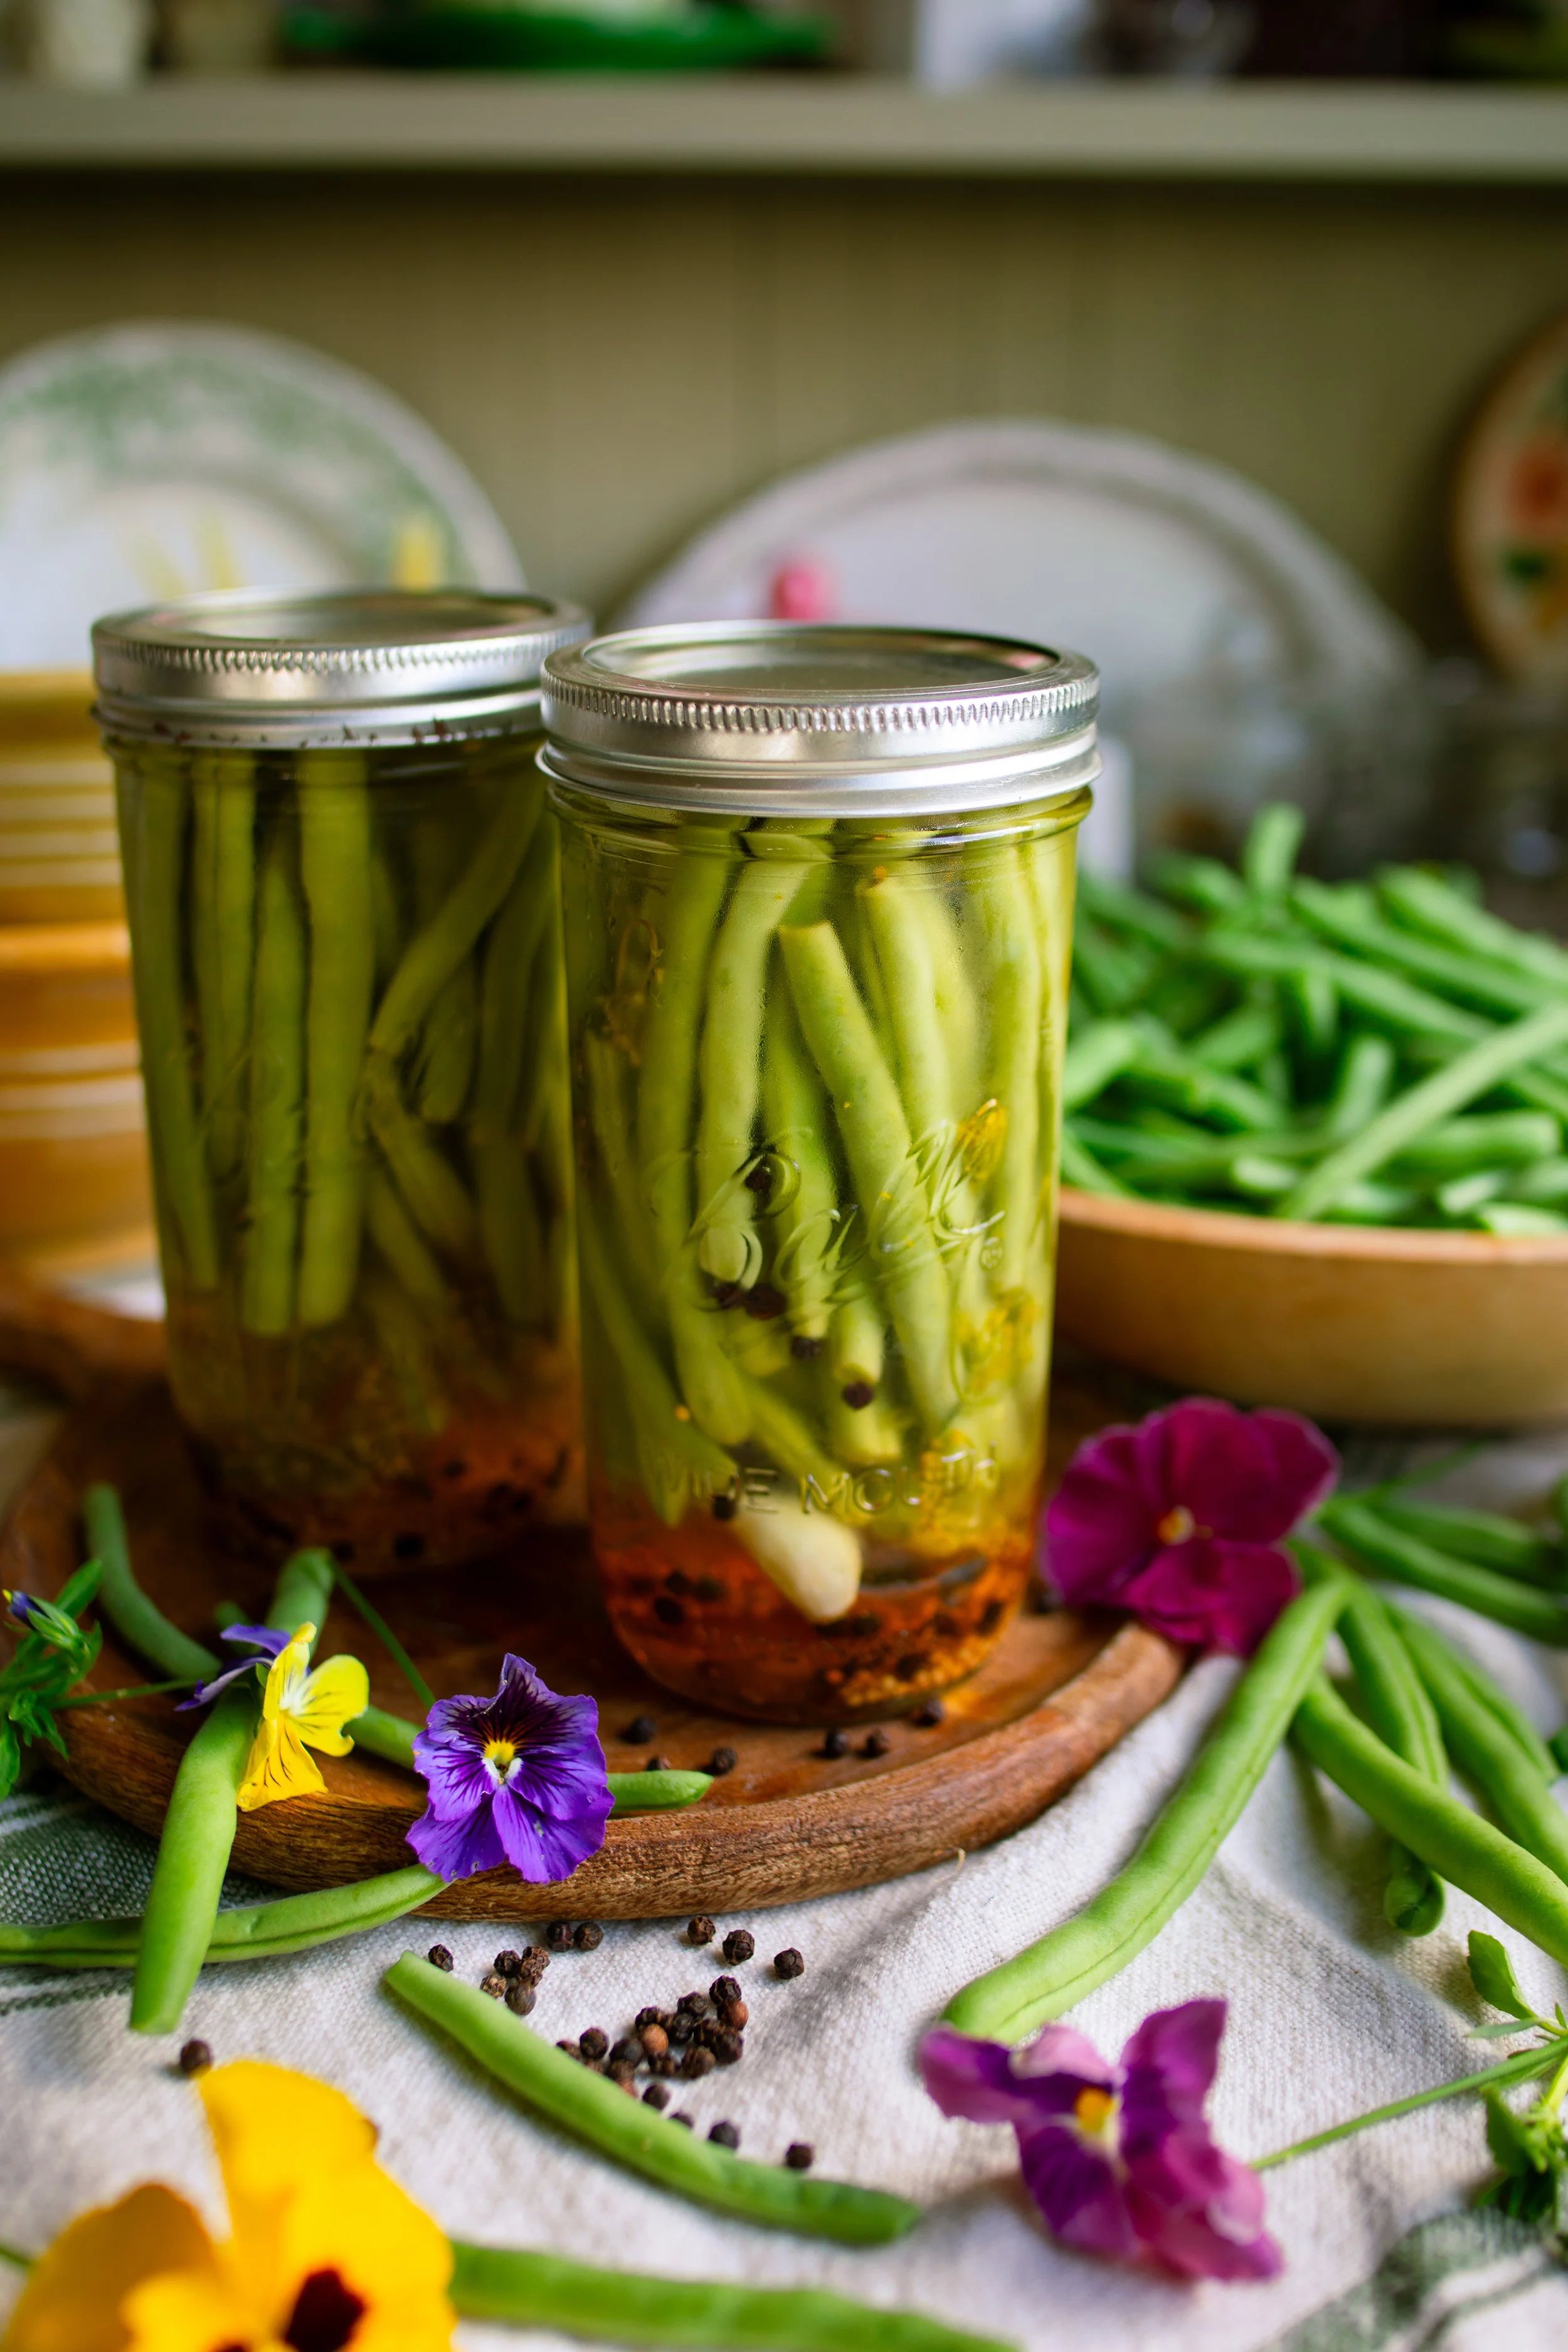
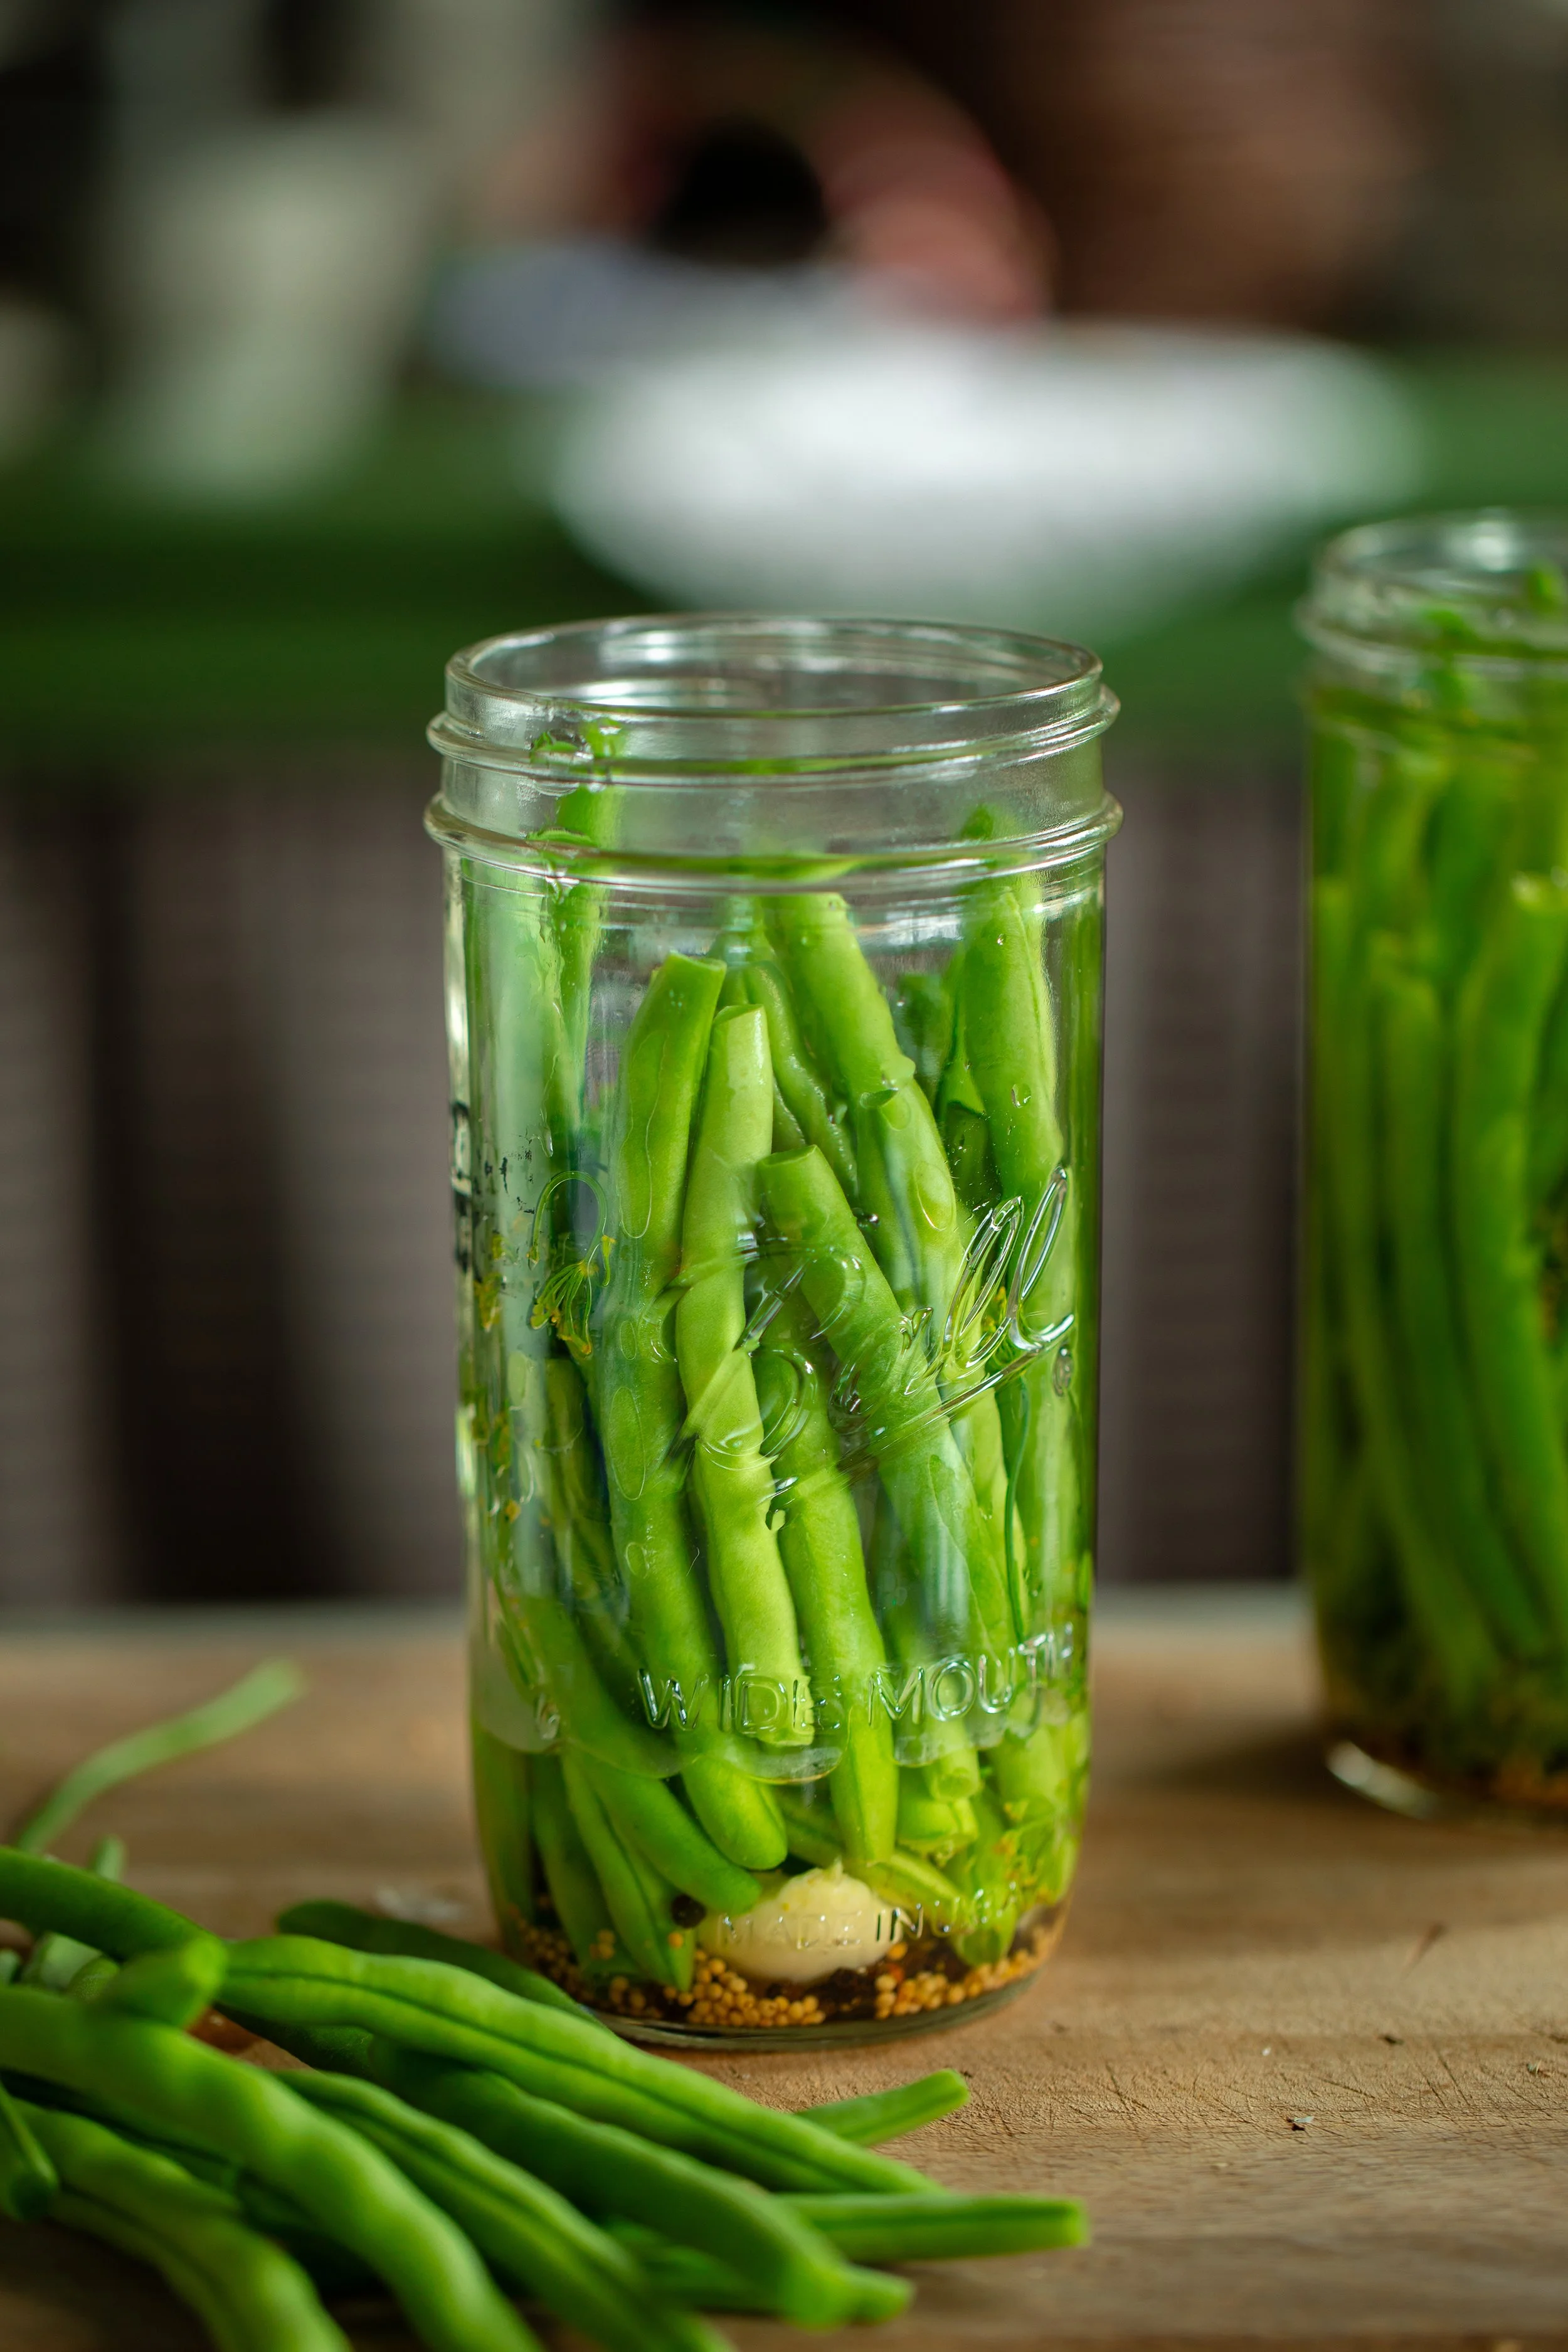
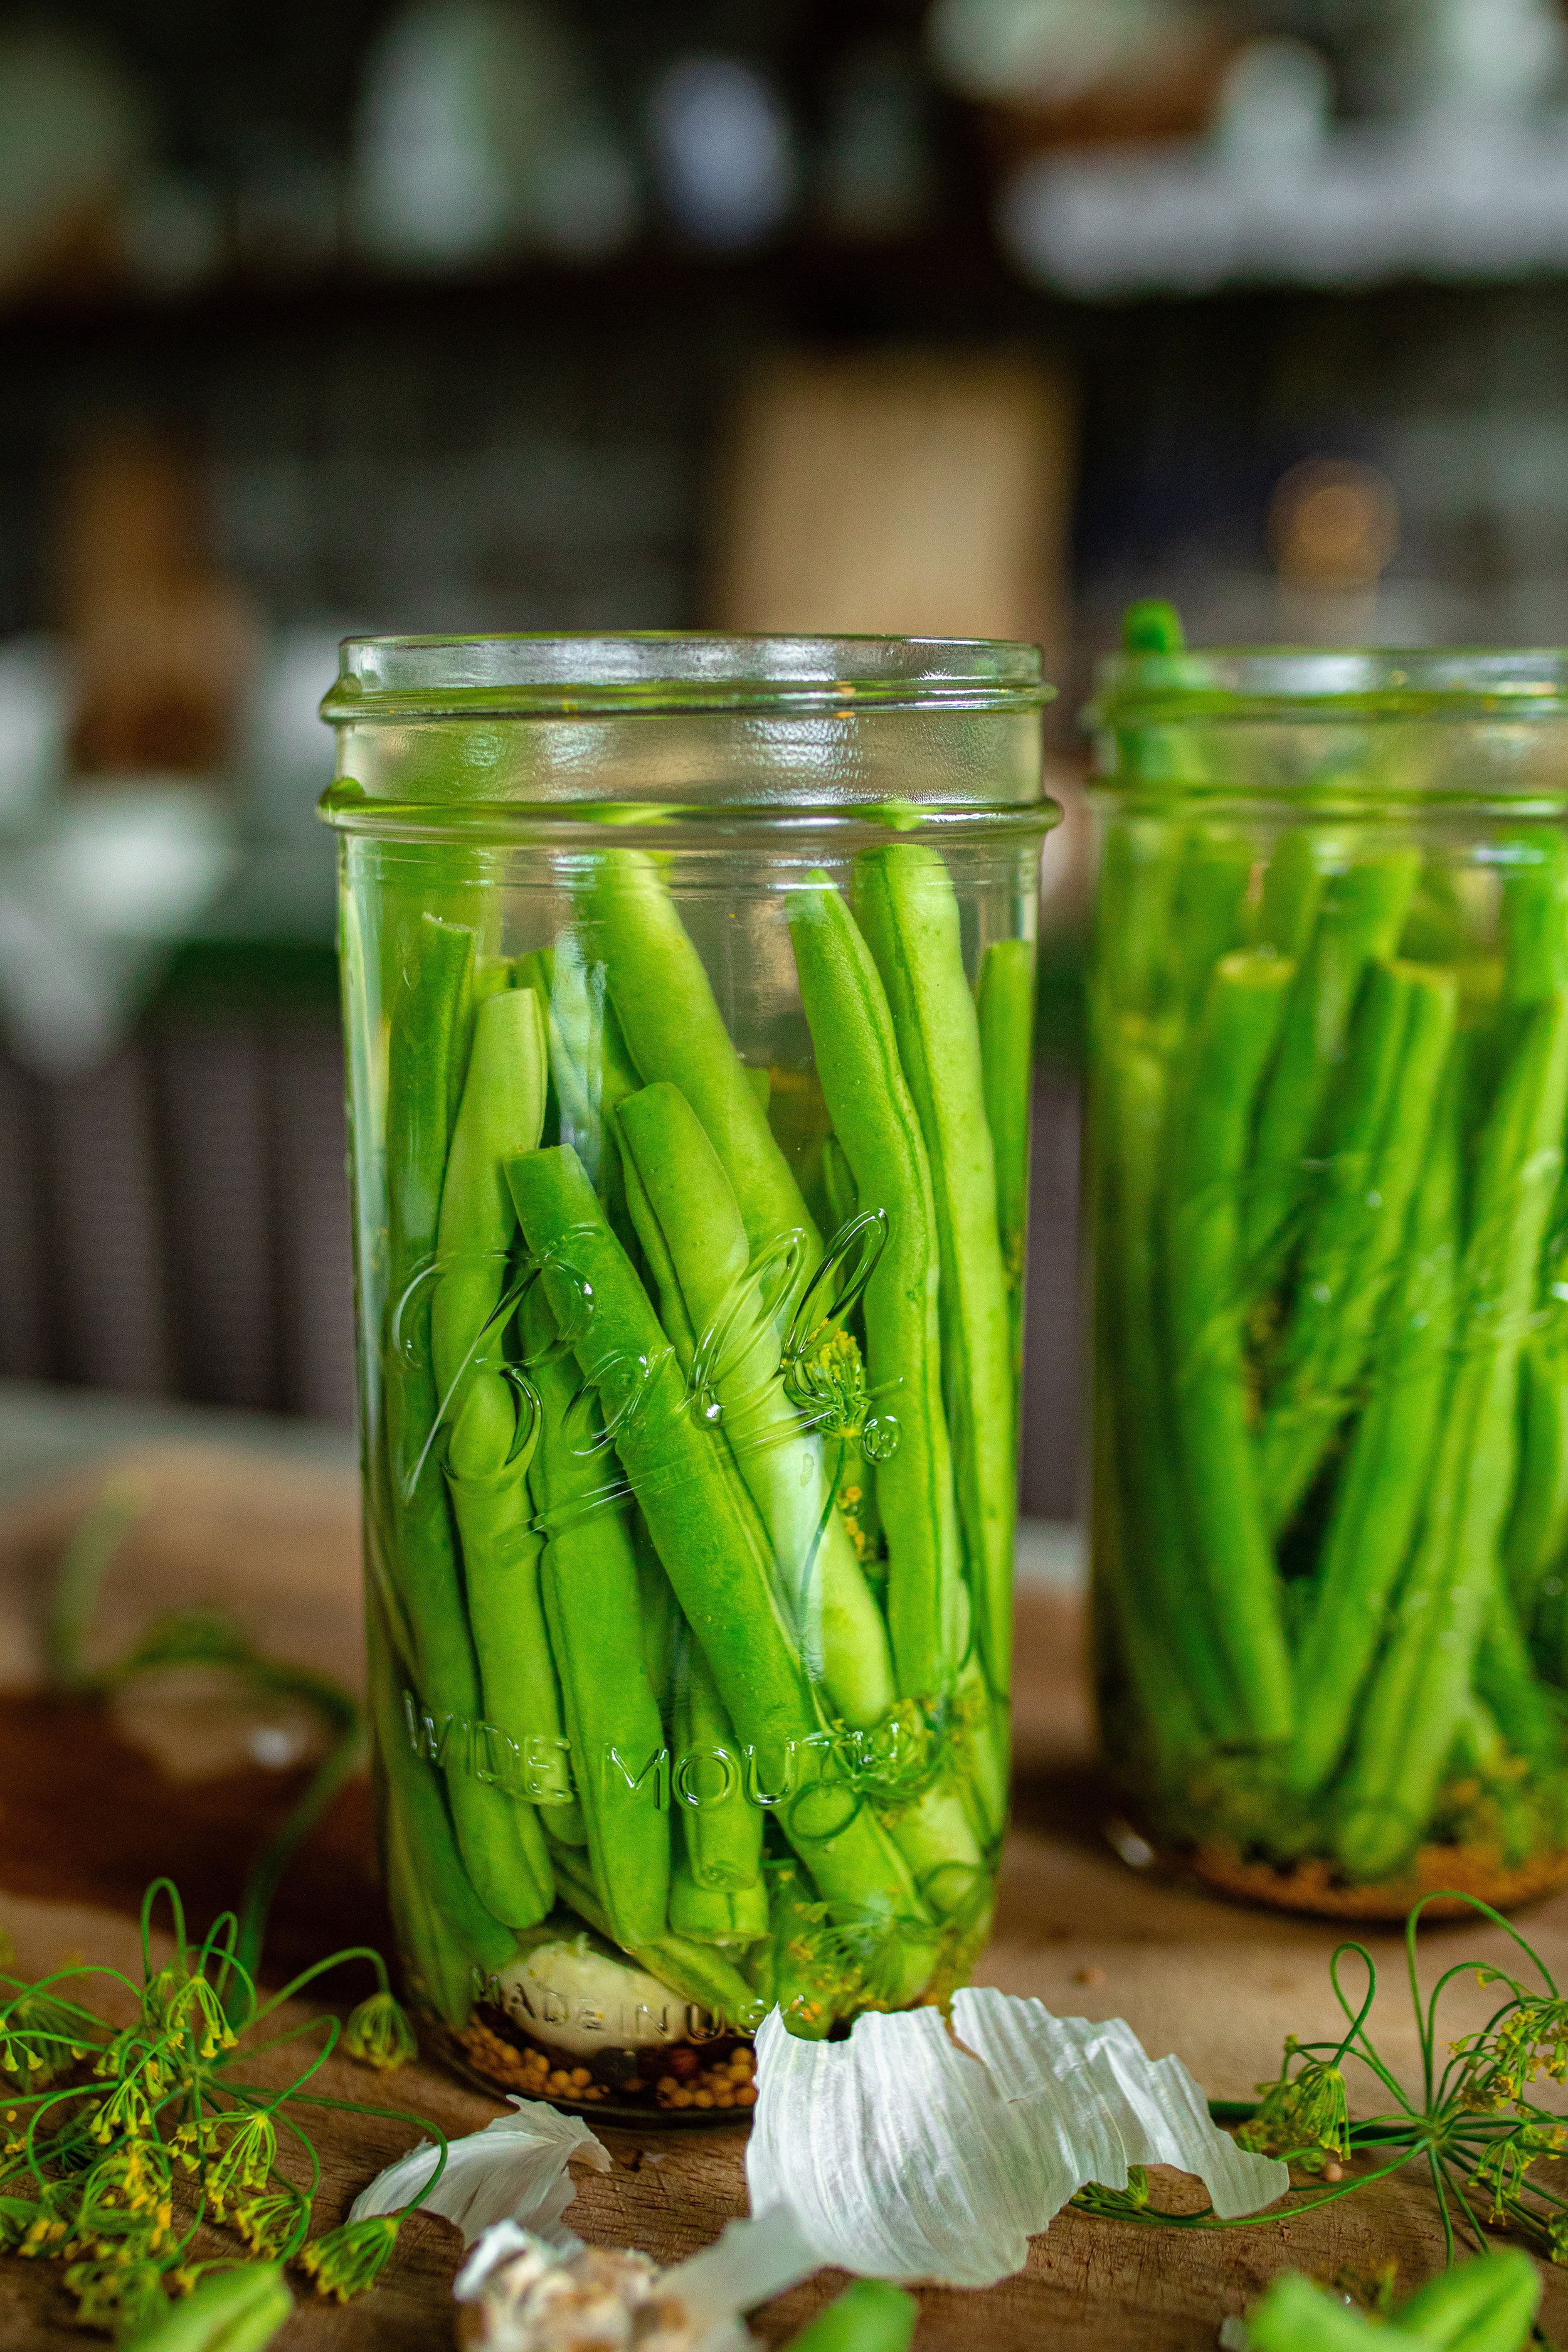
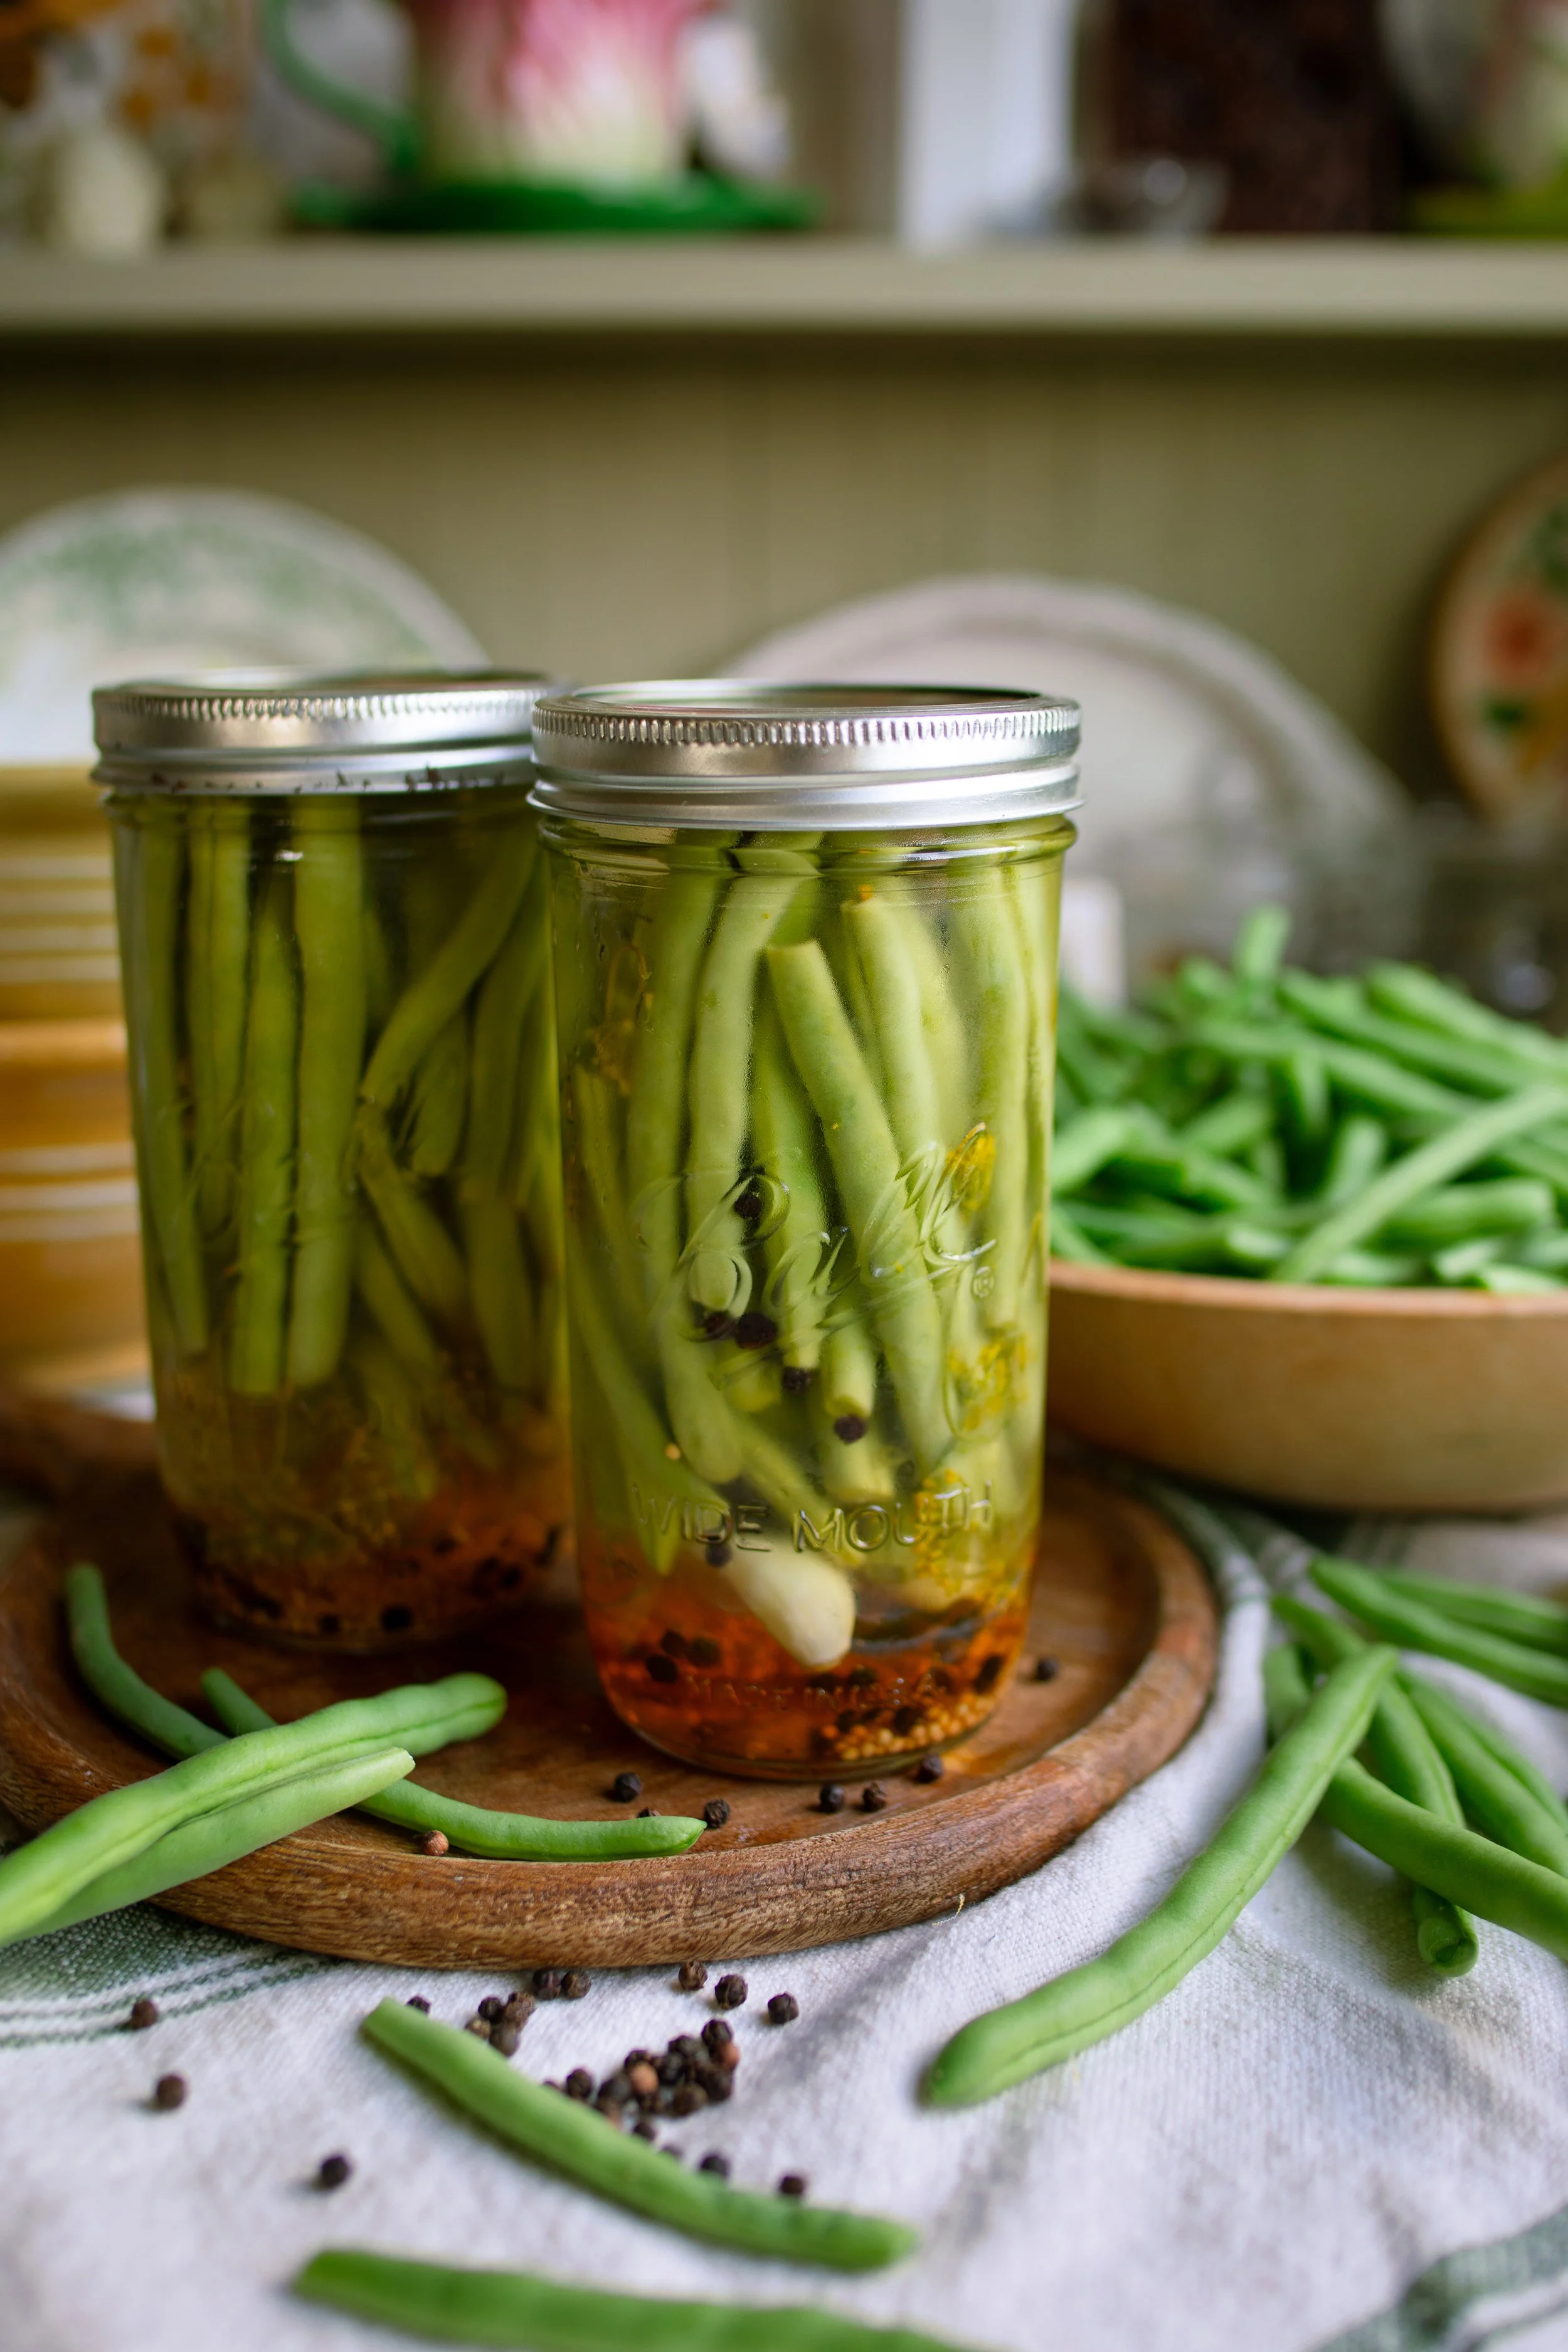
Step Four: Fill each clean jar with 2 garlic cloves, 1/2 teaspoon mustard seed, 1 bay leaf, 2 dill flower heads, a whole nutmeg, 1/4 teaspoon peppercorns, a pinch of red pepper flakes, and 1/8 teaspoon of Ball® pickle crisp. Double this amount if you are using quart jars.
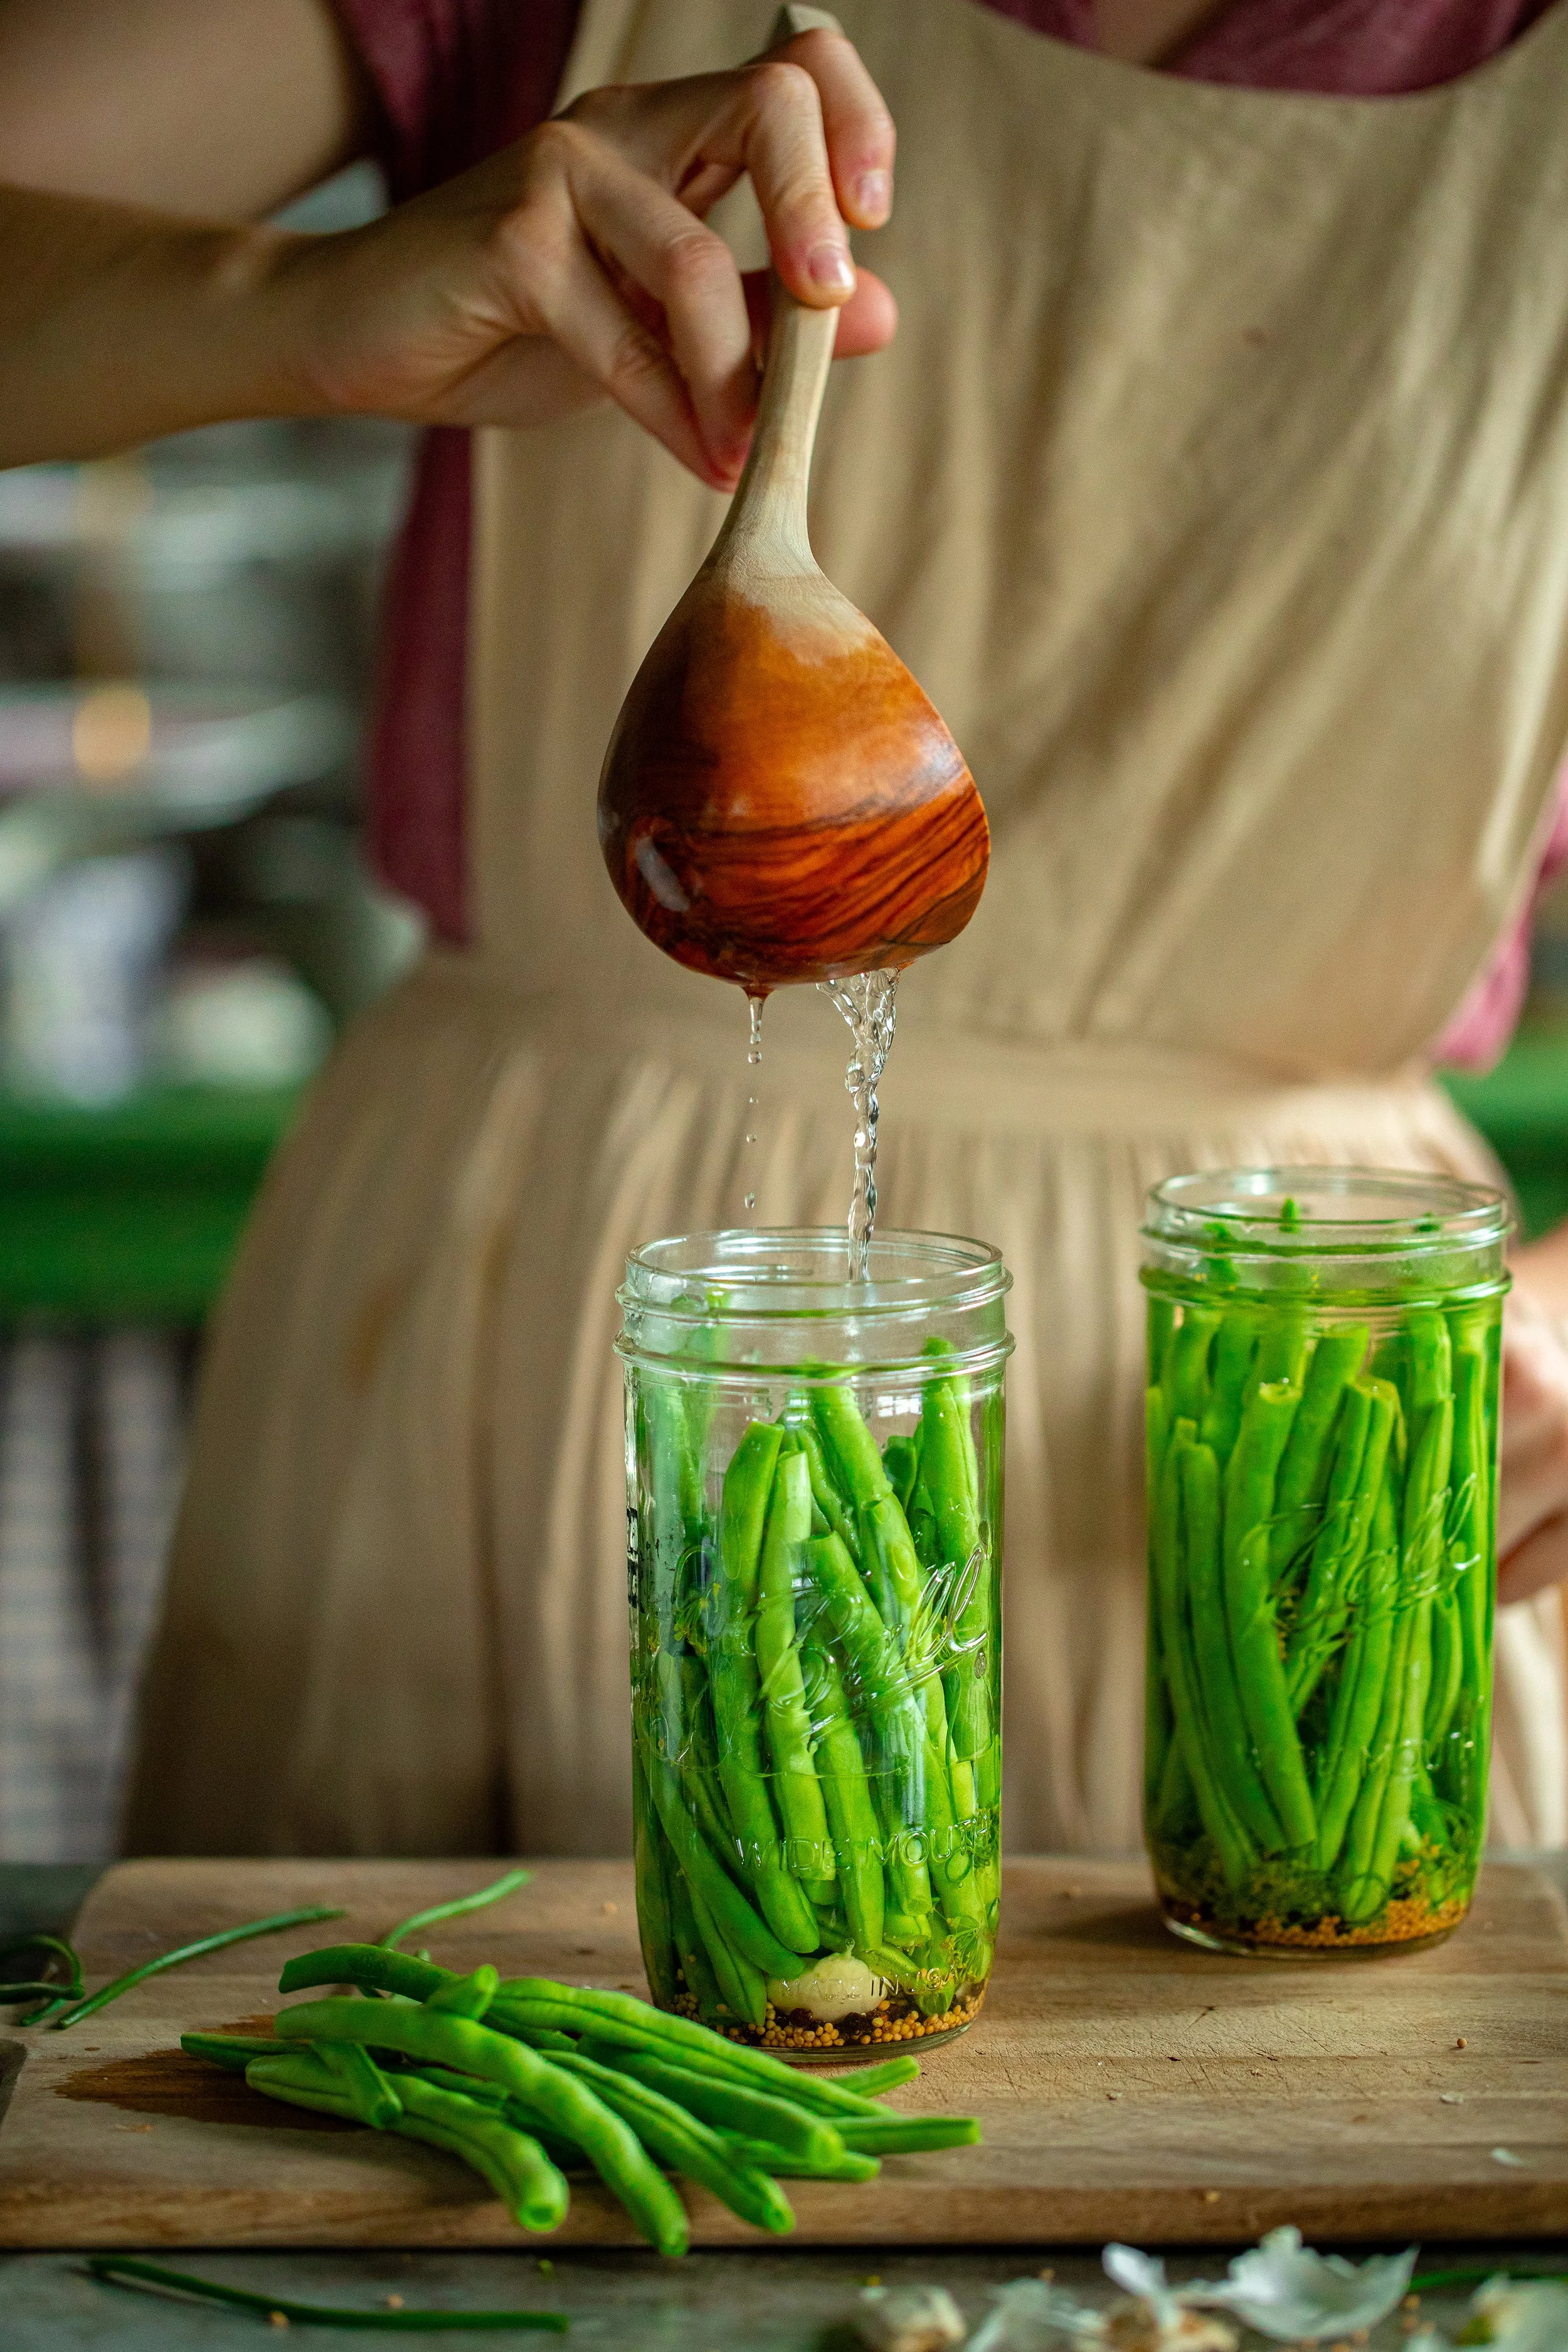
Step Five: Fill the jars with the beans leaving 1/2-inch headspace. Cover the beans with the brine leaving 1/2-inch (1-cm) headspace, removing air bubbles, and adjusting headspace as necessary. Apply the lids and bands to the jar. Allow the brine to cool down to room temperature before the next step.
how long does it take to pickle dilly beans?
When your jars have cooled down, you can store them in the refrigerator. Refrigerator pickling beans is super easy, and it requires minimal maintenance. You can check your pickles daily for flavor and crunchiness, eating them when you prefer their overall taste!
Your pickled green beans will be at their peak flavor in about 1 to 2 weeks, though sometimes it can take longer. They will begin to lose their crunchiness and become softer as time goes on.
Refrigerator dilly beans will last for about 3 months. Sometimes they can last longer, so just check them occasionally!
final thoughts:
As you can see, making your own old-fashioned dilly beans is incredibly easy! In just a couple of weeks, you can have delicious crunchy pickles that are the perfect side dish for summer meals. I love enjoying dilly beans with my barbecue or grilled dinners. They are a great addition to potato salad, and they’re just delicious on their own as a little afternoon snack. Enjoy this easy pickling recipe!
xoxo Kayla

Refrigerator Dilly Beans
Ingredients
- 3 lbs (1.4 kg) fresh green beans
- 2 1/2 cups (600 ml) water
- 2 cups (480 ml) distilled white vinegar
- 1/4 cup (146 g) pickling salt
- 1/4 cup (100 g) granulated sugar
- 4 cloves garlic, peeled
- 2 tsp mustard seed
- 4 bay leaves
- 8 dill flower heads
- 1 tsp black peppercorns
- Pinch of red pepper flakes, optional
- 1/2 tsp Ball® Pickle Crisp, optional
Instructions
- Clean and sanitize your jars, lids, and rings.
- Wash your beans and trim the ends. It's a bit easier to work with beans that have grown straight, but you can pickle any beans. If necessary, trim or snap your beans into smaller lengths to fit them into the jar. Set the beans aside for now.
- In a large saucepan, combine the water, vinegar, pickling salt, and sugar. Whisk until the salt and sugar are dissolved. Bring to a boil and then immediately turn off the heat.
- Fill each clean jar with 2 garlic cloves, 1/2 teaspoon mustard seed, 1 bay leaf, 2 dill flower heads, a whole nutmeg, 1/4 teaspoon peppercorns, a pinch of red pepper flakes, and 1/8 teaspoon of Ball® pickle crisp. Double this amount if you are using quart jars.
- Fill the jars with the beans leaving 1/2-inch headspace. Cover the beans with the brine leaving 1/2-inch (1-cm) headspace, removing air bubbles, and adjusting headspace as necessary. Apply the lids and bands to the jar. Allow the brine to cool down to room temperature before the next step.
- Place the jars into the refrigerator. Check the pickles daily for flavoring. Peak flavor is usually about 1 to 2 weeks after making the pickles, and then they get softer as time goes on. They will store in the refrigerator for about 3 months.
Nutrition Facts
Calories
207