Quick Refrigerator Pickled Radishes
This post may contain affiliate links, please see our privacy policy for more information.
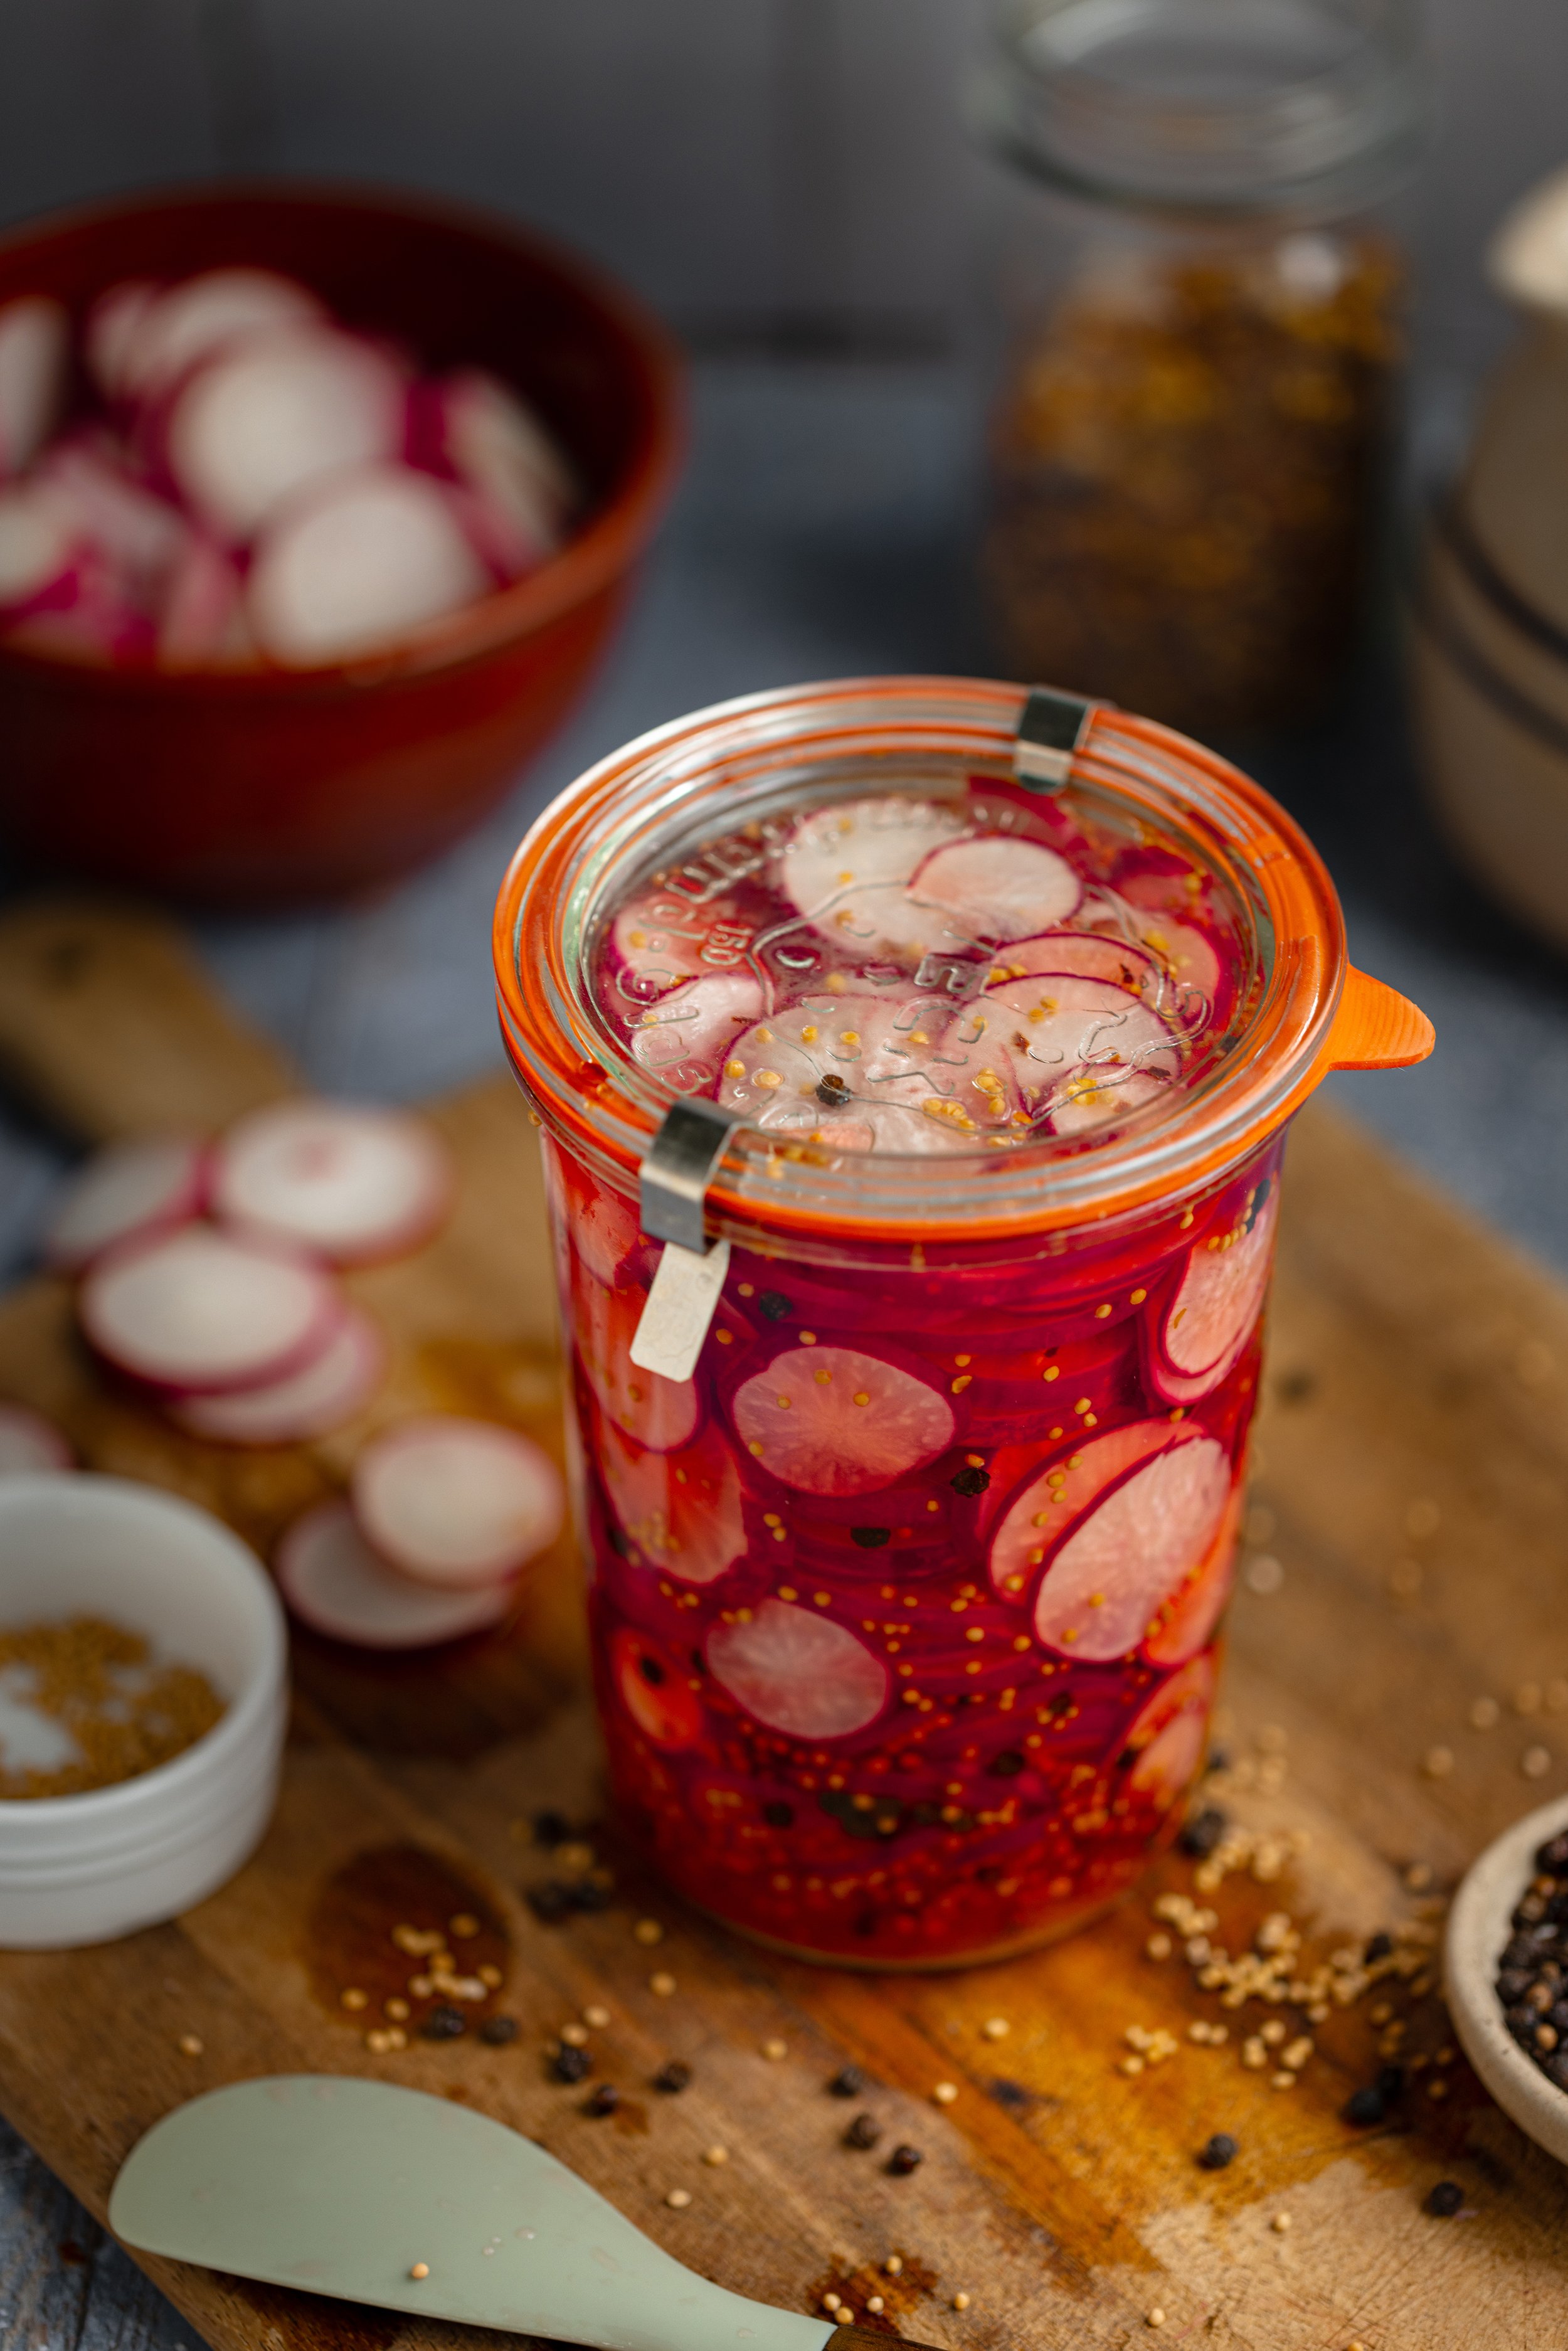
These refrigerator pickled radishes are crisp, tangy, and ready to eat in just 24 hours! If you are looking for the perfect quick pickle to add color and crunch to your meals this summer, look no further. This quick pickle recipe will last in the refrigerator for up to 3 to 4 weeks.
Disclaimer: This is NOT a USDA tested and approved canning recipe. Be cautious when making and always check for signs that your food has gone bad before consuming to avoid the risk of botulism.

Radishes are one of the first crops to come out of the garden in the spring, and this recipe is one the easiest ways to use them up. In just minutes, you can transform a bundle of spicy radishes into a beautiful pink pickle that’s crips, flavorful, and the perfect summer snack. These refrigerator pickles don’t require any canning and are perfect for small harvests, CSA extras, or farmers market finds. In this guide, I also share how you can preserve these pickles for long-term storage with hot water bath canning instructions.

Best Radishes for Quick Pickling
You can pickle any type of radish, but these are my favorite varieties for this recipe:
Rover. I love a good Cherry Belle radish, but I have been enjoying Rover radishes lately! Classic round, red radish with a mild bite.
French Breakfast. These radishes are long and slender with a slightly sweet flavor, though I find them to be a bit more spicy than a red radish.
Watermelon Radish. This is a fun radish to pickle because of its bright color! It has a green skin with a vibrant pink center.
Daikon. A classic mild and crunchy white radish that is great for preserving, though you won’t get that beautiful pink brine.
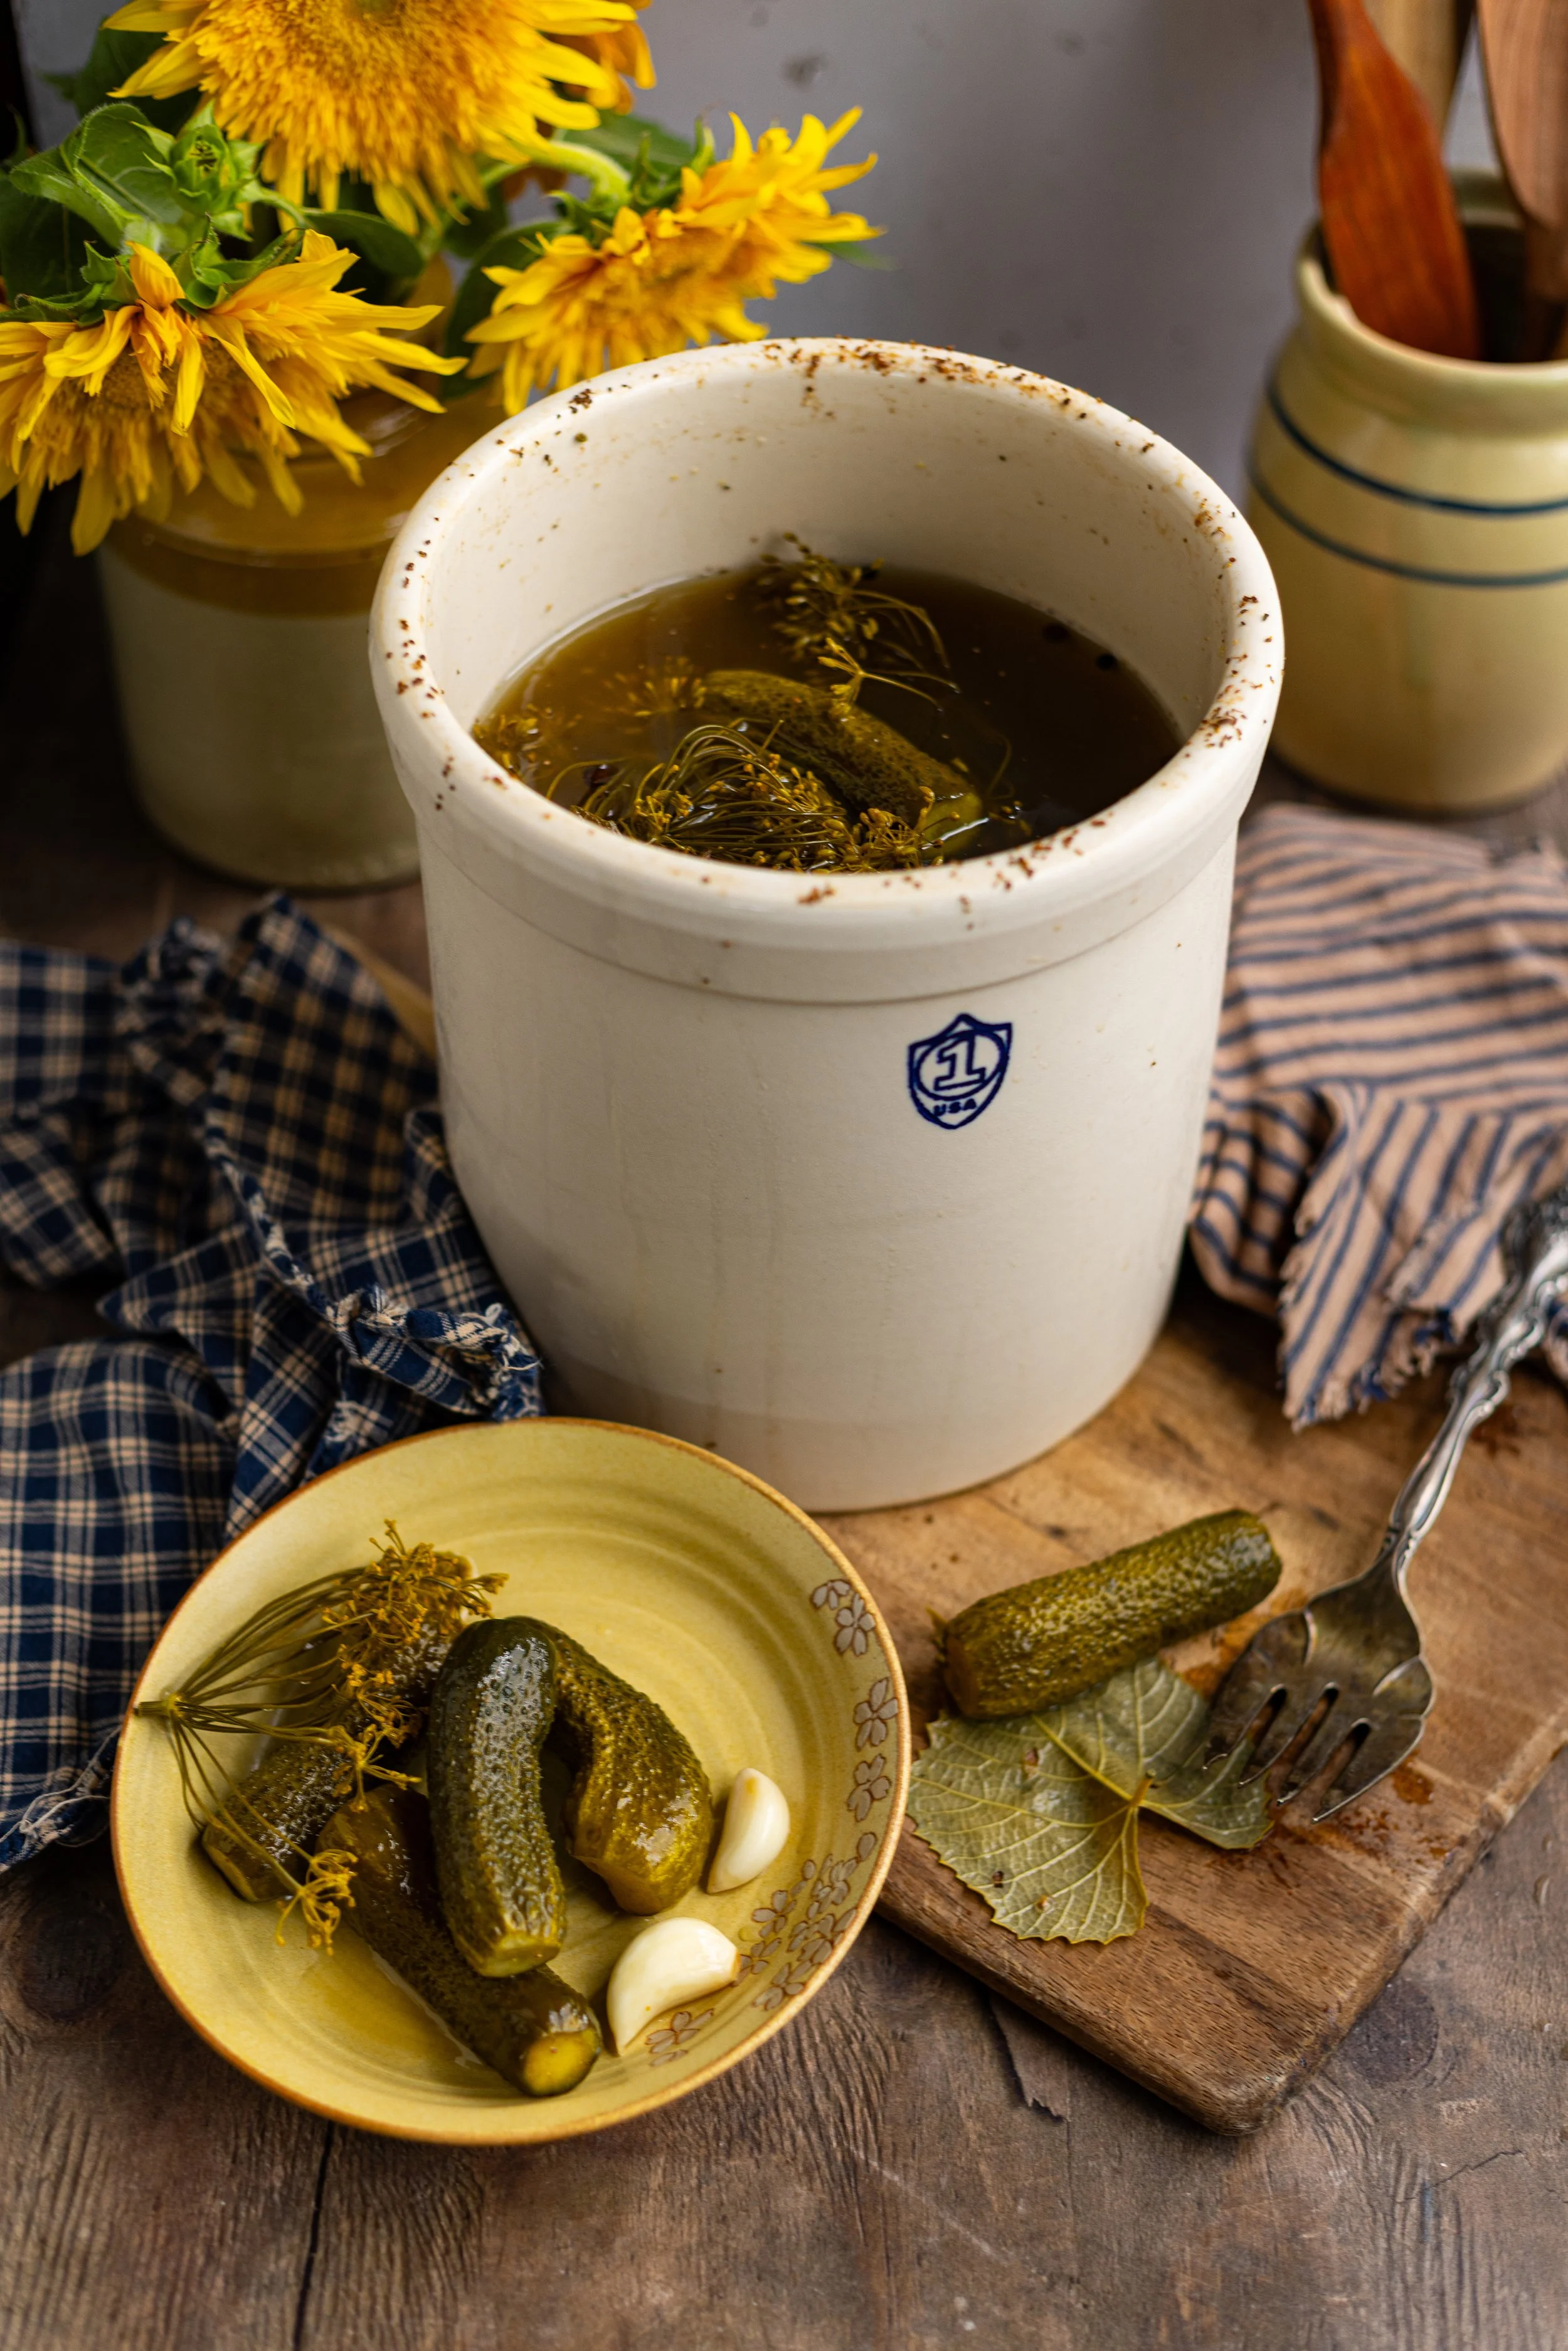
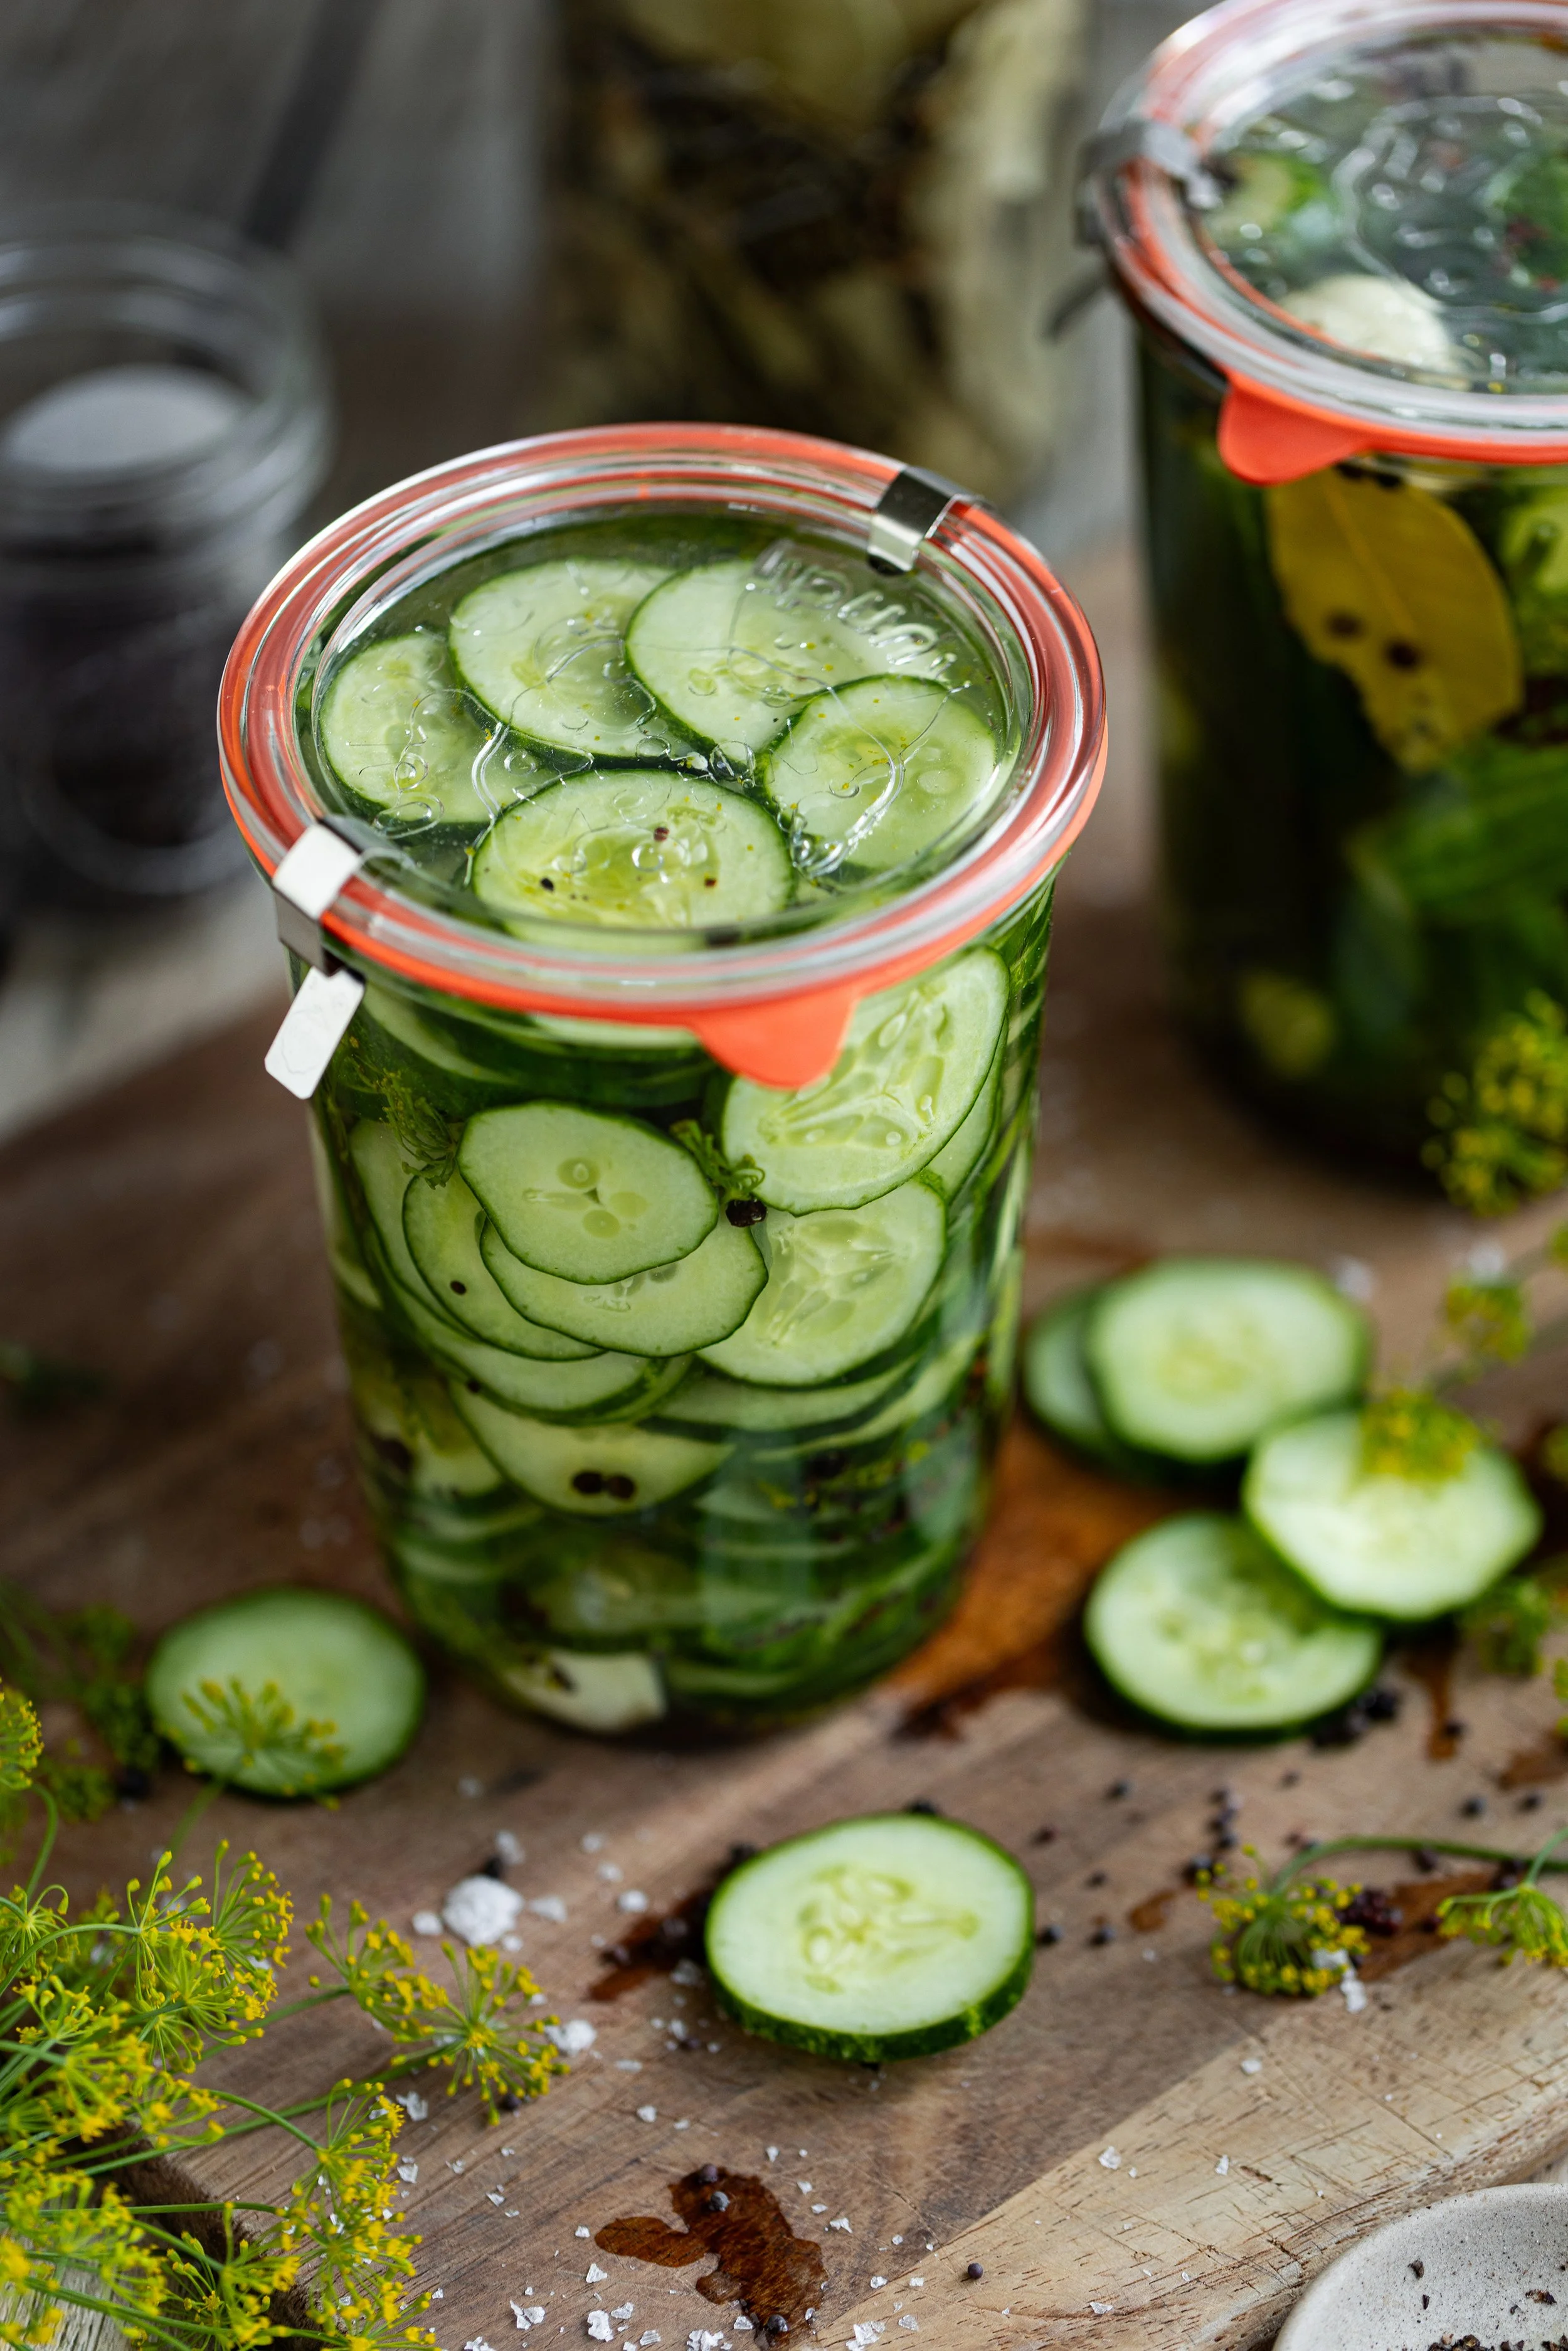
Pro Tip: Look for radishes that are firm and freshly harvested for the best crunch. Just like when pickling cucumbers, the fresher the better! Trim the roots and greens right away and store in a container of water or plastic bag in the refrigerator until ready to pickle.

Pickling Tips
Slice radishes thinly and evenly for the best texture and flavor absorption.
Use a mandolin to make prep quick and your slices consistent.
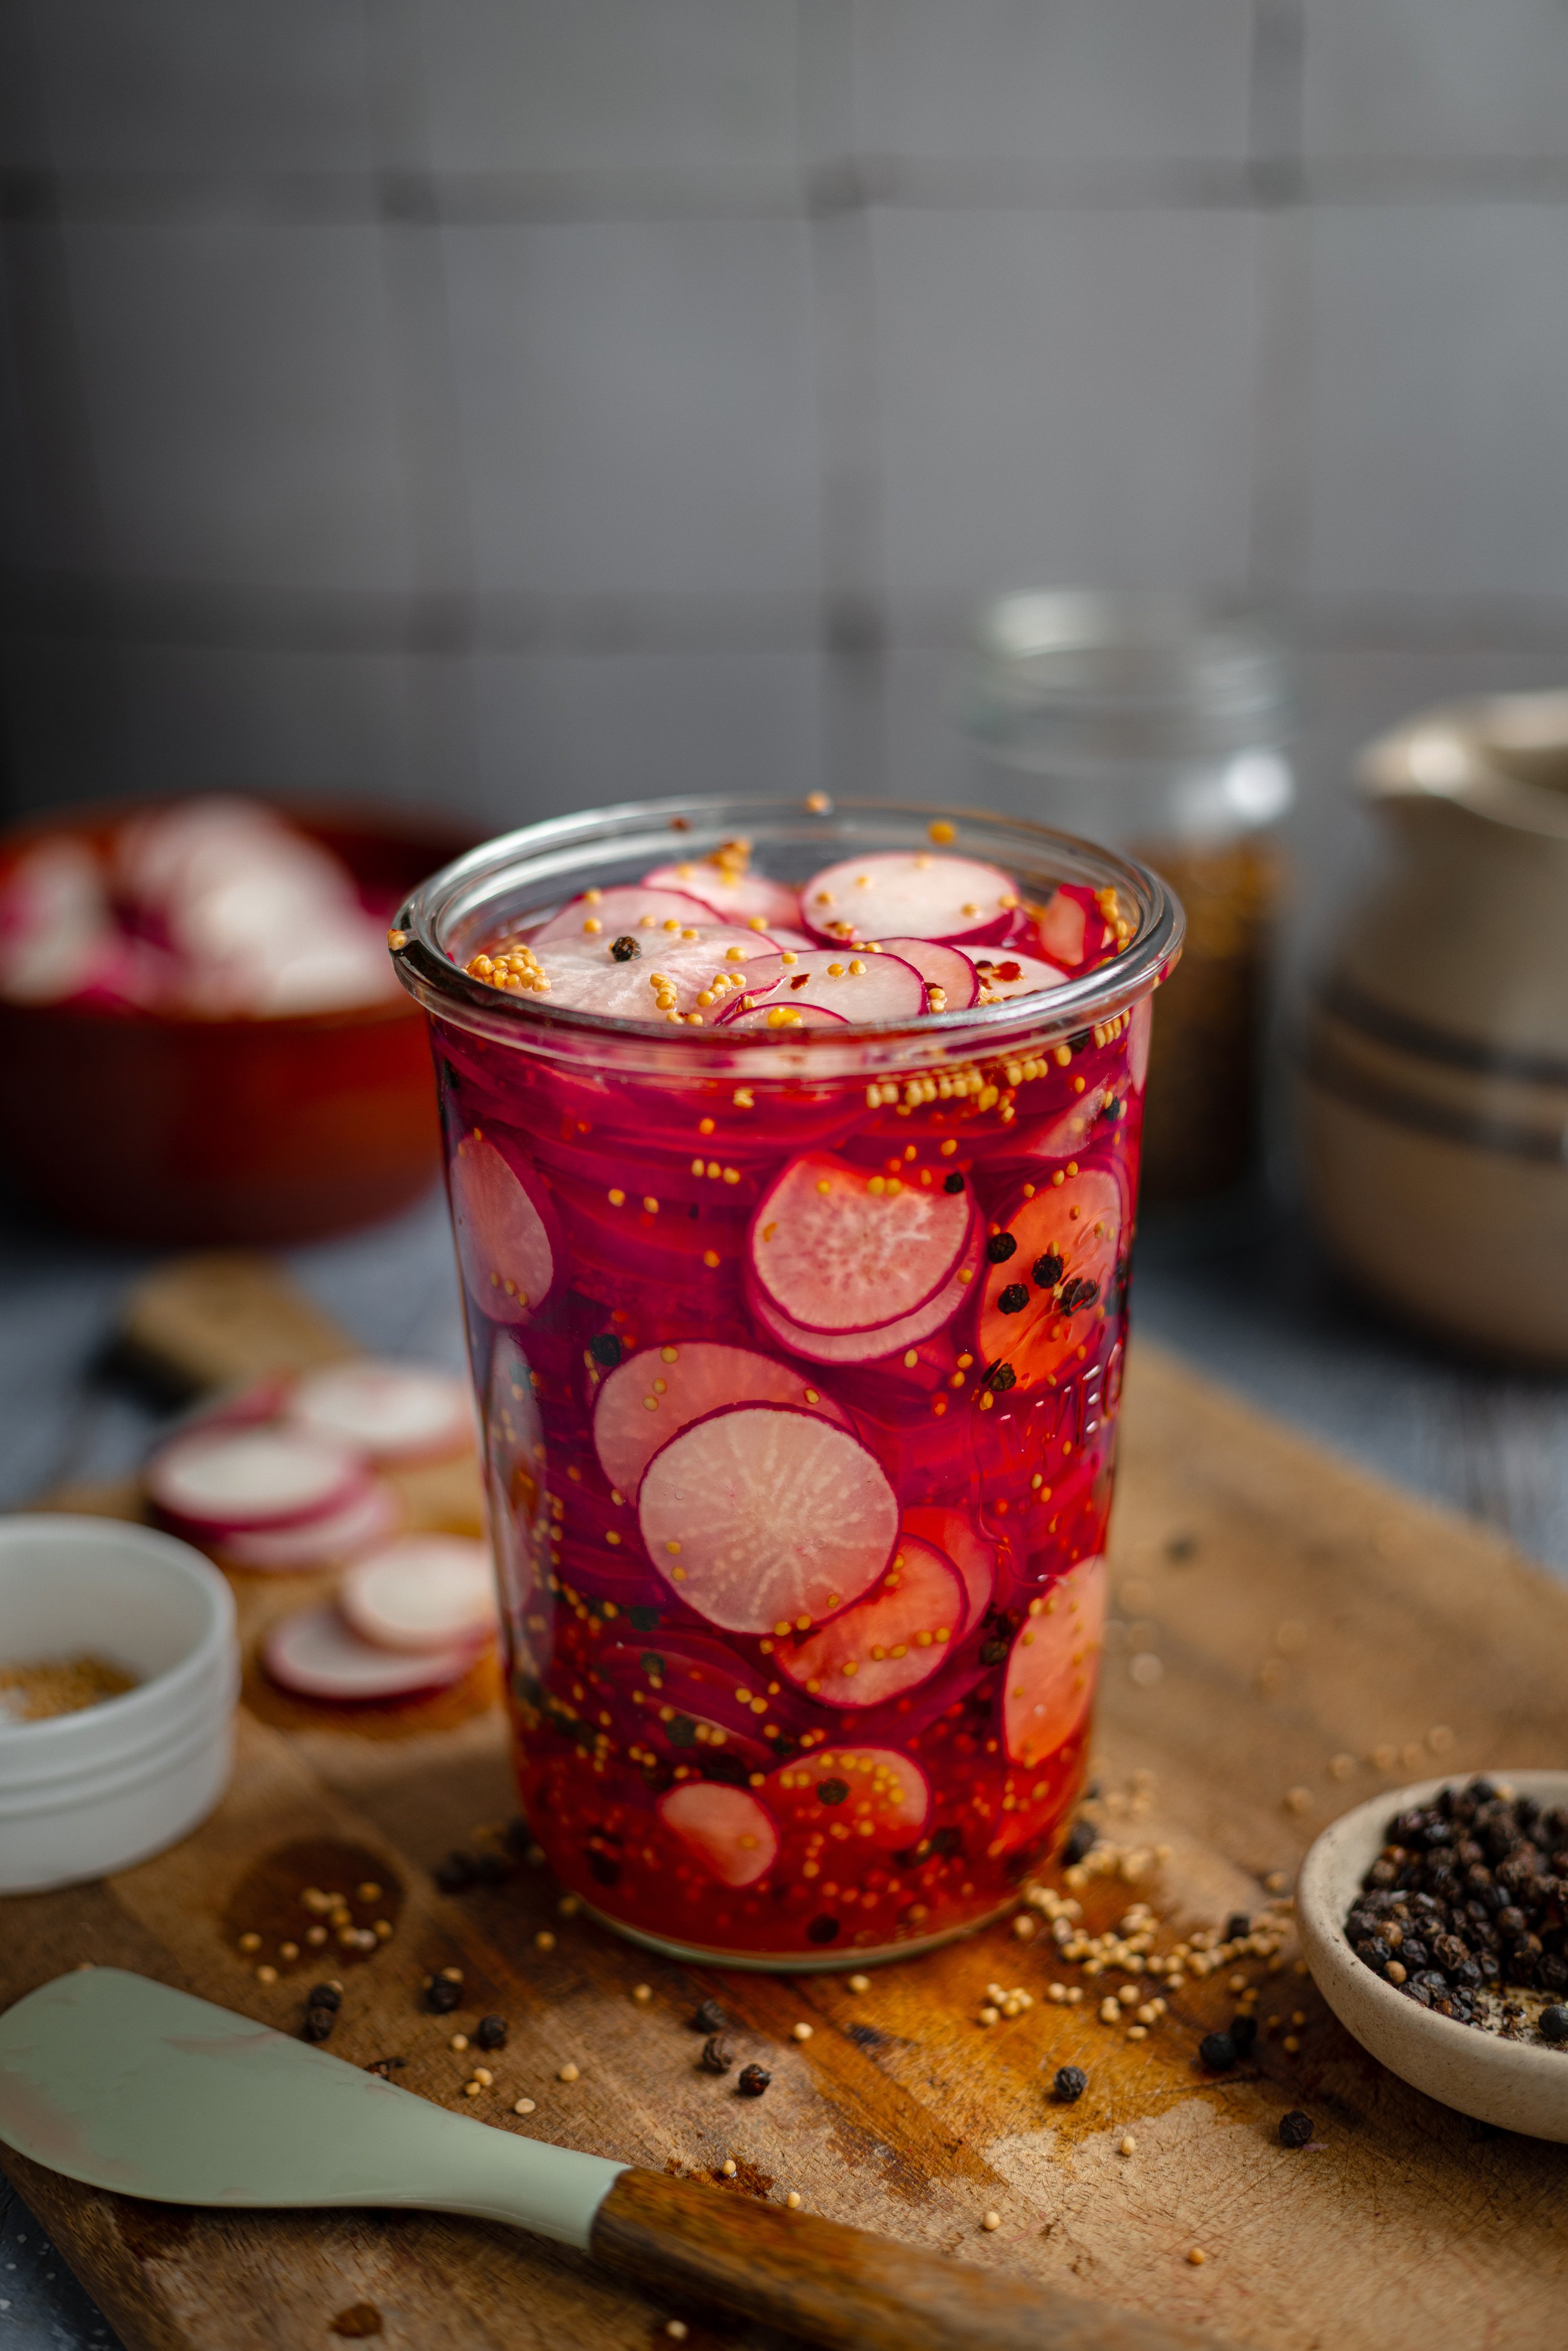
Let your pickles sit in the brine for 1 to 2 weeks for peak flavor! As the pickles sit, the brine and radishes will turn pink (if using radishes with red skins).
Add aromatic ingredients like garlic cloves, peppercorns, mustard seeds, or fresh herbs for extra depth of flavor.

Canning Safety Notes
Follow tested recipes and USDA guidelines to ensure safety.
Use new lids for canning. Most canning jar companies only recommend using lids once, in case that seals become damaged after storing food in a previous season. Using old lids can result in a false seal and spoiled food.
Assembly line can rather than batch canning. This means filling one jar at a time rather than filling all of the jars at once. This ensures that the jars stay hot, keeping them from going through temperature shock when being put into the water bath canner.
Use plastic utensils to prevent cracking your jars.
Pickles are safe for water bath canning due to the added vinegar, which ensures proper acidity— HOWEVER. This is NOT a tested and approved recipe, so be cautious.
Use distilled white vinegar at 5% acidity to ensure proper pH.
Leave 1/2-inch (1-cm) headspace in jars.
Process jars in a boiling water bath for 15 minutes (adjust for altitude if needed).

Pickling Supplies You’ll Need
Pint-size Mason Jars or Weck Jars
Mandoline Slicer or Sharp Knife
Small Saucepan
Vinegar (Distilled white at 5% acidity)
Pickling or Canning Salt. Pickling salt is a pure form of salt without additives like iodine or anti-caking agents. This makes it safe for pickling and long-term food preservation, preventing cloudiness in the brine and ensures consistent results.
Calcium Chloride (optional). You do not need this ingredient, but it can help give your pickles extra crunch! Various canning brands sell this ingredient and it can be found at most grocery stores near the preservation tools and ingredients.
Fermentation Weights (optiona). These weights can help to keep your radishes underneath the brine so they can receive optional flavor absorption from the brine.

Canning supplies you’ll need
Canning Jars, New Lids, and Bands. I prefer to use Ball® jars, lids, and bands. You will need NEW canning lids to safely can your green beans. Do not can with used lids, as the seals can be damaged. For this recipe, you will need 16 oz jars.
Large Sauce Pot with a Lid. You will definitely want a large sauce pot with a lid to cook down your sauce! I love using enameled cast iron for cooking tomatoes like this one or this one.
Jar Lifter. You will definitely want this tool to help lift the hot jars in and out of the canner!
Canning Funnel. A funnel can be nice to have to avoid spills. Use a nonmetallic funnel to avoid breakage.
Nonmetallic Spatula. Another tool that can be helpful to avoid breakage of your jars, and it can be great for removing air bubbles.
Headspace Measurer. This tool is made to easily measure the headspace of your food, which is necessary for low-acid canning to avoid siphoning! It can also double as an air bubble popper.

how to Make Refrigerator Pickled Radishes
Step One: First, clean and sanitize your jars, lids, and rings. This recipe makes 3 16 oz (473 ml) jars of pickles.

Step Two: Make your brine. In a large saucepan, combine the vinegar, water, sugar, and pickling salt. Whisk until the salt and sugar are dissolved. Then, bring the brine to a boil. Once boiling, turn off the heat.

Step Three: Fill each clean jar with 1 teaspoon mustard seeds, 1 teaspoon peppercorns, 1 bay leaf, 1/2 teaspoon red pepper flakes, and 1/8 teaspoon calcium chloride. Double this amount if using quart jars.

Step Four: Fill the jars with the prepared radishes leaving 1/2-inch headspace.


Step Five: Cover the radishes with the brine to 1/2-inch (1-cm) headspace, removing air bubbles, and adjust headspace as necessary. Apply lids and rings.

Step Six: If you are refrigerating, place the pickles into the refrigerator and store for about 3 to 4 weeks. Check pickles daily for flavoring. They can be eaten 24 hours after making, but peak flavor is usually about 1 to 2 weeks after making the pickles. They will become softer as time goes on.
Alternate Preservation Methods
These are refrigerator pickles, which means there is no canning required— however, these pickles can be canned for long-term storage!
Hot Water Bath Canning Method:
This is generally not recommended for radishes, as they can easily become too soft to enjoy as pickles. But you can still give it a try! Read the recipe card below for the full instructions, including safety recommendations.

Storage Instructions
Store in the refrigerator for up to 3 to 4 weeks.
Keep your pickles fully submerged in the brine for the best flavor. Use small fermentation weights to help keep your veggies under the brine.
Do not store at room temperature. These pickles must be refrigerated to be consumed safely.
Serving Suggestions:
These easy quick pickled radishes add a bright, tangy crunch to various spring and summer dishes! Try these lovely recipes with your radish pickles for a summer picnic or weeknight dinner:

Variations:
Use rice vinegar and a splash of sesame oil for an Asian-inspired version.
Add thinly sliced onions or carrots for a colorful mixed pickle.
Toss in a few slices of jalapeño peppers for a spicy batch of hot pickles.
final thoughts
I don’t know about you, but the radishes are always so abundant in my garden that I often don’t know what to do with all of them! This easy refrigerator pickle recipe is a great way to use up a lot of radishes in a single swoop. They make such a beautiful garnish on so many spring and summer dishes, like burgers or avocado toast with their bright pink color. Yum!
If you try this recipe, I’d love to see your beautiful jars! Tag me @underatinroof so we can celebrate spring together.
xoxo Kayla

Quick Refrigerator Pickled Radishes
These refrigerator pickled radishes are crisp, tangy, and ready in just 24 hours — the perfect quick pickle to add color and crunch to your meals, no canning required. This recipe makes 3 16 oz (473 ml) jars.
Ingredients
- 1 1/2 lbs (680 g) fresh radishes, sliced or left whole
- 1 1/2 cups (360 ml) distilled white vinegar at 5% acidity
- 3/4 cup (180 ml) water
- 3/4 cup (150 g) granulated sugar
- 3/4 cup (150 g) pickling salt
- 3 tsp yellow mustard seeds
- 3 tsp black peppercorns
- 3 bay leaves
- 1 1/2 tsp red pepper flakes
- 1/2 tsp calcium chloride, optional
Instructions
- First, clean and sanitize your jars, lids, and rings. This recipe makes 3 16 oz jars of pickles.
- Make your brine. In a large saucepan, combine the vinegar, water, sugar, and pickling salt. Whisk until the salt and sugar are dissolved. Then, bring the brine to a boil. Once boiling, turn off the heat.
- Fill each clean jar with 1 teaspoon mustard seeds, 1 teaspoon peppercorns, 1 bay leaf, 1/2 teaspoon red pepper flakes, and 1/8 teaspoon calcium chloride. Double this amount if using quart jars.
- Fill the jars with the prepared radishes leaving 1/2-inch headspace. Cover the radishes with the brine to 1/2-inch (1-cm) headspace, removing air bubbles, and adjust headspace as necessary. Apply lids and rings.
- If you are refrigerating, place the pickles into the refrigerator and store for about 3 months. Check pickles daily for flavoring. They can be eaten 24 hours after making, but peak flavor is usually about 1 to 2 weeks after making the pickles. They will become softer as time goes on.
- Begin by preparing your canning pot, jars, lids, and bands. You will want to get the canning preparation started before you make your pickles as the cooking part is rather quick, and it always takes a long time for the canning pot to heat up. Simmer the jars for at least 10 minutes in the hot water bath before filling.
- Make your brine. In a large saucepan, combine the vinegar, water, sugar, and pickling salt. Whisk until the salt and sugar are dissolved. Then, bring the brine to a boil. Once boiling, lower the heat to a simmer and continue to simmer as you fill the jars.
- Remove one 16 oz jar from the canner with a jar lifter and place it on a towel on the countertop. Place your canning funnel in the jar and fill each clean jar with 1 teaspoon mustard seeds, 1 teaspoon peppercorns, 1 bay leaf, 1/2 teaspoon red pepper flakes, and 1/8 teaspoon calcium chloride. Double this amount if using quart jars.
- Then, fill the jars with the prepared radishes leaving 1/2-inch headspace. Cover the radishes with the brine leaving 1/2-inch headspace. Remove air bubbles with a spatula or bubble popper. Then, wipe the rim of the jar with a damp, clean towel and apply the lid and band to fingertip tight.
- Place the jar back into the simmering canner. Remove the next jar and continue the filling process, one jar at a time, until all of the jars are filled.
- Once all jars are filled, place the lid on the canner and turn up the heat so that the water is at a full rolling boil. Process the jars in the canner for 15 minutes. Turn off the heat, remove the canner lid, and let the jars stand in the canner for 5 minutes before removing the jars. Place the jars on a towel on your countertop and let rest. After 12 to 14 hours, check the seals. Store the jars without the rings in a dark, cool place such as a pantry cabinet for up to 18 months or longer.
Notes
To Make Quart Jars: Double the amount of spices in each jar to make these pickles in quart jars.
Nutrition Facts
Calories
35Nutritional information is only an estimate. The accuracy of the nutritional information for any recipe on this site is not guaranteed.