Fermented Dill Cucumber Pickles | Easy Fermentation Guide
This post may contain affiliate links, please see our privacy policy for more information.
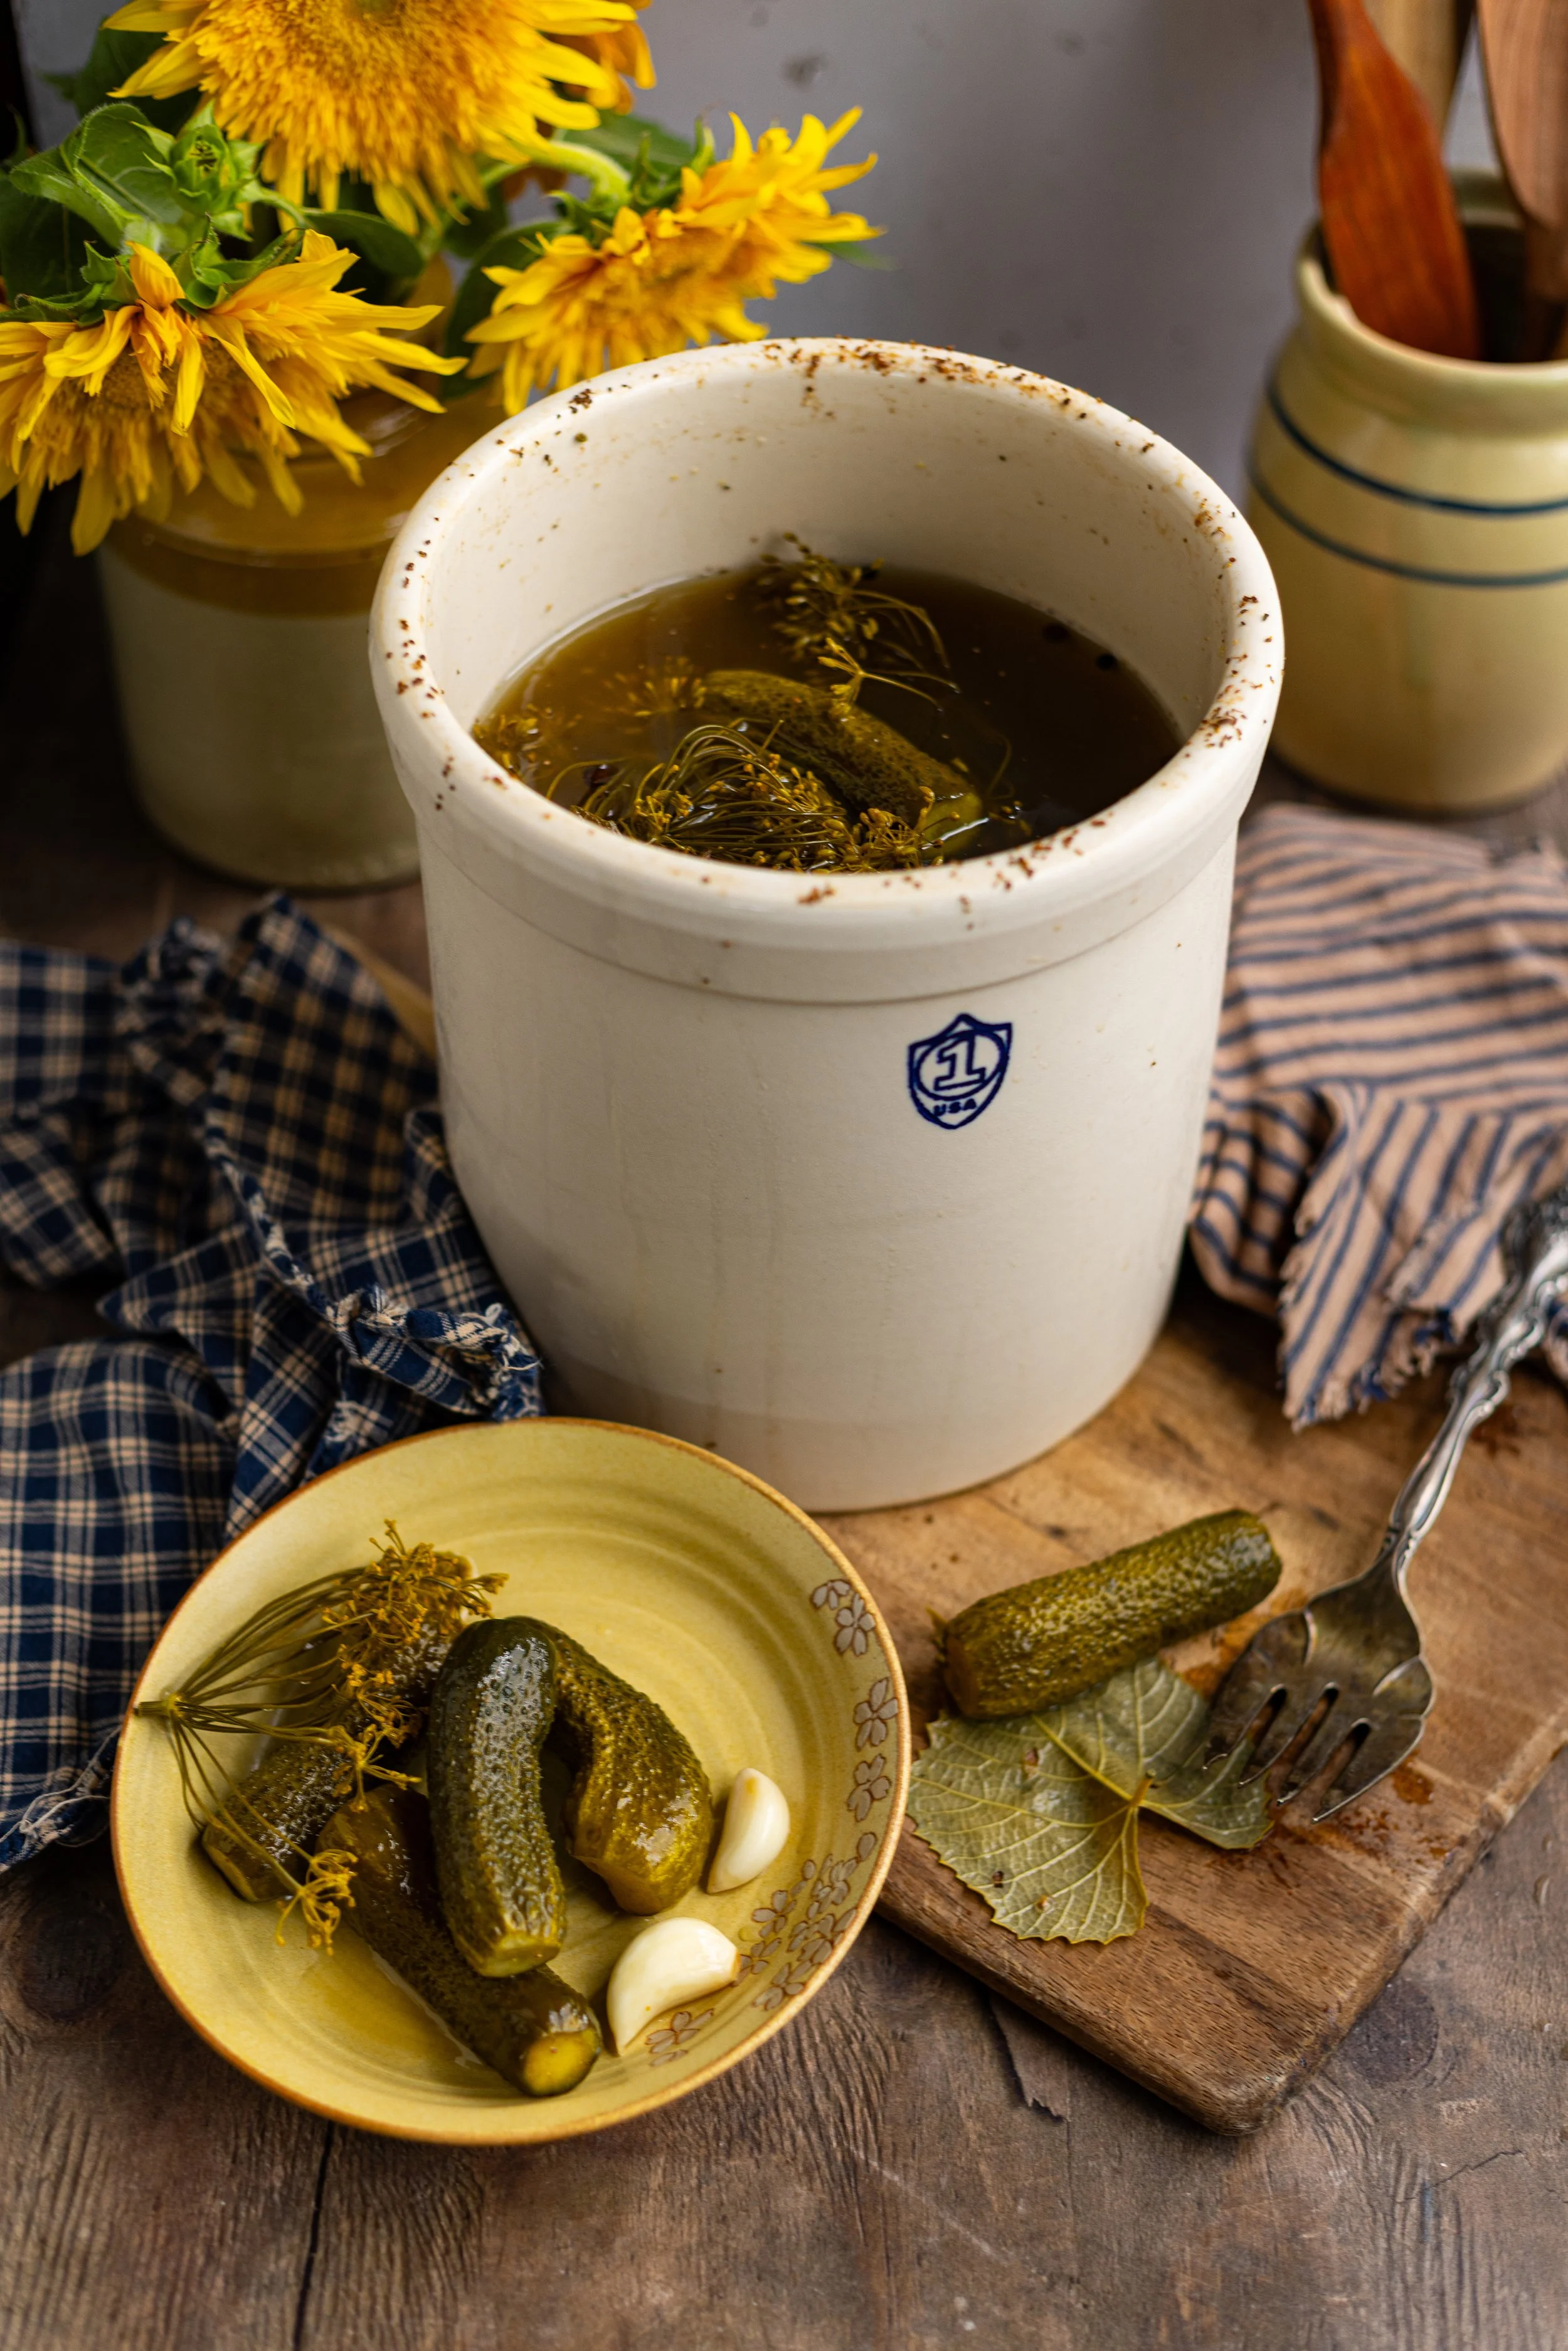
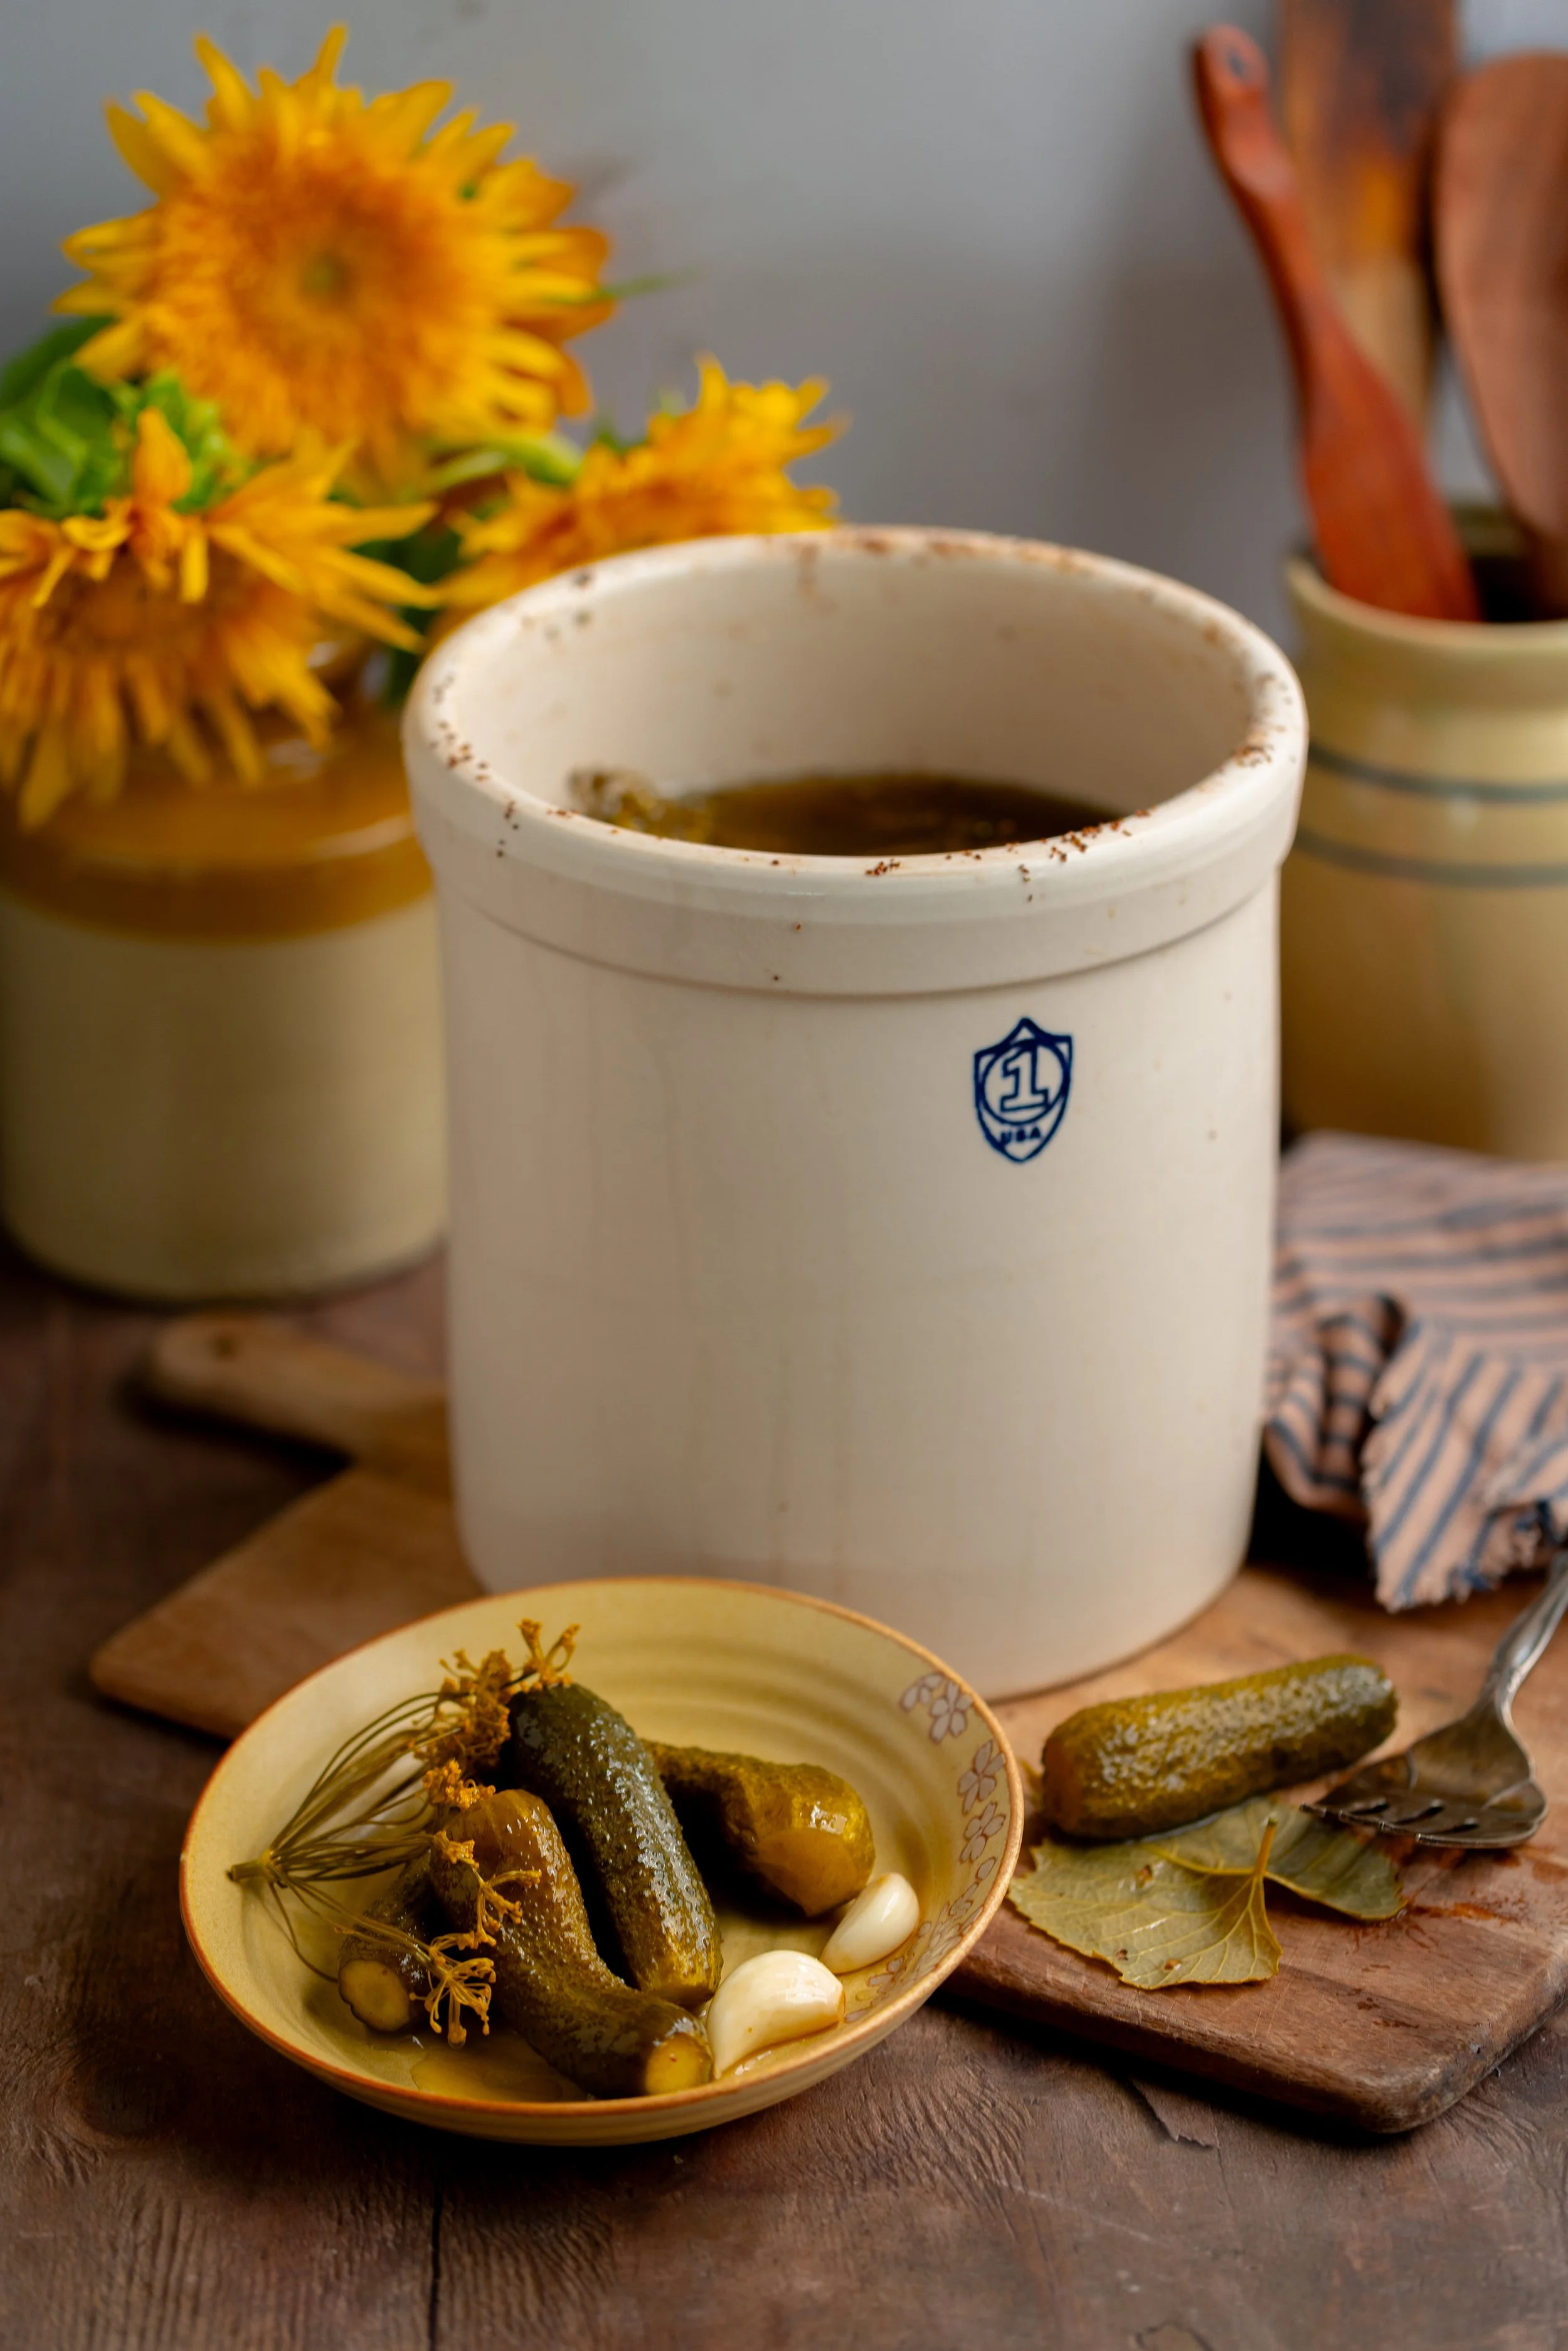
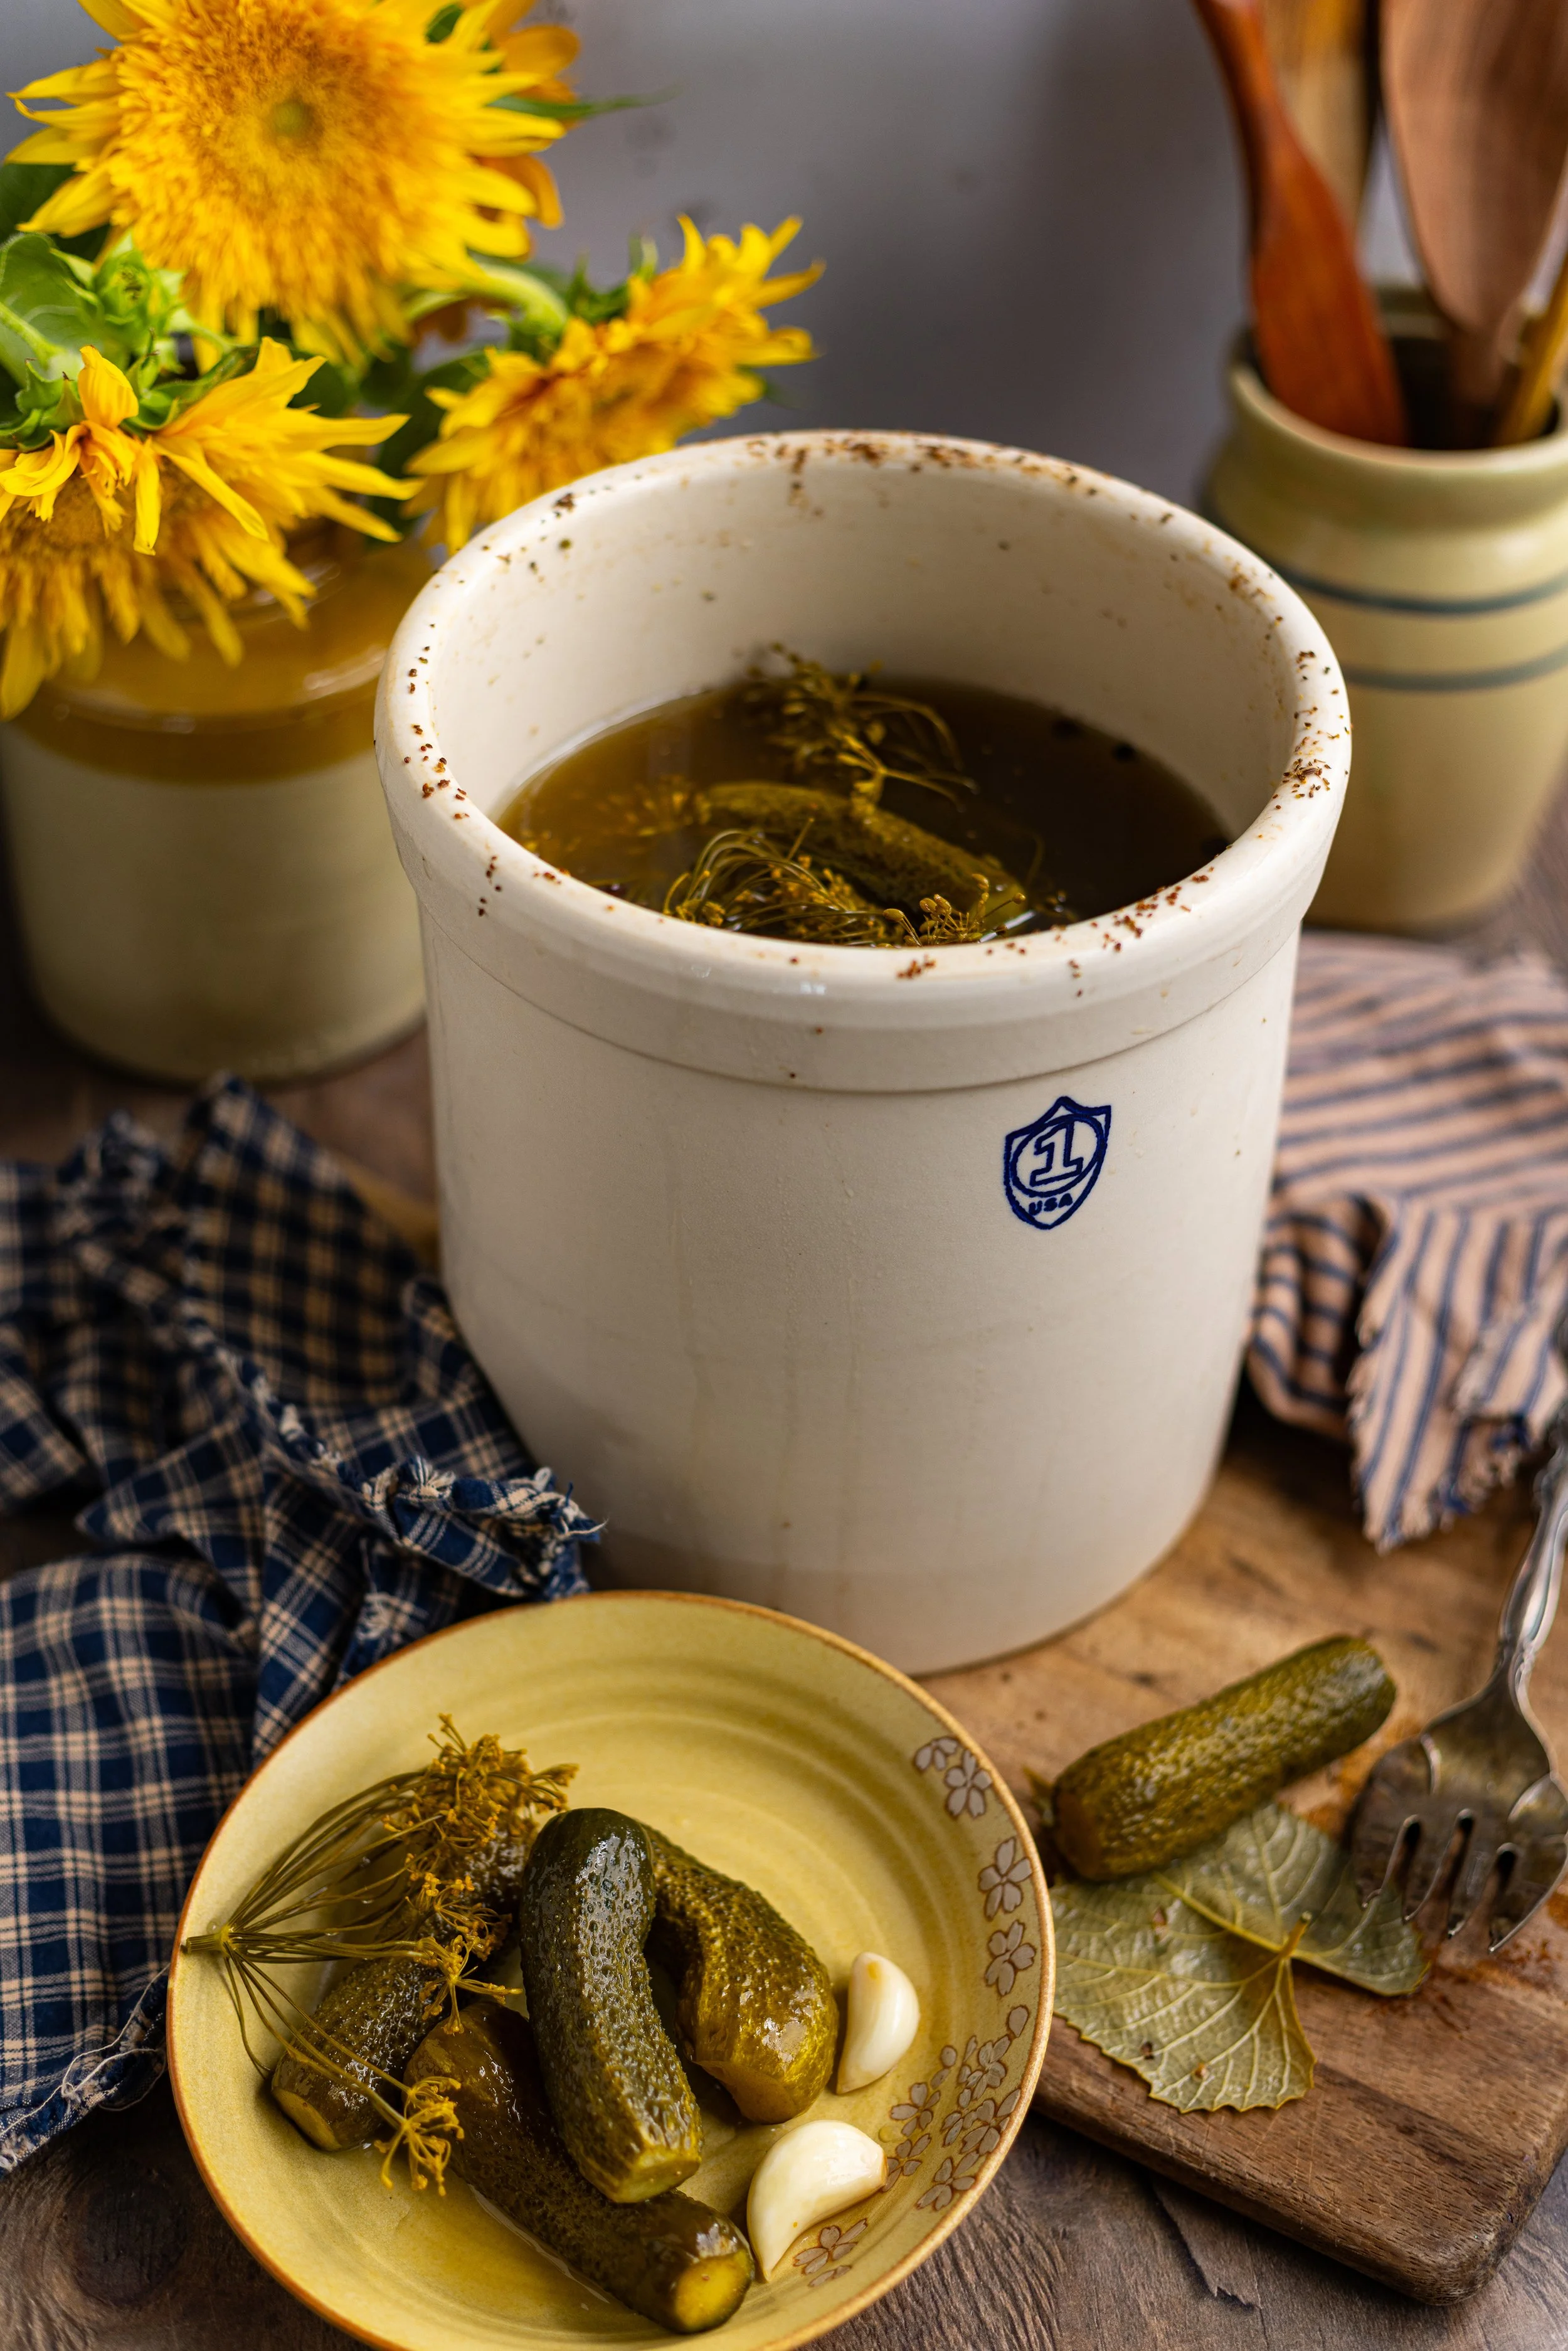
These classic fermented dill pickles are crisp, tangy, and naturally full of probiotics making them excellent for a healthy gut! In this easy fermentation guide, learn how to make your own naturally fermented pickles with just cucumbers, salt, water, and fresh herbs. This recipe does not involve canning, making them a simple and gut-friendly snack.

what ARe Fermented Pickles?
Fermented pickles are cucumbers, generally, that have been preserved through the process of lacto-fermentation. Preserving food with this method requires beneficial bacteria that converts the sugars in the food into lactic acid, which creates a tangy flavor. This acid also acts as a natural preservative, meaning that no vinegar is involved in the preservation process. Fermented pickles are not pasteurized, unlike pickles made with vinegar, and retain their probiotic properties. Fermented food is immensely healthy for your digestive system, making fermented pickles a fun option to try for both unique flavor and gut health!
Best Cucumbers for Fermenting
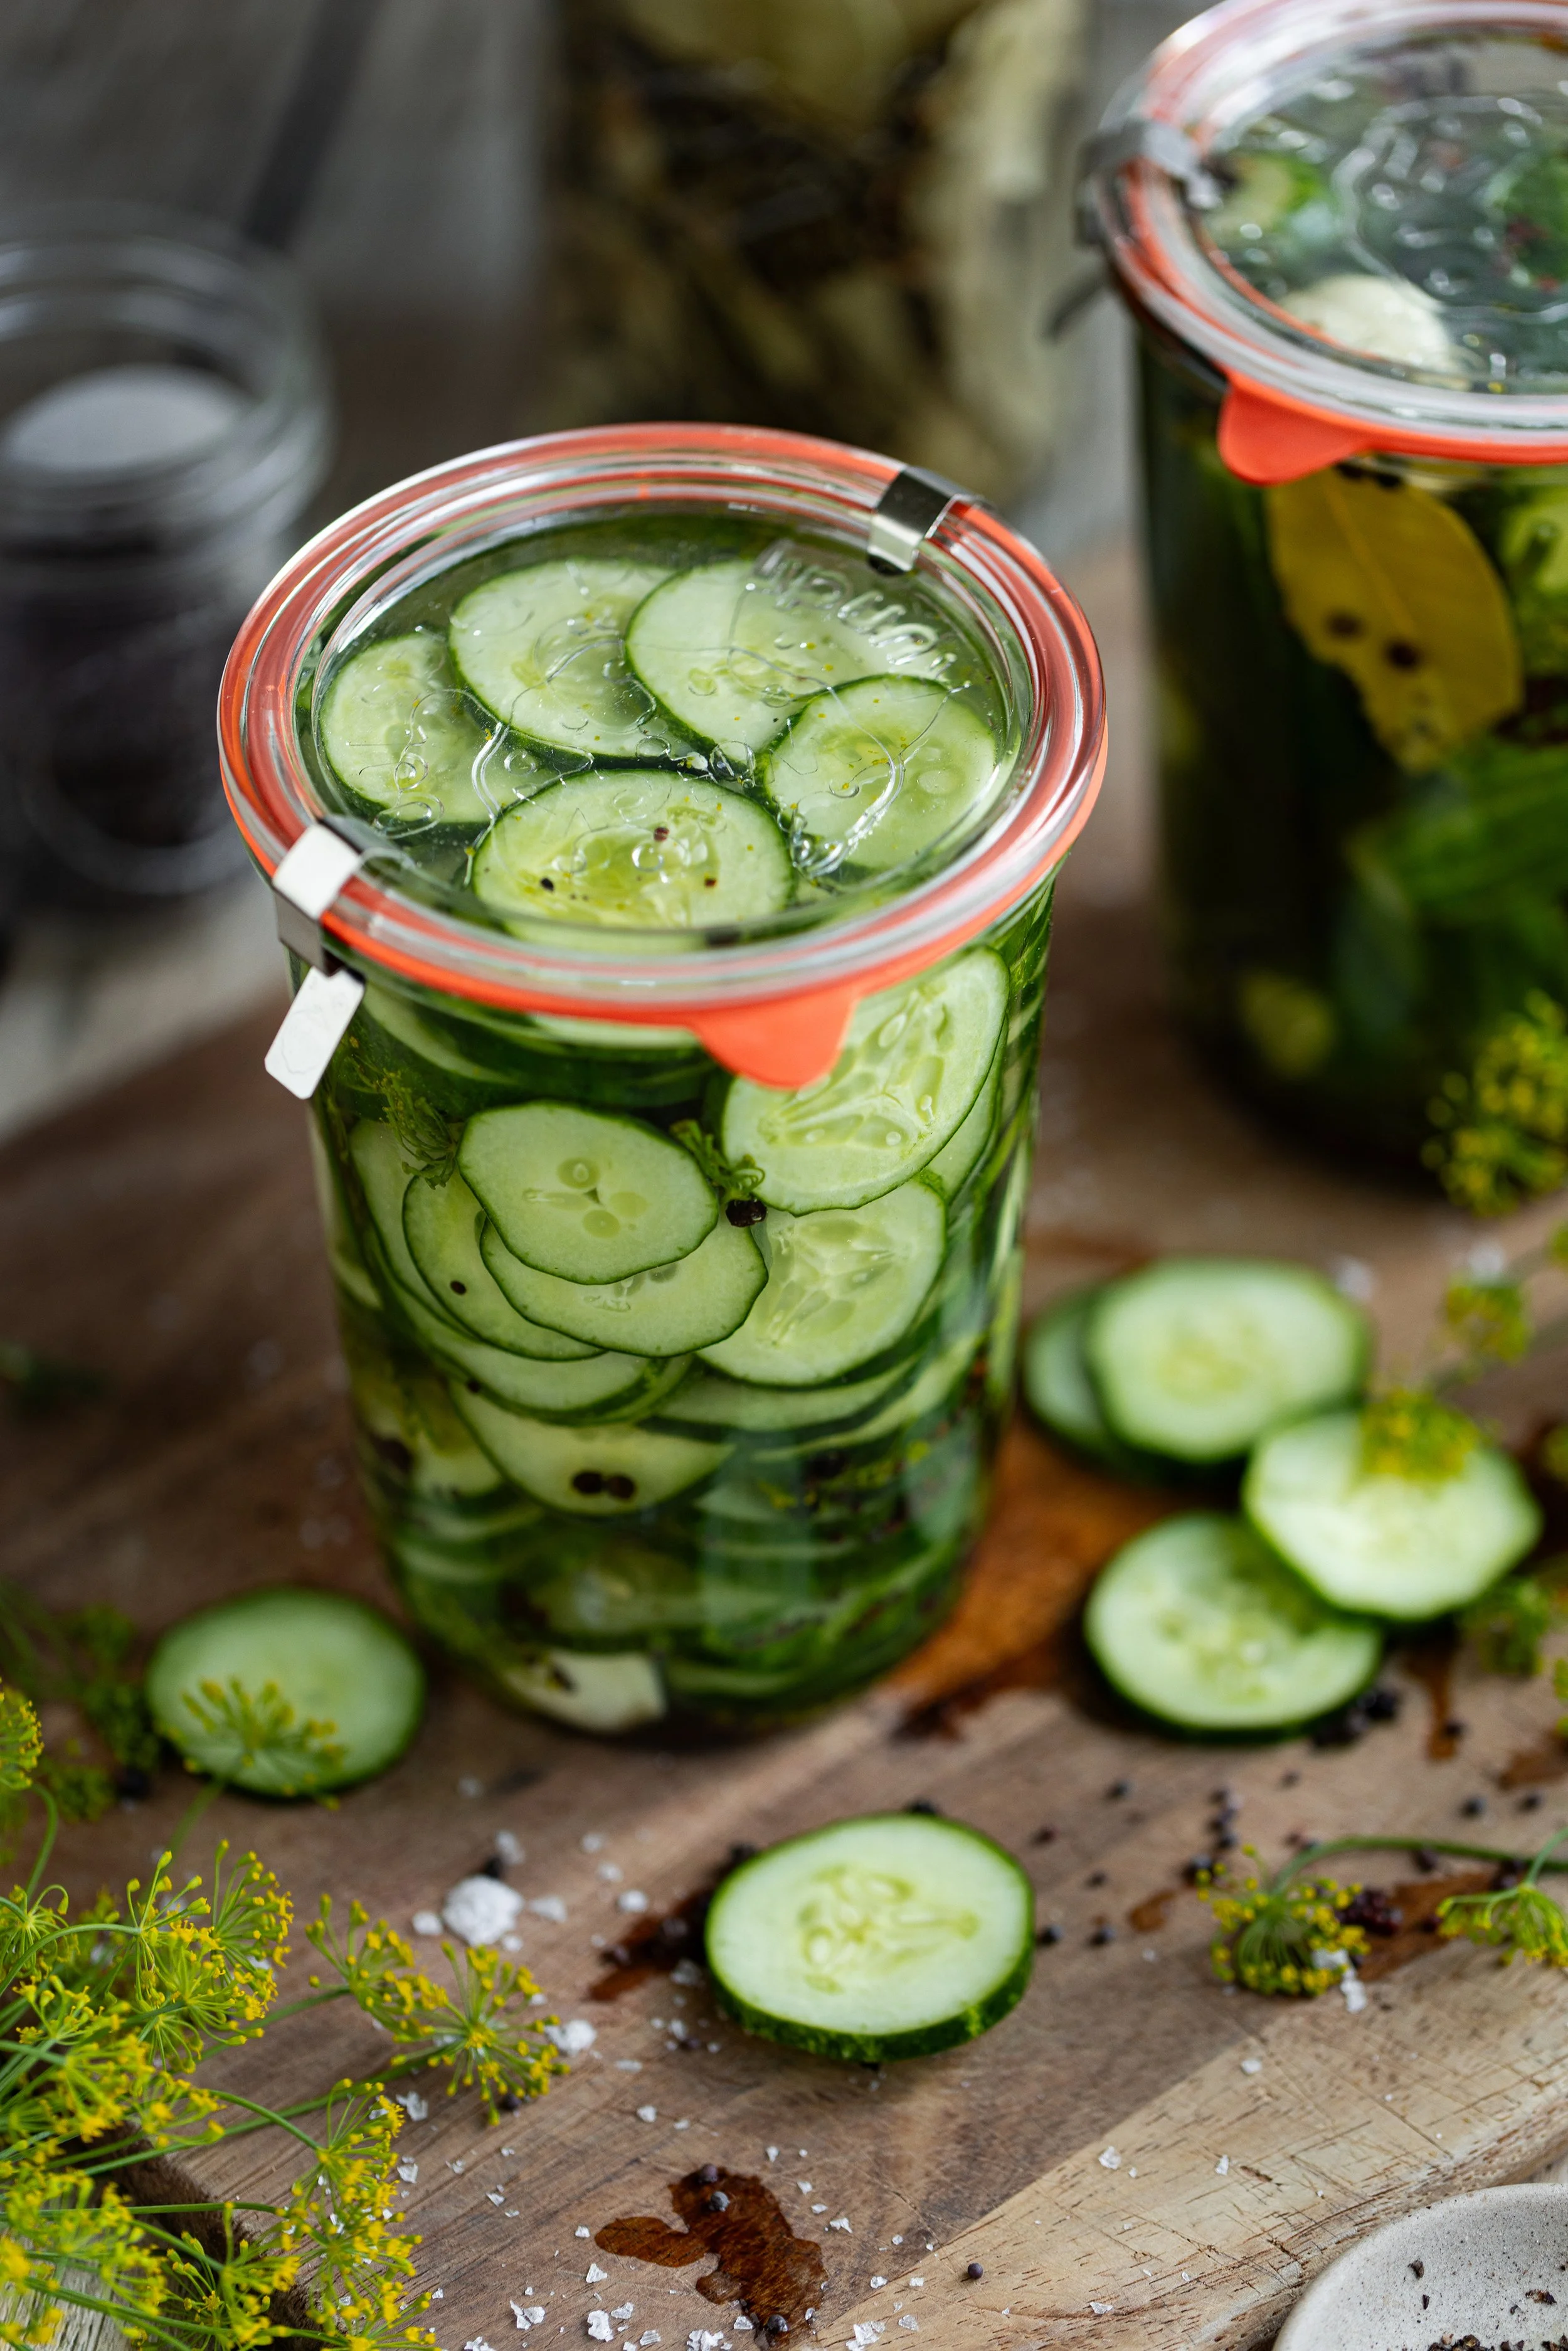
To make fermented pickles, pickling cucumbers are best. Look for firm, unwaxed cucumbers that are small, about 4-inches (10-cm) in length. For the best crunch, use cucumbers that were picked less than 24 hours before pickling.
Adam Gherkin. This is going to be a common variety to find, and they’re excellent for making whole pickles because of their small size! The fruits can be grown in a wide range of climates and have a European ‘cornichon’ style. It has a crisp texture and tiny spines.
Gershwin. These cucumbers have less spines and a dark green, thicker skin, though they’re just as delicious. When isolated from other cucumber varieties, it will remain seedless, making it an excellent choice for pickling.
Diamant. Similar to gherkins, these pickles are uniform and grow on compact vines making them great for small gardens with limited space.
Fermentation Tips
Use a 3.5 to 5% Salt Brine. This equates to about 2 tablespoons of salt per quart of clean water. This brine is at 3.5% for safety.
Soak Pickles in an Ice Bath. This is best done for several hours, but at the least 1 hour is good enough. You can let these soak on the counter and continually add new ice or leave them floating in the fridge. This keep the cucumbers cold and crisp before pickling. I like to keep them in the ice water and cut them as I can them so that they remain cold as long as possible!
24 Hours Vine to Brine. When it comes to making super crisp and crunchy pickles, the fresher the better. This can be difficult if you do not grow cucumbers yourself! There is an old saying that goes, “24 hours from vine to brine” and that really rings true here. Cucumbers should really pickled the same day that they are picked, if possible. Because cucumbers are mostly made up of water, they begin to lose their firmness as soon as they are off the vine. If you cannot get to them that quickly, then make sure to give the ice bath trick a try. I also like to use older cucumbers for bread and butter pickles since they don’t necessarily need to be super crunchy!
Cut Off Blossom Ends. The blossom end of the cucumber, or the narrower end if you did not pick them yourself, can make the pickle go limp in the brine. It’s best to cut this off. If you are unsure which end is the blossom end, then just trim off both ends about 1/8-inch.
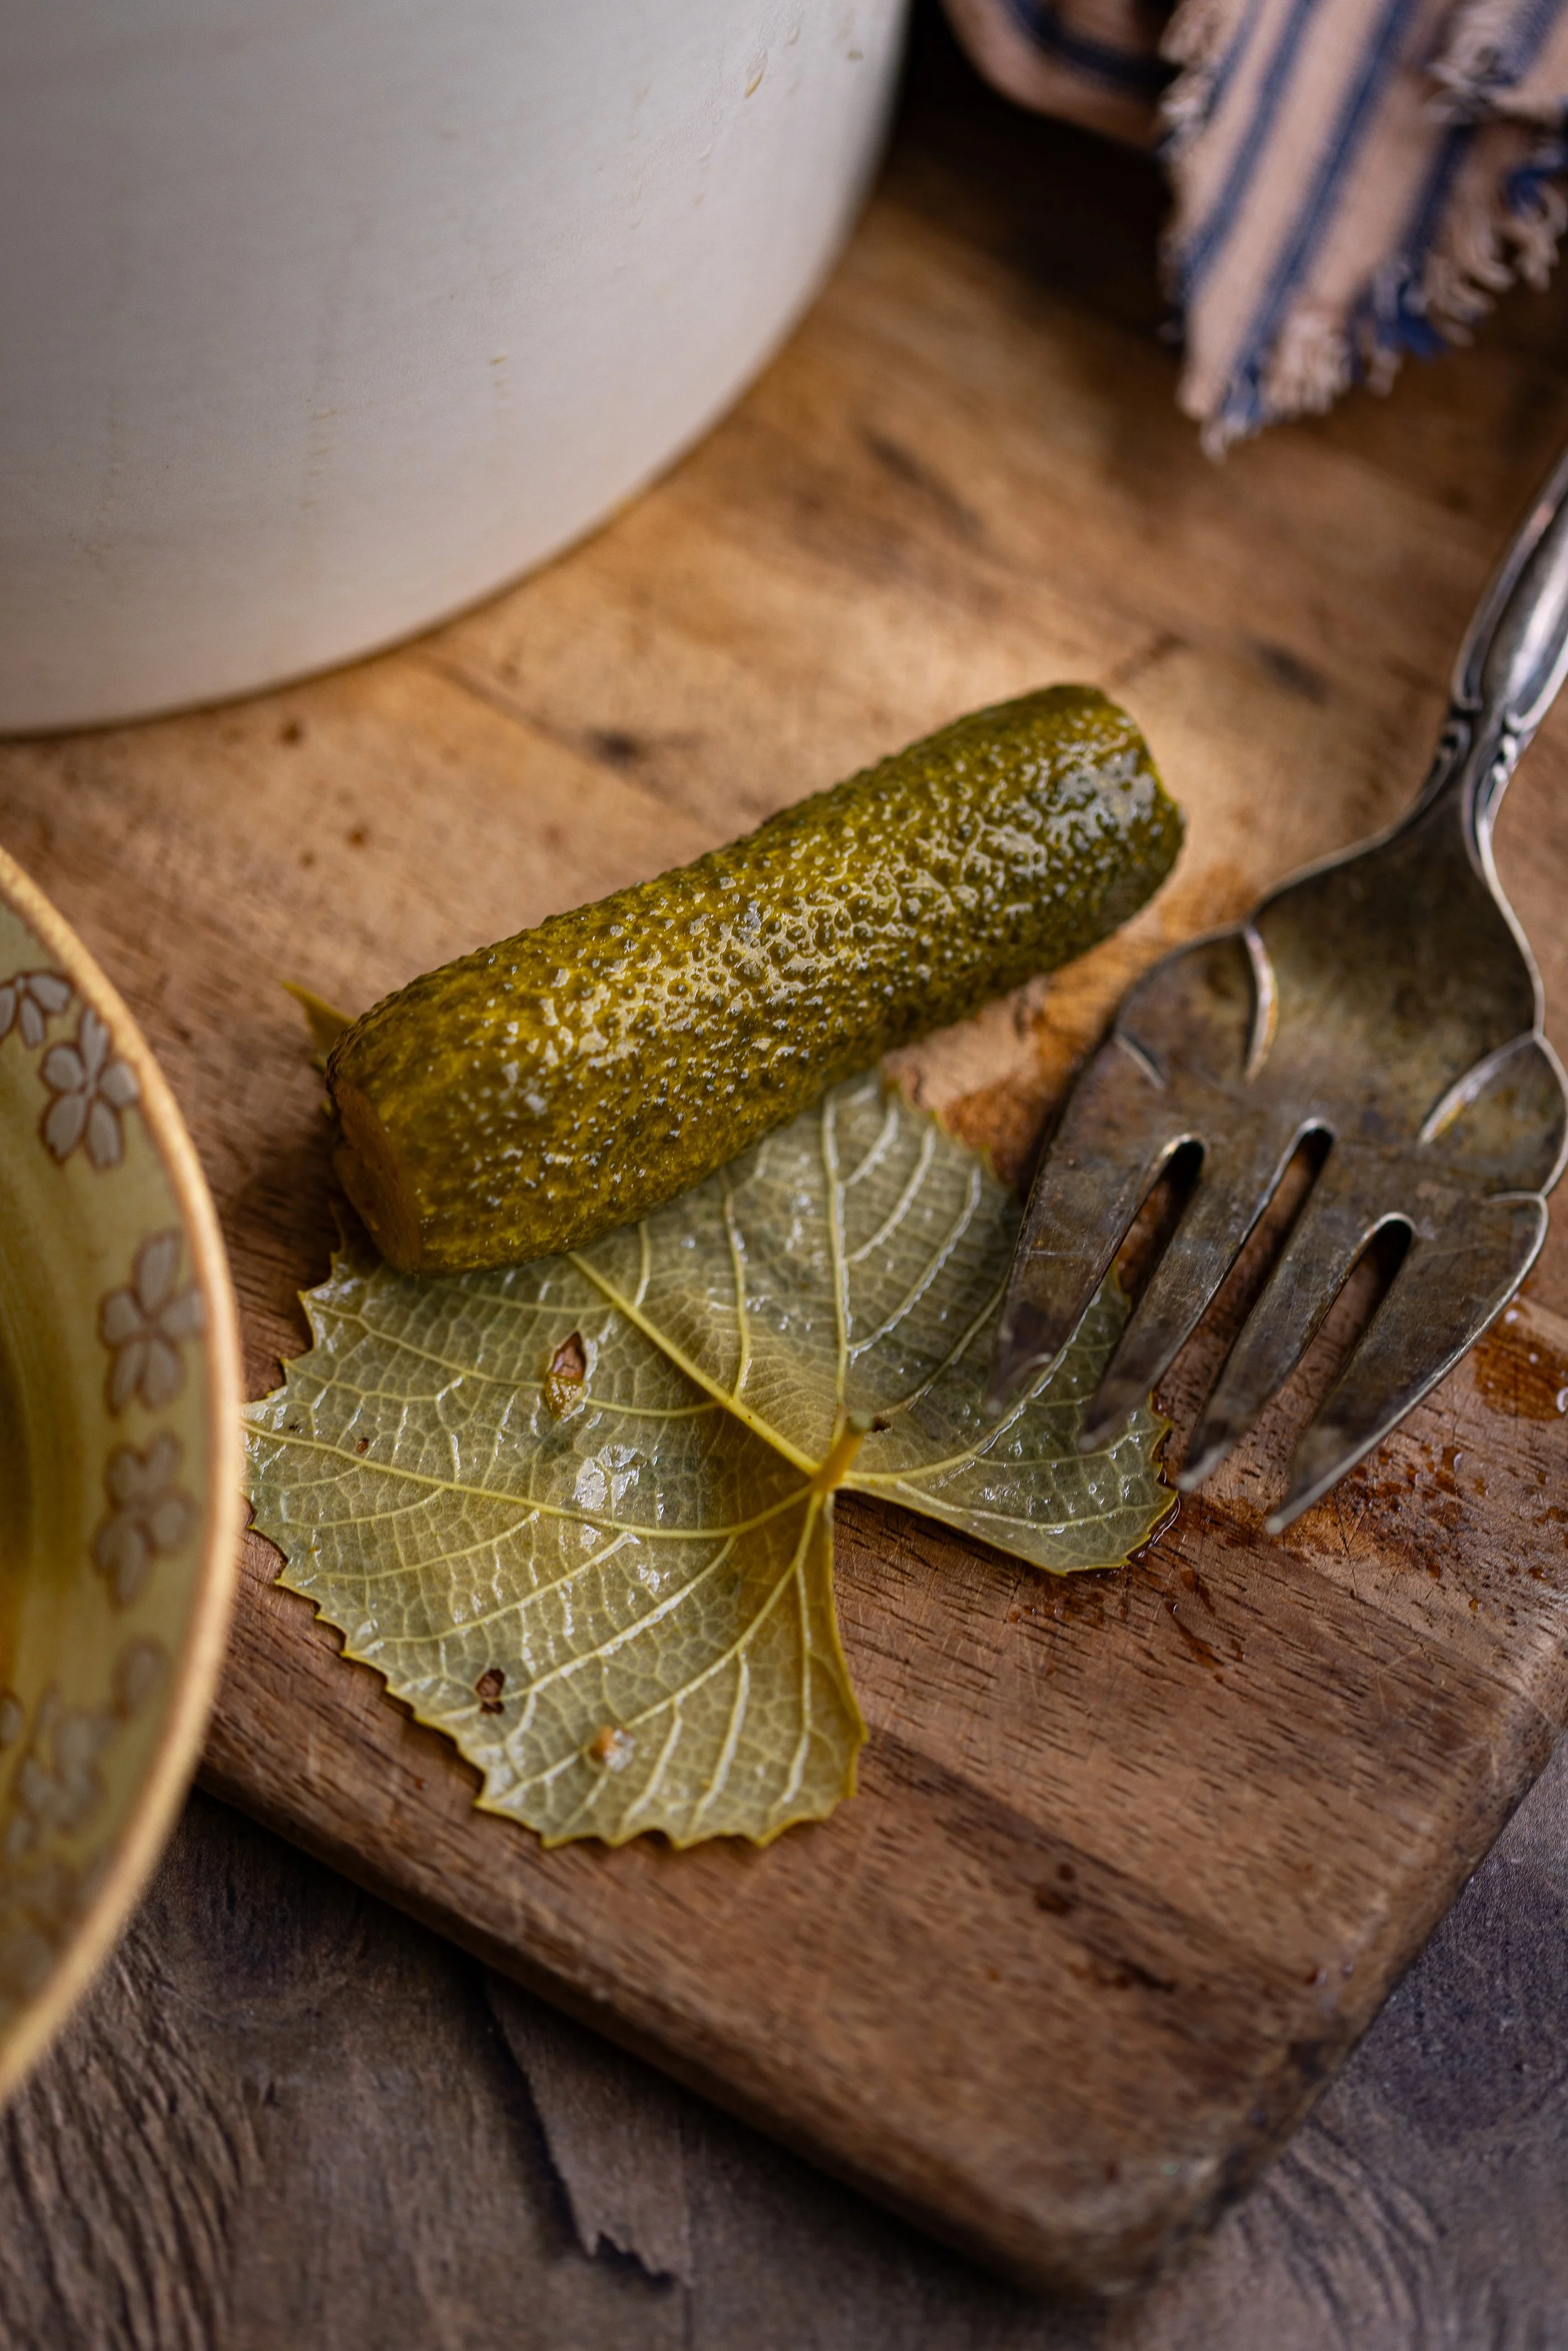
Add Grape Leaves. Grape leaves and oak leaves have tannins that help keep the cucumbers firm in the brine. Adding a couple of grape leaves to your jar will naturally improve the crispness of your pickles and give it a really good crunch! This is typically done when fermenting pickles in water.
Keep Cucumbers Fully Submerged. This will prevent mold growth from occurring. You can use fermentation weights to help hold down any floaters.
Fermentation Safety Notes
Follow tested recipes and USDA guidelines to ensure safety.
Bubbling and cloudiness is okay— this is what you want! The sight of bubbles means your ferment is active and working.
White film, or Kahm Yeast, is harmless. You can simply skim it off.
Look for signs of mold (fuzzy or colored spots), which means the batch should be discarded.
Always use non-iodized salt and filtered water (non-chlorinated). Not doing so can be the cause of your ferment not working.
Avoid metal lids and reactive containers. Instead, use glass jars or ceramic fermentation crocks.
Fermenting Supplies You’ll Need
Fermentation Crock or Fermentation Jar. You will also need a container to ferment your sauerkraut in! If you are making a small amount of sauerkraut, then a mason jar with a fermentation spring or weight will work great. If you are planning to make a large amount of sauerkraut, you will probably want a crock. I have these traditional fermentation crocks, and they come in various sizes starting at 1 gallon. There are also these crocks with a water airlock system.
Air Lock. Having an airlock can be really helpful with fermenting foods because it keeps the food underneath the brine and away from oxygen, which leads to mold growth. You do not have to have this tool! You can simply use the outer leaves of your cabbage for this purpose.
Fermentation Weights. You will need weights, to keep your cabbage under the brine. There are various types of weights that you can use.
Pickling or Canning Salt. Pickling salt is a pure form of salt without additives like iodine or anti-caking agents. This makes it safe for pickling and long-term food preservation, preventing cloudiness in the brine and ensures consistent results.
Filtered or Distilled Water. Be sure to avoid using overly chlorinated water.
Cheesecloth or Towel with Rubber band/String. If you are using a fermentation crock with a lid, it can be a good idea to cover the top of the crock with cheesecloth or a lightweight kitchen towel and secure it with a rubber band or piece of twine. This will help keep any insects out from the small cracks in your lid while also allowing oxygen to circulate in the ferment.
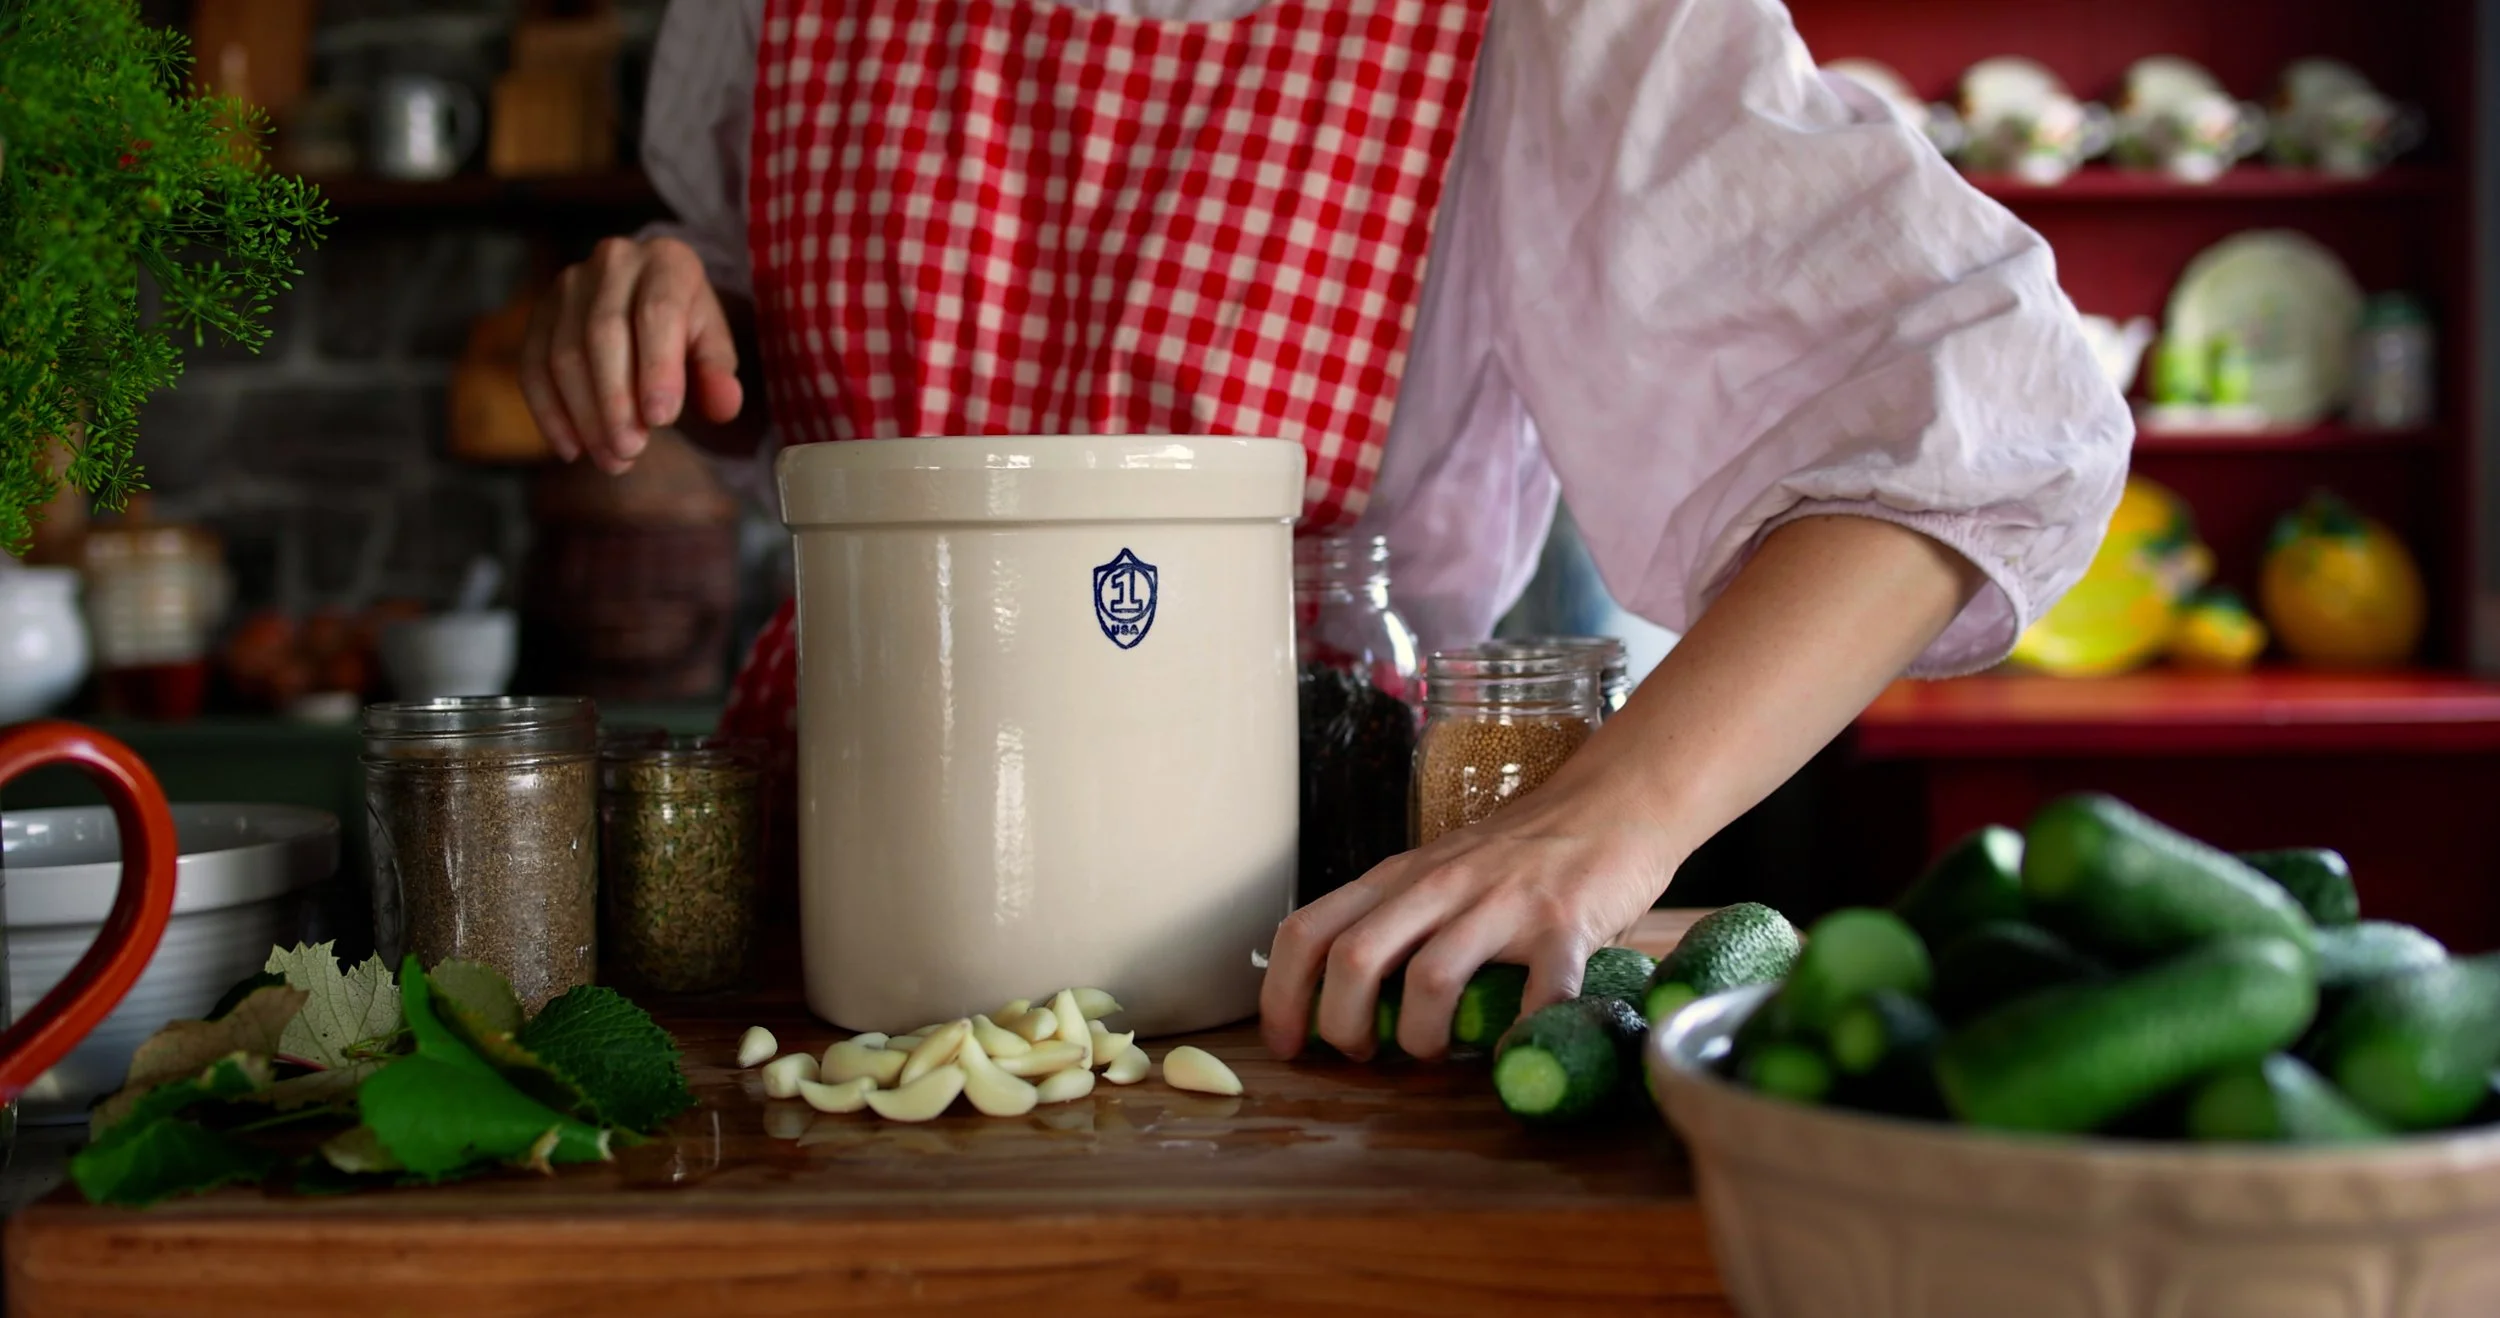
How to Make Fermented Dill Cucumber Pickles
Step One: Clean and sanitize fermentation containers and lids. This recipe will make 1/2 gallon of fermented pickles, so you will need either a 1/2 gallon mason jar, crock, or 2 quart-size mason jars.
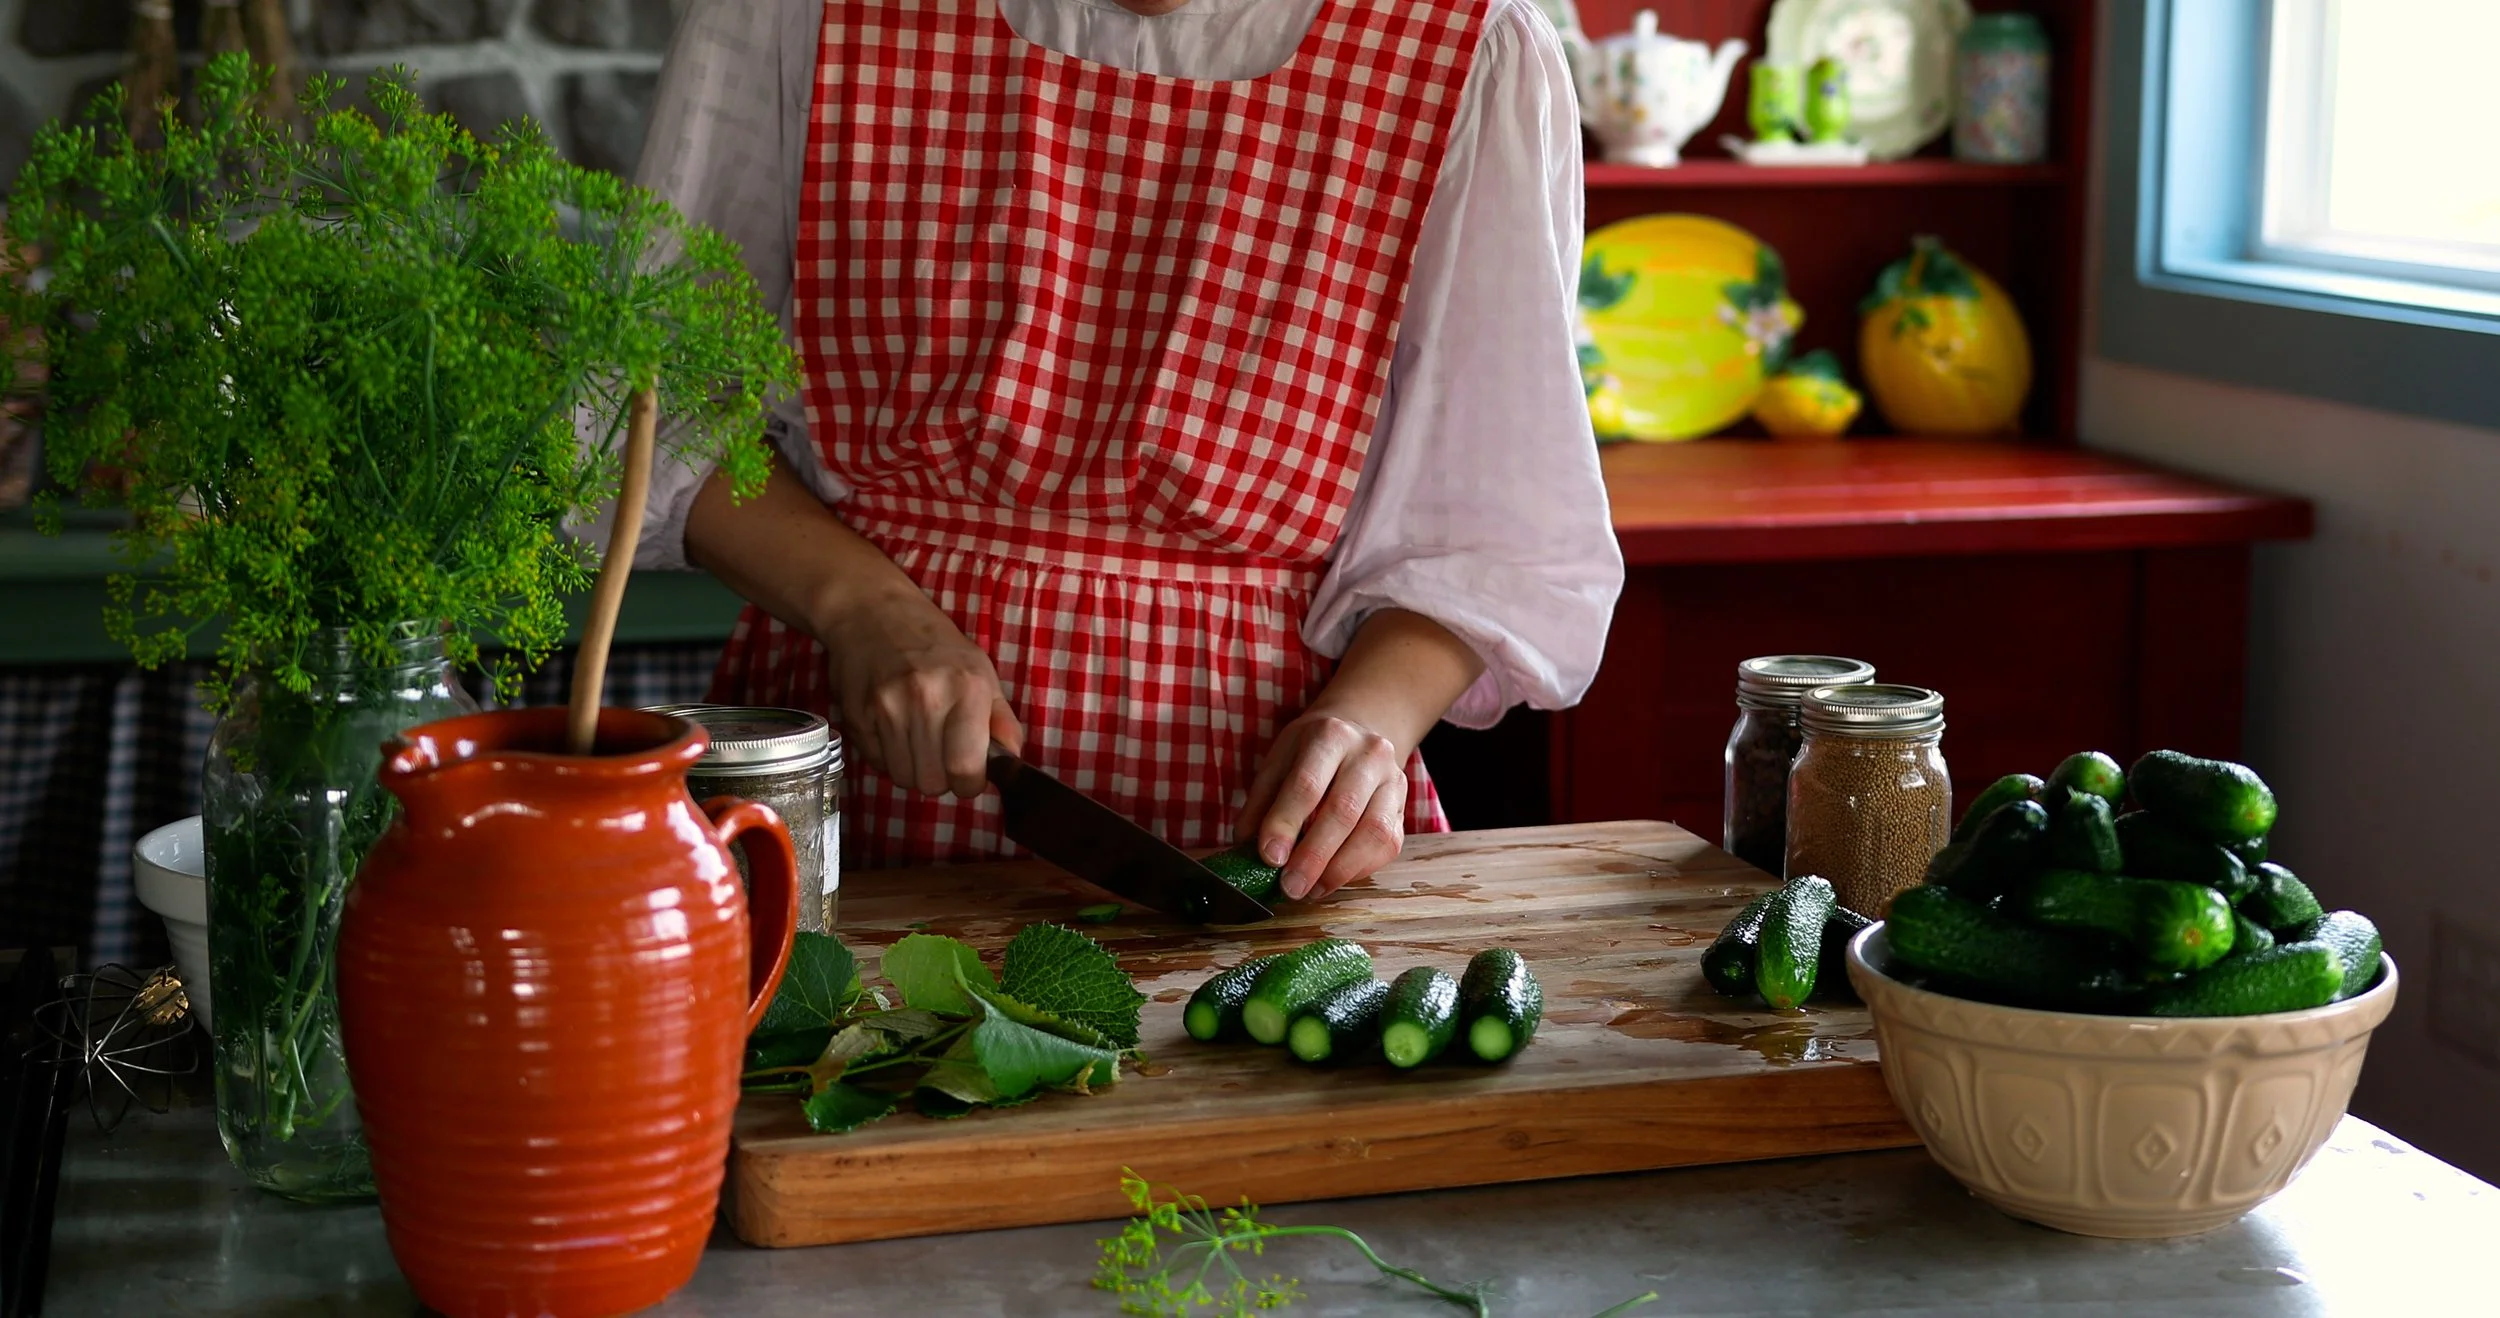
Step Two: Wash and trim both ends off the cucumbers, about 1/8-inch. Place the cucumbers in an ice water bath and place in the refrigerator for at least 1 hour to help them crisp up.* I personally think 3 hours is best! After chilling, leave the cucumbers whole.
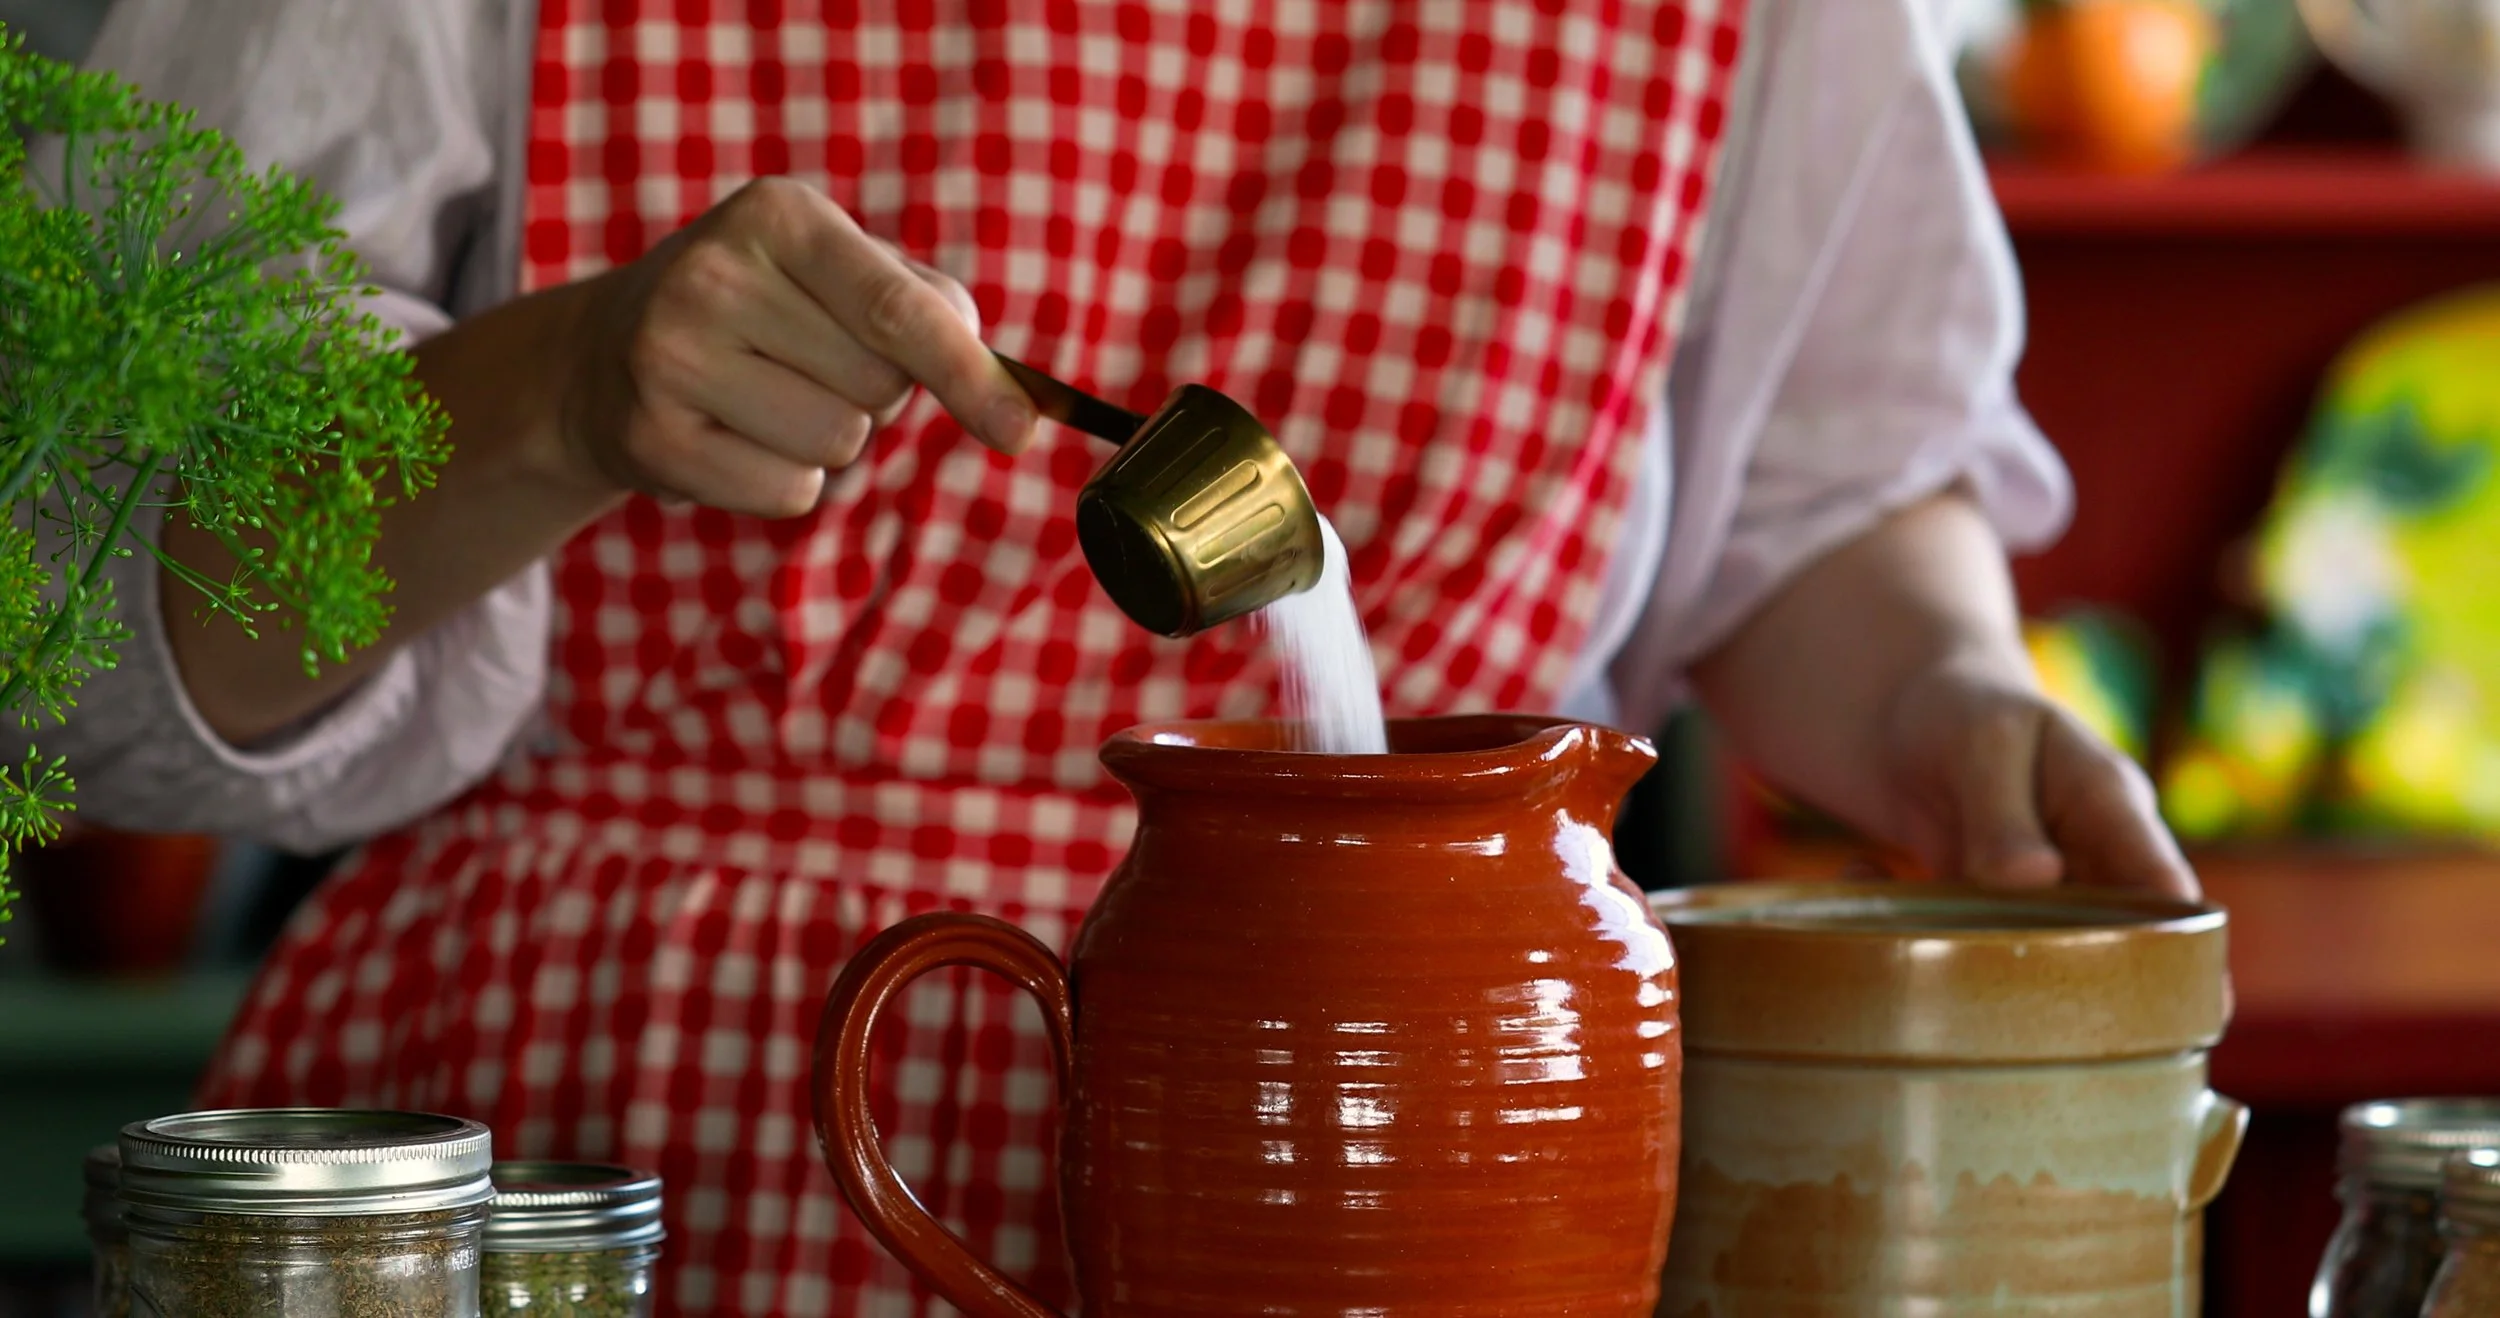
Step Three: Next, make the brine. Combine the water and salt until dissolved.
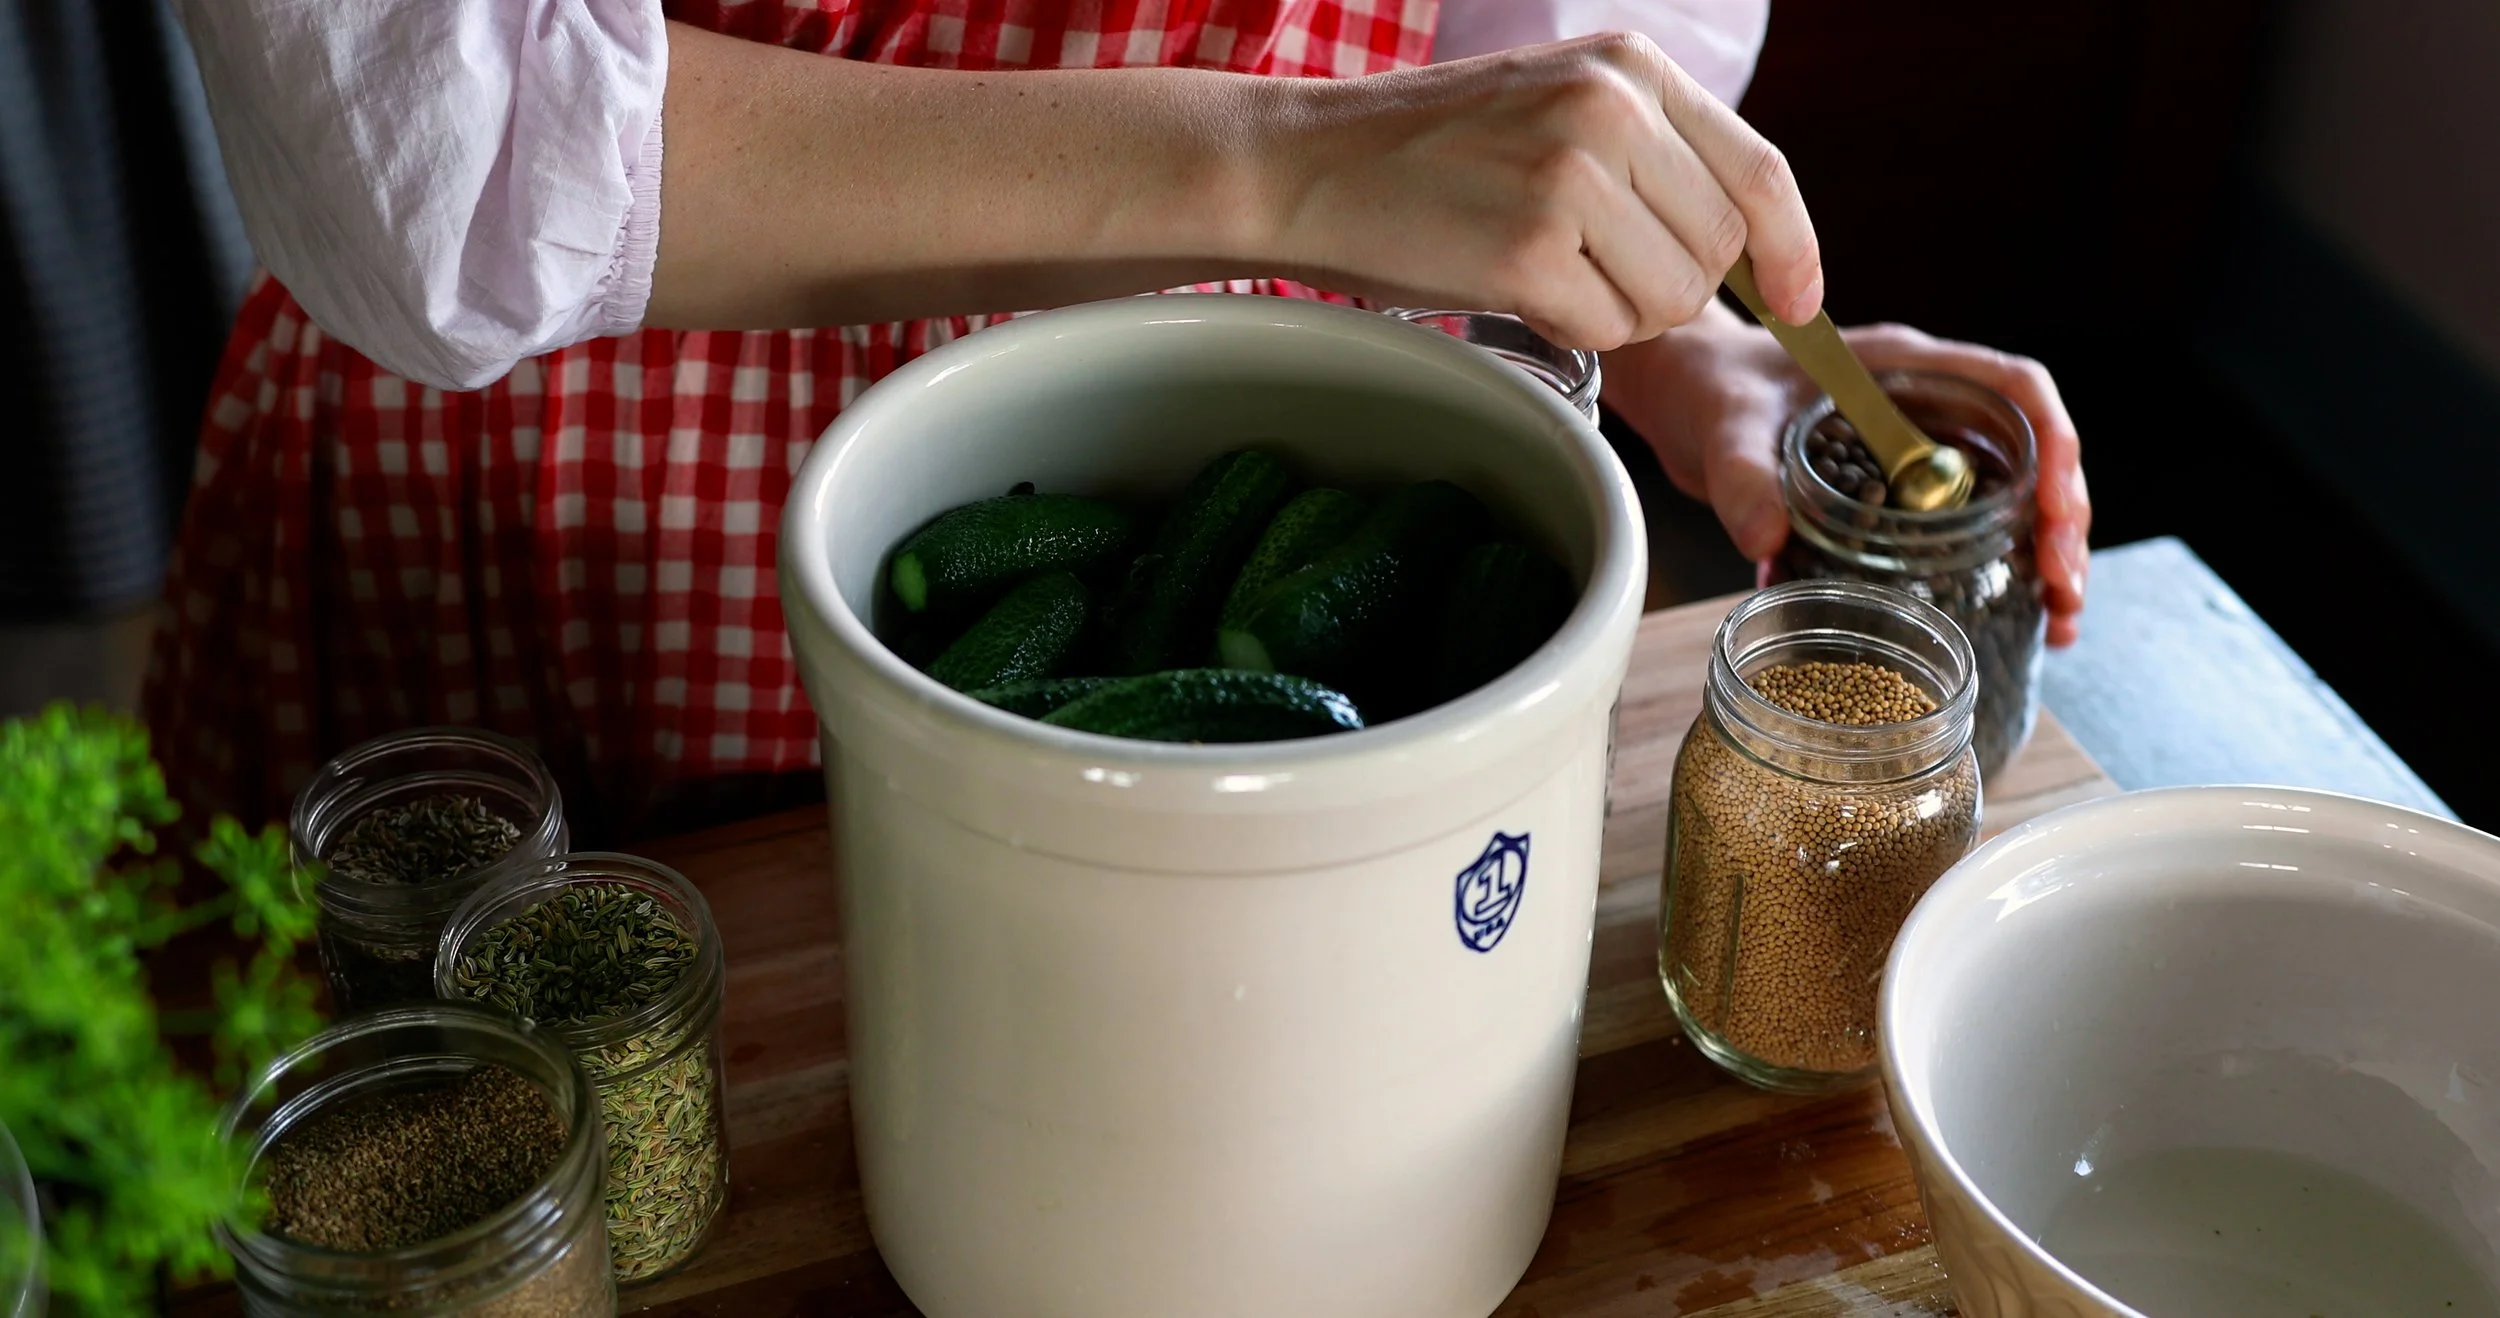
Step Four: Assemble the pickles in the crock or jars. Place the fennel, dill seeds, mustard seeds, celery seeds in the bottom of the crock. Add the garlic, onions, dill flower heads, and grape leaves. Then, begin to layer in the cucumbers, as tightly as possible. Leaving at least 1.5-inches of headspace at the top of the crock or jars.
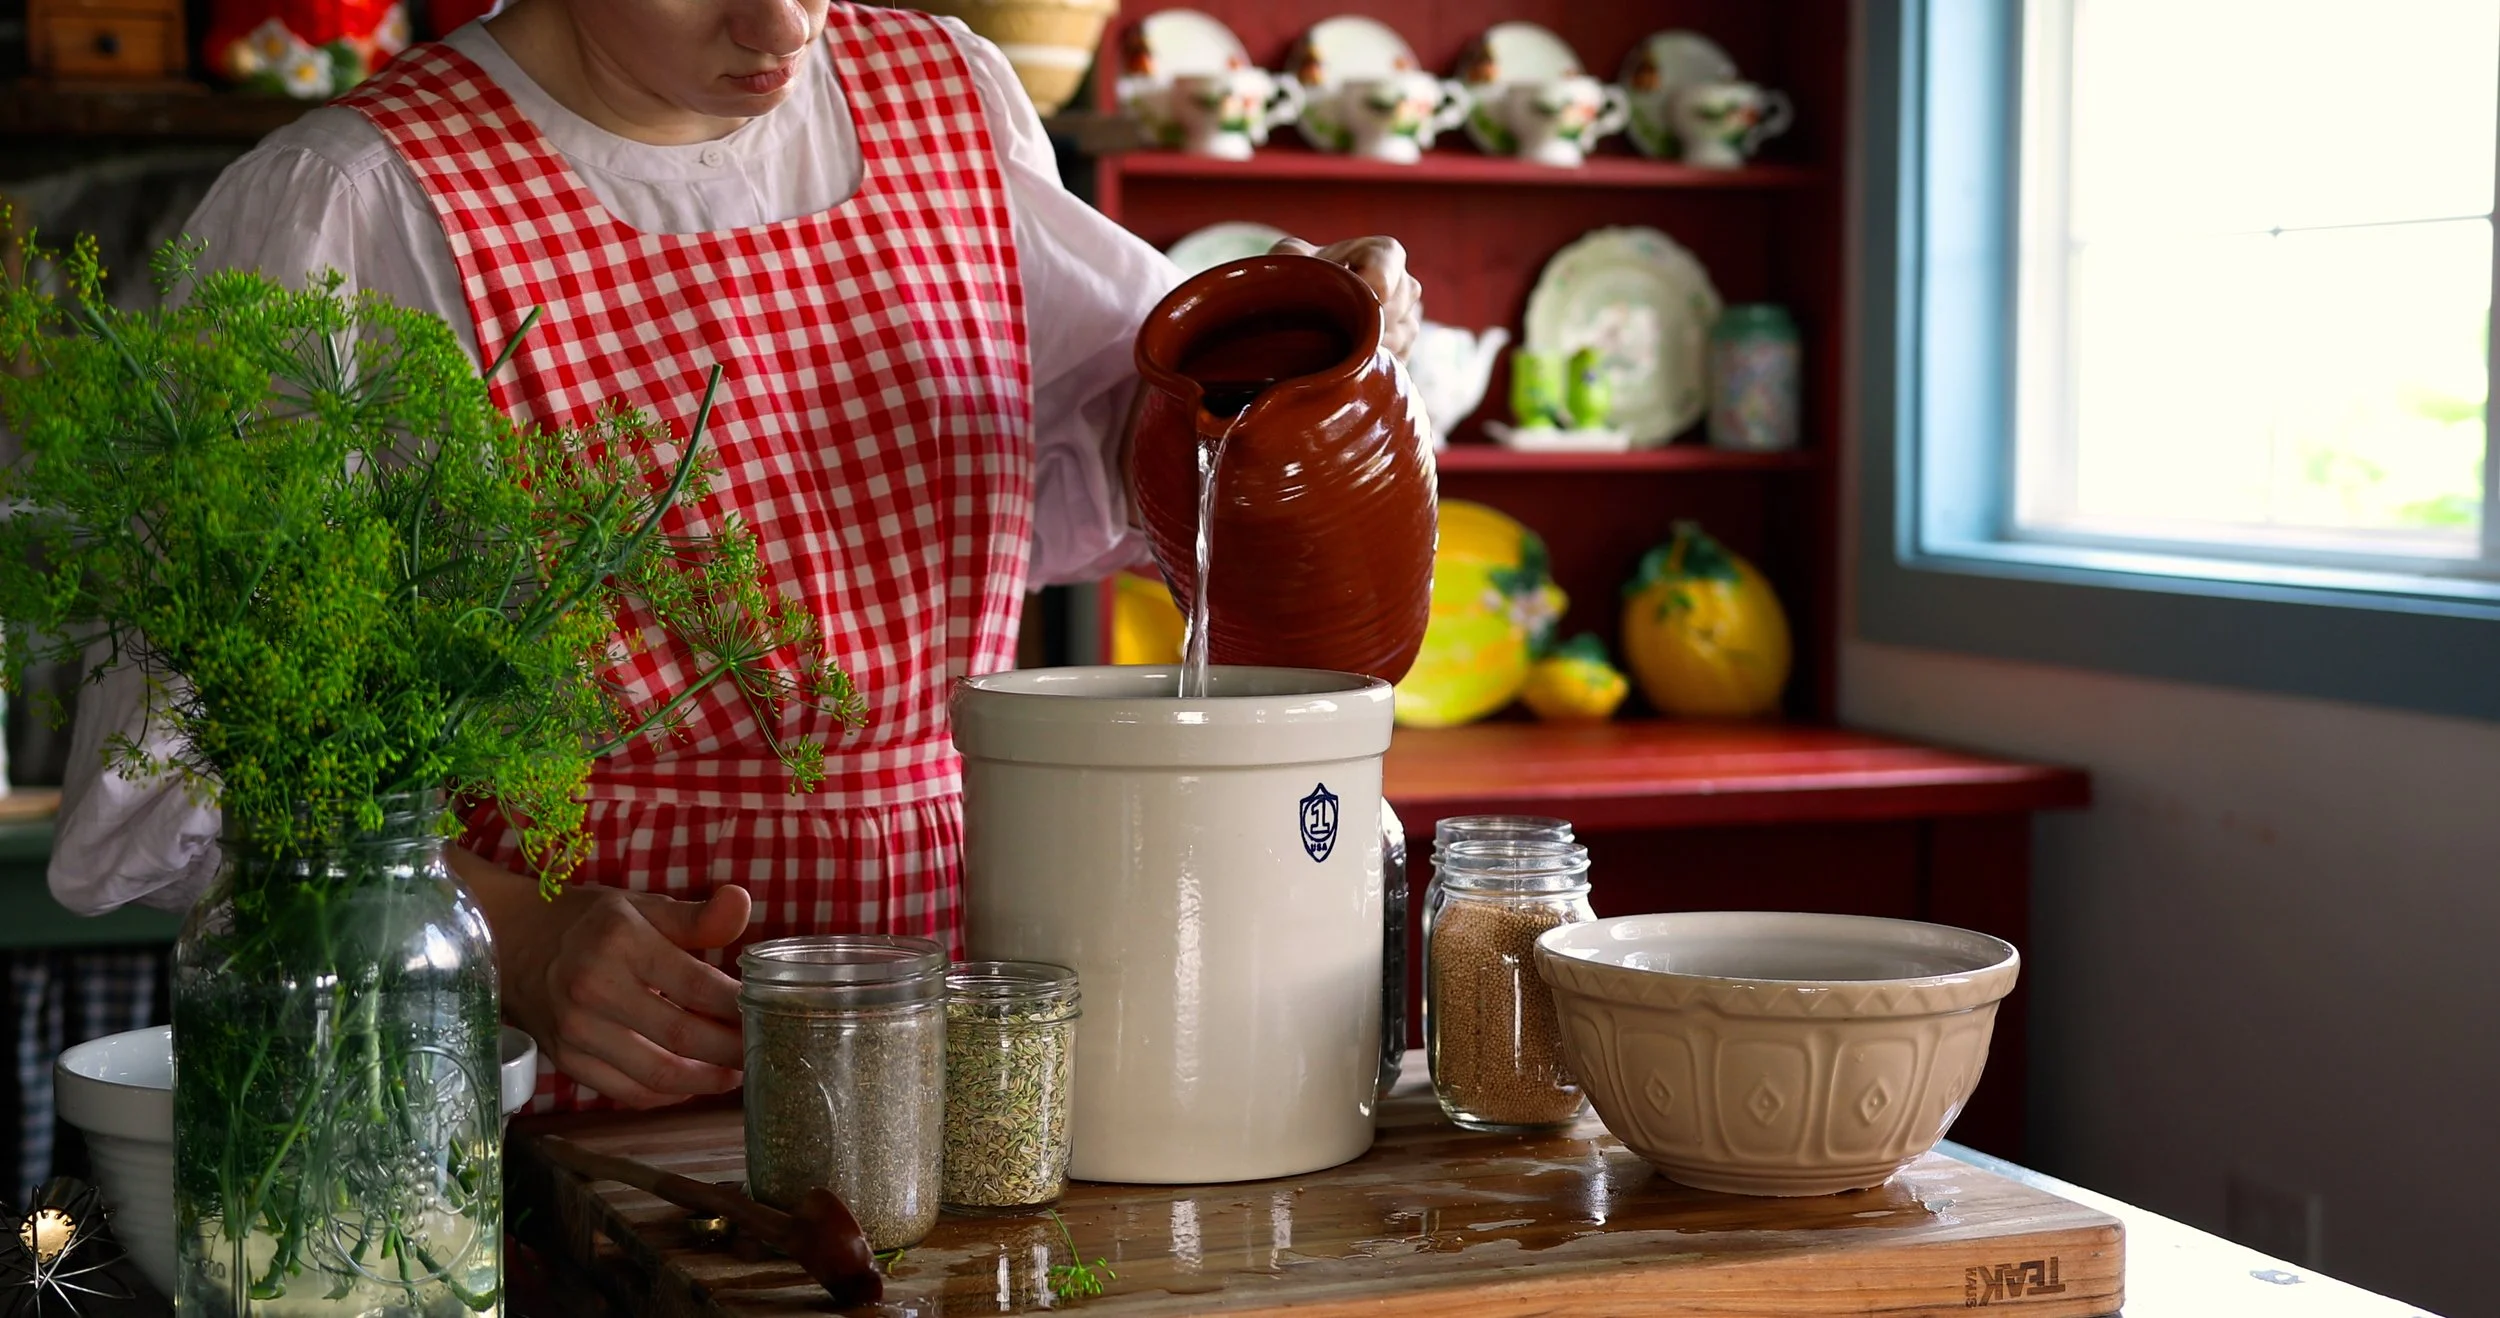
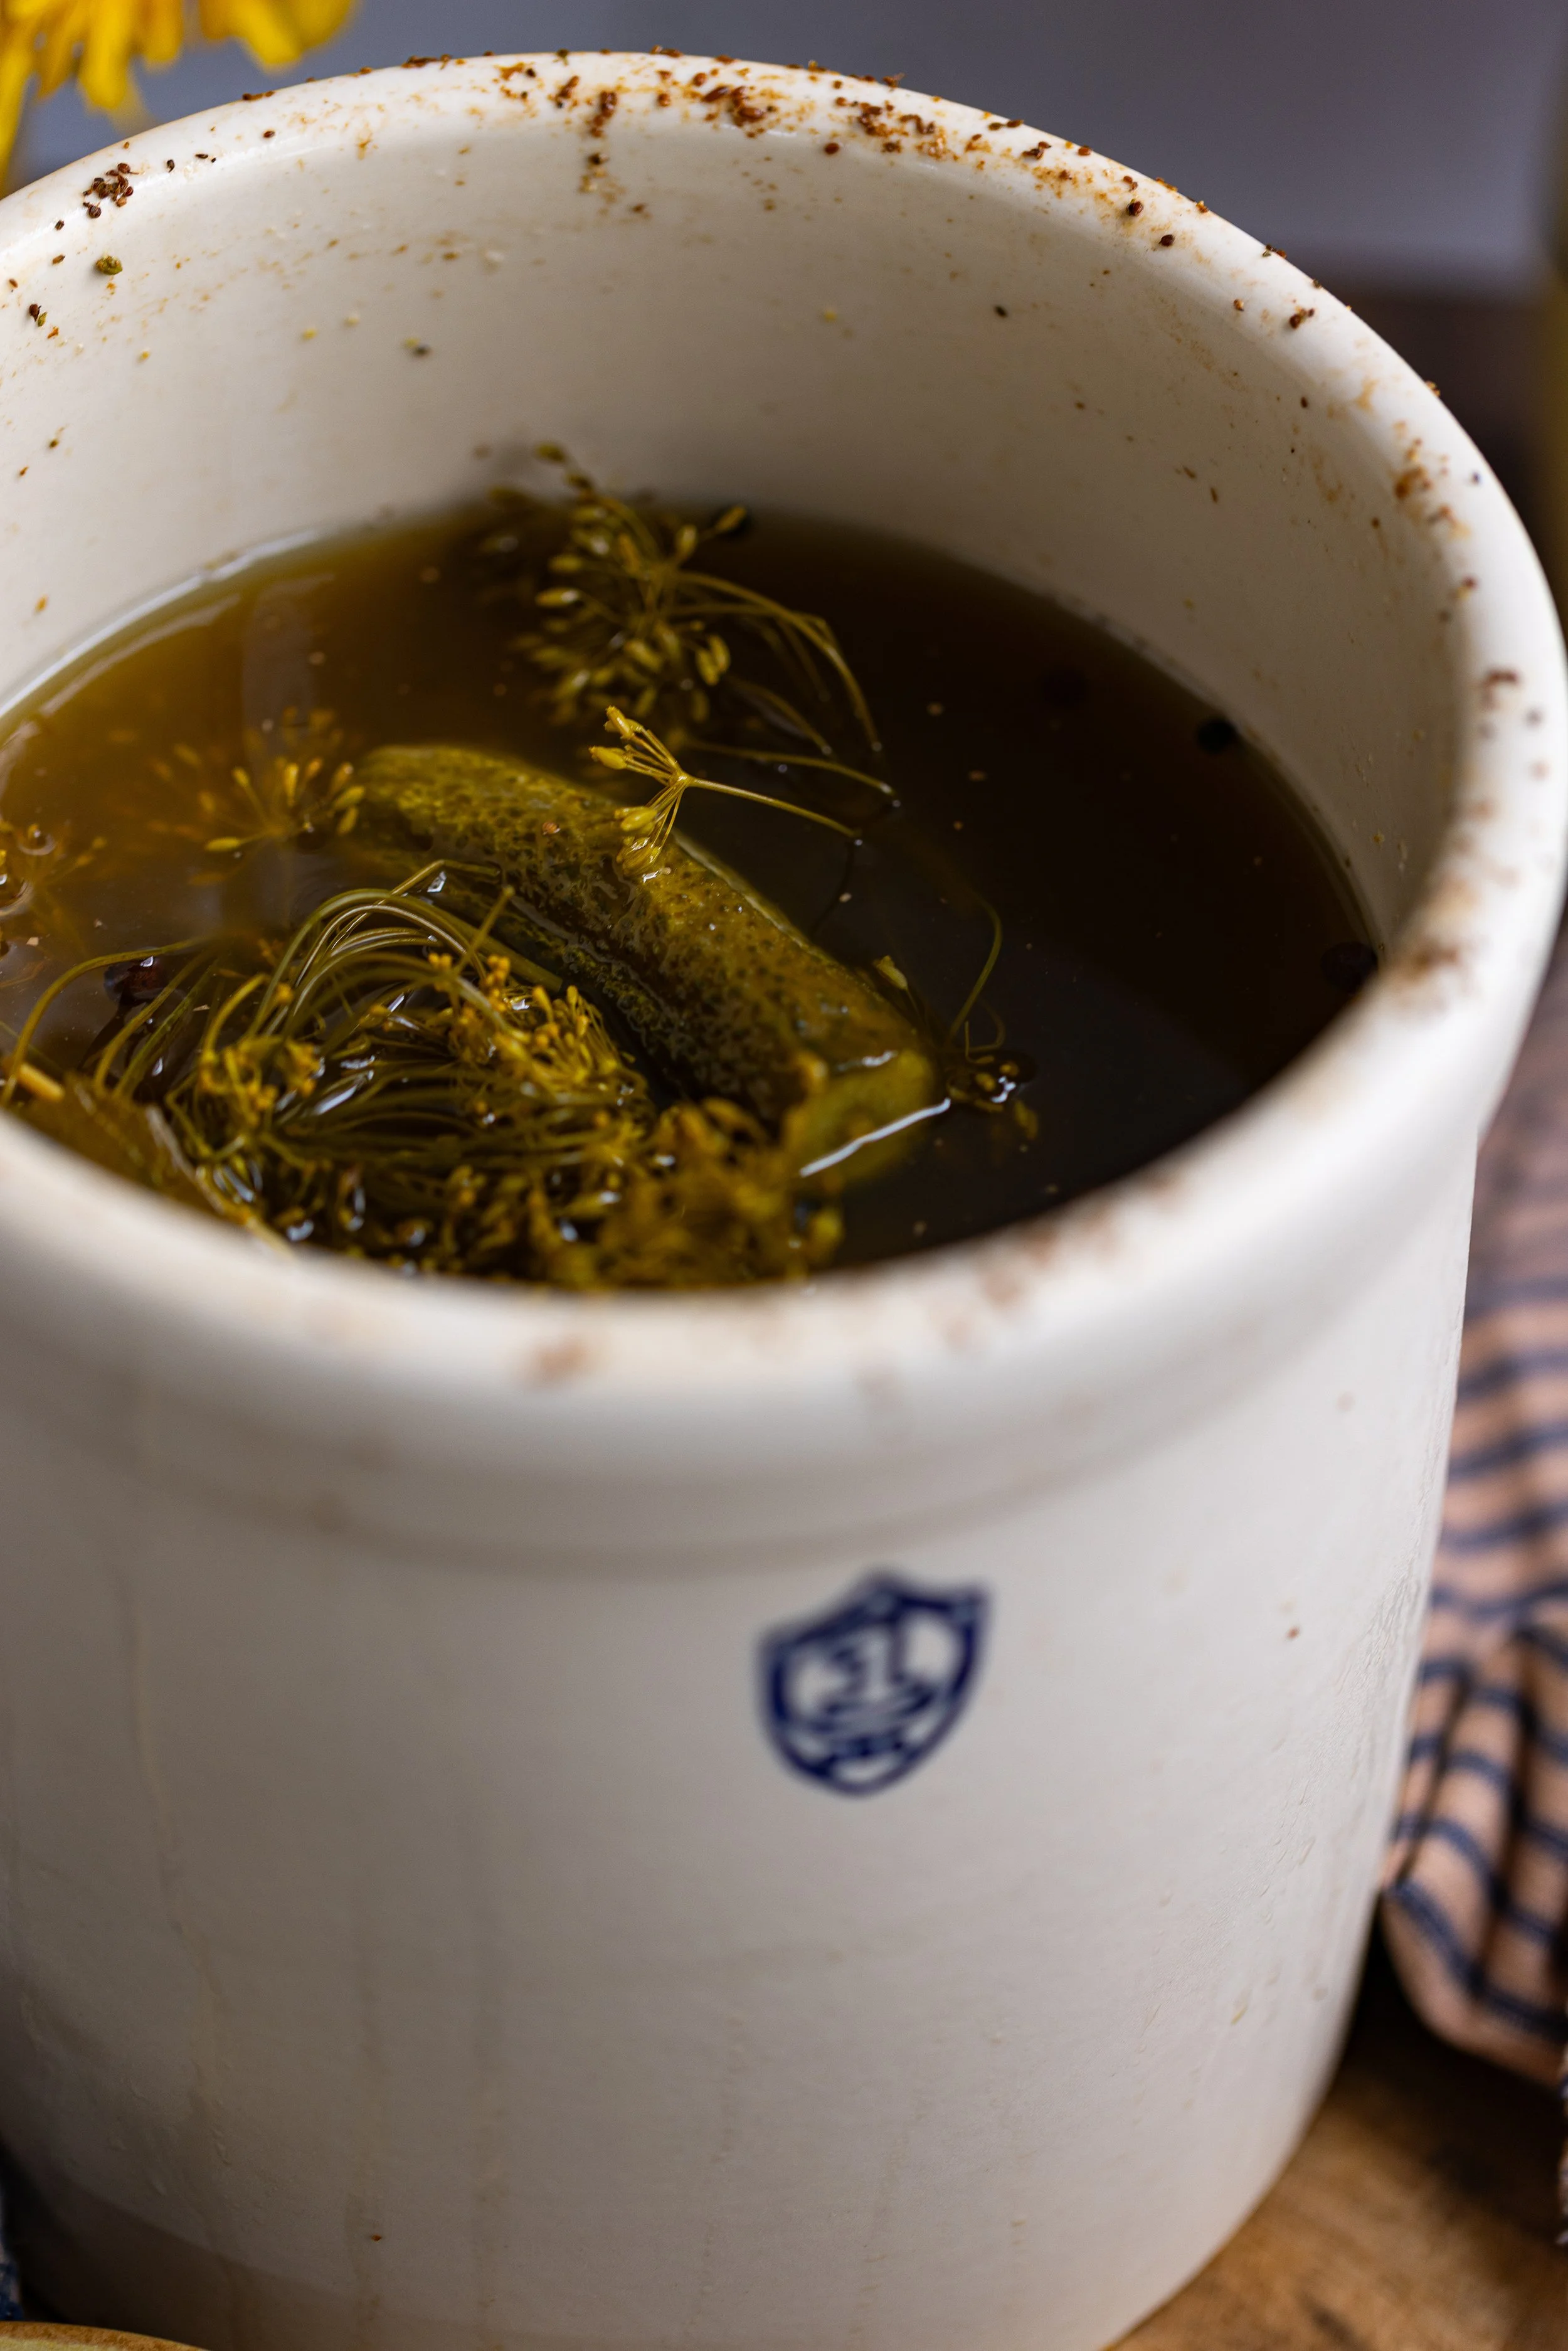
Step Five: Pour the saltwater brine over the vegetables until they reach 1.5-inches headspace. Weigh down the cucumbers with fermentation weights so that they are completely submerged underneath the brine. Cover the crock or jars loosely with the lid or with a cheesecloth or lightweight kitchen towel so that the air can escape.
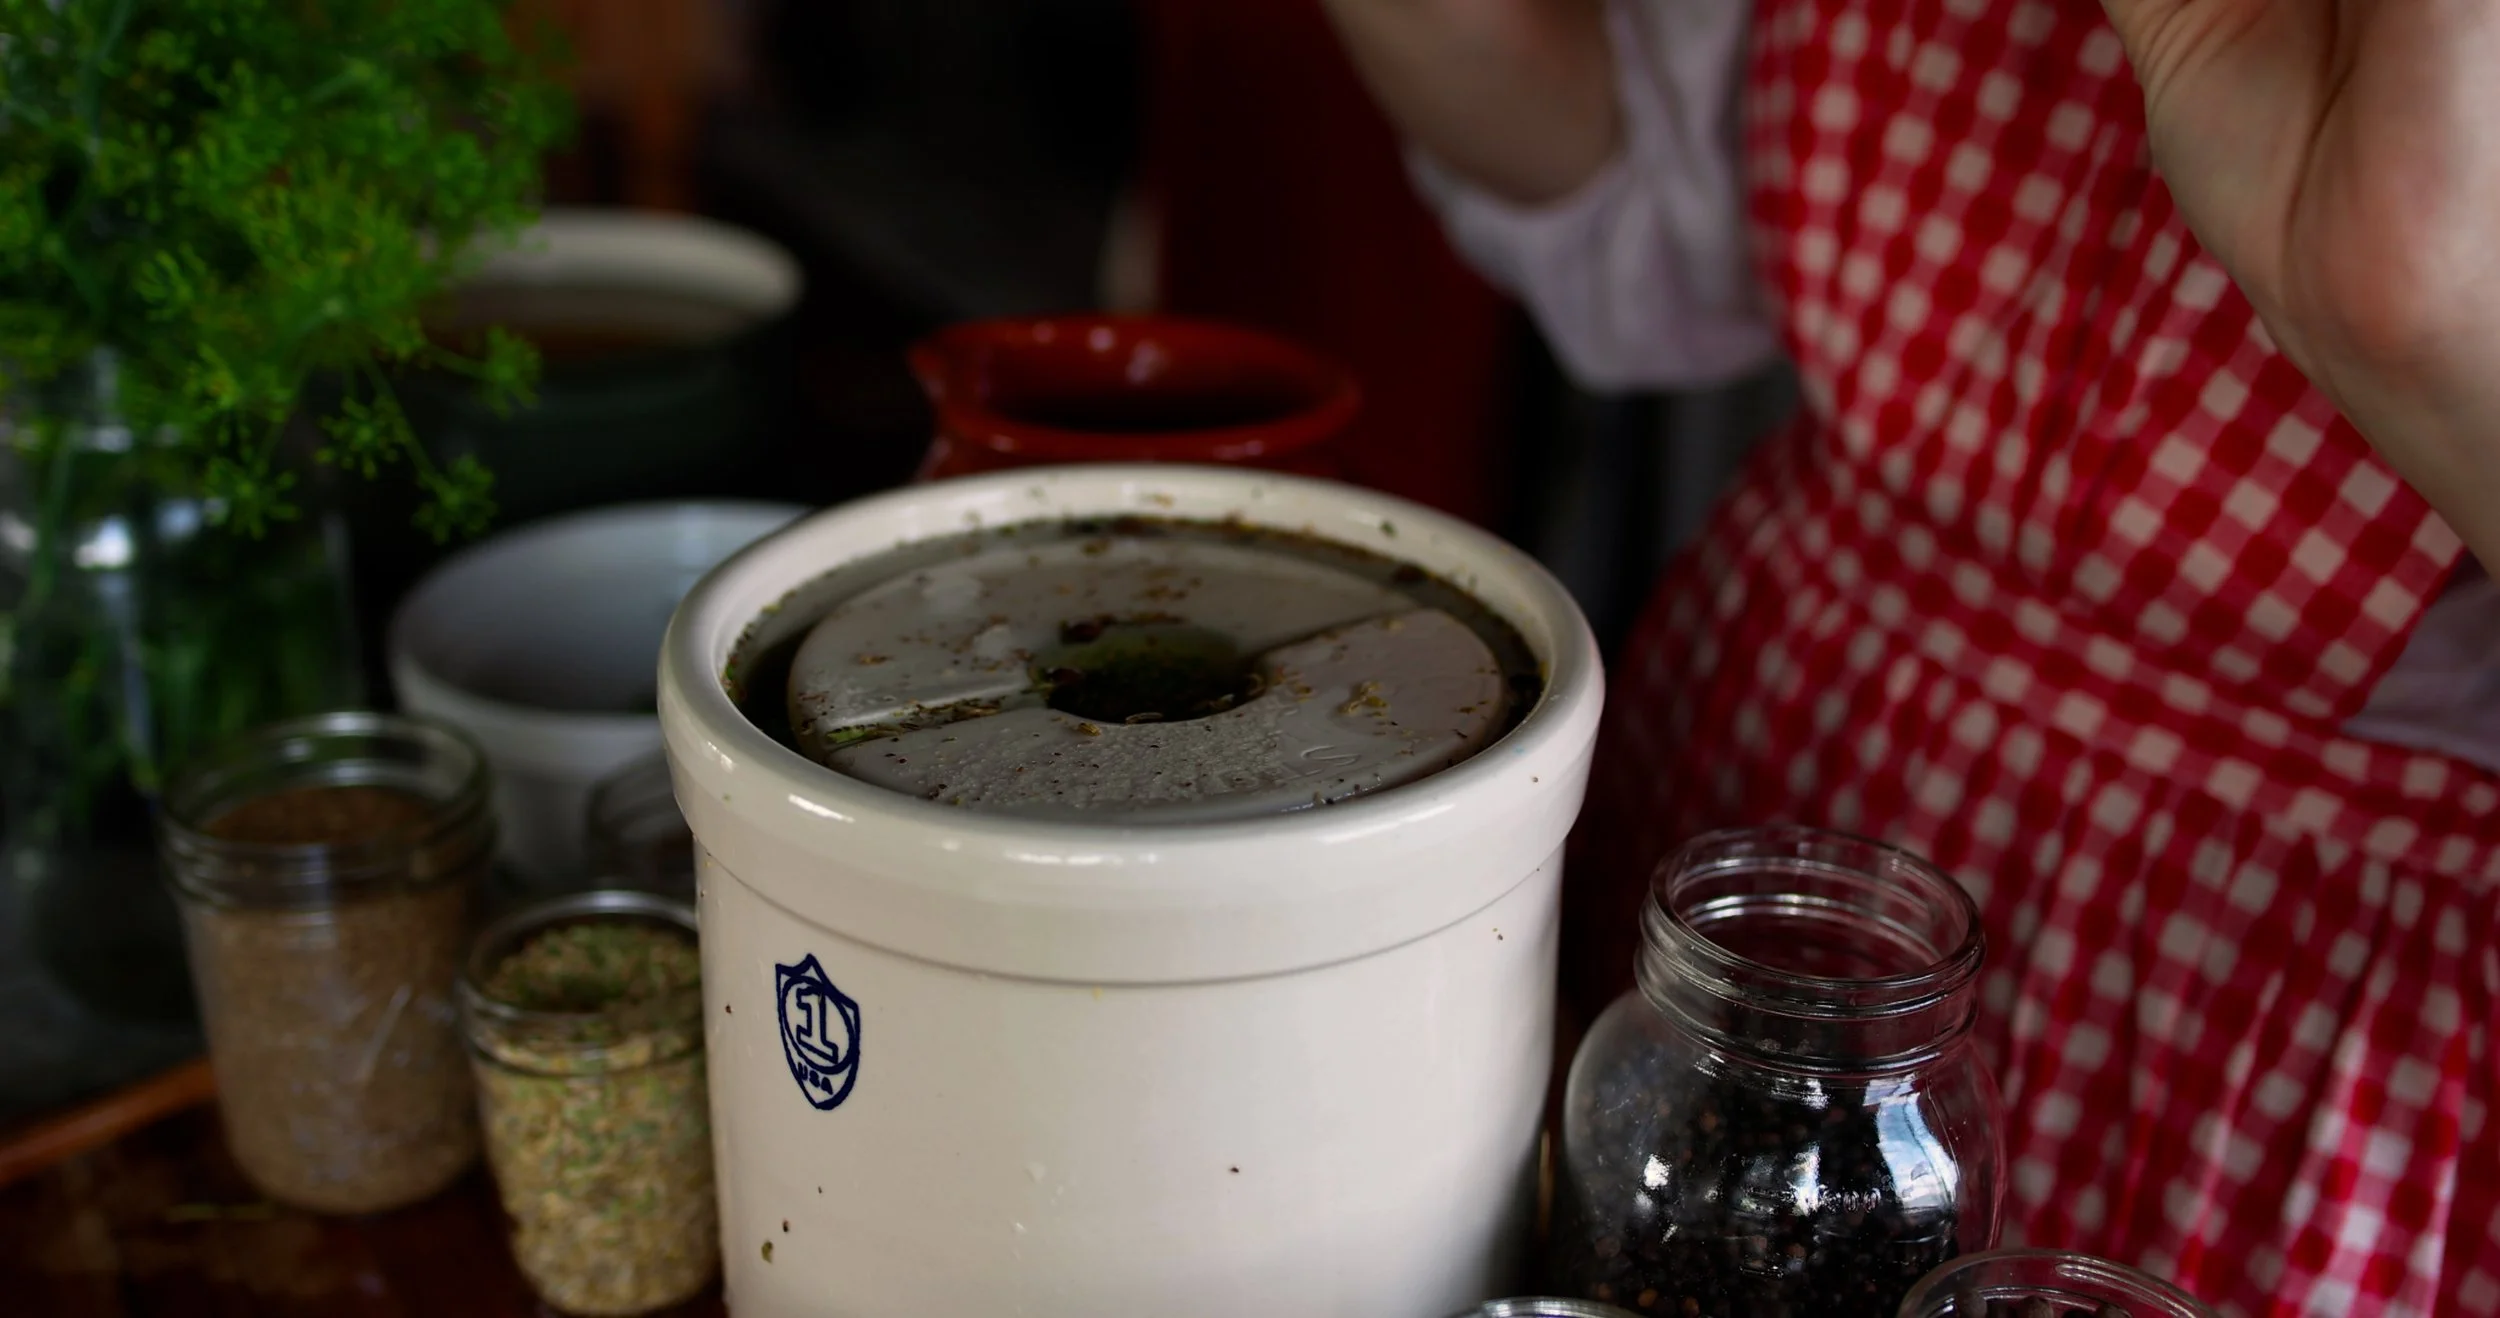
Step Six: Next, the fermentation process begins. Place the crock or jars in a shallow pan or bowl to collect any brine that may overflow in the first days of fermentation. Store the crock in a cool, dark place (ideally between 60-70°F (16-21°C) for about 2 to 4 days. Check for bubbles or overflow daily. This indicates that fermentation is happening. If your room is colder than 65°F (18°C), the fermentation process will take longer. If the room is warmer, they will ferment faster. If the room is too warm, you may have trouble with mold growth and insects.

Step Seven: Check your pickles daily, but especially after 2 days of fermentation. By now, you should see signs of life: bubbles, overflow, and clouding in the brine. Tap side of the jar to see if any bubbles rise to the top— they may be tiny! You can choose the length of time you’d like to ferment your pickles. The longer you leave them, the tangier the pickles will taste but they will lose their crunchy texture. A shorter ferment will result in crunchier pickles that aren’t as flavorful. You can safely taste the pickles once you see bubbles to see what you like best.
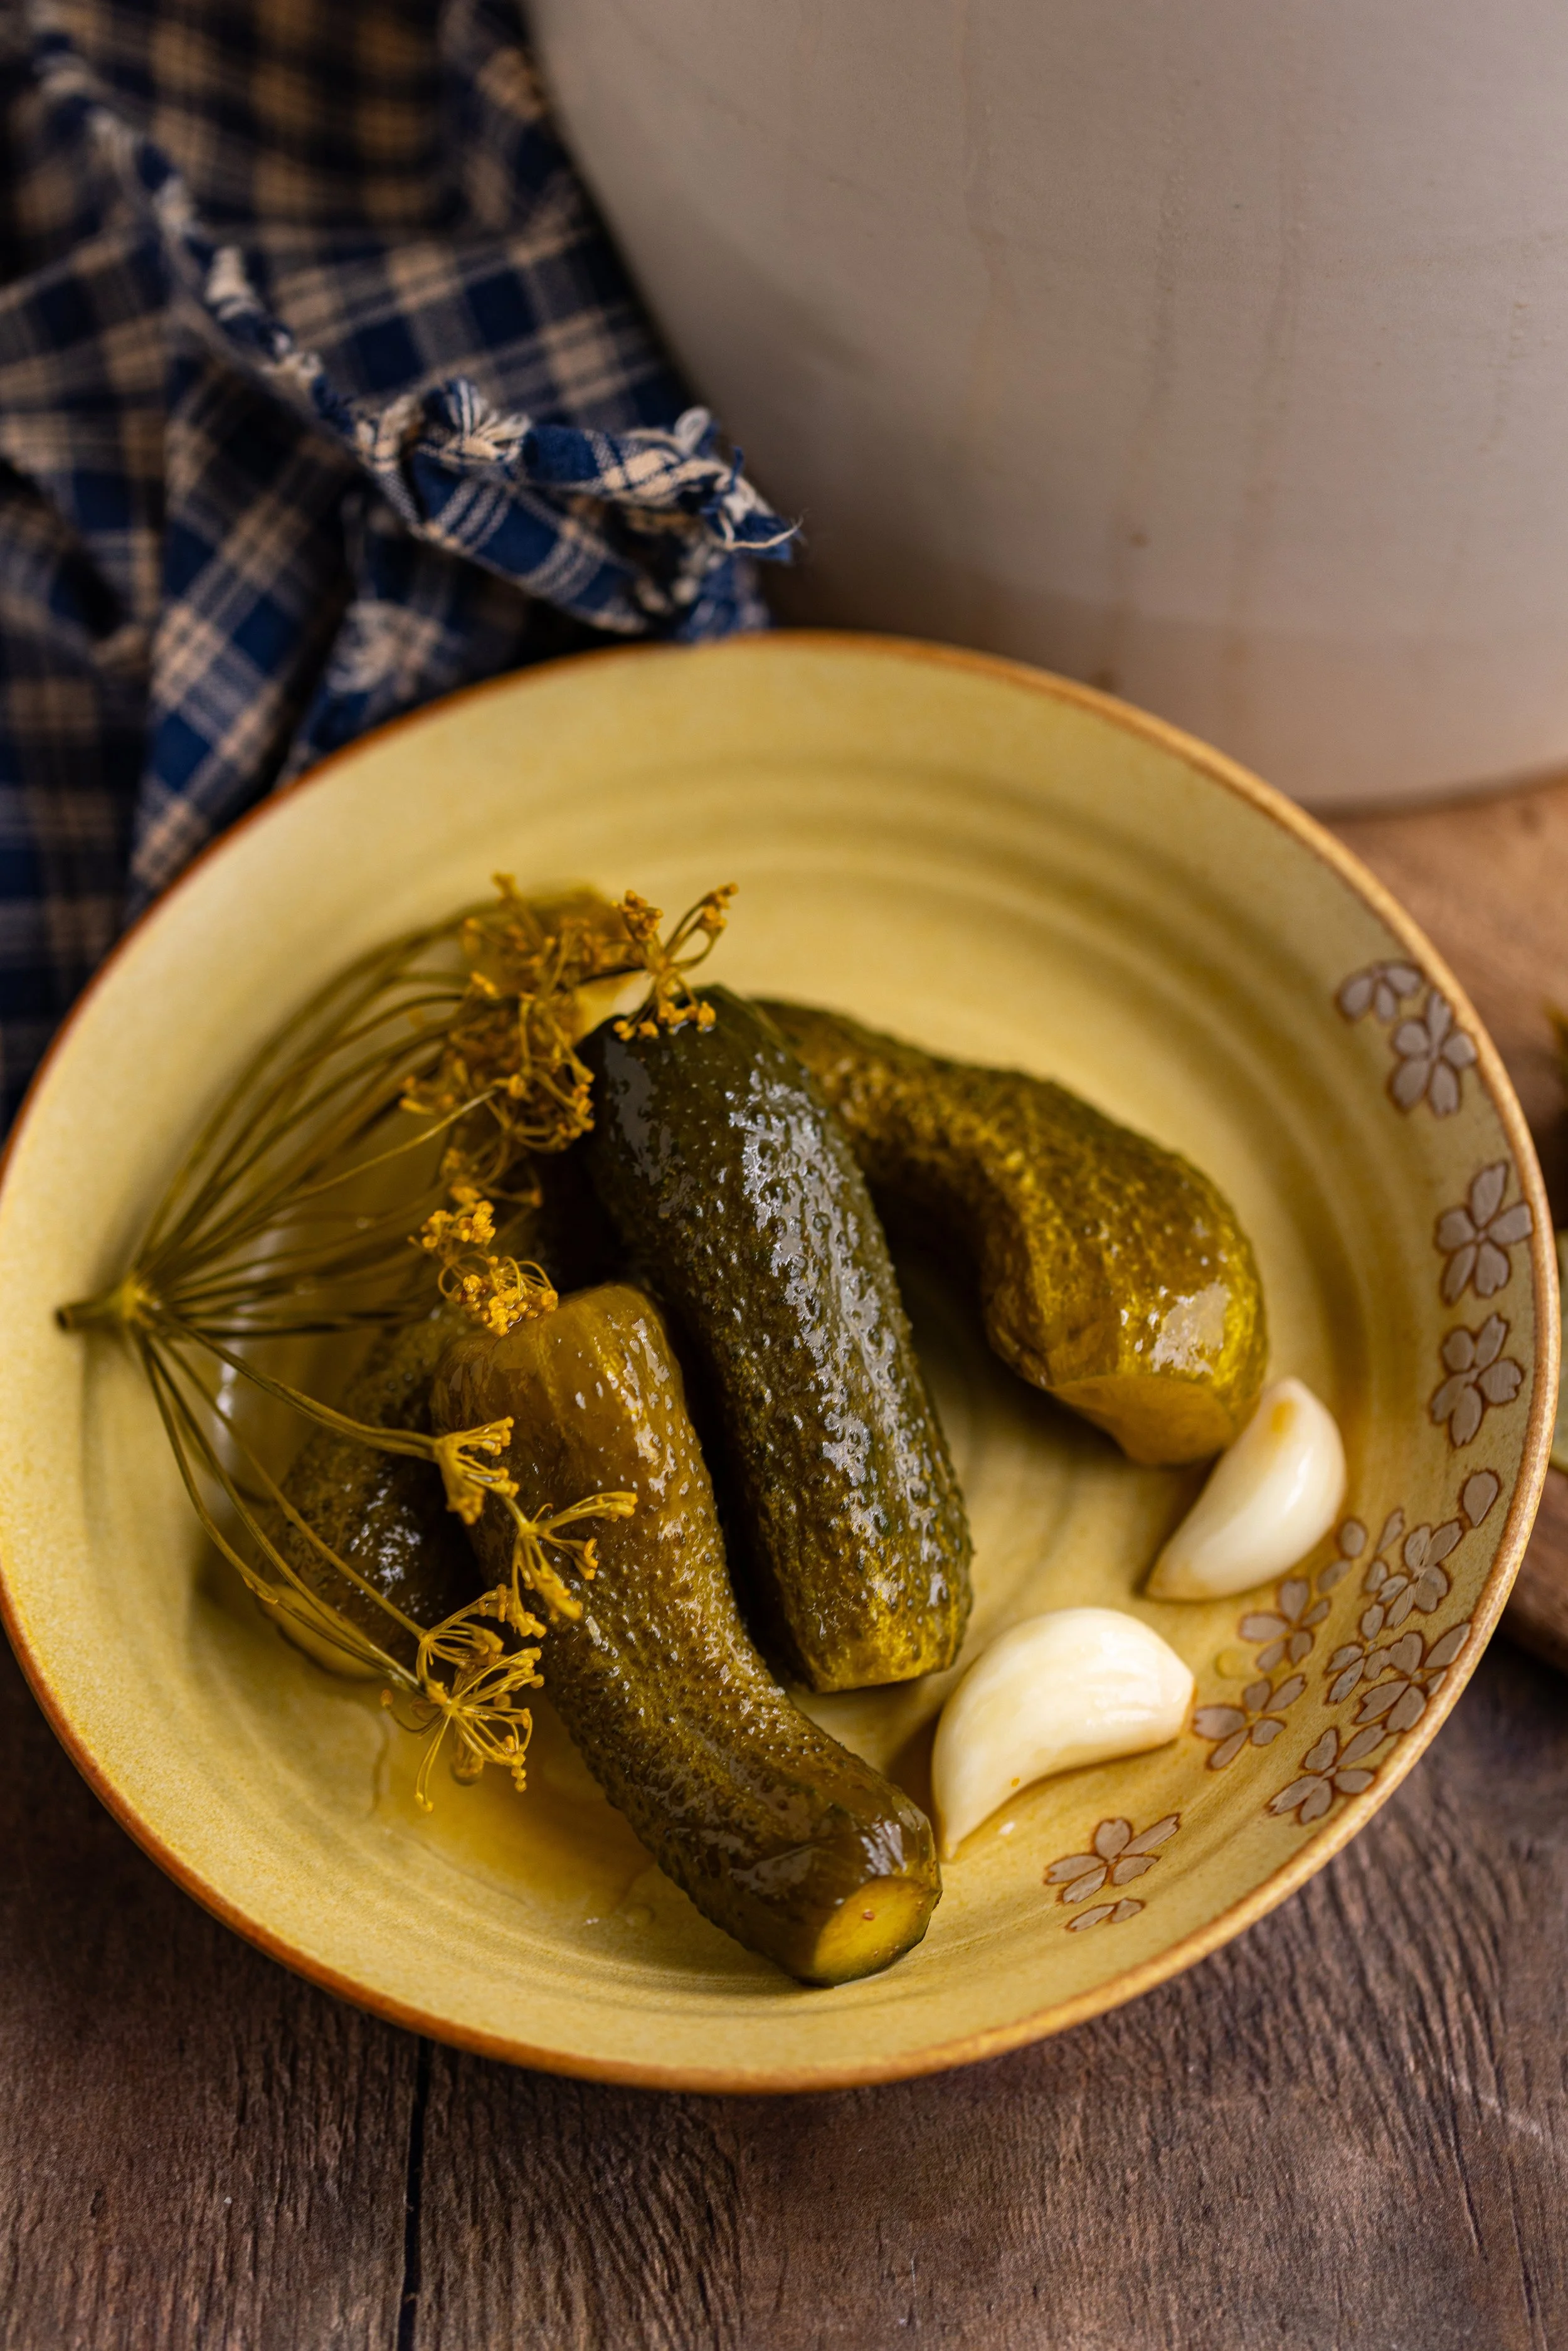
Step Eight: Once active bubbling has been seen in the jar, the pickles can be transferred and stored in the fridge. Once fully chilled, taste the pickles to see how you like them! The finished pickles should be crisp, crunchy, and have a tangy flavor. They can be stored in the fridge for up to 6 months.

Storage Instructions
After fermentation, store the pickles in the refrigerator for up to 6 months. Alternately, they can be kept in root cellar or other cold storage room.
Keep your pickles fully submerged in the brine for the best flavor. Use fermentation weights to help keep your veggies under the brine.
Do not store at room temperature. These pickles must be refrigerated to be consumed safely.
Check occasionally for signs of mold. If your brine has developed mold, discard the ferment and sanitize your crock or jars before starting again.
Serving Suggestions
Fermented pickles add a unique flavor to meals! These tangy and crunchy pickles are delicious on their own as a gut-healthy snack or as an addition to a charcuterie spread. However, they can pair well with other dishes as well like egg salad or potato salad, grilled meats, or sliced and served on a sandwich. Try these recipes with your fermented dill pickles:
Recipe Variations
Add spices like turmeric or ginger for added flavor and color.
For a spicy kick, add dried or fresh hot peppers.
Add slices of carrot or daikon for a colorful variety of pickles.
Final Thoughts
Fermented foods have been around for generations, preserving our food naturally and in ways that are beneficial to our health. While fermenting can be a bit scary at first, I hope that this recipe for fermented dill pickles put you at least a bit more at ease. Fermenting in easy to do, and making fermented pickles with cucumbers is an easy way to jump into fermenting as a beginner. I would always suggest using a USDA approved canning recipe, if possible, and reading into the suggested safety guidelines before fermenting. I hope that you enjoy your tangy and crunchy fermented cucumber pickles!
xoxo Kayla

Fermented Dill Cucumber Pickles
These classic fermented dill pickles are crisp, tangy, and naturally full of probiotics making them excellent for a healthy gut! In this easy fermentation guide, learn how to make your own naturally fermented pickles with just cucumbers, salt, water, and fresh herbs.
Ingredients
- 2 1/2 lbs (1134 g) pickling cucumbers
- 5 cups (1,200 ml) distilled or filtered water
- 6 1/2 tbsp (90 g) pickling salt, or kosher salt
- 1 tsp dried fennel seeds
- 1 tsp dill seeds
- 1 tsp yellow or black mustard seeds
- 1 tsp celery seeds
- 20 garlic cloves, whole and peeled
- 1 medium onion, sliced thinly
- 10 to 20 dill flower heads
- 3 to 4 bay leaves or grape leaves, optional
Instructions
- Clean and sanitize fermentation containers and lids. This recipe will make 1/2 gallon of fermented pickles, so you will need either a 1/2 gallon mason jar, crock, or 2 quart-size mason jars.
- Wash and trim both ends off the cucumbers, about 1/8-inch. Place the cucumbers in an ice water bath and place in the refrigerator for at least 1 hour to help them crisp up.* I personally think 3 hours is best! After chilling, leave the cucumbers whole.
- N ext, make the brine. Combine the water and salt until dissolved.
- Assemble the pickles in the crock or jars. Place the fennel, dill seeds, mustard seeds, celery seeds in the bottom of the crock. Add the garlic, onions, dill flower heads, and grape leaves. Then, begin to layer in the cucumbers, as tightly as possible. Leaving at least 1.5-inches of headspace at the top of the crock or jars.
- Pour the saltwater brine over the vegetables until they reach 1.5-inches headspace. Weigh down the cucumbers with fermentation weights so that they are completely submerged underneath the brine. Cover the crock or jars loosely with the lid or with a cheesecloth or lightweight kitchen towel so that the air can escape.
- Next, the fermentation process begins. Place the crock or jars in a shallow pan or bowl to collect any brine that may overflow in the first days of fermentation. Store the crock in a cool, dark place (ideally between 60-70°F (16-21°C) for about 2 to 4 days. Check for bubbles or overflow daily. This indicates that fermentation is happening. If your room is colder than 65°F (18°C), the fermentation process will take longer. If the room is warmer, they will ferment faster. If the room is too warm, you may have trouble with mold growth and insects.
- Check your pickles daily, but especially after 2 days of fermentation. By now, you should see signs of life: bubbles, overflow, and clouding in the brine. Tap side of the jar to see if any bubbles rise to the top— they may be tiny! You can choose the length of time you’d like to ferment your pickles. The longer you leave them, the tangier the pickles will taste but they will lose their crunchy texture. A shorter ferment will result in crunchier pickles that aren’t as flavorful. You can safely taste the pickles once you see bubbles to see what you like best.
- Once active bubbling has been seen in the jar, the pickles can be transferred and stored in the fridge. Once fully chilled, taste the pickles to see how you like them! The finished pickles should be crisp, crunchy, and have a tangy flavor. They can be stored in the fridge for up to 6 months.
Notes
- Bubbling and cloudiness is okay— this is what you want! The sight of bubbles means your ferment is active and working.
- White film, or Kahm Yeast, is harmless. You can simply skim it off.
- Look for signs of mold (fuzzy or colored spots), which means the batch should be discarded.
- Always use non-iodized salt and filtered water (non-chlorinated). Not doing so can be the cause of your ferment not working.
- Avoid metal lids and reactive containers. Instead, use glass jars or ceramic fermentation crocks.
- Use a 3.5 to 5% Salt Brine. This equates to about 2 tablespoons of salt per quart of clean water. This brine is at 3.5% for safety.
- Soak Pickles in an Ice Bath. This is best done for several hours, but at the least 1 hour is good enough. You can let these soak on the counter and continually add new ice or leave them floating in the fridge. This keep the cucumbers cold and crisp before pickling. I like to keep them in the ice water and cut them as I can them so that they remain cold as long as possible!
- 24 Hours Vine to Brine. When it comes to making super crisp and crunchy pickles, the fresher the better. This can be difficult if you do not grow cucumbers yourself! There is an old saying that goes, “24 hours from vine to brine” and that really rings true here. Cucumbers should really pickled the same day that they are picked, if possible. Because cucumbers are mostly made up of water, they begin to lose their firmness as soon as they are off the vine. If you cannot get to them that quickly, then make sure to give the ice bath trick a try. I also like to use older cucumbers for bread and butter pickles since they don’t necessarily need to be super crunchy!
Nutrition Facts
Calories
548