How to Pressure Can Green Beans: Canning Guide
This post may contain affiliate links, please see our privacy policy for more information.
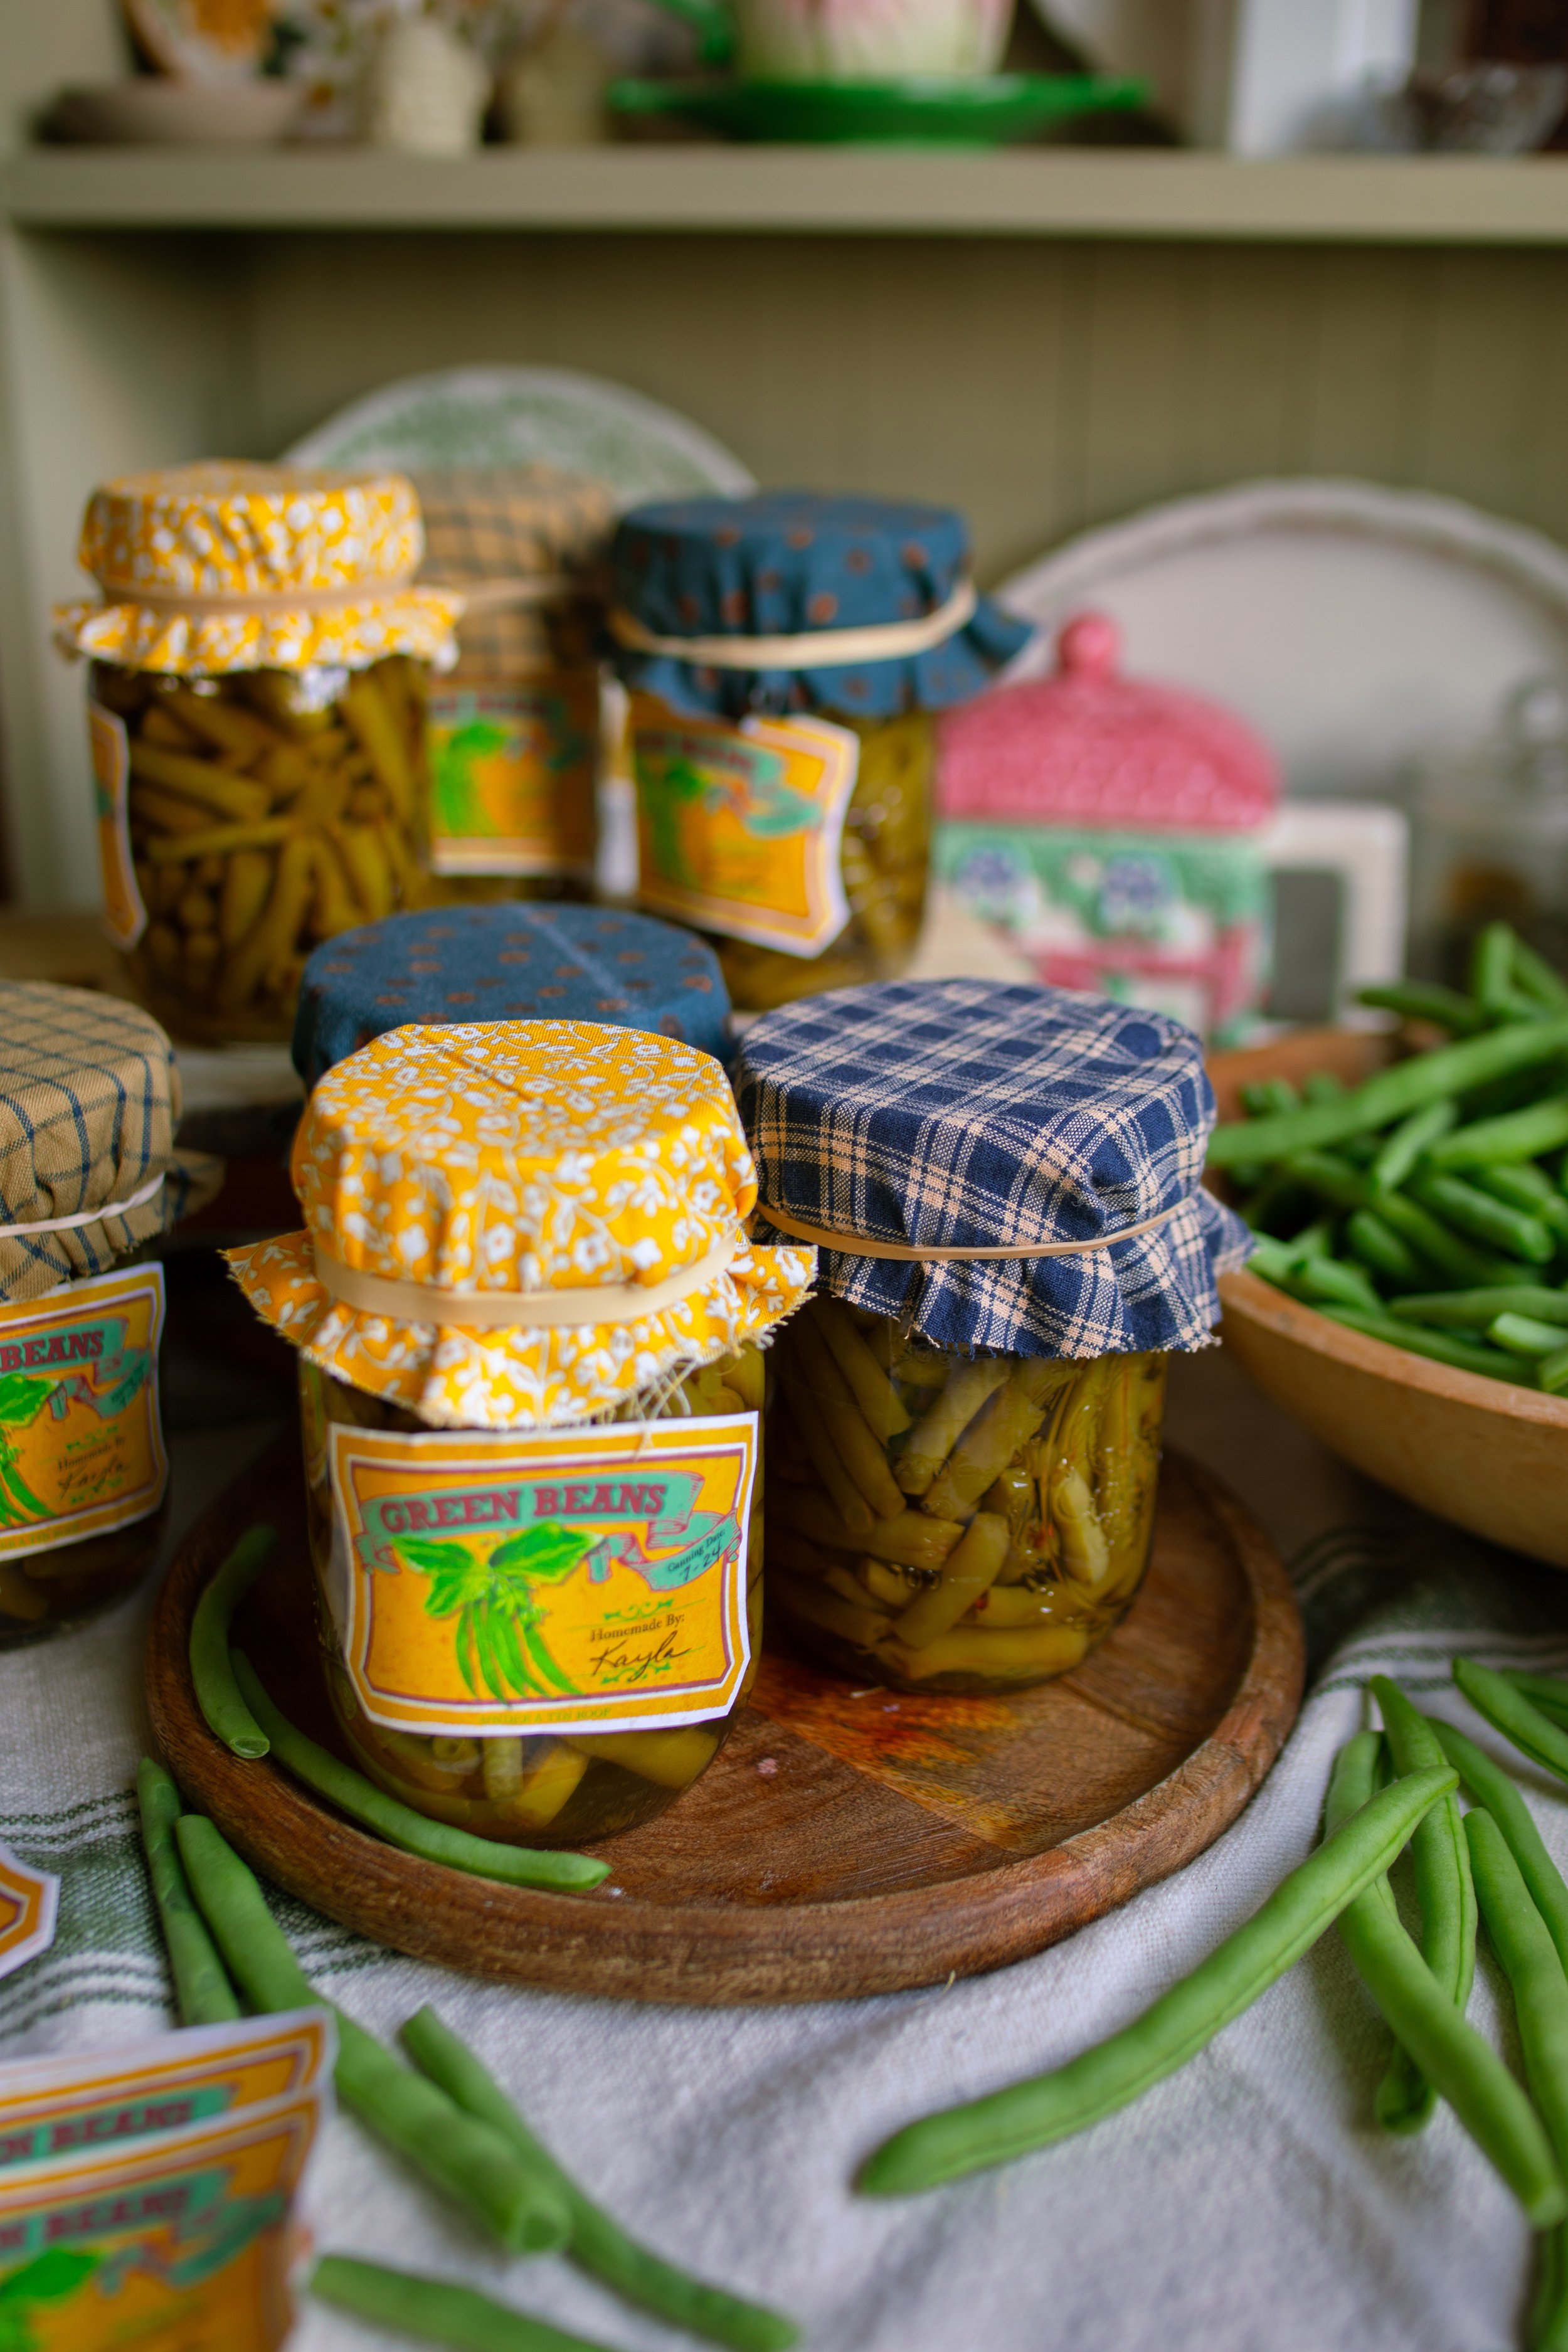
I love canning green beans! Now that we are getting deeper into the summer season, it is time to begin preserving the harvest for winter storage. Learning how to safely can green beans is incredibly easy, and this is the perfect recipe for a beginner canner. In this guide, I will teach you how to safely can green beans by learning how to use a pressure canner. With just some fresh green beans, water, and salt you can easily store your homegrown snap beans all winter long and beyond!
do green beans have to be pressure canned?
Yes. While there are some sources online that give the instructions on how to hot water bath green beans, it is recommended by the USDA to pressure can your green beans for safe storage.
Green beans are a low-acid food, so they cannot be safely canned in a hot water bath canner as the temperature in the canner does not get high enough. Clostridium botulinum, the bacteria that causes botulism (a deadly food poisoning), can grow more frequently in low-acid home-canned foods. By processing them in a pressure canner, you are destroying this bacteria as the temperature in the canner reaches 240° F (116° C) or higher for a set amount of time, which varies depending on what you are canning.
my personal thoughts:
While I don’t necessarily believe that any other canning method other than my own is bad or incorrect, I do choose to follow the USDA canning guidelines when it comes to sharing recipes with my readers online. I never want to accidentally make anyone ill or teach an unsafe method, even though I am open to learning other preservation methods, especially historical ones!
This is entirely a personal preference, and you may decide for yourself to be a rebel canner. That’s completely up to you, and there is no judgement from me! If you are wanting to avoid using a pressure canner because you find the process scary, I would highly suggest that you still give it a try! I was too afraid to use a pressure canner for YEARS and then finally gave it a try. It’s so easy and not scary at all; I felt like a fool for taking so long to finally use mine.
gathering beans for canning:
Before you begin canning your green beans, you will need to gather them and prepare them for processing! The canning method in this post works for any snap and Italian beans, such as green beans and wax beans.
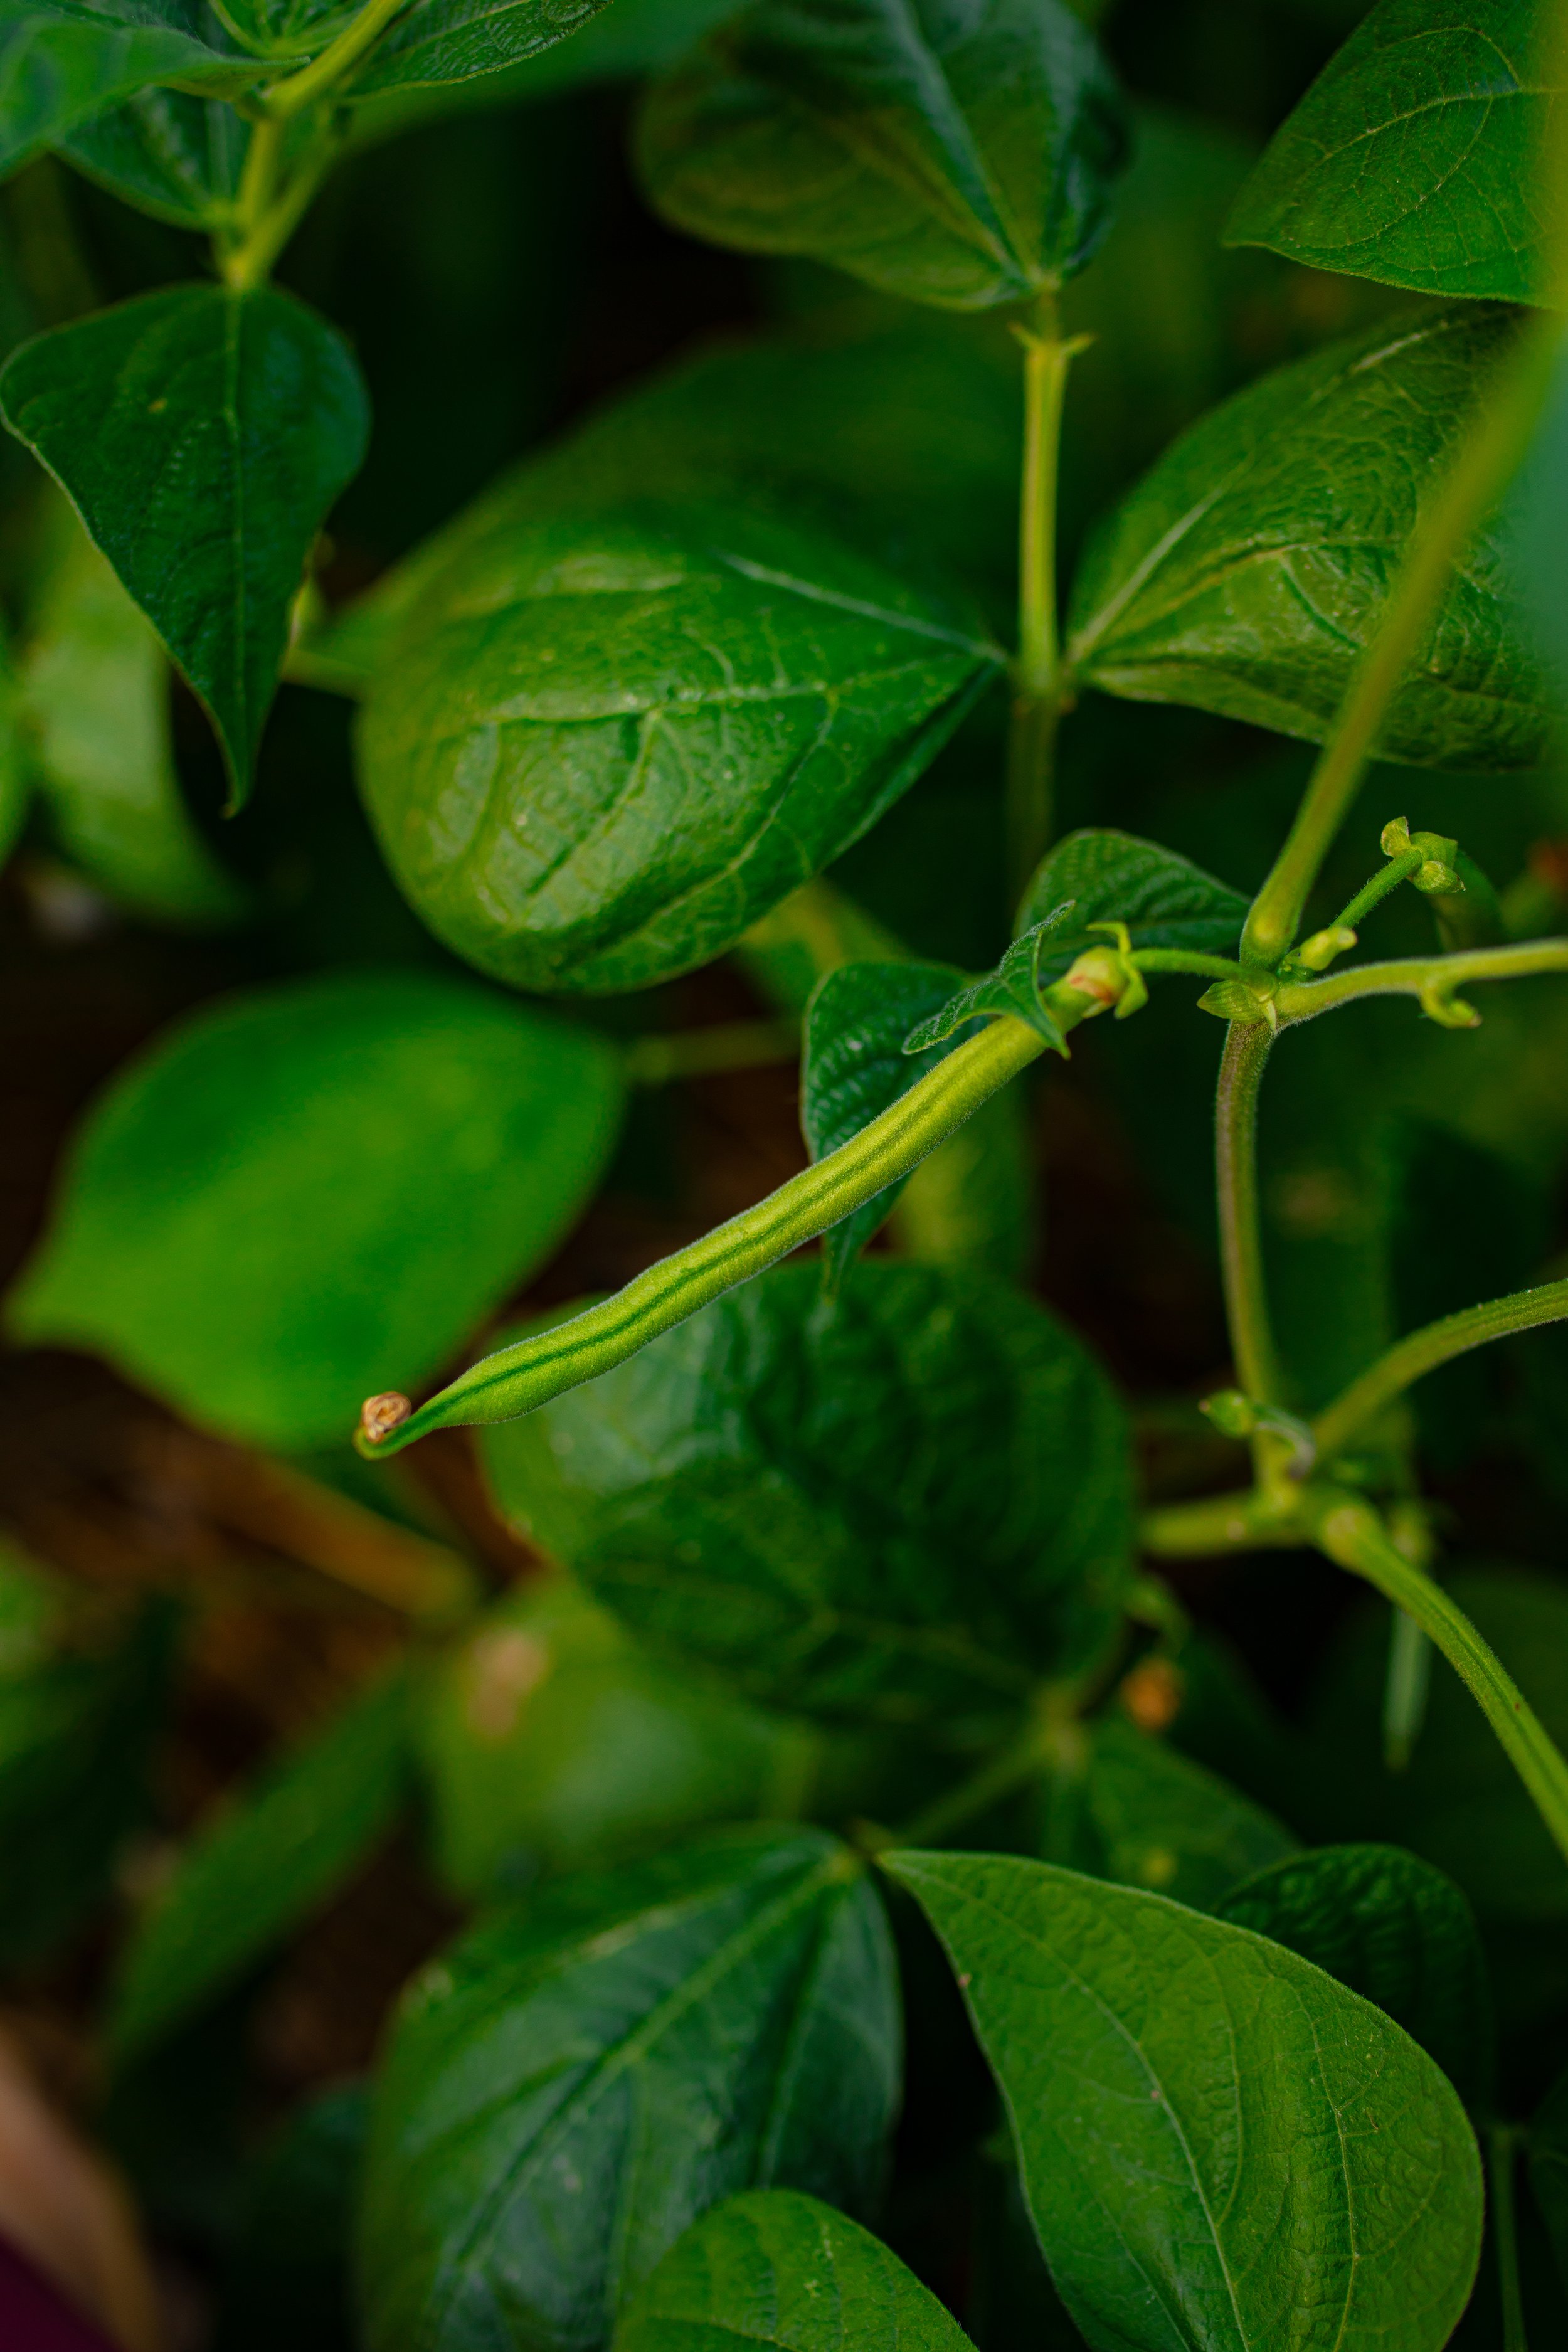
If you grow green beans like I do, then you will soon come to learn just how many beans you can pick! You can literally pick green beans every single day during the peak season (usually May through October), which is an excellent problem to have if you are hoping to preserve them for winter storage.
For canning, you will want to pick filled but tender, crisp pods. Remove any damaged, diseased, or rusty colored pods.
purchasing store-bought beans:
If you are purchasing green beans for canning, you will want to use fresh green beans that are still firm and crisp. Your best bet for finding the freshest beans is at your local farmer’s market, farm stand or u-pick, or at a small grocery store.
bulk processing beans:
If you are picking green beans from the garden, you may run into the issue of not having enough to fill up your canner in just one day. If this is the case, you can easily store your green beans in the refrigerator to save them up for canning day. Refrigerate your freshly picked beans as soon as possible to keep them fresh and crisp. Do not wash them and store them in sealed plastic bags with the air pressed out.
Beans stored this way will stay fresh for up to 7 days. If they become slimy and smell strongly, they should not be canned.
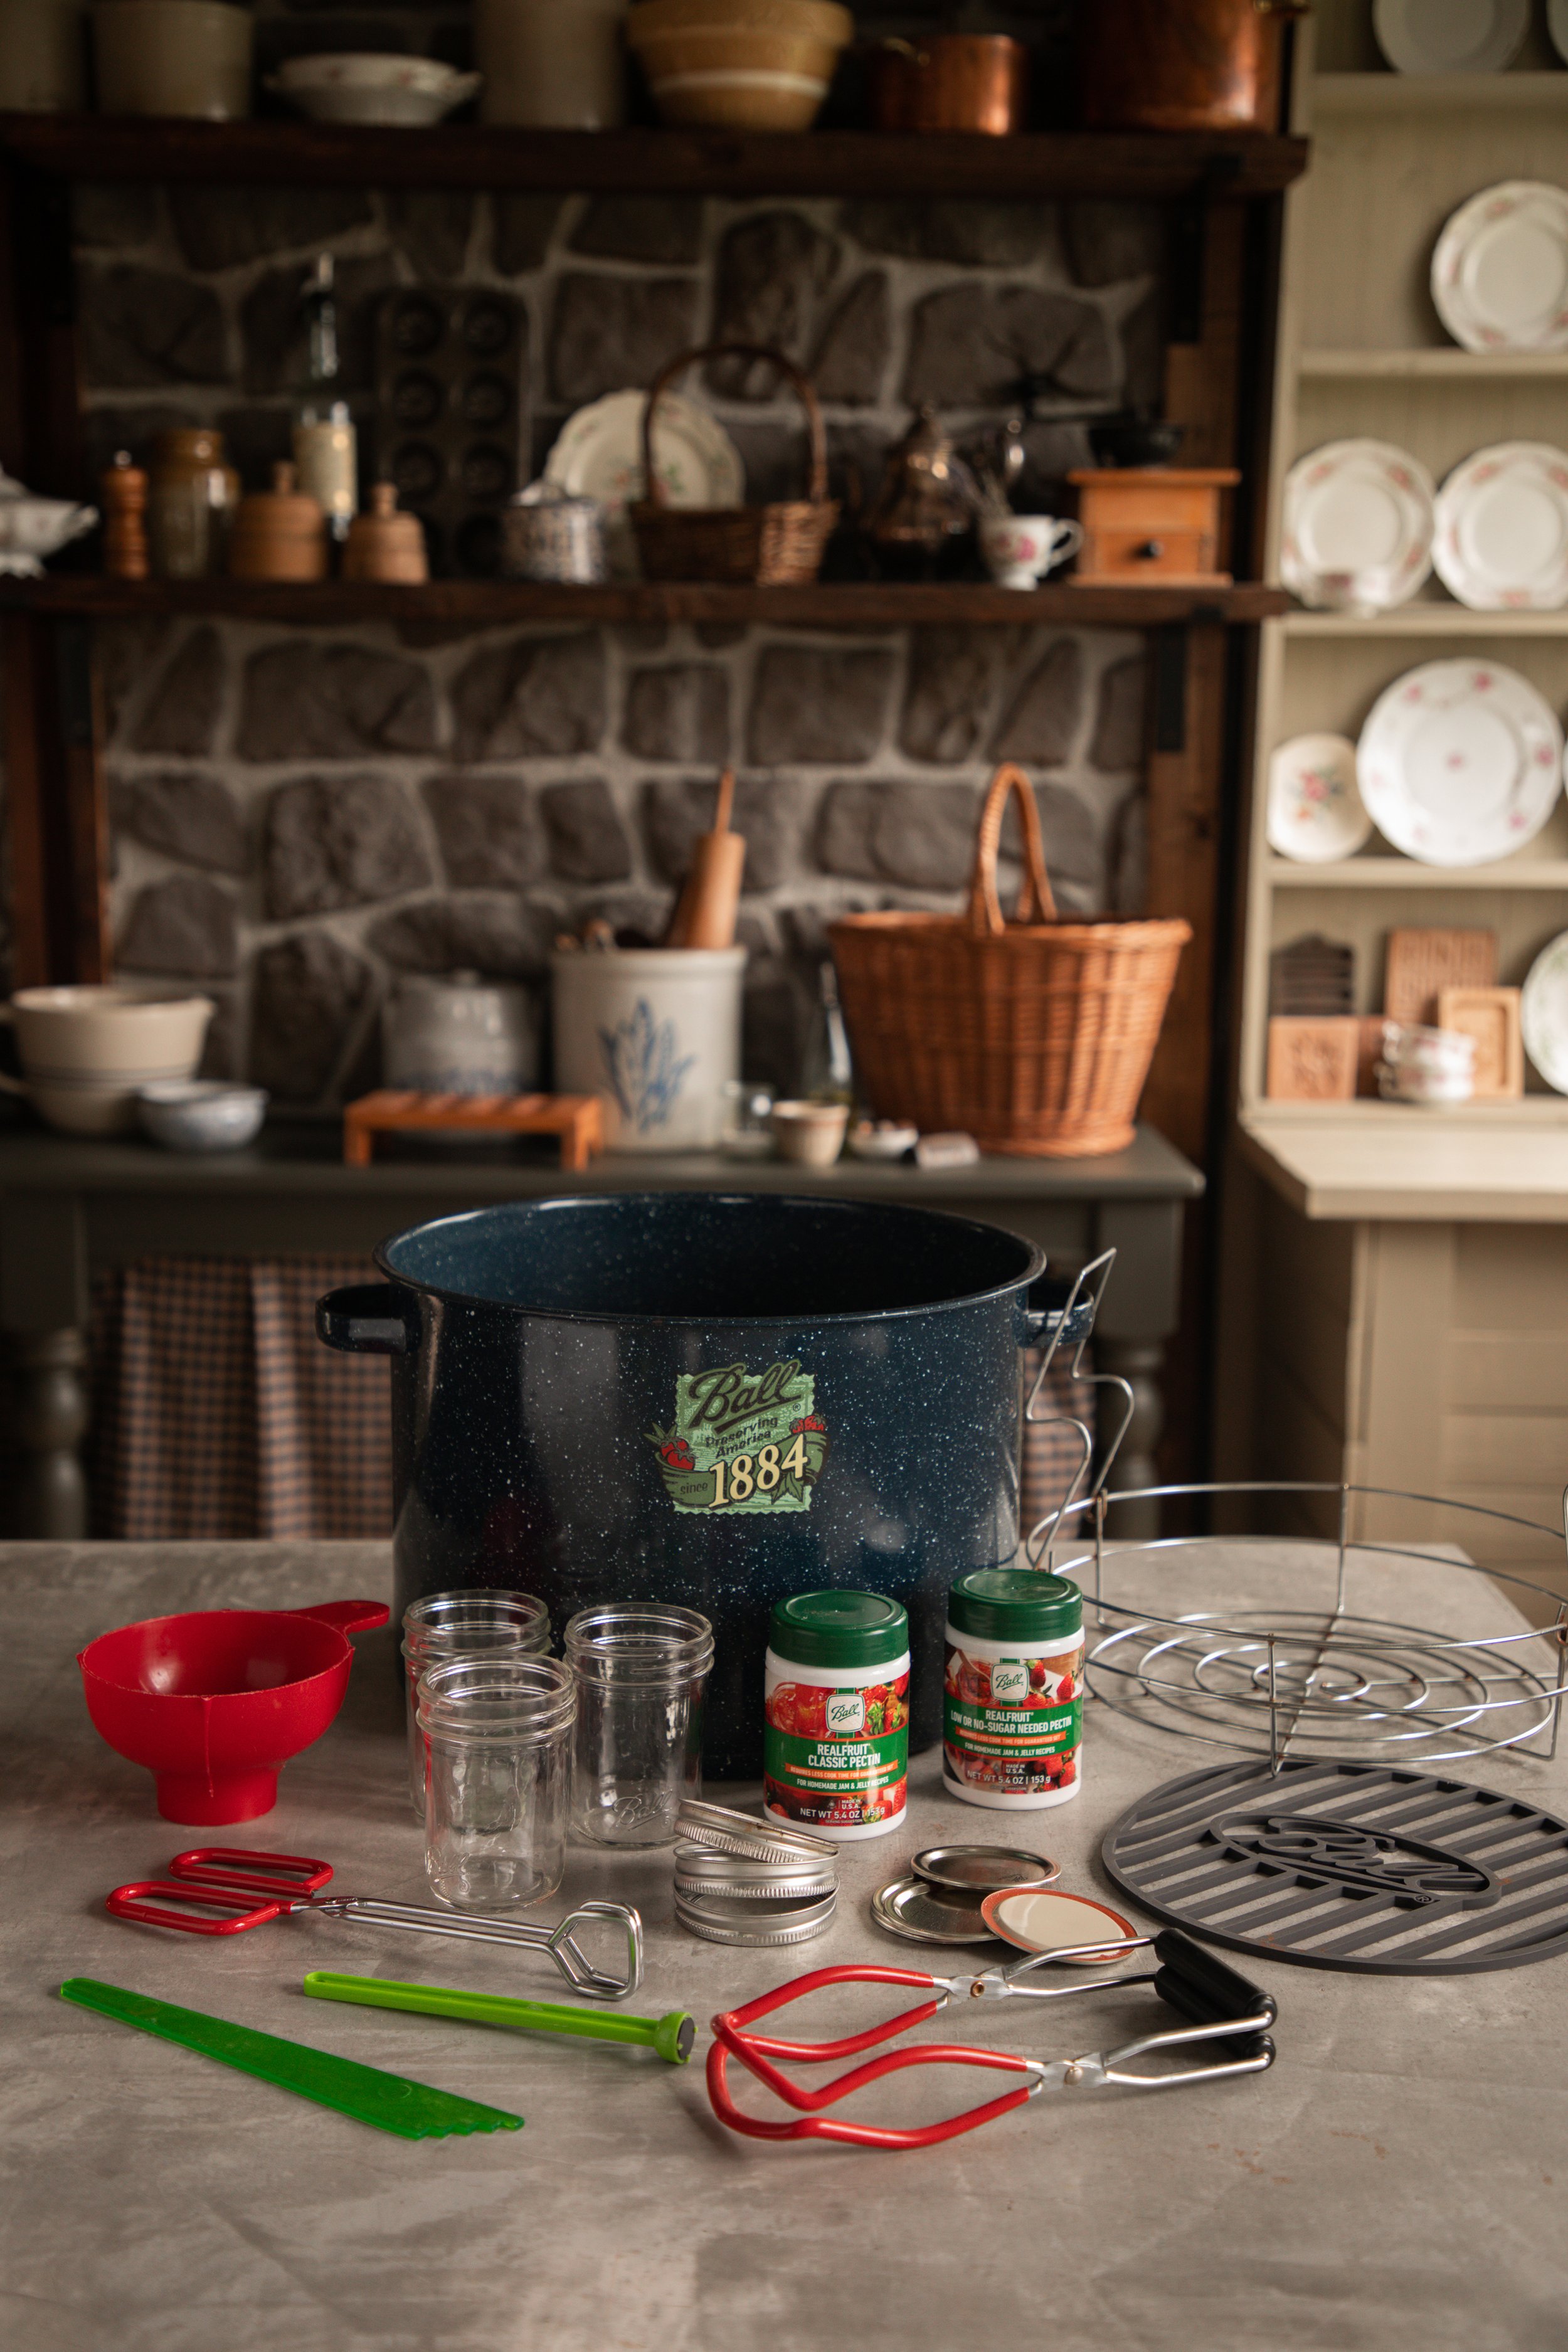
supplies you will need:
Before you begin canning, you will need to gather up some particular supplies. You do not need all of these canning supplies to successfully can green beans, but they do come in handy and make the entire process easier and faster.
Pressure Canner. To safely can green beans, you will need a pressure canner. Any brand works, and it really depends on your preference! I have a Presto pressure canner, and I like it just fine.
Canning Jars, Lids, and Bands. I prefer to use Ball® jars, lids, and bands. You will need NEW canning lids to safely can your green beans. Do not can with used lids, as the seals can be damaged.
Jar Lifter. You will definitely want this tool, as the jars are incredibly hot and heavy when filled!
Canning Funnel. I personally do not used a funnel when canning beans as you’re just filling them with water, but a funnel can be nice to have to avoid spills. Use a nonmetallic funnel to avoid breakage.
Nonmetallic Spatula. Another tool that can be helpful to avoid breakage of your jars, and it can be great for removing air bubbles.
Headspace Measurer. This tool is made to easily measure the headspace of your food, which is necessary for low-acid canning to avoid siphoning! It can also double as an air bubble popper.
Magnetic Lid Lifter Wand. This tool is absolutely not necessary, but it can be really helpful if you accidentally drop your lid into a pot of boiling water!
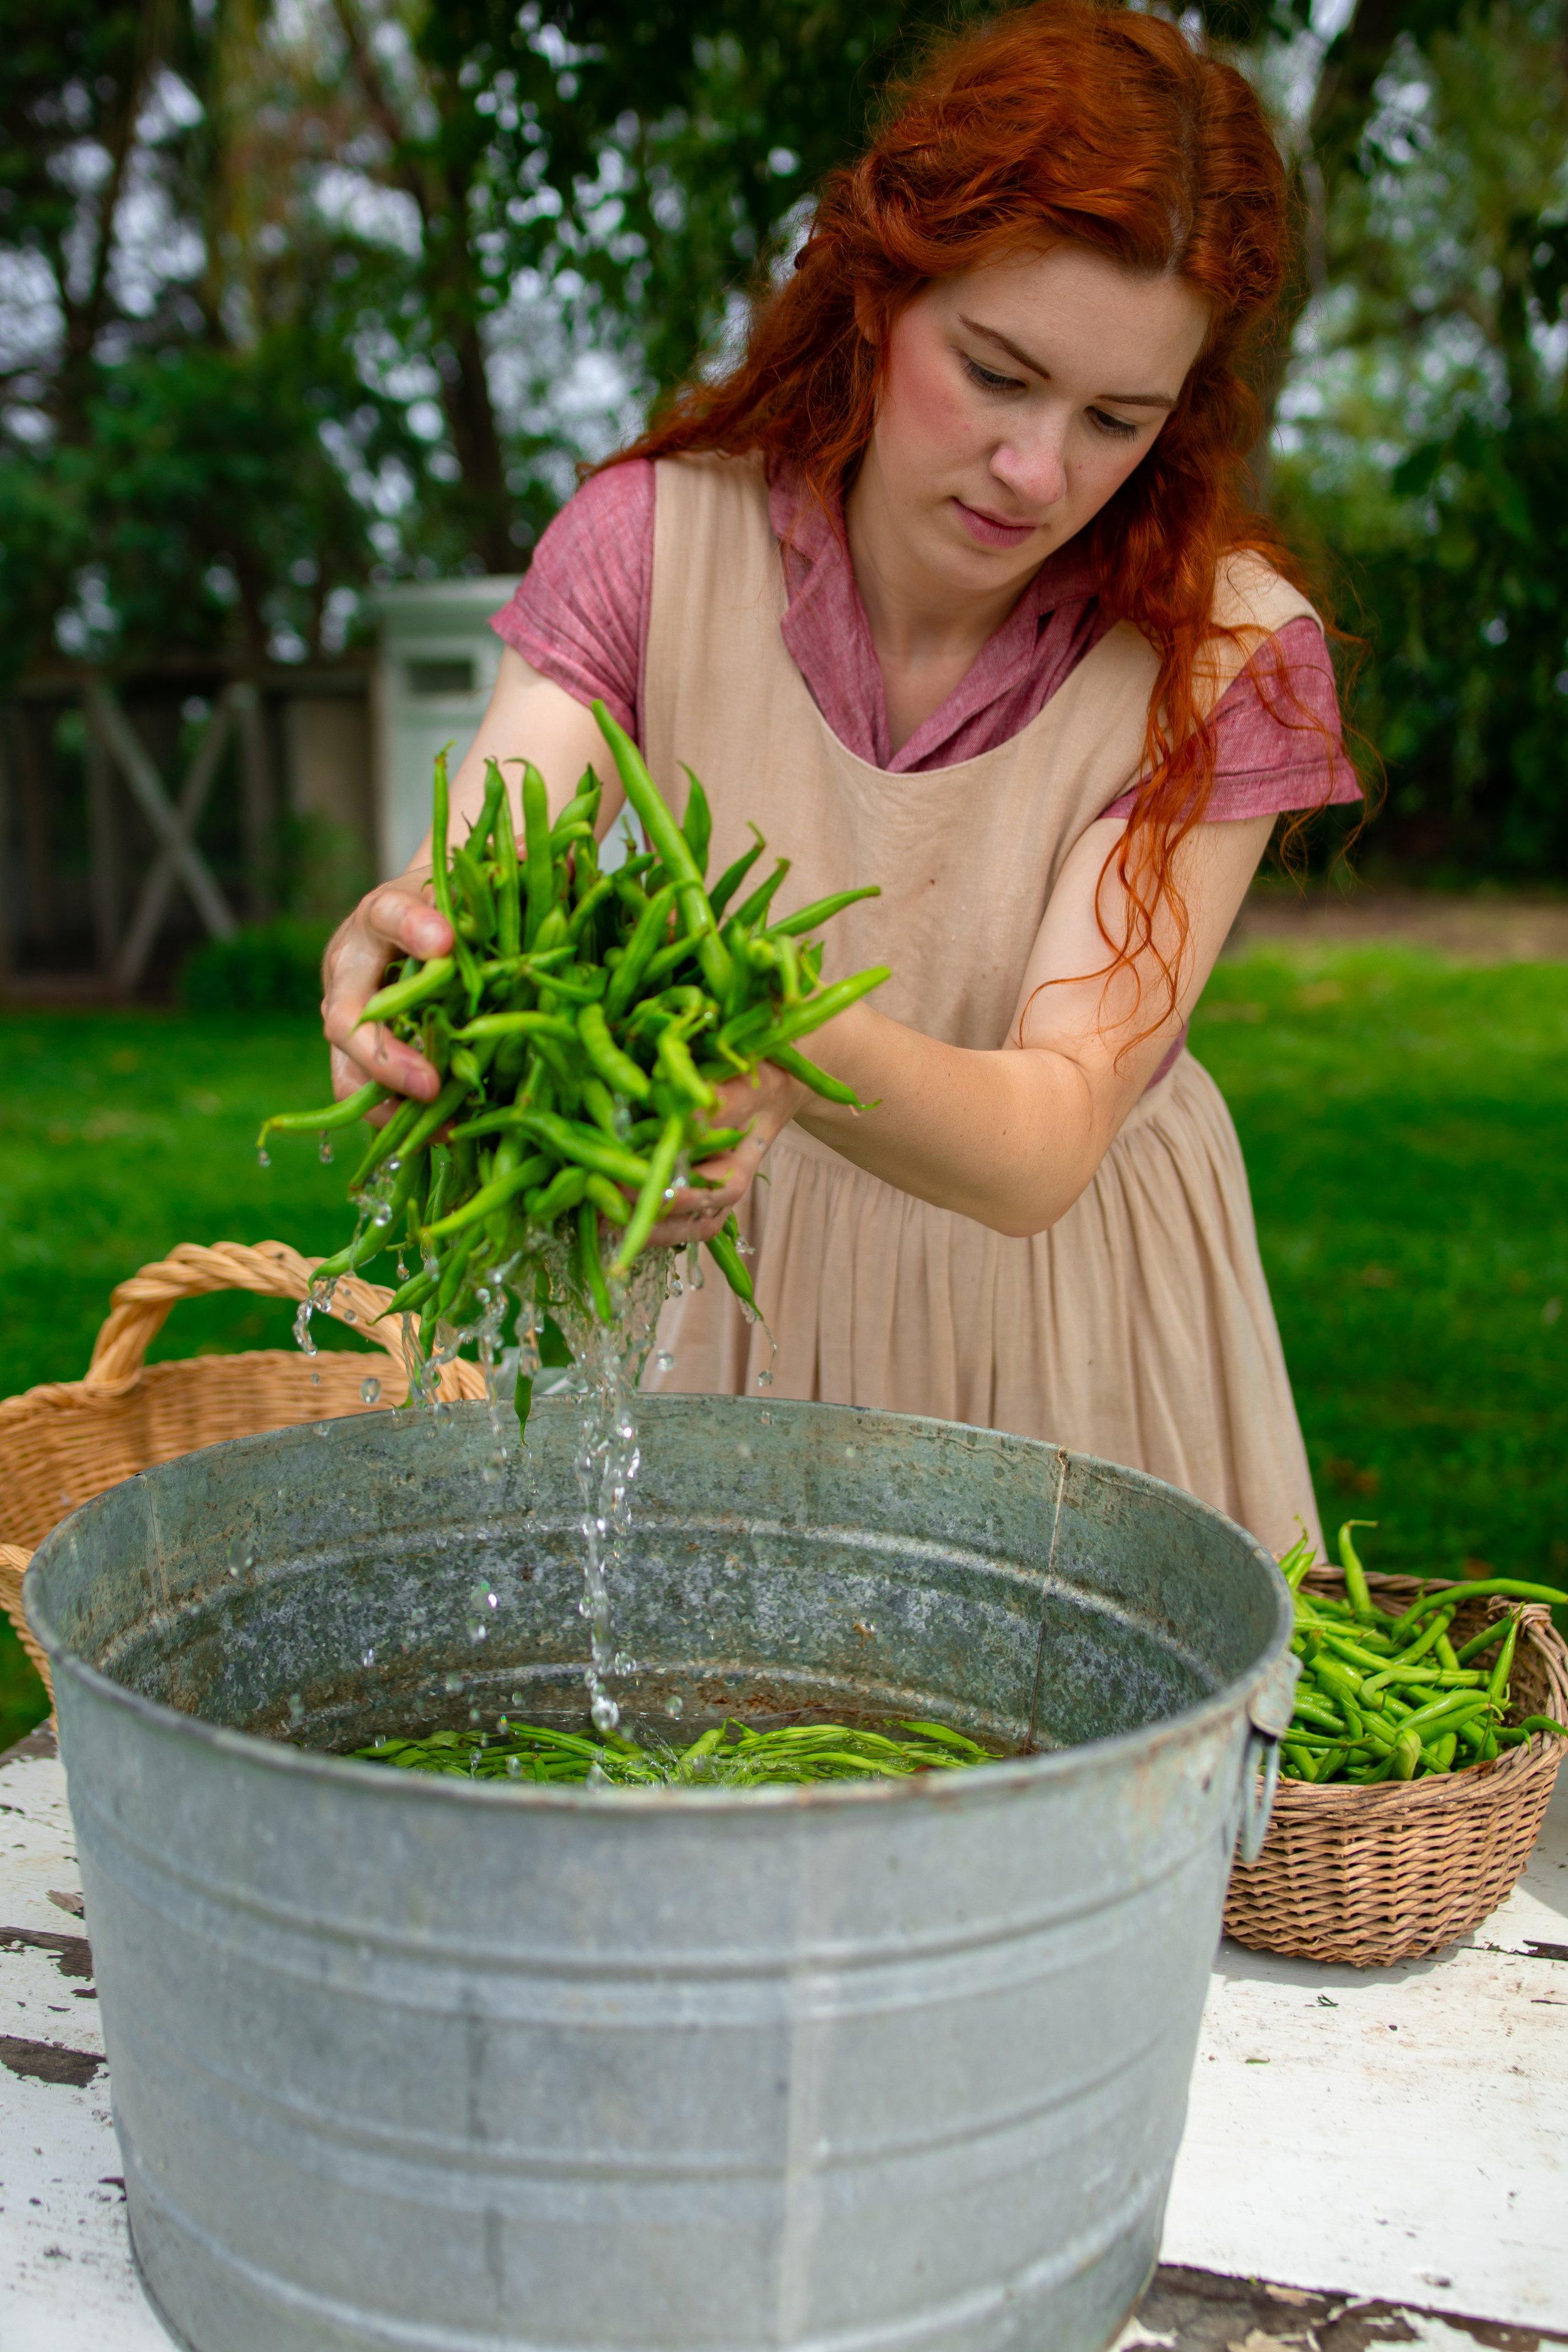
how to can green beans:
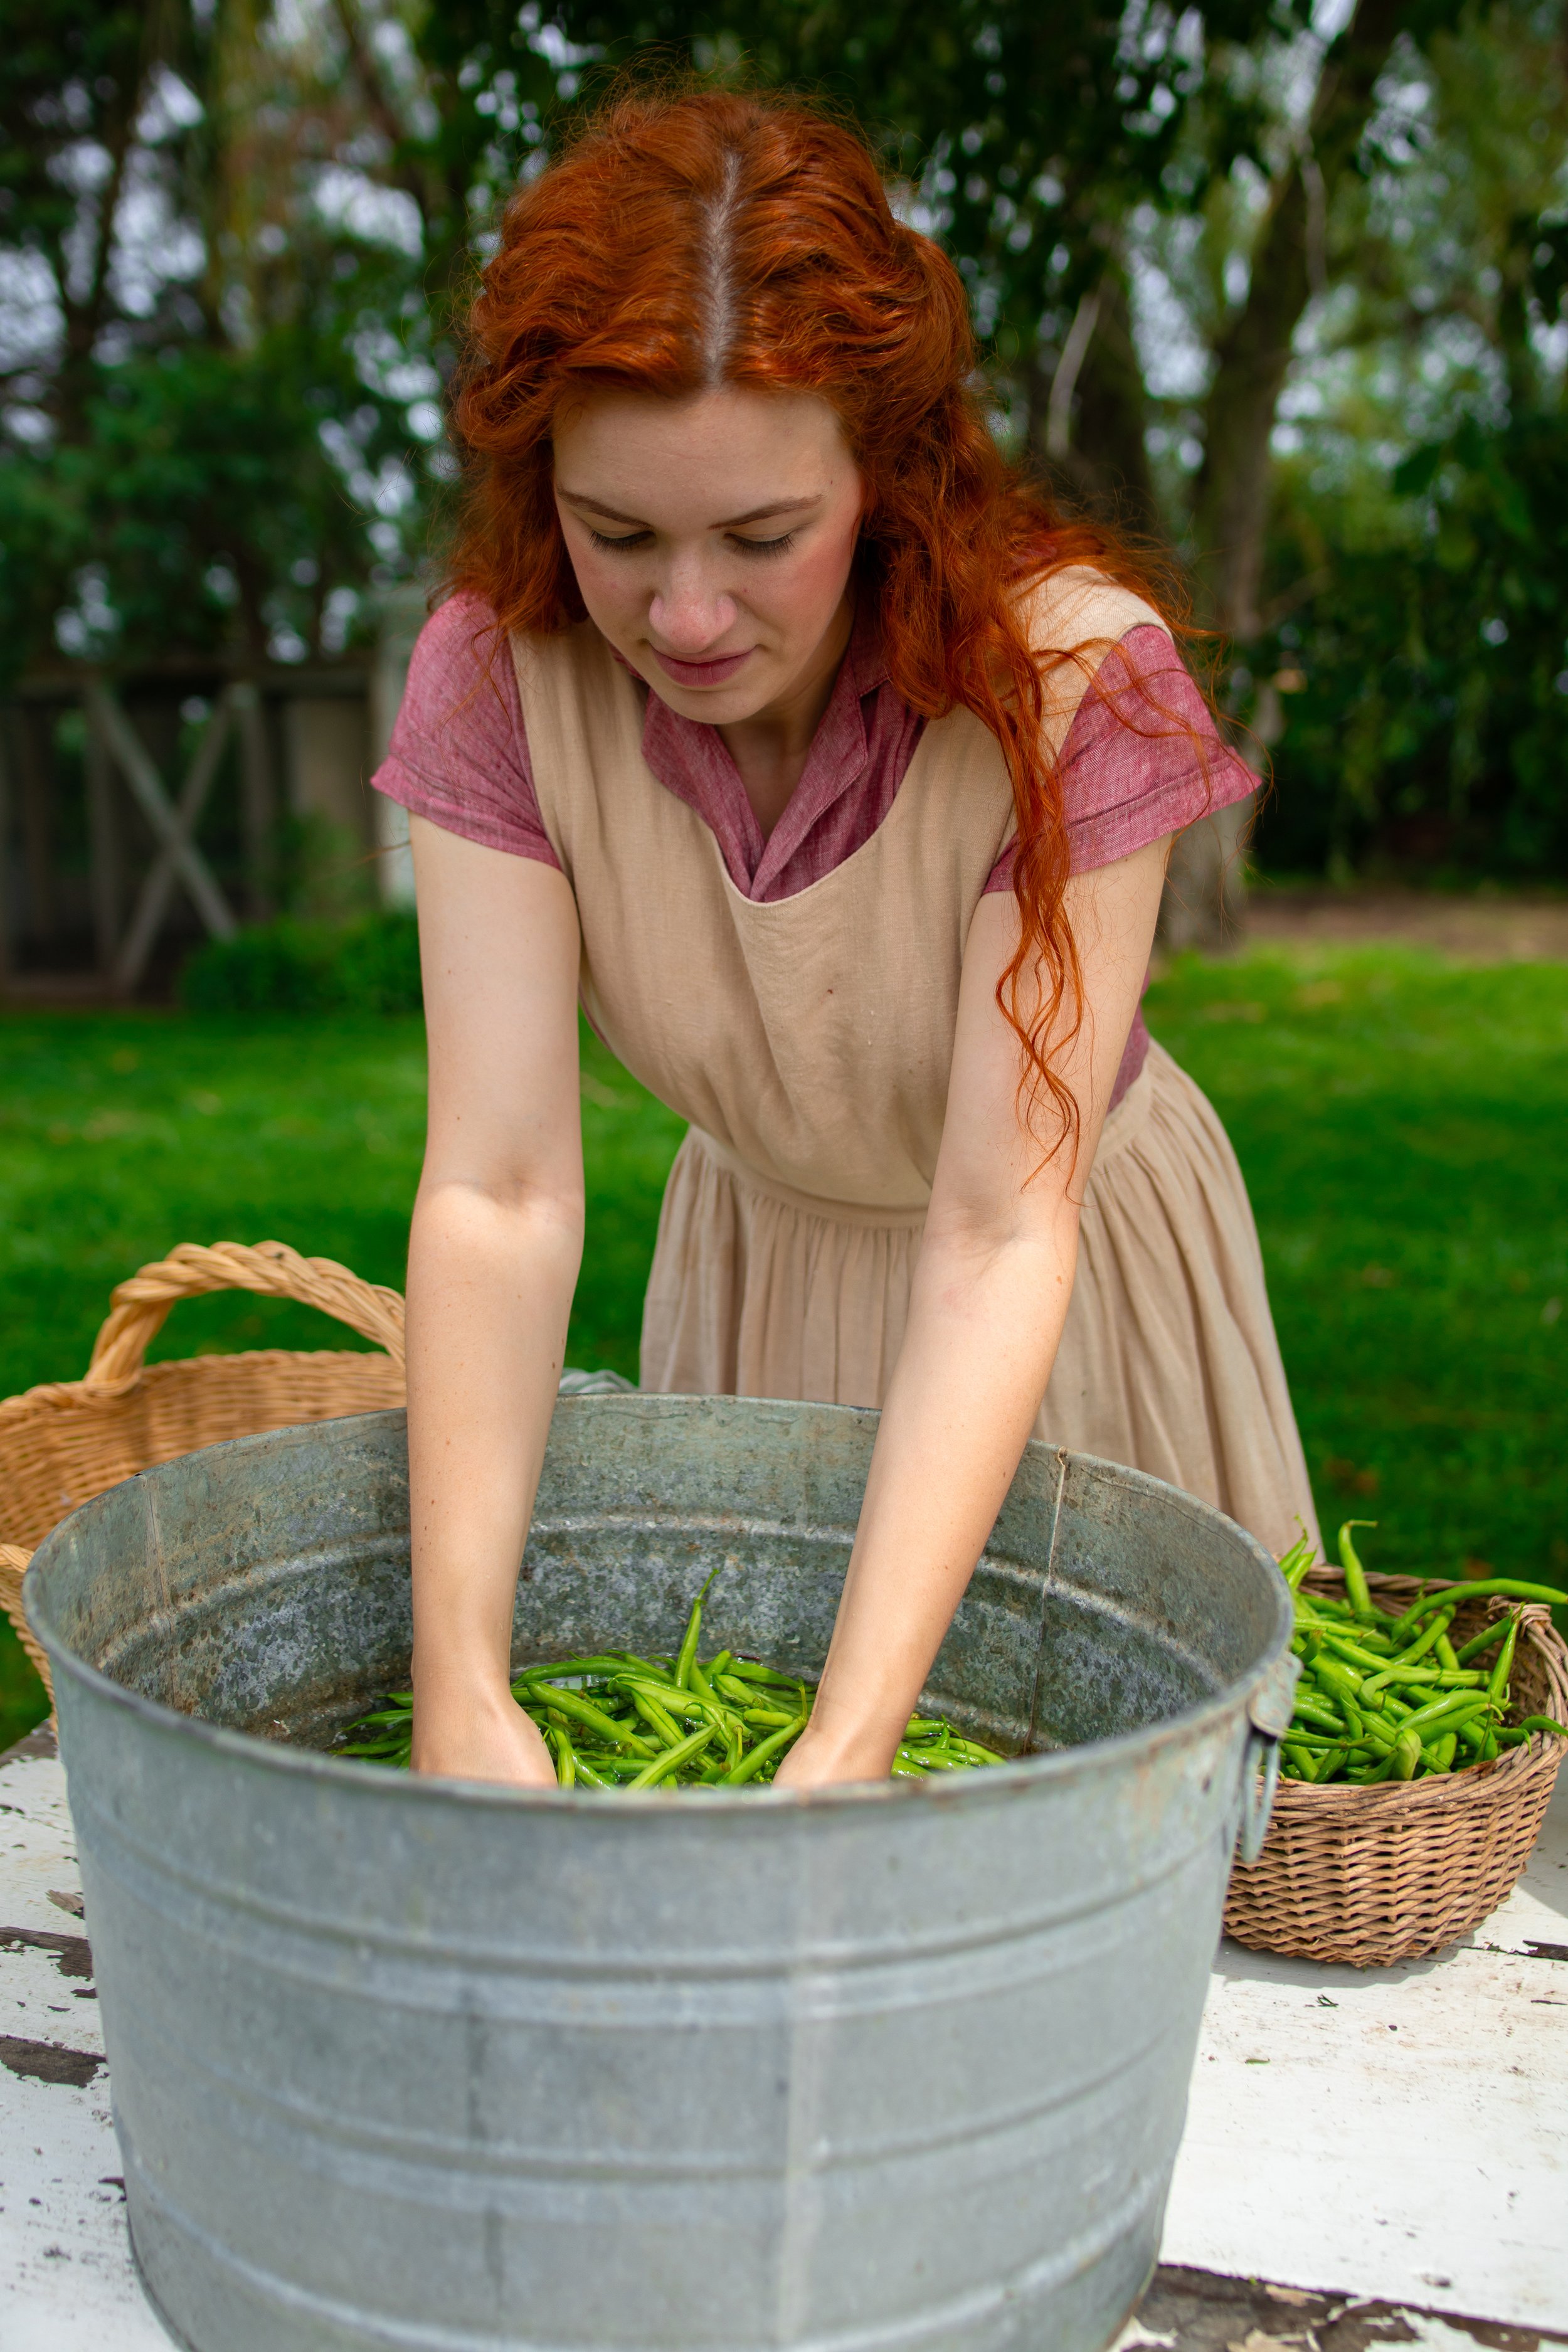
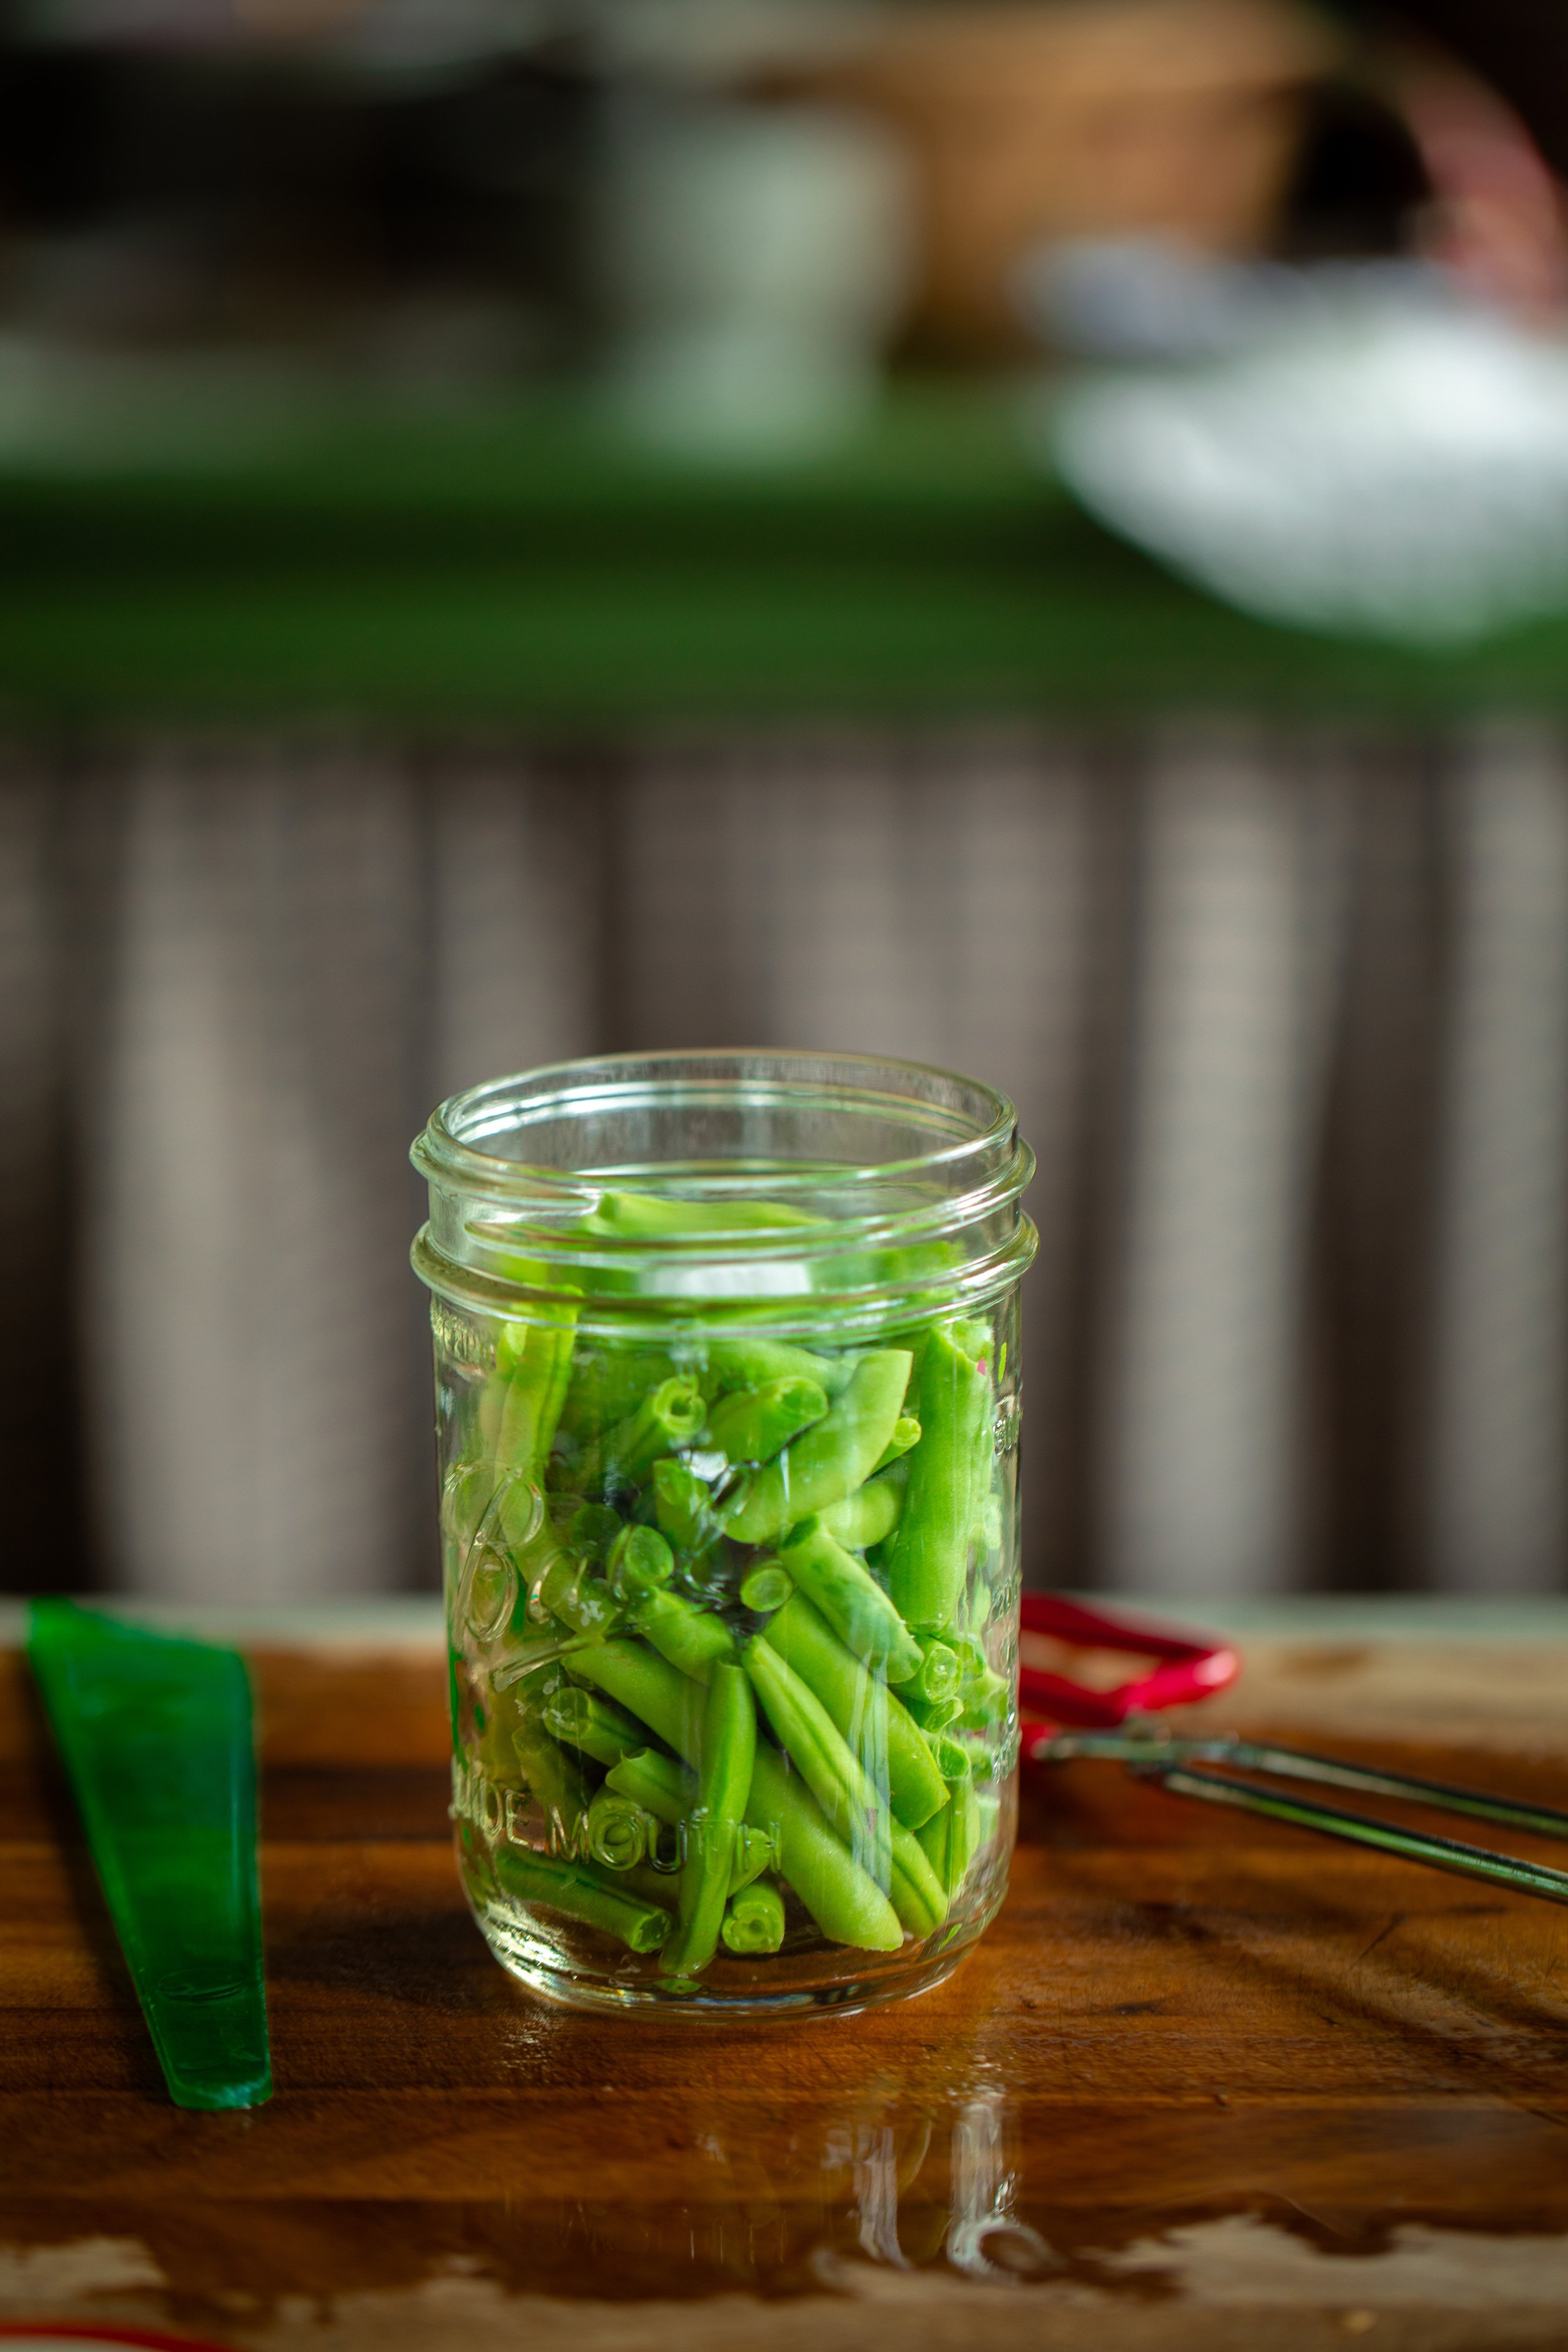
Step One: Begin by preparing your beans. Wash the beans in cold water to remove any dirt, insects, or dried leaves. Snap or trim off the ends, then snap the beans into sections that are about 1 to 2-inches (2.5 to 5-cm) long. Set the snapped beans in a large bowl and set this aside for now. You will need an average of 5 lbs (2.27 kg) of beans for a canner load of 7 quarts, or 4 lbs ((1.81 kg) for a canner load of 9 pints.
Step Two: Next, prepare your pressure canner, jars, lids, and bands according to the manufacturer's directions for your canner. Only fill the canner with the amount of water recommended for your canner, no more and no less. Place clean pint or quart jars into the canner and bring to a simmer to heat the jars for at least 10 minutes before filling.
raw-pack method:
Step Three: While the jars warm up, bring a large pot of water to a rolling boil. You will want to use a pot that can hold at least 6 quarts of water for 7 quarts/9 pints.
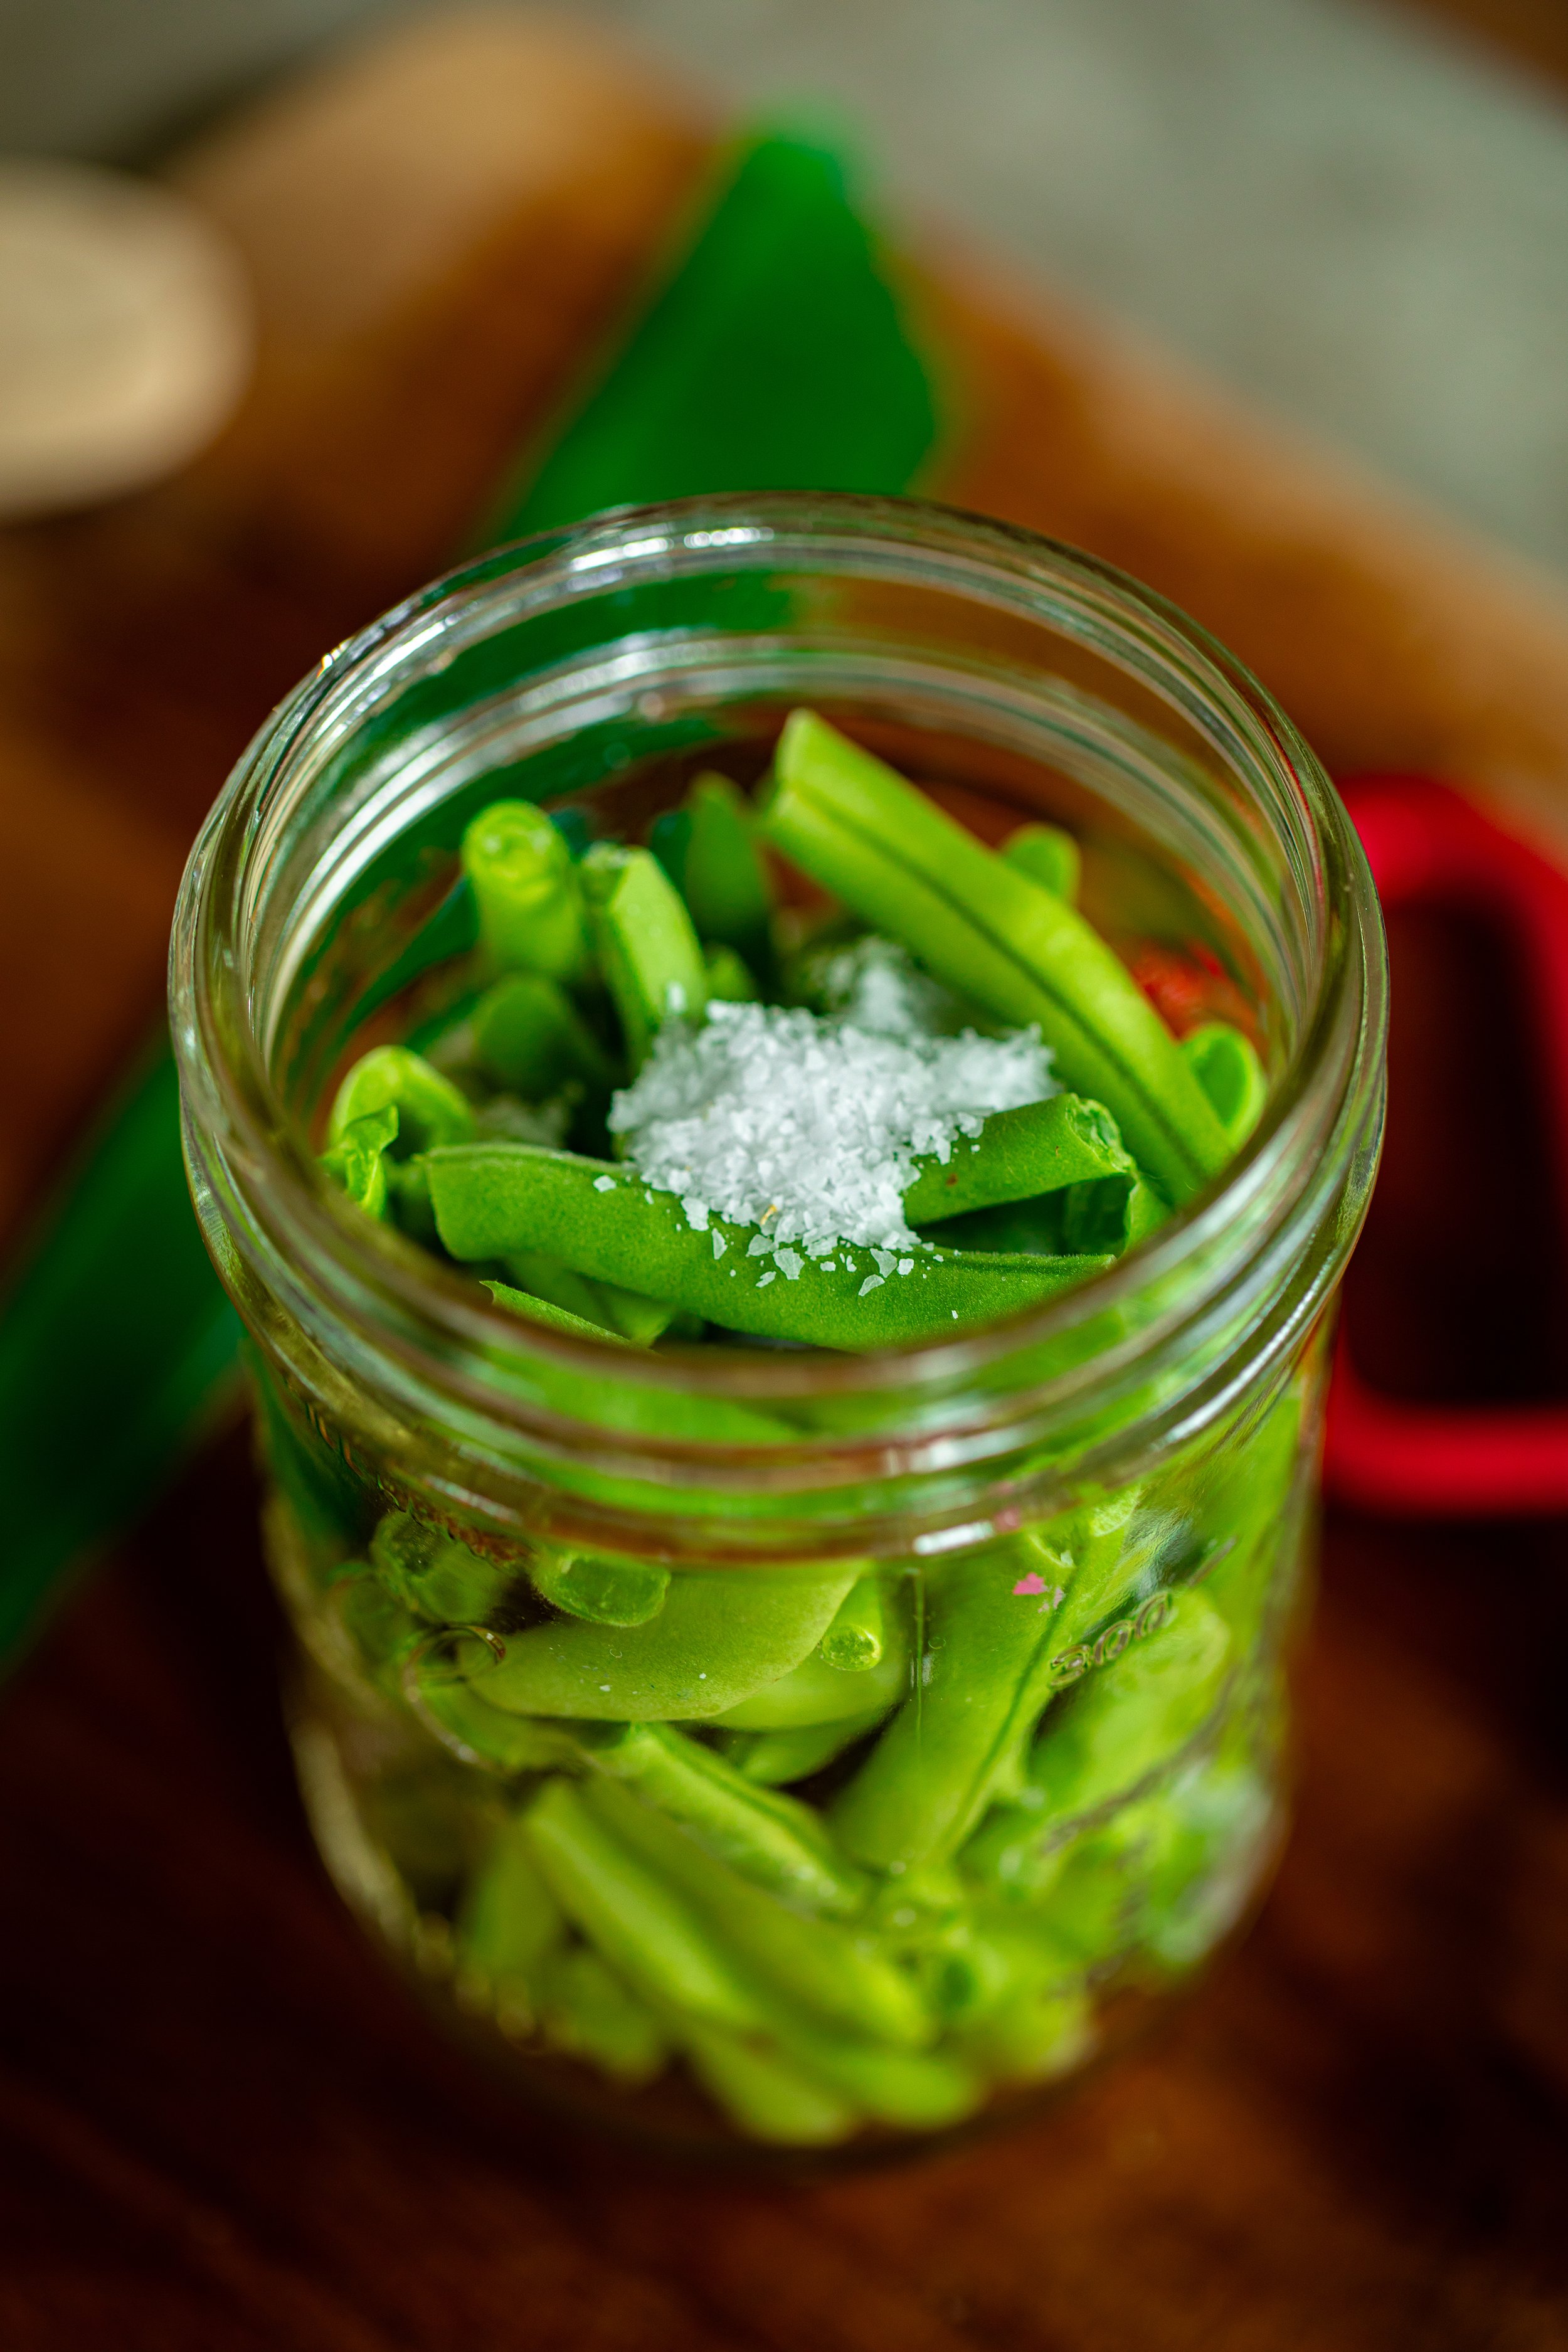
Step Four: Once the water is boiling, begin filling the jars. Lay a clean towel on the countertop, and place one jar from the canner onto the towel. Pack the jar tightly with beans, leaving 1-inch (2.5-cm) headspace. Add 1 teaspoon of salt to each quart jar or 1/2 teaspoon of salt to each pint jar, if desired. Pour the boiling water over the beans, leaving 1-inch (2.5-cm) headspace. Poke around to remove any air bubbles and adjust the headspace of the water as necessary.
**Read the recipe card below for the Hot-Pack Method.
Step Five: Wipe the rim of the jar clean, place the lid on the jar, and screw on the band to fingertip tight. Place the jar back into the canner and repeat the packing process with the remaining jars, filling them one at a time.
Step Six: When all of the jars are finished, adjust the water level in your canner as necessary. Put on the lid and follow the instructions for setting up your canner for processing.
processing times for green beans:
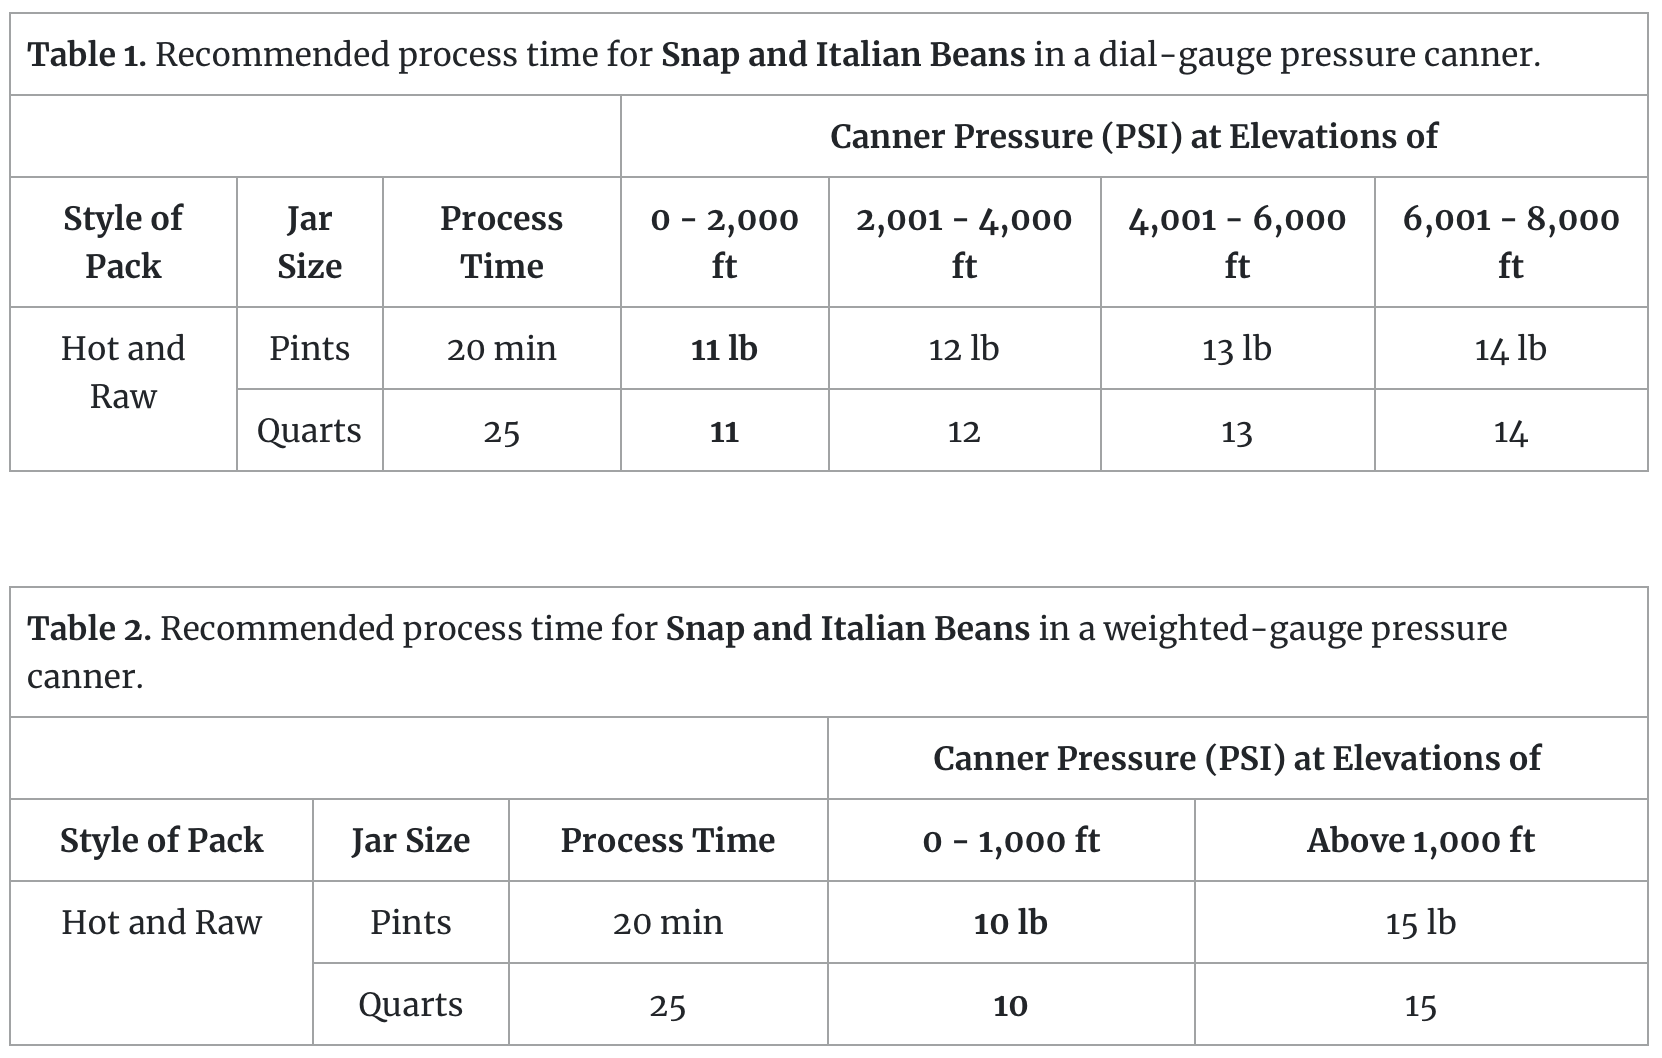
The time and amount of pressure for canning beans varies depending on where you live! Different elevation levels cause these amounts to differ, so it’s a good idea to look into the recommended time and pressure for your area. Please use the chart below!
For more information about canning snap or Italian beans, please read the USDA guidelines.
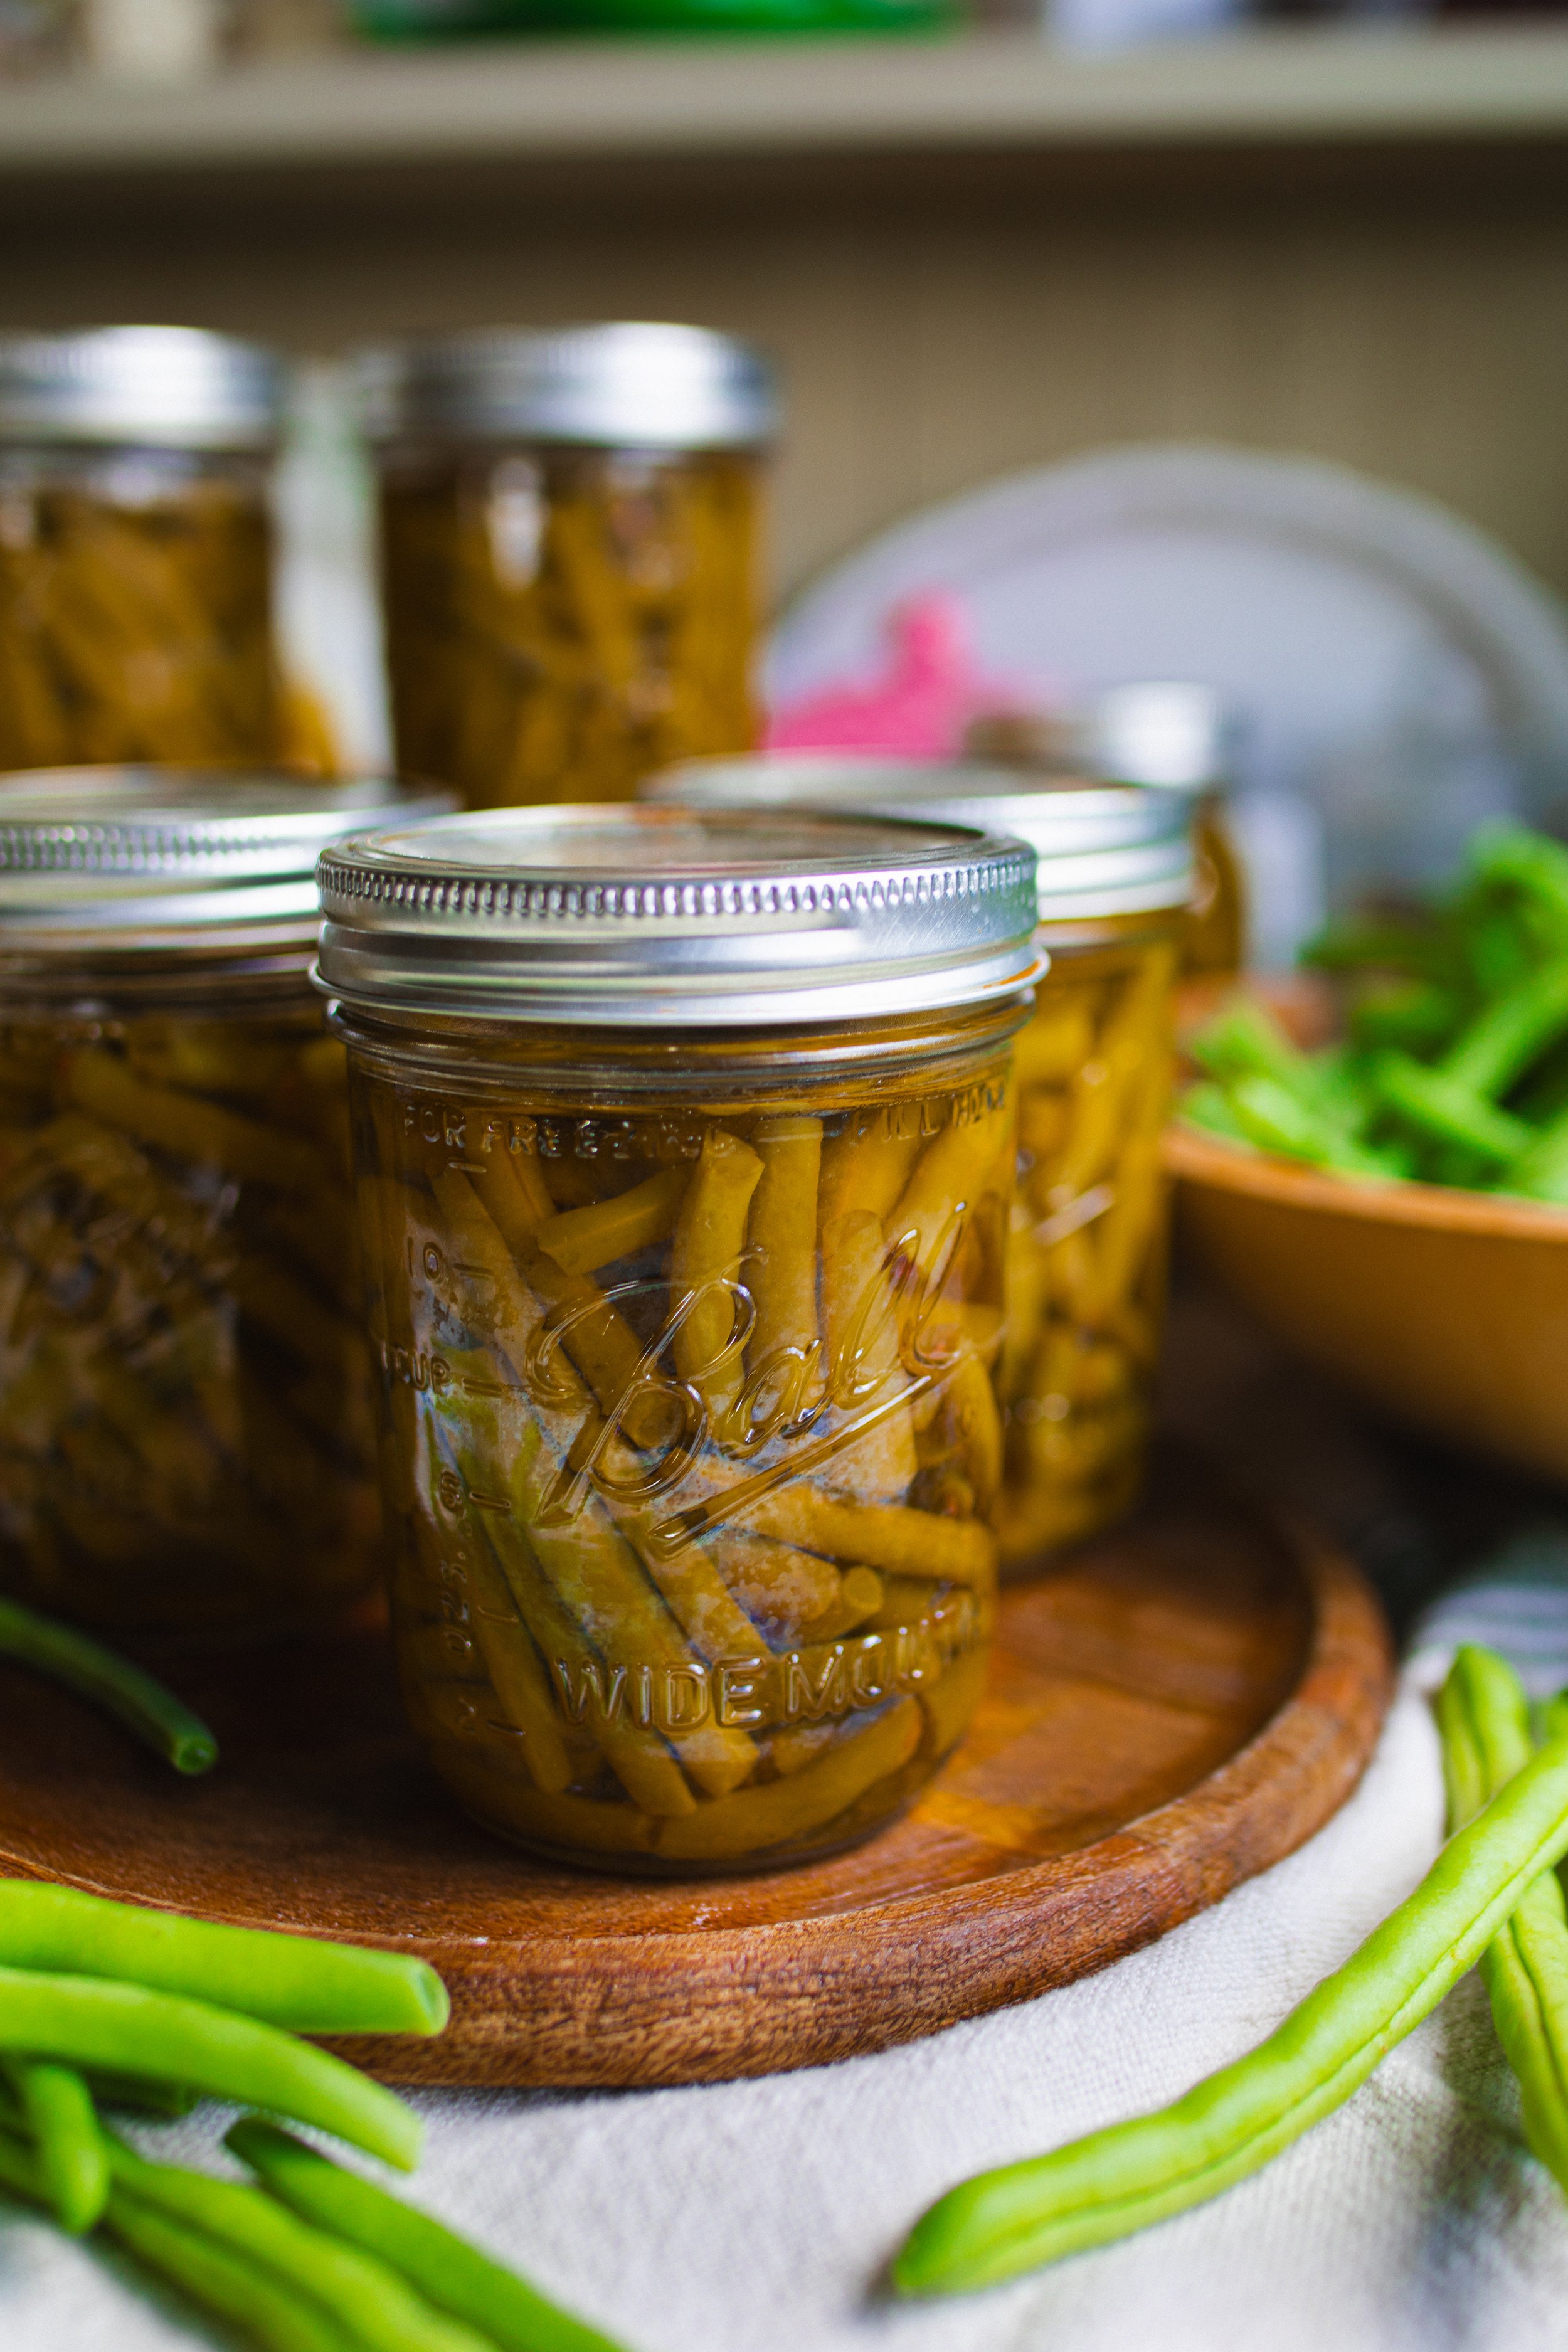
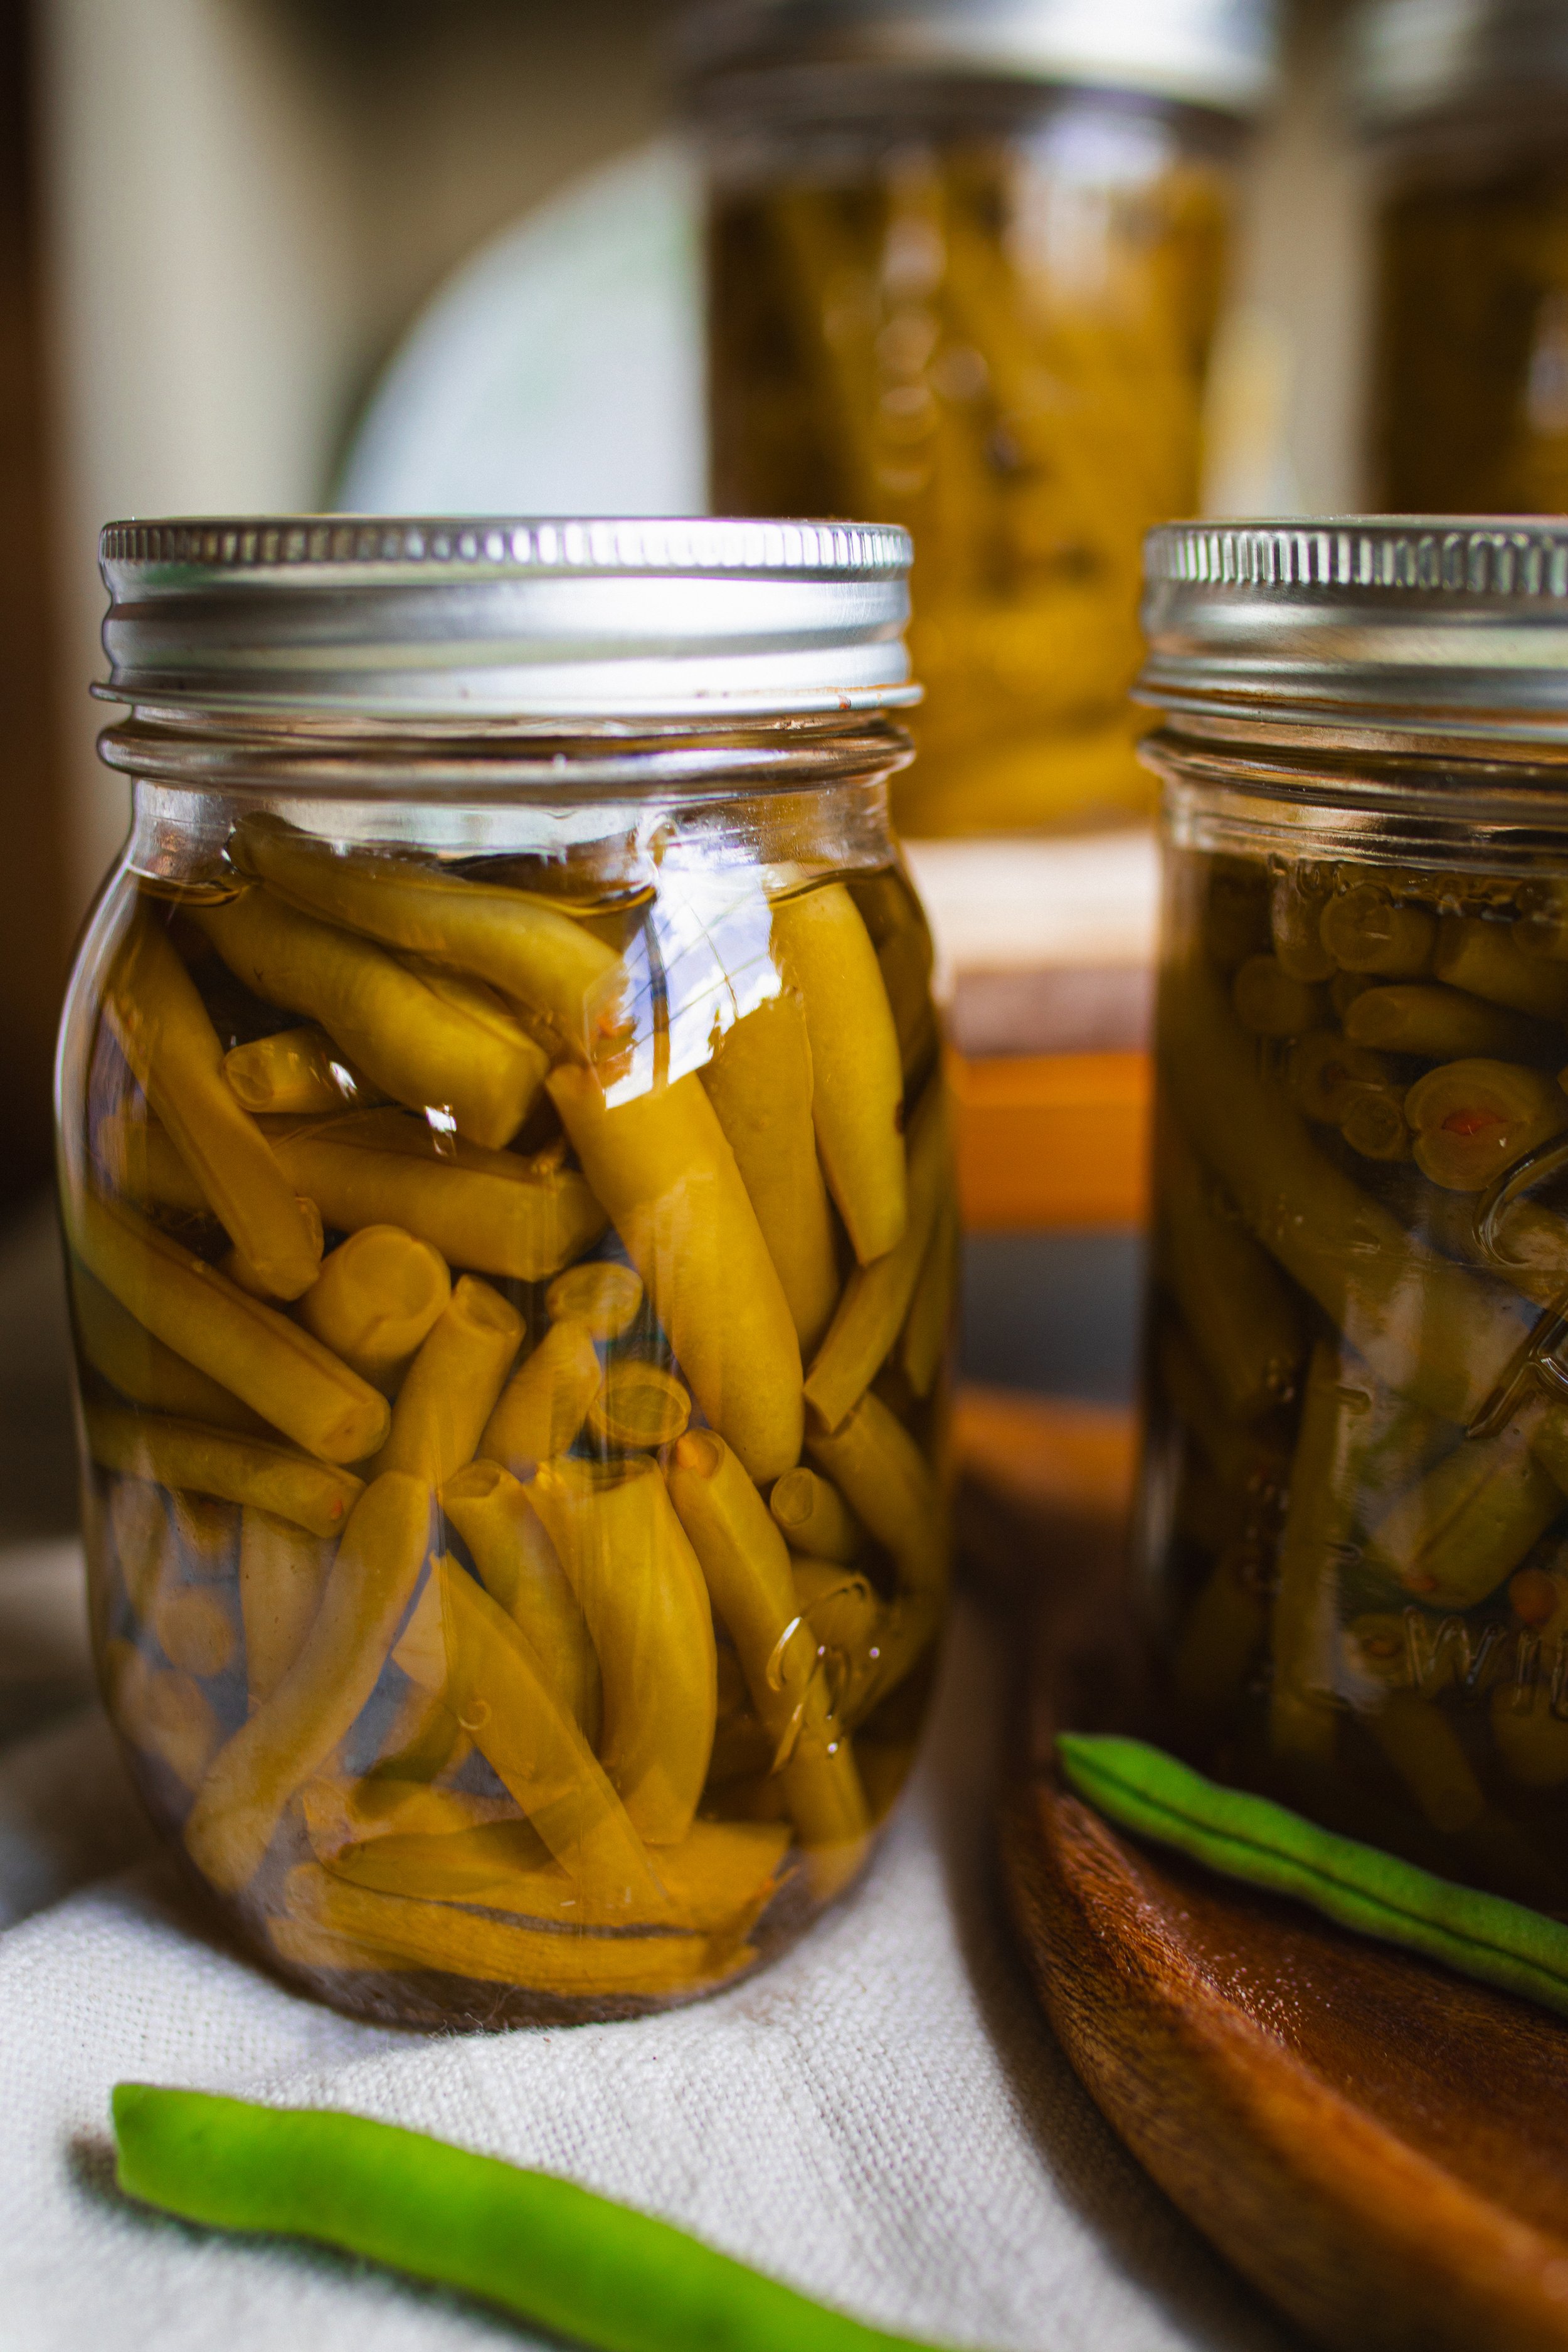
storing your canned green beans:
After processing the beans, release the pressure in your canner according to the manufacturer's directions. Remove the canner lid and leave your jars to sit in the water for 10 minutes. Then, place them onto a towel on the countertop to cool.
After 12 to 24 hours, you can safely remove the bands and check the seals of the jars. Lift the jar around the edges with your fingertips and lift it about an inch off the countertop. If the jar remains sealed, it’s good to store!
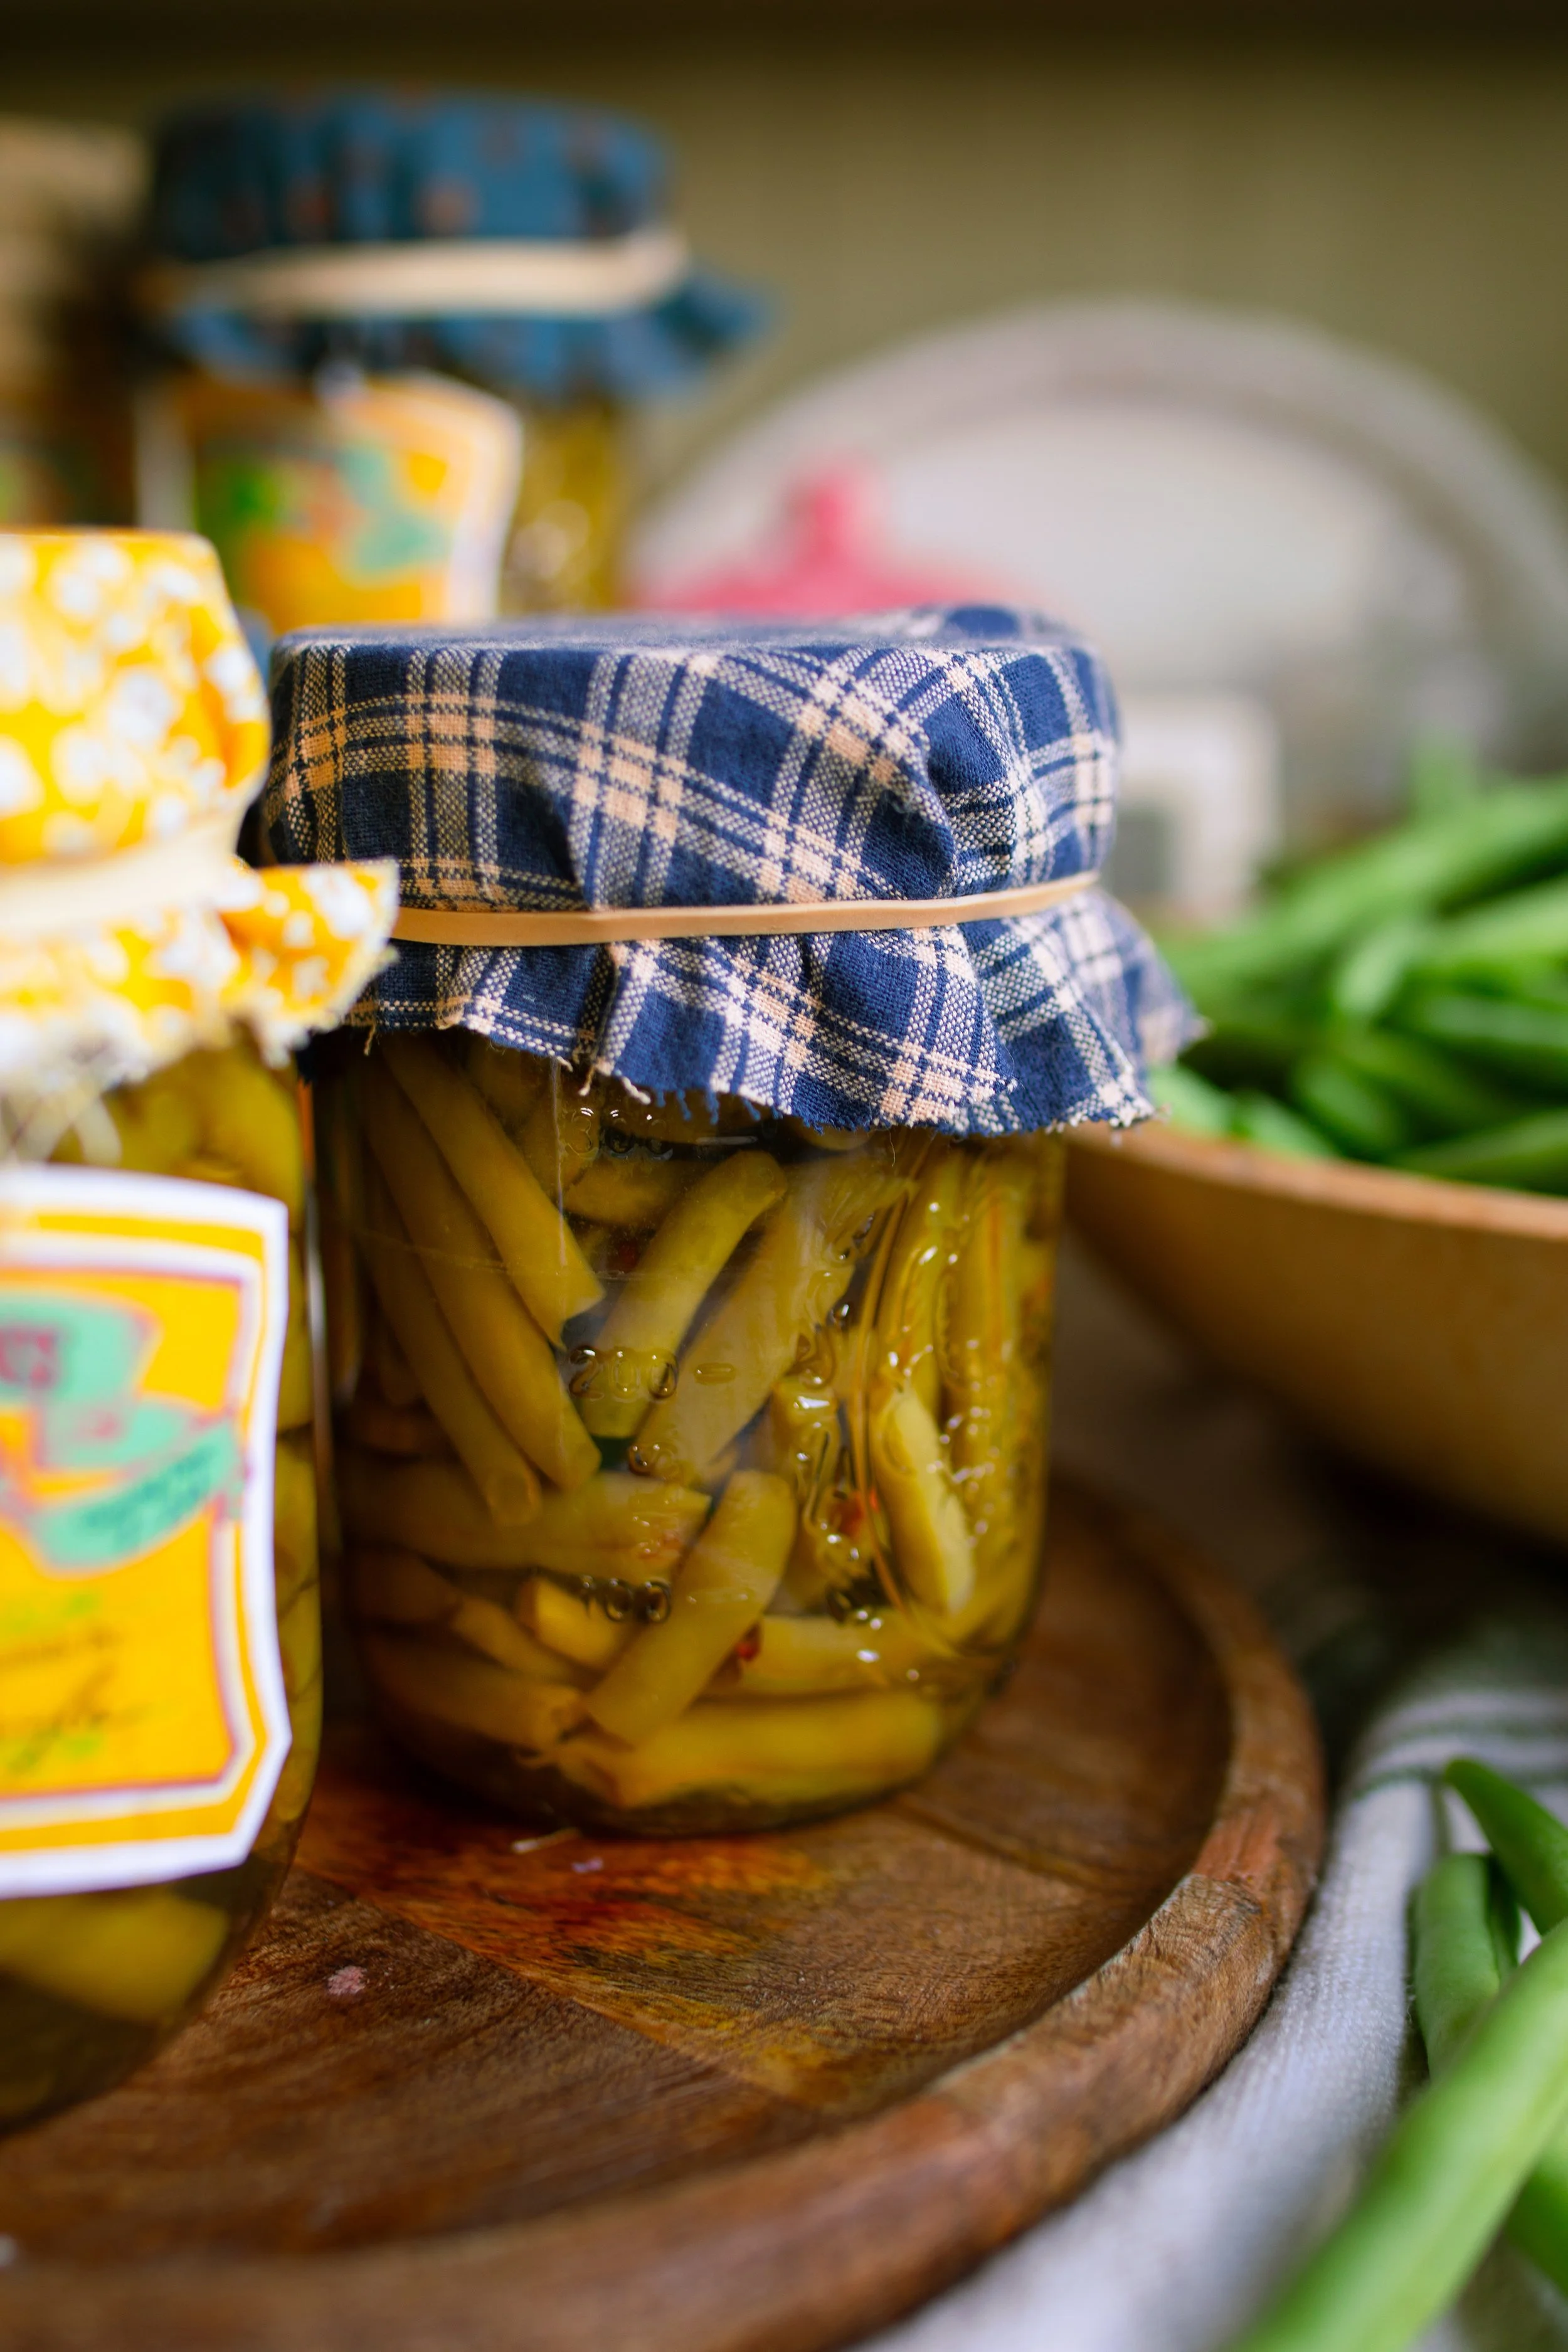
Store your jars in a place that remains at room temperature 60° to 80° F (16° to 26° C) that is out of direct sunlight to avoid discoloration.
final thoughts:
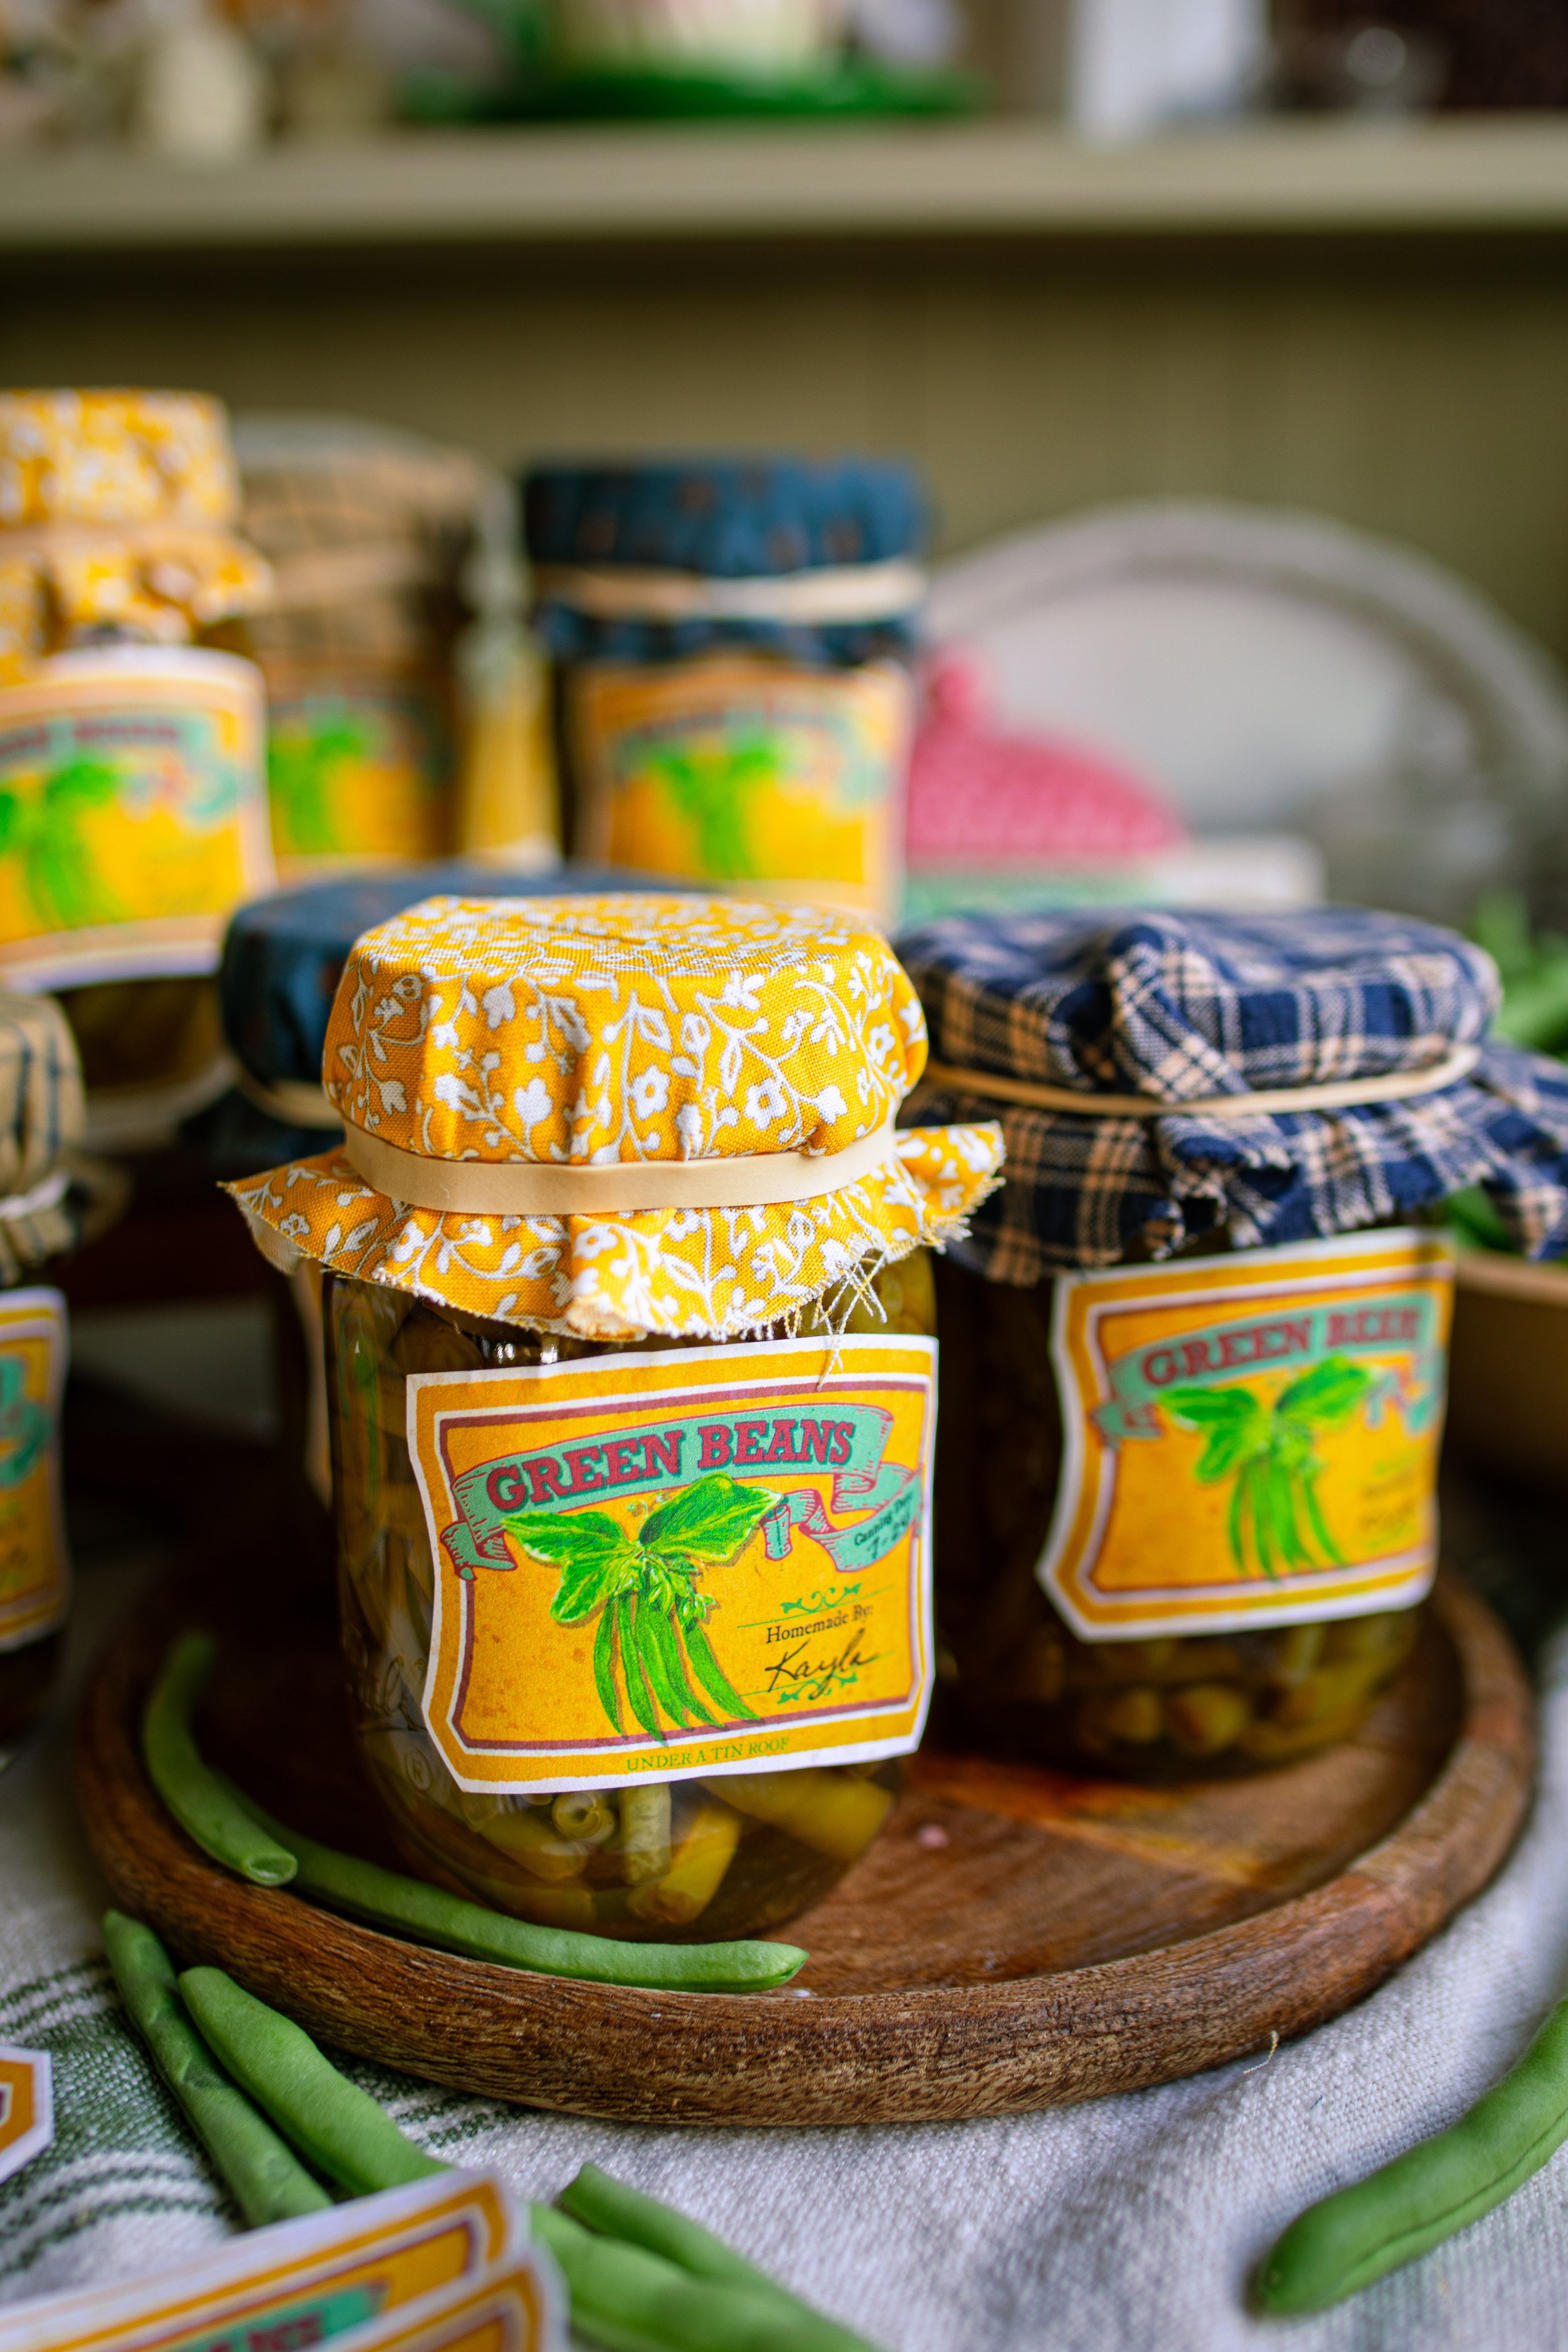
While there are a lot of little rules to remember, the entire process of canning green beans is incredibly simple and easy to do! You can easily preserve the summer harvest with this easy canning guide. Green beans are in full swing over here on the farm, so I will be spending several days pressure canning green beans at my house. I love this time of year, and it’s always so satisfying to see my shelves lined with all of the delicious foods I’ve preserved. I hope you enjoy home canning your own green beans with this safe and easy canning method.
xoxo Kayla

Canned Green Beans: Pressure Canning Recipe
Ingredients
- Fresh green beans
- Kosher salt, optional
- Water
Instructions
- Begin by preparing your beans. Wash the beans in cold water to remove any dirt, insects, or dried leaves. Snap or trim off the ends, then snap the beans into sections that are about 1 to 2-inches (2.5 to 5-cm) long. Set the snapped beans in a large bowl and set this aside for now. You will need an average of 5 lbs (2.27 kg) of beans for a canner load of 7 quarts, or 4 lbs ((1.81 kg) for a canner load of 9 pints.
- Next, prepare your pressure canner, jars, lids, and bands according to the manufacturer's directions for your canner. Only fill the canner with the amount of water recommended for your canner, no more and no less. Place clean pint or quart jars into the canner and bring to a simmer to heat the jars for at least 10 minutes before filling.
- While the jars warm up, bring a large pot of water to a rolling boil. You will want to use a pot that can hold at least 6 quarts of water for 7 quarts/9 pints.
- Once the water is boiling, begin filling the jars. Lay a clean towel on the countertop, and place one jar from the canner onto the towel. Pack the jar tightly with beans, leaving 1-inch (2.5-cm) headspace. Add 1 teaspoon of salt to each quart jar or 1/2 teaspoon of salt to each pint jar, if desired. Pour the boiling water over the beans, leaving 1-inch (2.5-cm) headspace. Poke around to remove any air bubbles and adjust the headspace of the water as necessary.
- Place the beans in a large stock pot and cover with water. Bring the beans a rolling boil and boil for 5 minutes. Lower the heat to a simmer to keep the beans and water hot.
- Begin filling the jars. Lay a clean towel on the countertop, and place one jar from the canner onto the towel. With a slotted spoon, ladle the beans into the jar, packing them tightly and leaving 1-inch (2.5-cm) headspace. Add 1 teaspoon of salt to each quart jar or 1/2 teaspoon of salt to each pint jar, if desired. Pour the hot cooking water over the beans, leaving 1-inch (2.5-cm) headspace. Poke around to remove any air bubbles and adjust the headspace of the water as necessary.
- Wipe the rim of the jar clean, place the lid on the jar, and screw on the band to fingertip tight. Place the jar back into the canner and repeat the packing process with the remaining jars, filling them one at a time.
- When all of the jars are finished, adjust the water level in your canner as necessary. Put on the lid and follow the instructions for setting up your canner for processing.
- Recommended Processing Time for Snap Beans in a Dial-Gauge Pressure Canner: Pints for 20 minutes at 11 lb (5 kg) pressure (0-2,000 ft elevation); Quarts 25 minutes at 11 lb (5 kg) pressure (0-2,000 ft elevation).
- Recommended Processing Time for Snap Beans in a Weighted-Gauge Pressure Canner: Pints for 20 minutes at 10 lb (4.5 kg) pressure (0-1,000 ft elevation); Quarts 25 minutes at 10 lb (4.5 kg) pressure (0-1,000 ft elevation).
- After processing the beans, release the pressure in your canner according to the manufacturer's directions. After removing the canner lid, leave your jars to sit in the water for 10 minutes. Then, place them onto a towel on the countertop to cool. Check the seals after 12 to 24 hours and store the jars without the bands in a dark, room temperature place such as a pantry cabinet for 18+ months.
Notes
- Siphoning: After processing your jars, you may notice that some siphoning has happened, or the liquid in your jars has been lost. The liquid is drawn out of the jar and can happen when there is a rapid change of temperature and air pressure in your canner. You can avoid this by making sure that your jars and food are super hot when filling them and keeping them hot in the canner before processing, removing the air bubbles and adjusting the headspace of the food properly, and slowly building the pressure in your canner. If more than half of the liquid in the jar has been lost, it is not considered safe to store by the USDA. Otherwise, you can safely store your jars if the seal is good. Any food above the water line may discolor, but it is still safe to eat.
- Broken Seal. If the seal is broken after 12-24 hours, or you initial check, you can safely reprocess some foods. For green beans, you can reprocess the food by using the hot pack method. Otherwise, you cannot safely reprocess. You will want to use a NEW lid to reprocess the jars. If the seal is broken after some time has passed, the food is now not considered safe to eat as harmful bacteria may have entered the jar. When in doubt, throw it out!
Nutritional information is only an estimate. The accuracy of the nutritional information for any recipe on this site is not guaranteed.