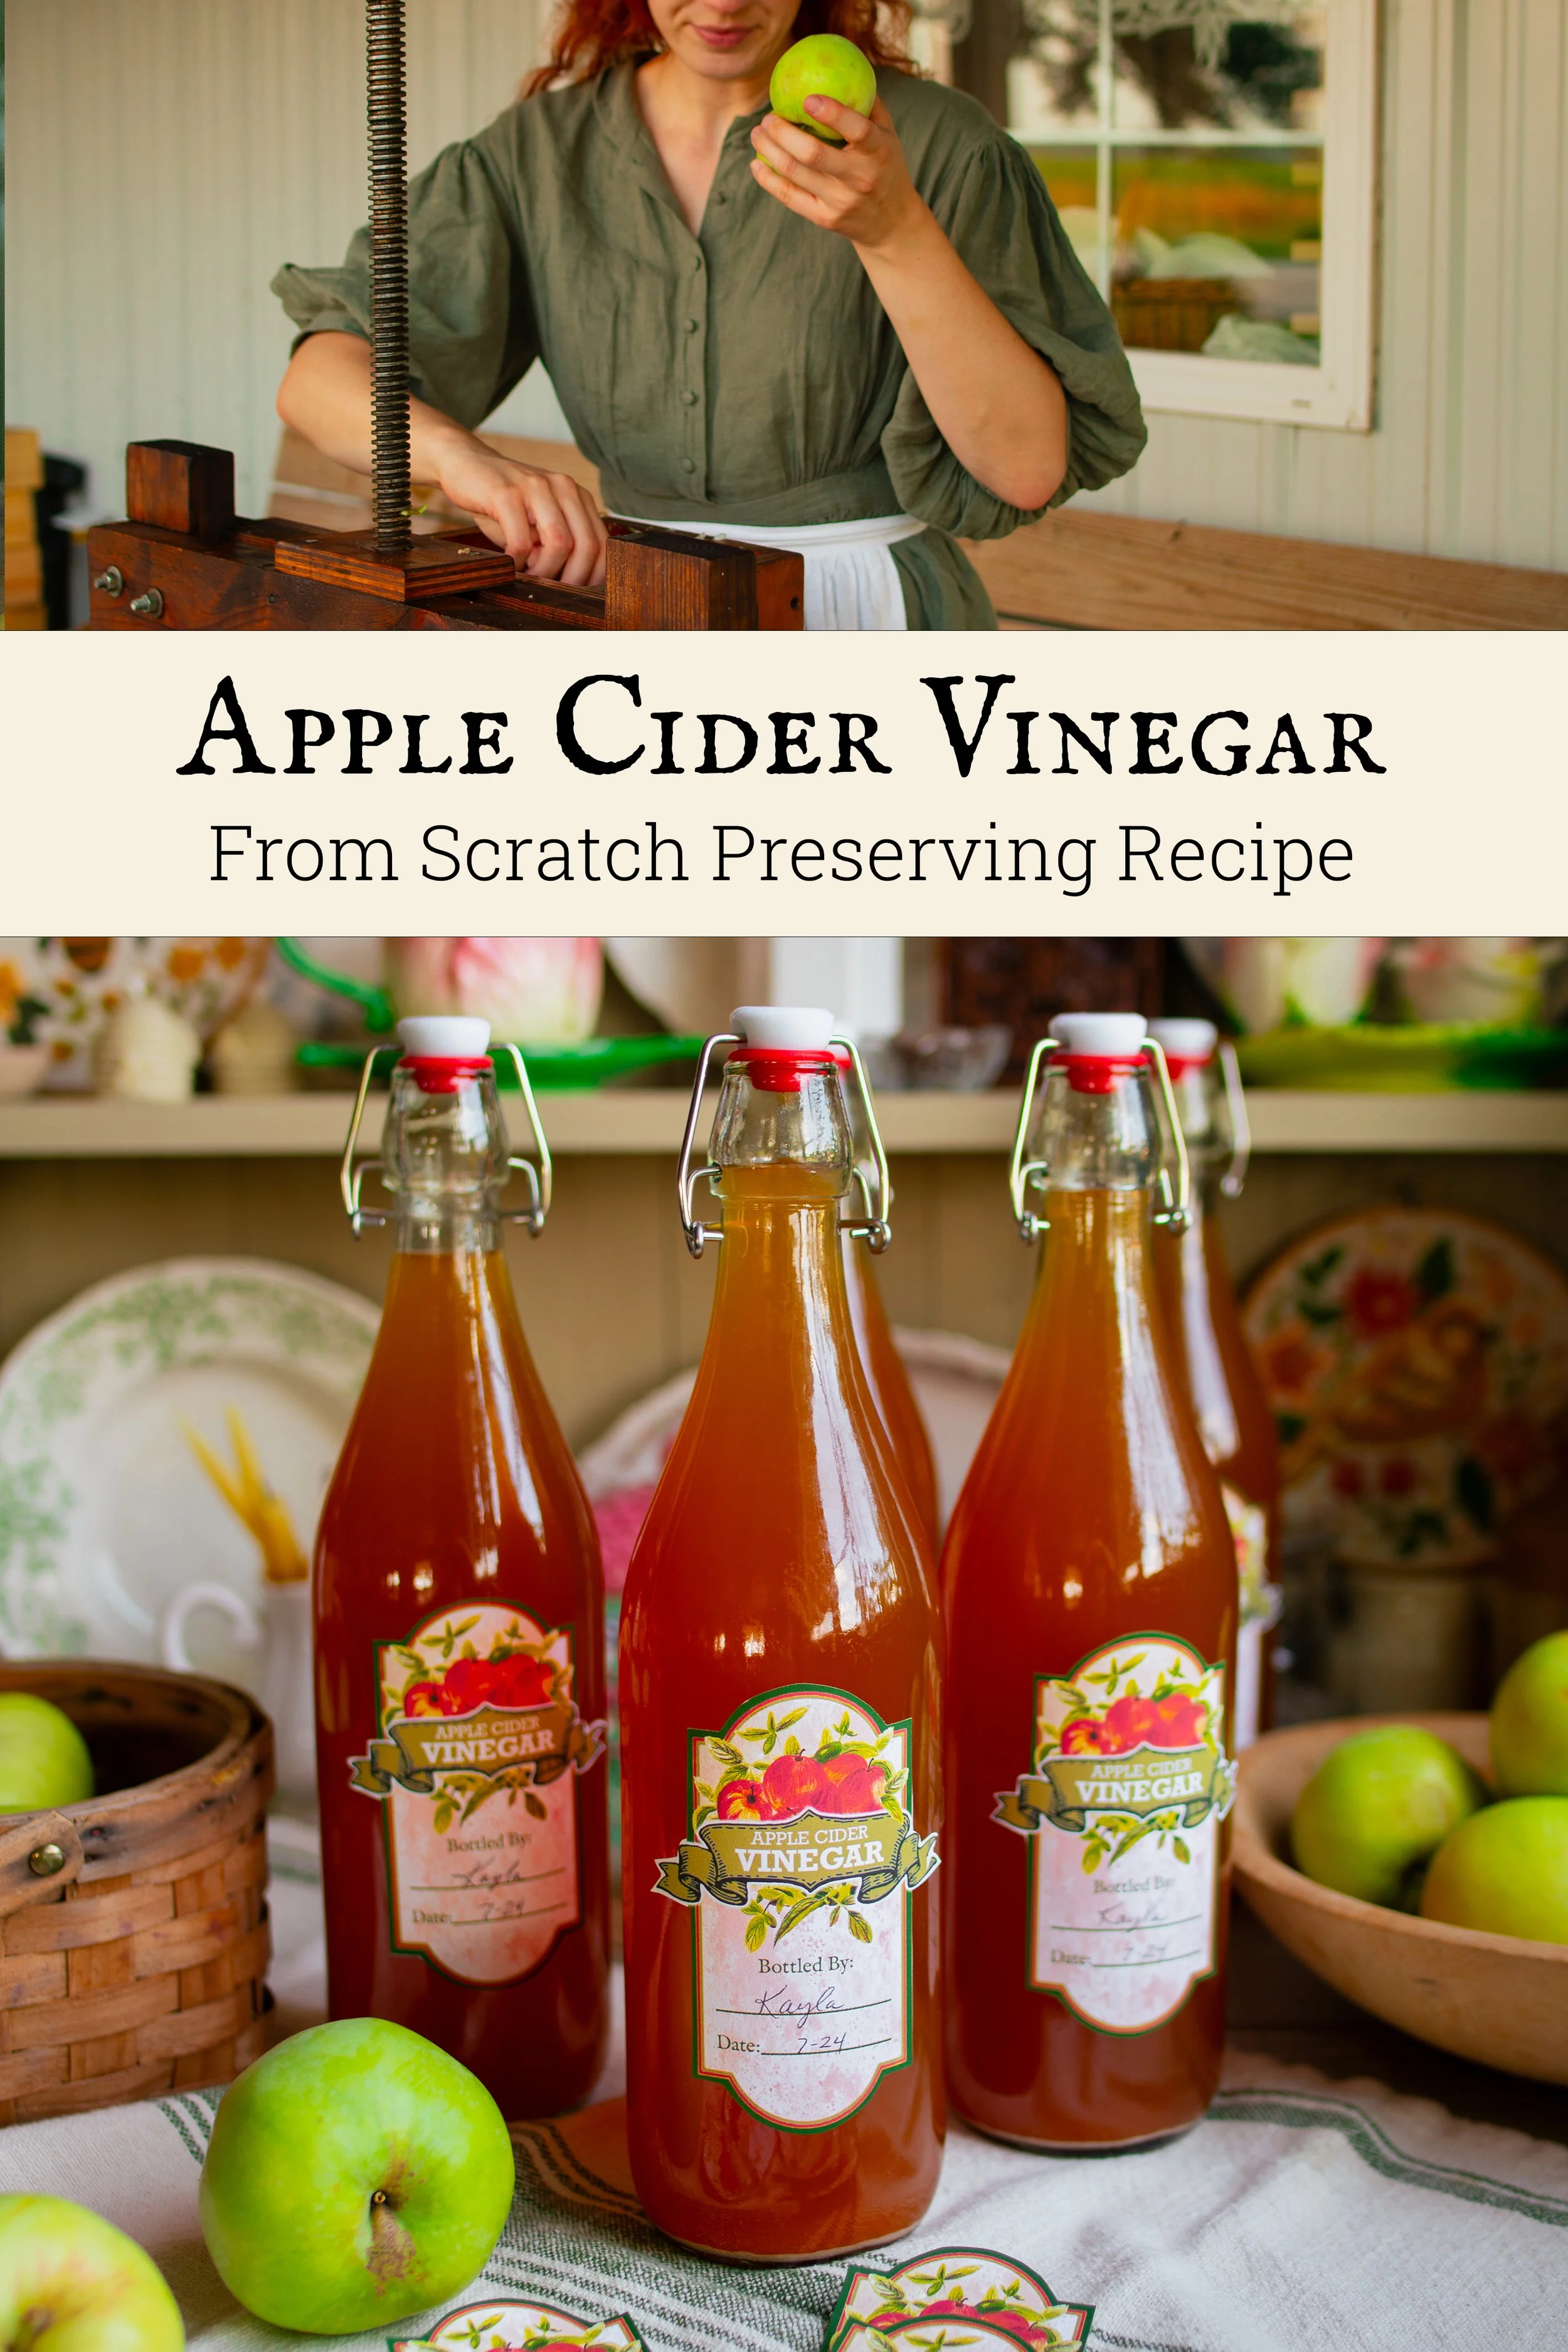
Homemade Apple Cider Vinegar: Easy Fermentation Recipe
This post may contain affiliate links, please see our privacy policy for more information.
Learn how to make your own homemade apple cider vinegar with this easy fermentation recipe. This versatile vinegar is incredibly healthy, cost-effective, and easy to make. In 2 months you can enjoy your own delicious apple cider vinegar!

what is apple cider vinegar?
I am sure that you have heard of apple cider vinegar! Whether you use it in your home cooking, or as a health remedy, this fermented apple cider is an incredibly easy ferment that you can make at home. In fact, you’ll probably be wondering why you haven’t been making your own apple cider vinegar this entire time after you read this recipe!
Apple cider vinegar contains acetic acid and malic acid, which gives the vinegar an overall sour flavor. Natural yeast converts the natural sugars in apples into ethanol. Neat, right? Apple cider vinegar has wonderful health benefits, such as probiotics which are great for digestion and gut health.

gathering ingredients:
To make your own homemade apple cider vinegar, you don’t really need much… just apples!
Apples or Apple Juice. For this recipe, I share how to make apple cider vinegar from whole apples, but you can make it from apple juice. You will want unpasteurized apple juice without added sugar. It should be fresh pressed and not from concentrate.
Apple Cider Vinegar with “the Mother.” To get started, you will need some apple cider vinegar with “the mother” or the microbial culture that will jumpstart the fermentation process on your vinegar. You will want to use raw, unpasteurized vinegar.

supplies for making vinegar:
To make your own homemade vinegar, you will need some unique supplies. These tools can make the entire process a lot smoother!
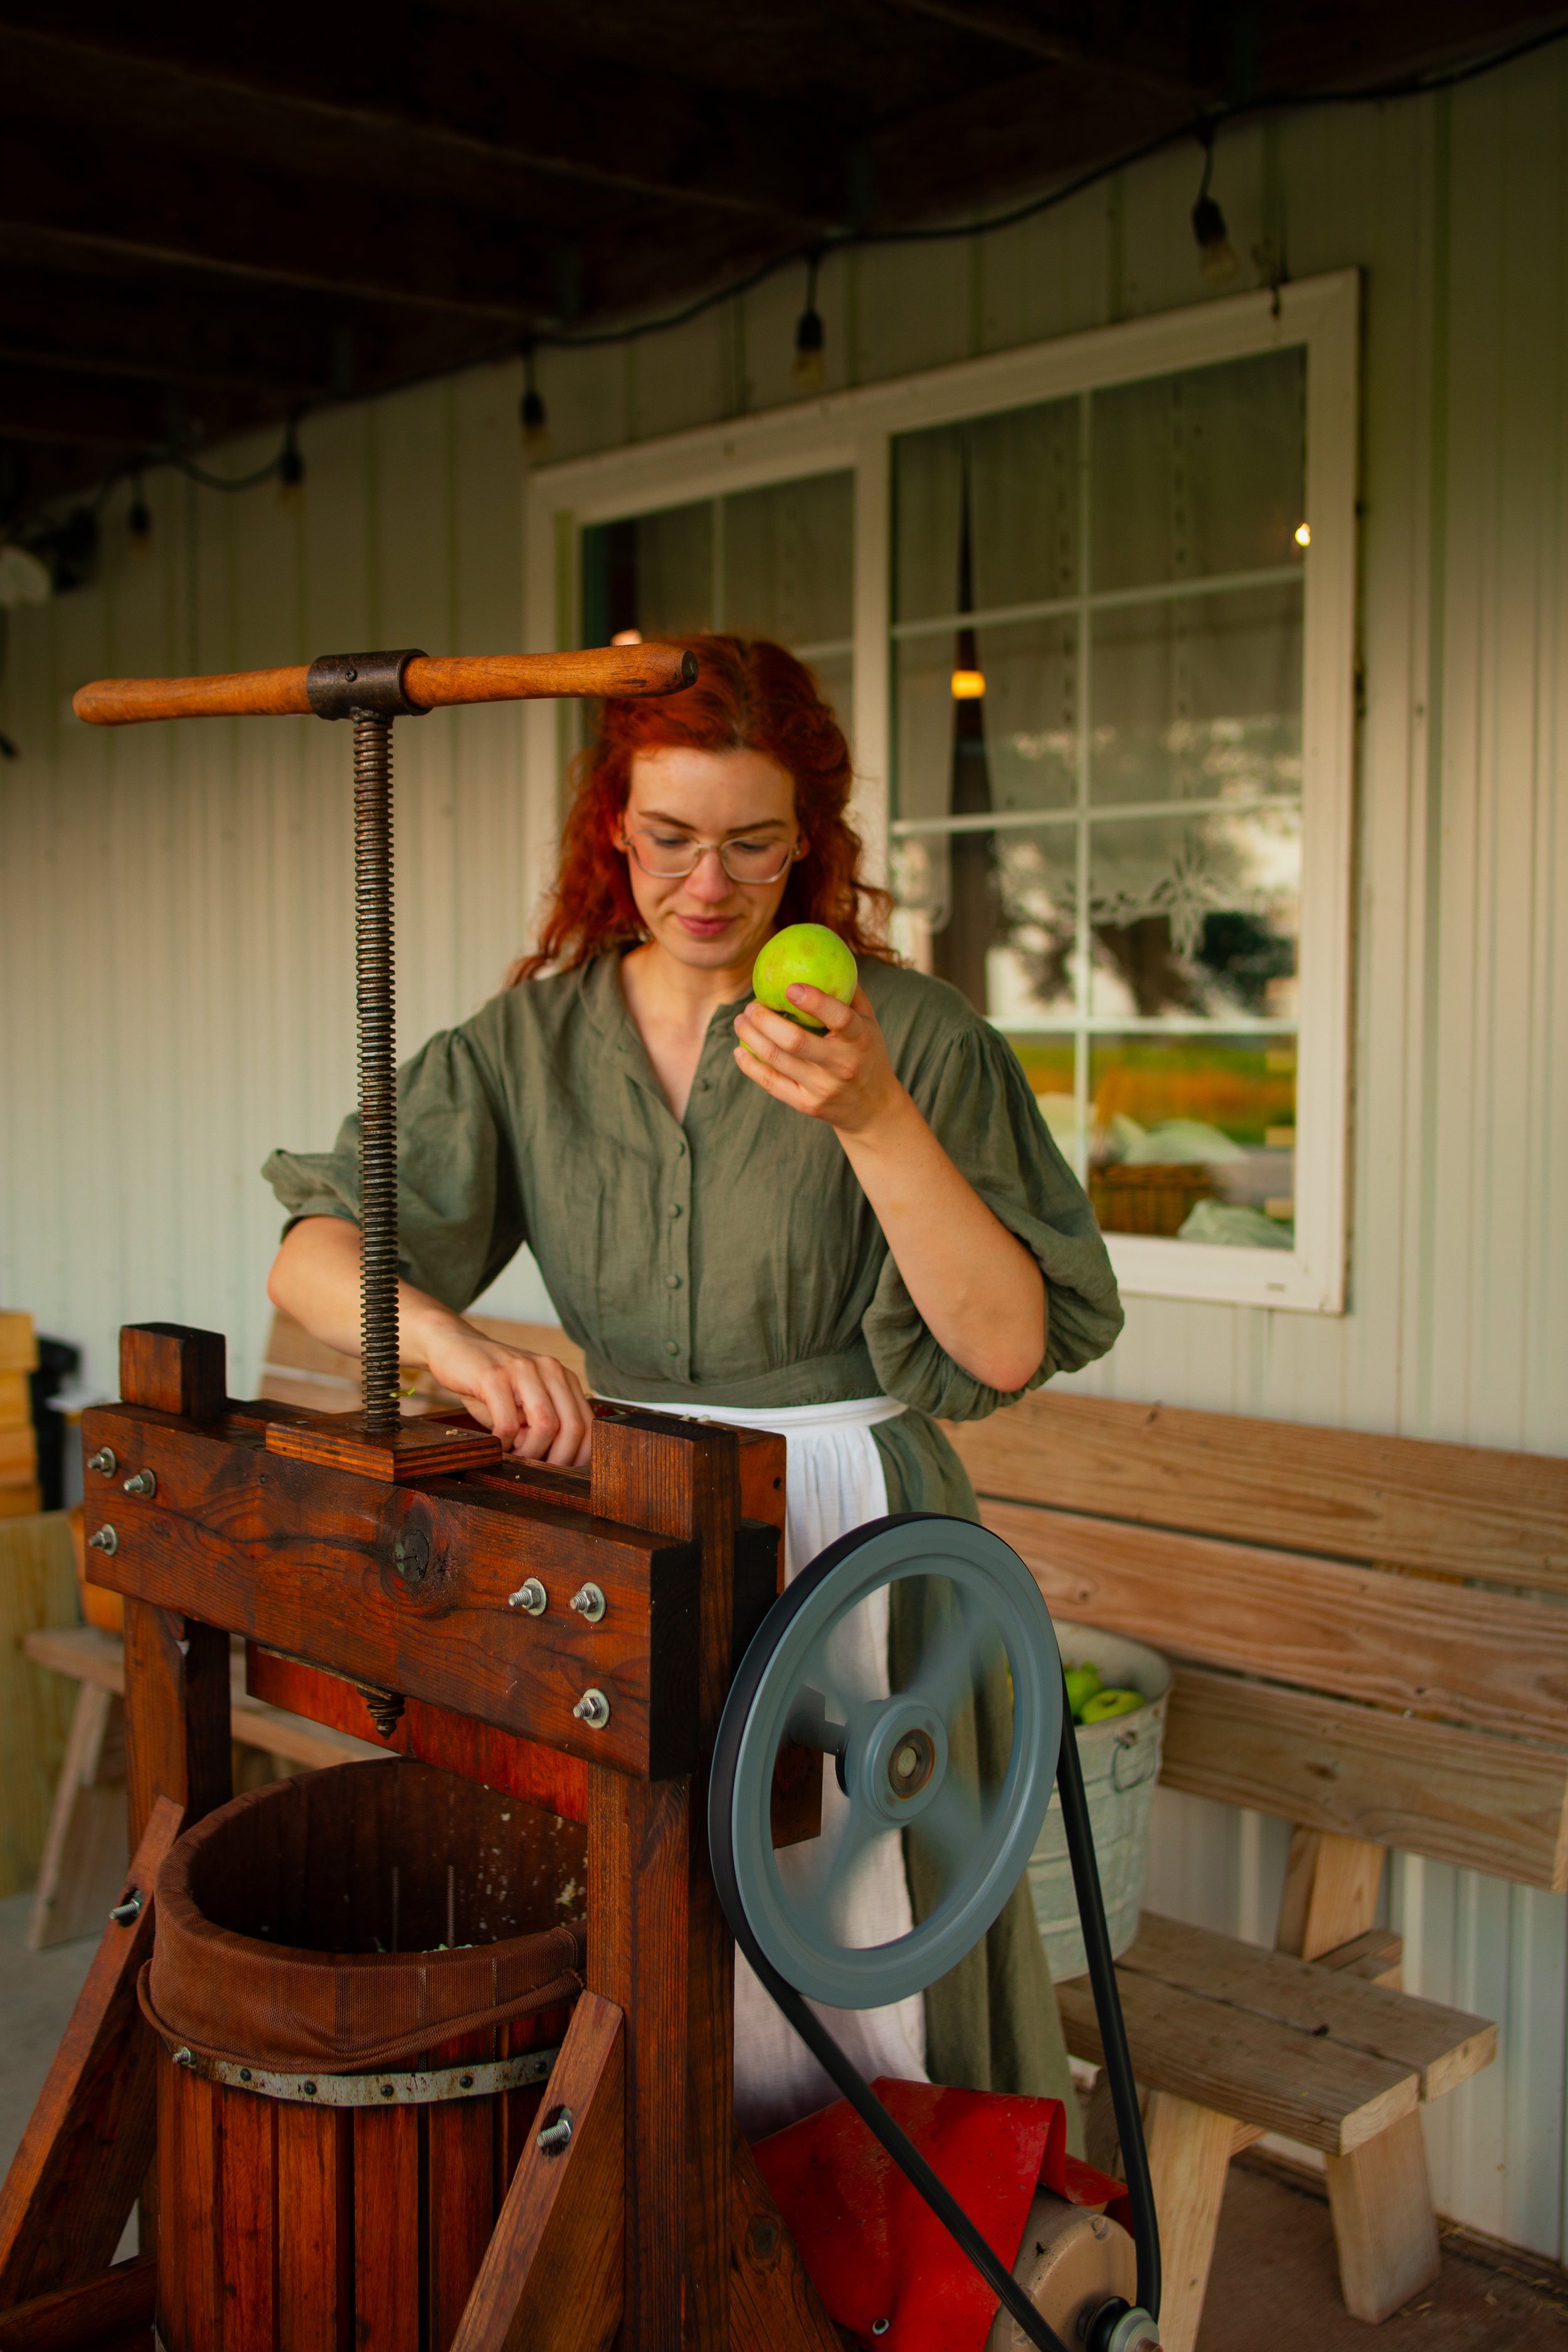
Apple Press. You absolutely do not need an apple press to make apple juice, but it can make the process a LOT easier, faster, and you can process apples in bulk. We have a small orchard on our farm, so having an apple press has become necessary to process all of the apples we grow. If you are only making a few bottles of vinegar, you do not need this tool!
Food Processor. To make apple juice without a press, you will need a food processor or blender to puree the apples.
Juice Bag and Stand. To filter out the juice from your apple pulp, a juice bag and stand can be helpful. You can also use a colander lined with cheesecloth.
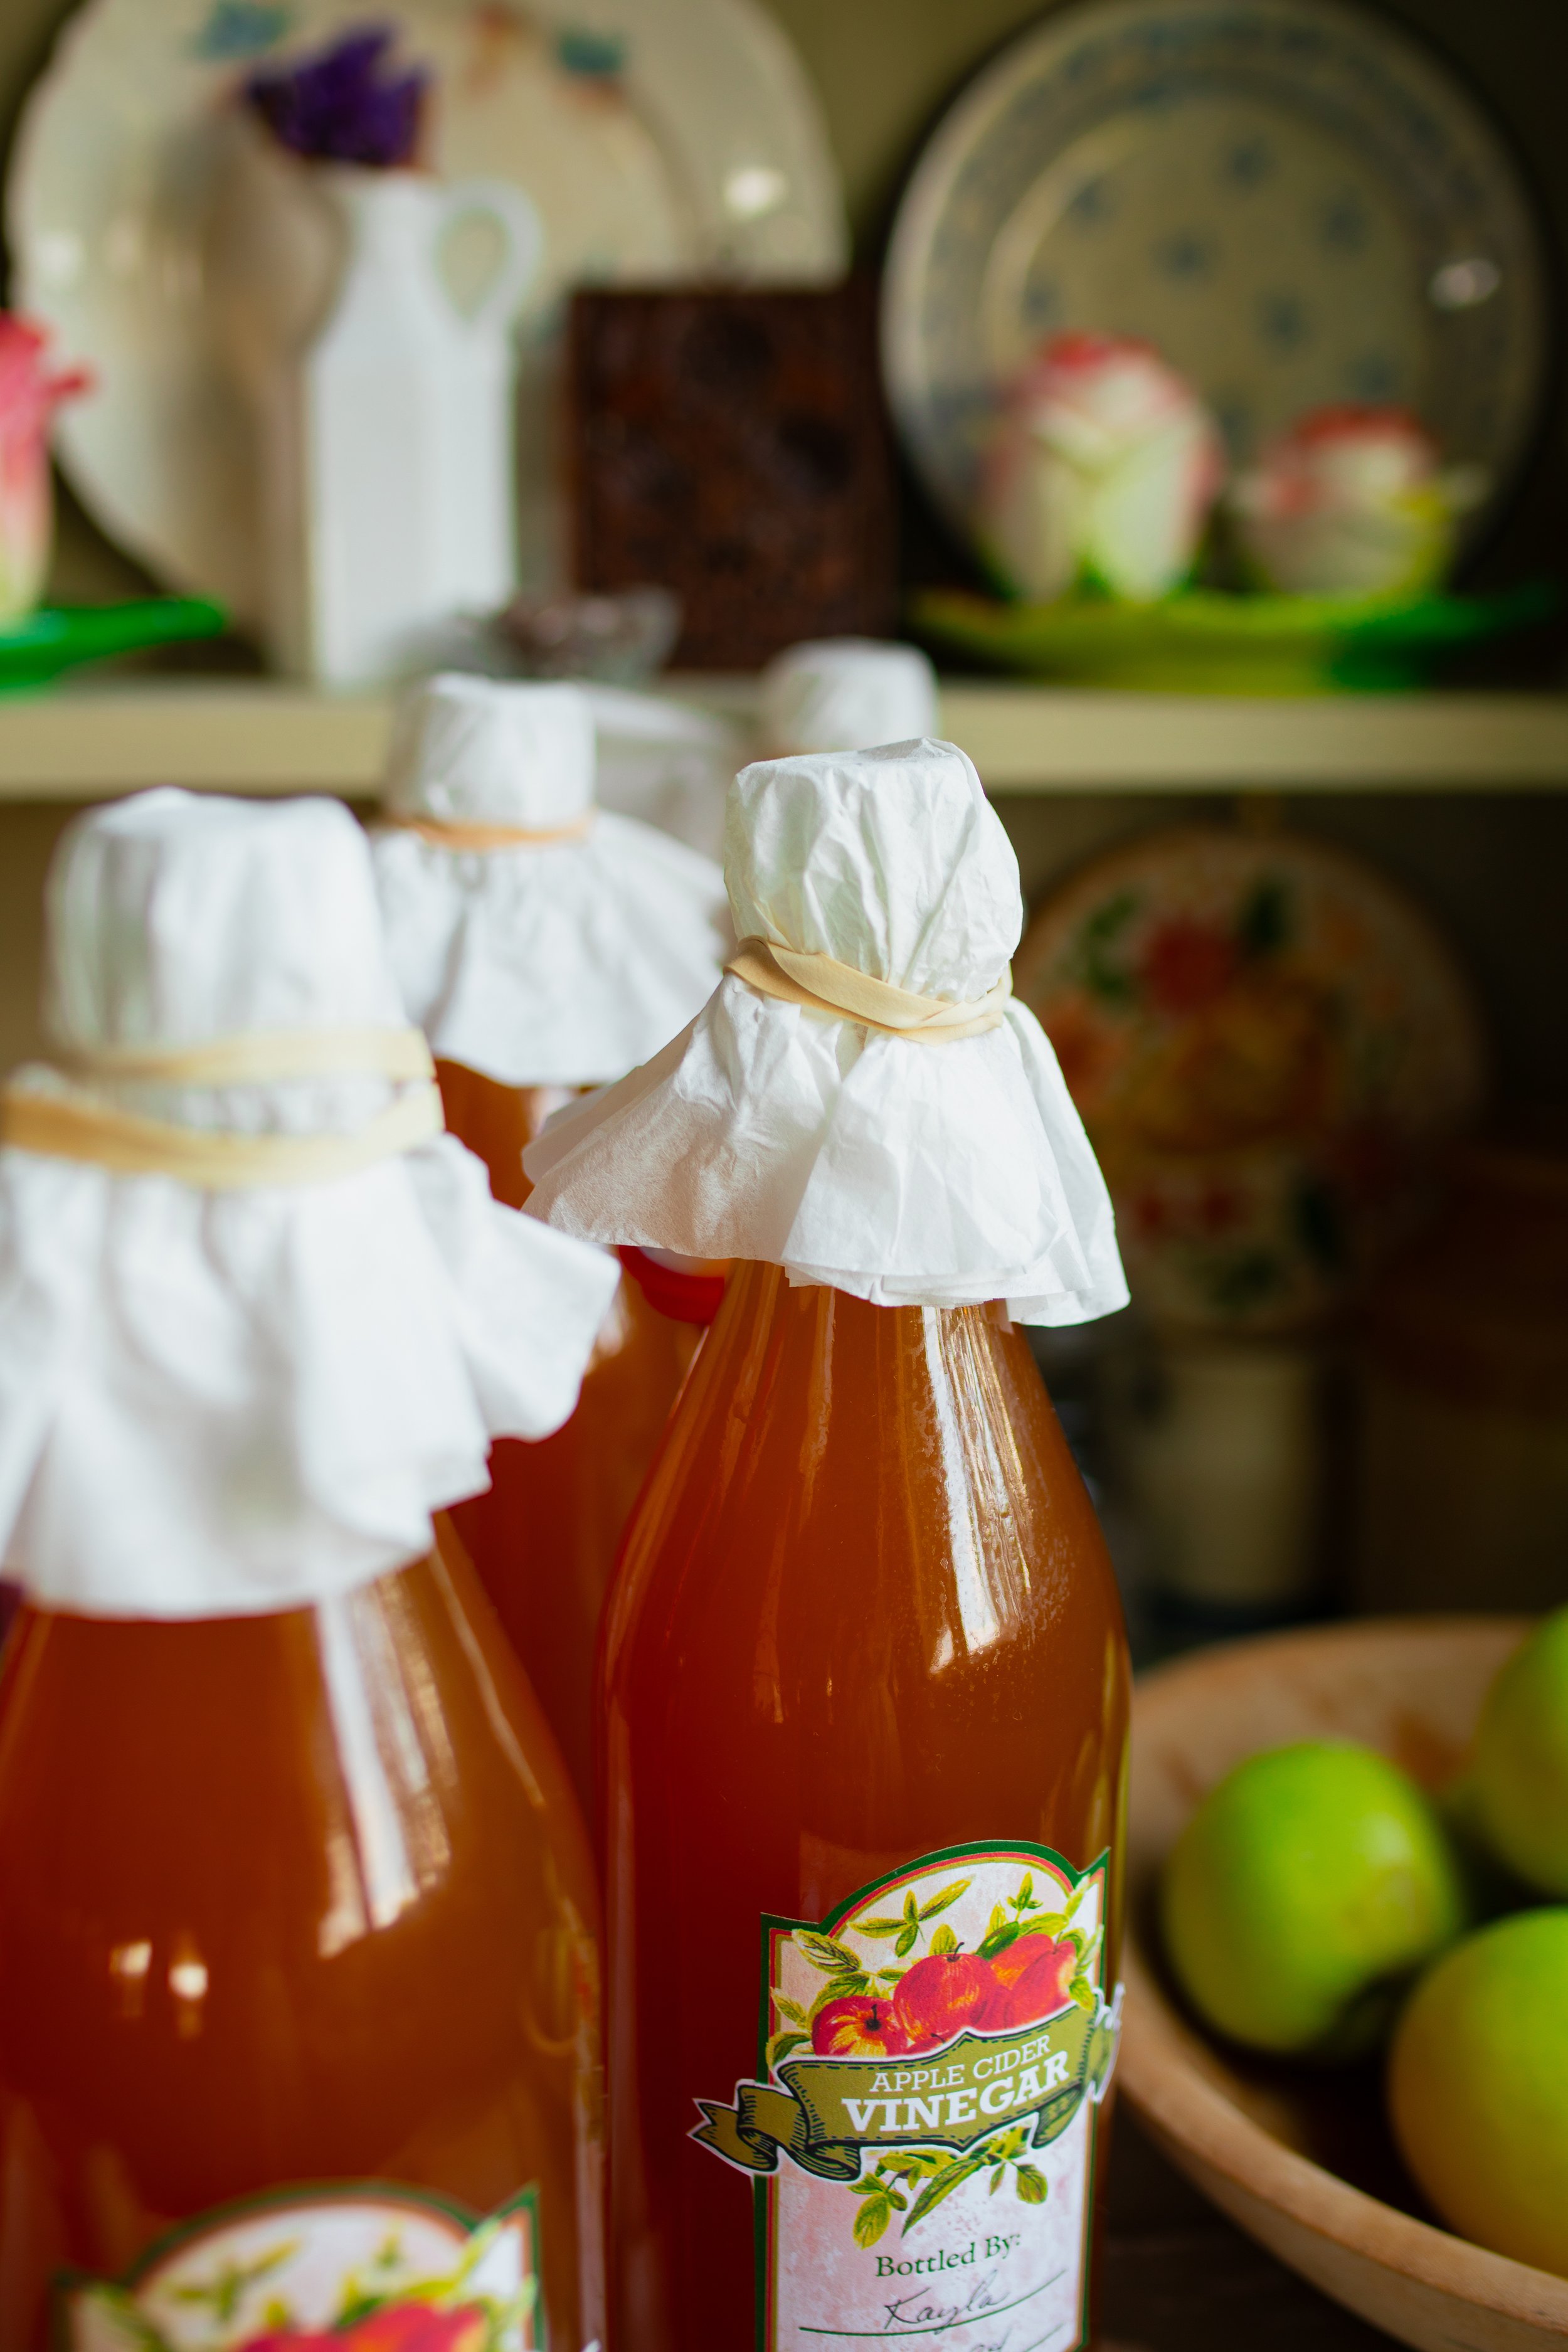
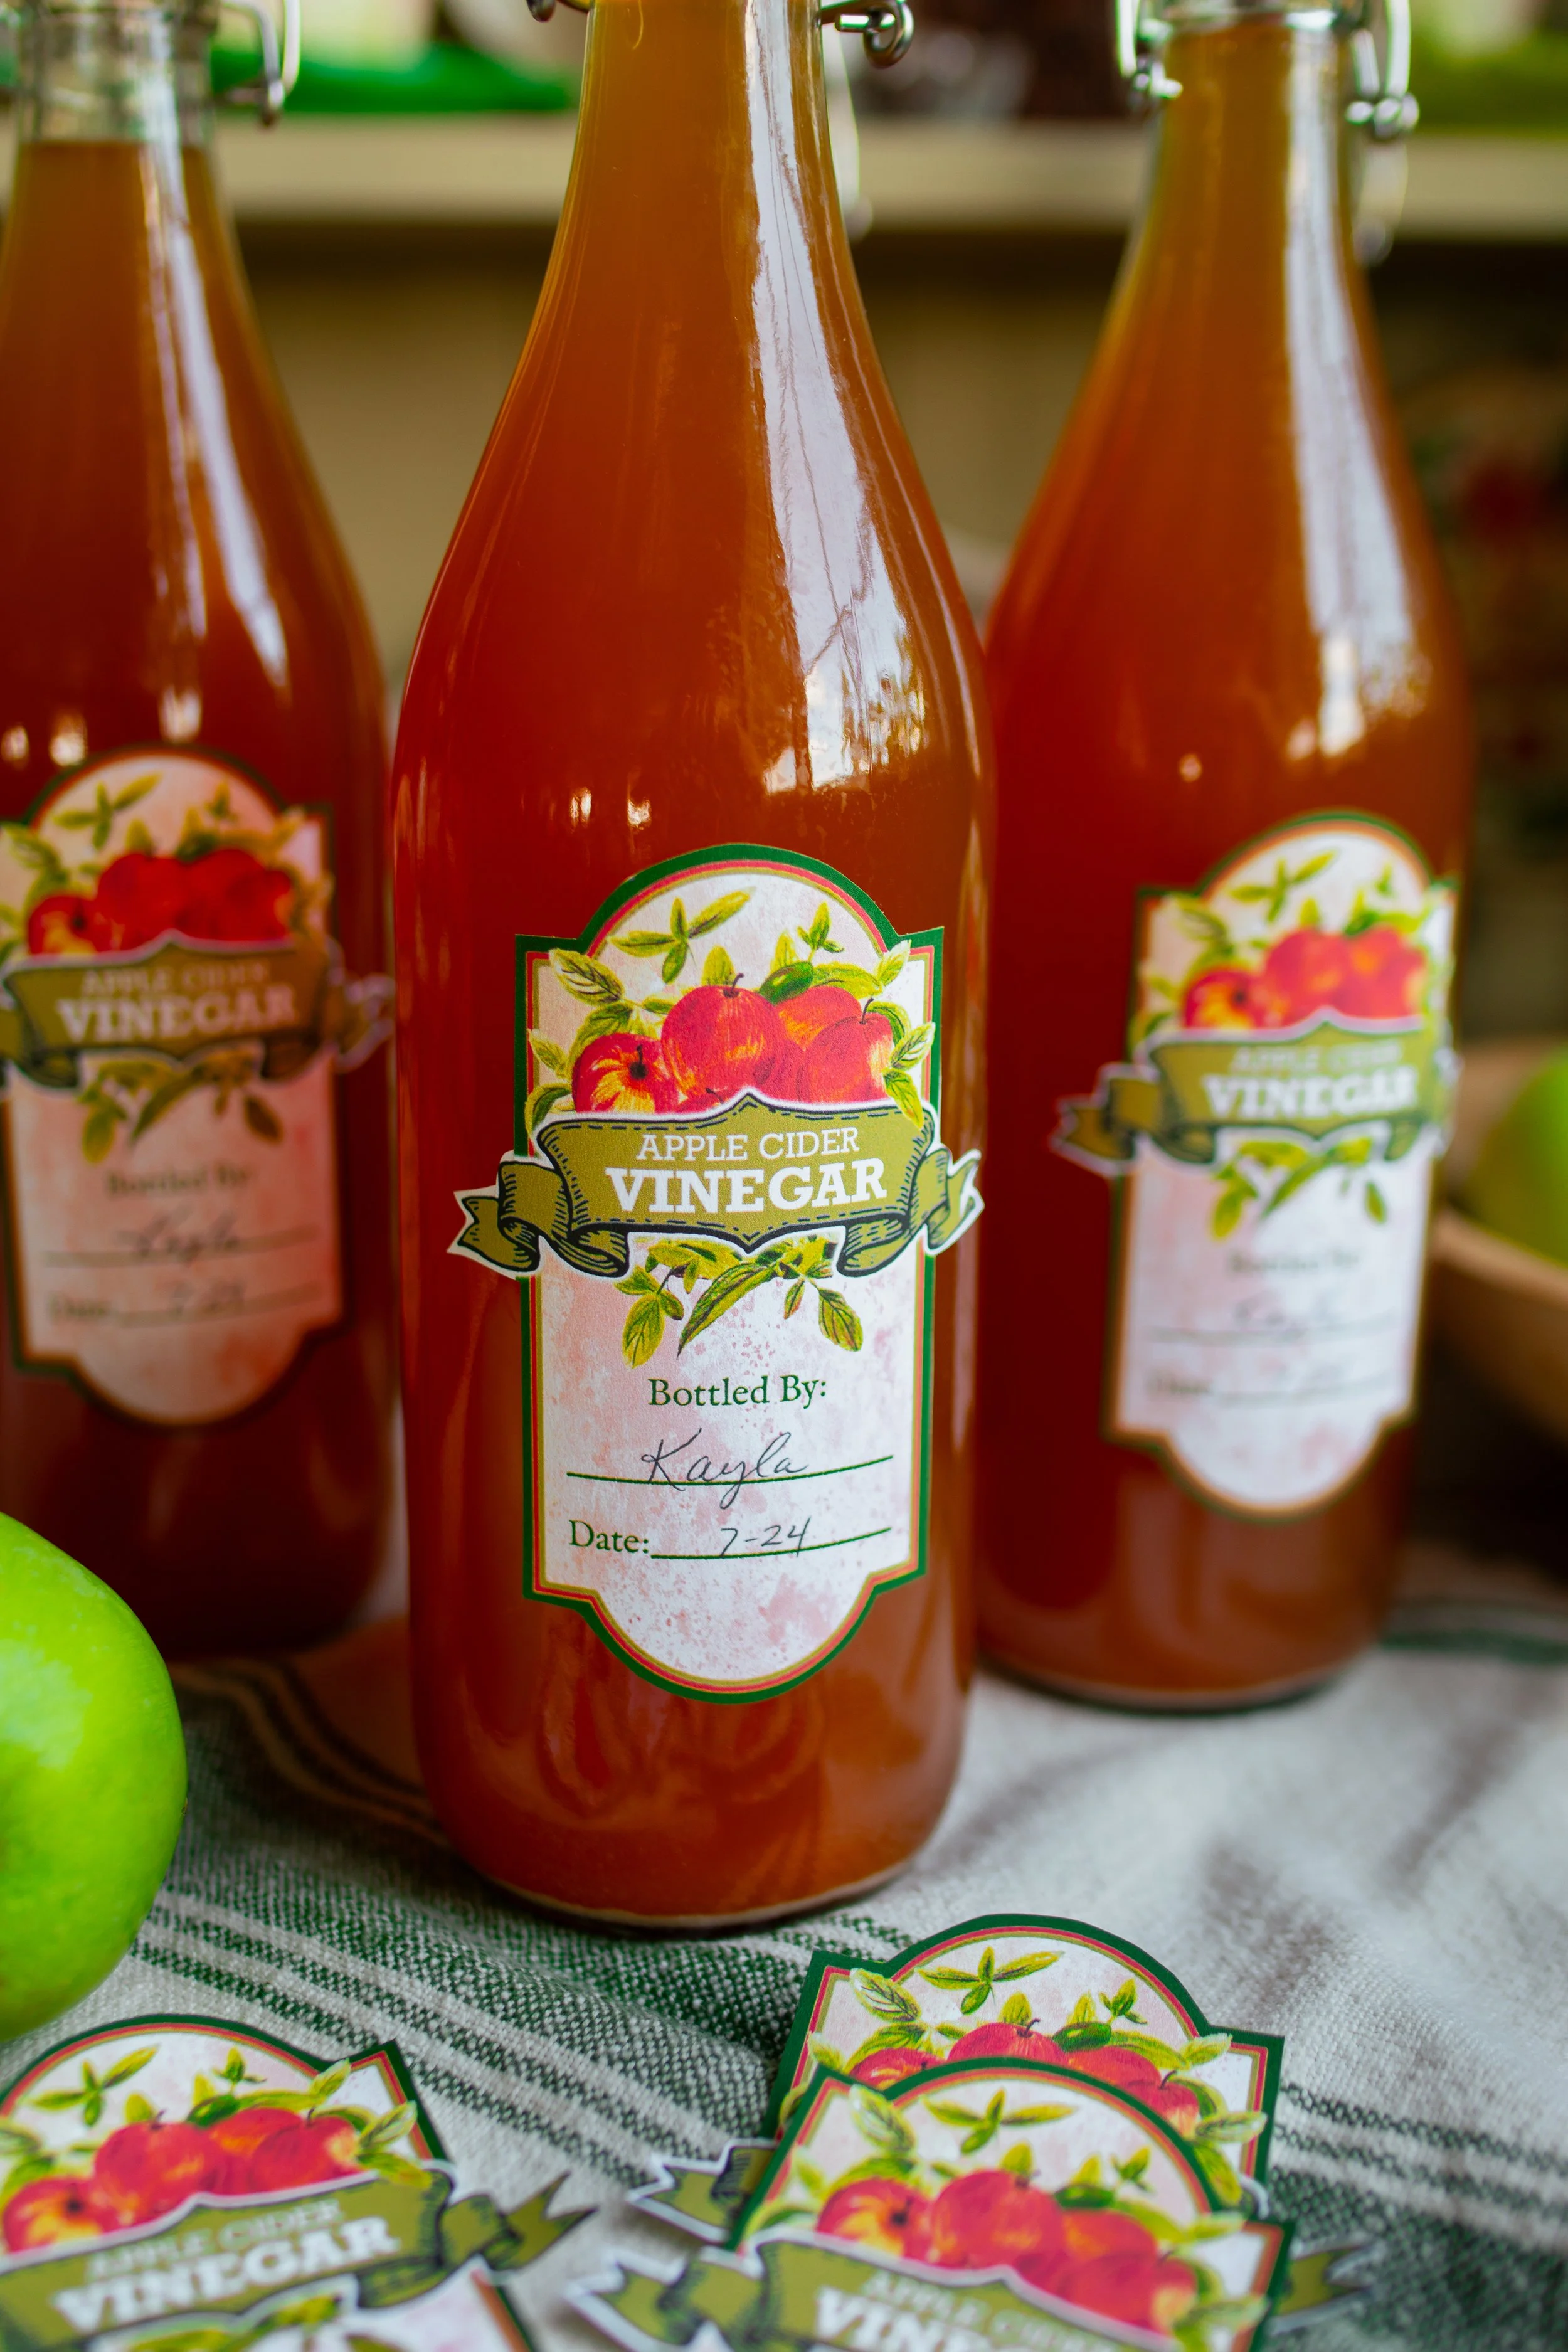
Swing Top Bottles. To store your vinegar, swing top bottles can be really beautiful and they easy to use your vinegar straight from the bottle.
Brewing Funnel. Having a brewing funnel can be helpful when pouring juice into a bottle with a tiny opening!
Labels. These cute labels were illustrated and designed by my mom, and they are inspired after vintage grocery store labels. You can download and print them yourself by joining our Cozy Kitchen Companions subscription!

what type of apples to use:
There is no specific type of apples that work best for making apple cider vinegar. However, it can be a better practice to use a mixture of different types of apples when juicing for the best overall flavor. Combining sweet and sour apples helps to balance the flavor, making it more robust!
Some of the best apple varieties for juicing are Honeycrisp, Yellow Transparent, Gala, Golden Delicious, Fuji, Red Delicious, Granny Smith, or Gala.
how to juice apples:
FOOD PROCESSOR METHOD: Chop the apples into quarters. You do not need to remove the cores. Place the apple chunks into a food processor or blender. Puree the apples on high speed until they resemble a mush. Place the apple puree into a juice bag and stand over a large bowl, or you can line a colander with cheesecloth. Let the bag drip for at least 2 hours or longer until all of the juice has separated from the apple pulp.
CIDER PRESS METHOD: If necessary, chop apples into smaller hunks and remove any bad spots. Send them through the press. Squeeze out the juice and collect.

how to make apple cider vinegar:
Step One: Wash and sterilize a 1 L swing top bottle. Combine the apple juice and apple cider vinegar in the bottle. Close the top and gently shake, simply tilting the bottle back and forth a few times, to combine well. You will want to leave at least 1-inch (2.5-cm) of headspace from the surface of the vinegar to the top of the bottle.
Step Two: Open the bottle and cover the open top with a breathable cloth, such as a coffee filter or cheesecloth. Secure the filter in place with a rubber band to keep any insects out. To ferment, the vinegar needs to have access to oxygen and air circulation.
further steps & storage tips:
Store the vinegar in a dark, cool place such as a pantry cabinet or low-humidity basement for at least 2 months or longer. The vinegar should be kept at temperatures between 60° to 80° F (16° to 26° C) and out of direct sunlight.
Check occasionally for any mold growth or spills. If you are worried about bubbling over, which is unlikely, you can keep the bottle in a shallow pan.
After 2 months, check the vinegar. If the vinegar tastes sour, like store bought vinegar, the fermentation process is working. Fermentation usually takes about 4 to 8 weeks, but it can take longer.
Storing: After the vinegar has properly fermented, you can store it. It's best kept in the conditions that it is already in (in a dark, room temperature space), and it will last for several years. The flavor will continue to develop as it ages, and its natural acidity will help to preserve it.
Filtering: You can choose to store your vinegar without the mother. Pour the fermented vinegar through several layers of cheesecloth or a coffee filter, removing the mother. Store the filtered vinegar in clean, sterilized bottles in a dark space at room temperature. Removing the mother will prevent any further fermentation.
Pasteurizing: If you would like to pasteurize your vinegar, pour your fermented vinegar into a saucepan. Heat the vinegar over medium heat until it reaches 140° F (60° C). It should not exceed a temperature of 160° F (71° C). Then, pour the heated vinegar into clean, sterilized bottles for long term storage.
final thoughts:
It’s really rather simple, isn’t it? There’s not much to the process, you just need to be patient! In just a few weeks, you’ll have your own healthy, homemade apple cider vinegar that you can store for years. While this recipe is only for 1 liter of apple cider vinegar, you can easily make several bottles if you have access to apple trees and a cider press. I hope you enjoyed learning how to make your own homemade apple cider vinegar!
xoxo Kayla

Easy Homemade Apple Cider Vinegar
Ingredients
- About 4 lbs (2 kg) apples OR 4 cups (1 L) fresh pressed apple juice, unpasteurized
- 6 tbsp (90 ml) raw apple cider vinegar with the mother
Instructions
- Begin by juicing your apples. If you are using apple juice, skip this section.
- FOOD PROCESSOR METHOD: Chop the apples into quarters. You do not need to remove the cores. Place the apple chunks into a food processor or blender. Puree the apples on high speed until they resemble a mush. Place the apple puree into a juice bag and stand over a large bowl, or you can line a colander with cheesecloth. Let the bag drip for at least 2 hours or longer until all of the juice has separated from the apple pulp.
- CIDER PRESS METHOD: If necessary, chop apples into smaller hunks and remove any bad spots. Send them through the press. Squeeze out the juice and collect.
- Wash and sterilize a 1 L swing top bottle. Combine the apple juice and apple cider vinegar in the bottle. Close the top and gently shake, simply tilting the bottle back and forth a few times, to combine well. You will want to leave at least 1-inch (2.5-cm) of headspace from the surface of the vinegar to the top of the bottle.
- Open the bottle and cover the open top with a breathable cloth, such as a coffee filter or cheesecloth. Secure the filter in place with a rubber band to keep any insects out. To ferment, the vinegar needs to have access to oxygen and air circulation.
- Store the vinegar in a dark, cool place such as a pantry cabinet or low-humidity basement for at least 2 months or longer. The vinegar should be kept at temperatures between 60° to 80° F (16° to 26° C) and out of direct sunlight.
- Check occasionally for any mold growth or spills. If you are worried about bubbling over, which is unlikely, you can keep the bottle in a shallow pan.
- After 2 months, check the vinegar. If the vinegar tastes sour, like store bought vinegar, the fermentation process is working. Fermentation usually takes about 4 to 8 weeks, but it can take longer.
- Storing: After the vinegar has properly fermented, you can store it. It's best kept in the conditions that it is already in (in a dark, room temperature space), and it will last for several years. The flavor will continue to develop as it ages, and its natural acidity will help to preserve it.
- Filtering: You can choose to store your vinegar without the mother. Pour the fermented vinegar through several layers of cheesecloth or a coffee filter, removing the mother. Store the filtered vinegar in clean, sterilized bottles in a dark space at room temperature. Removing the mother will prevent any further fermentation.
- Pasteurizing: If you would like to pasteurize your vinegar, pour your fermented vinegar into a saucepan. Heat the vinegar over medium heat until it reaches 140° F (60° C). It should not exceed a temperature of 160° F (71° C). Then, pour the heated vinegar into clean, sterilized bottles for long term storage.
Nutrition Facts
Calories
853Nutritional information is only an estimate. The accuracy of the nutritional information for any recipe on this site is not guaranteed.