Strawberry Chamomile Jelly: Recipe & Canning Guide
This post may contain affiliate links, please see our privacy policy for more information.
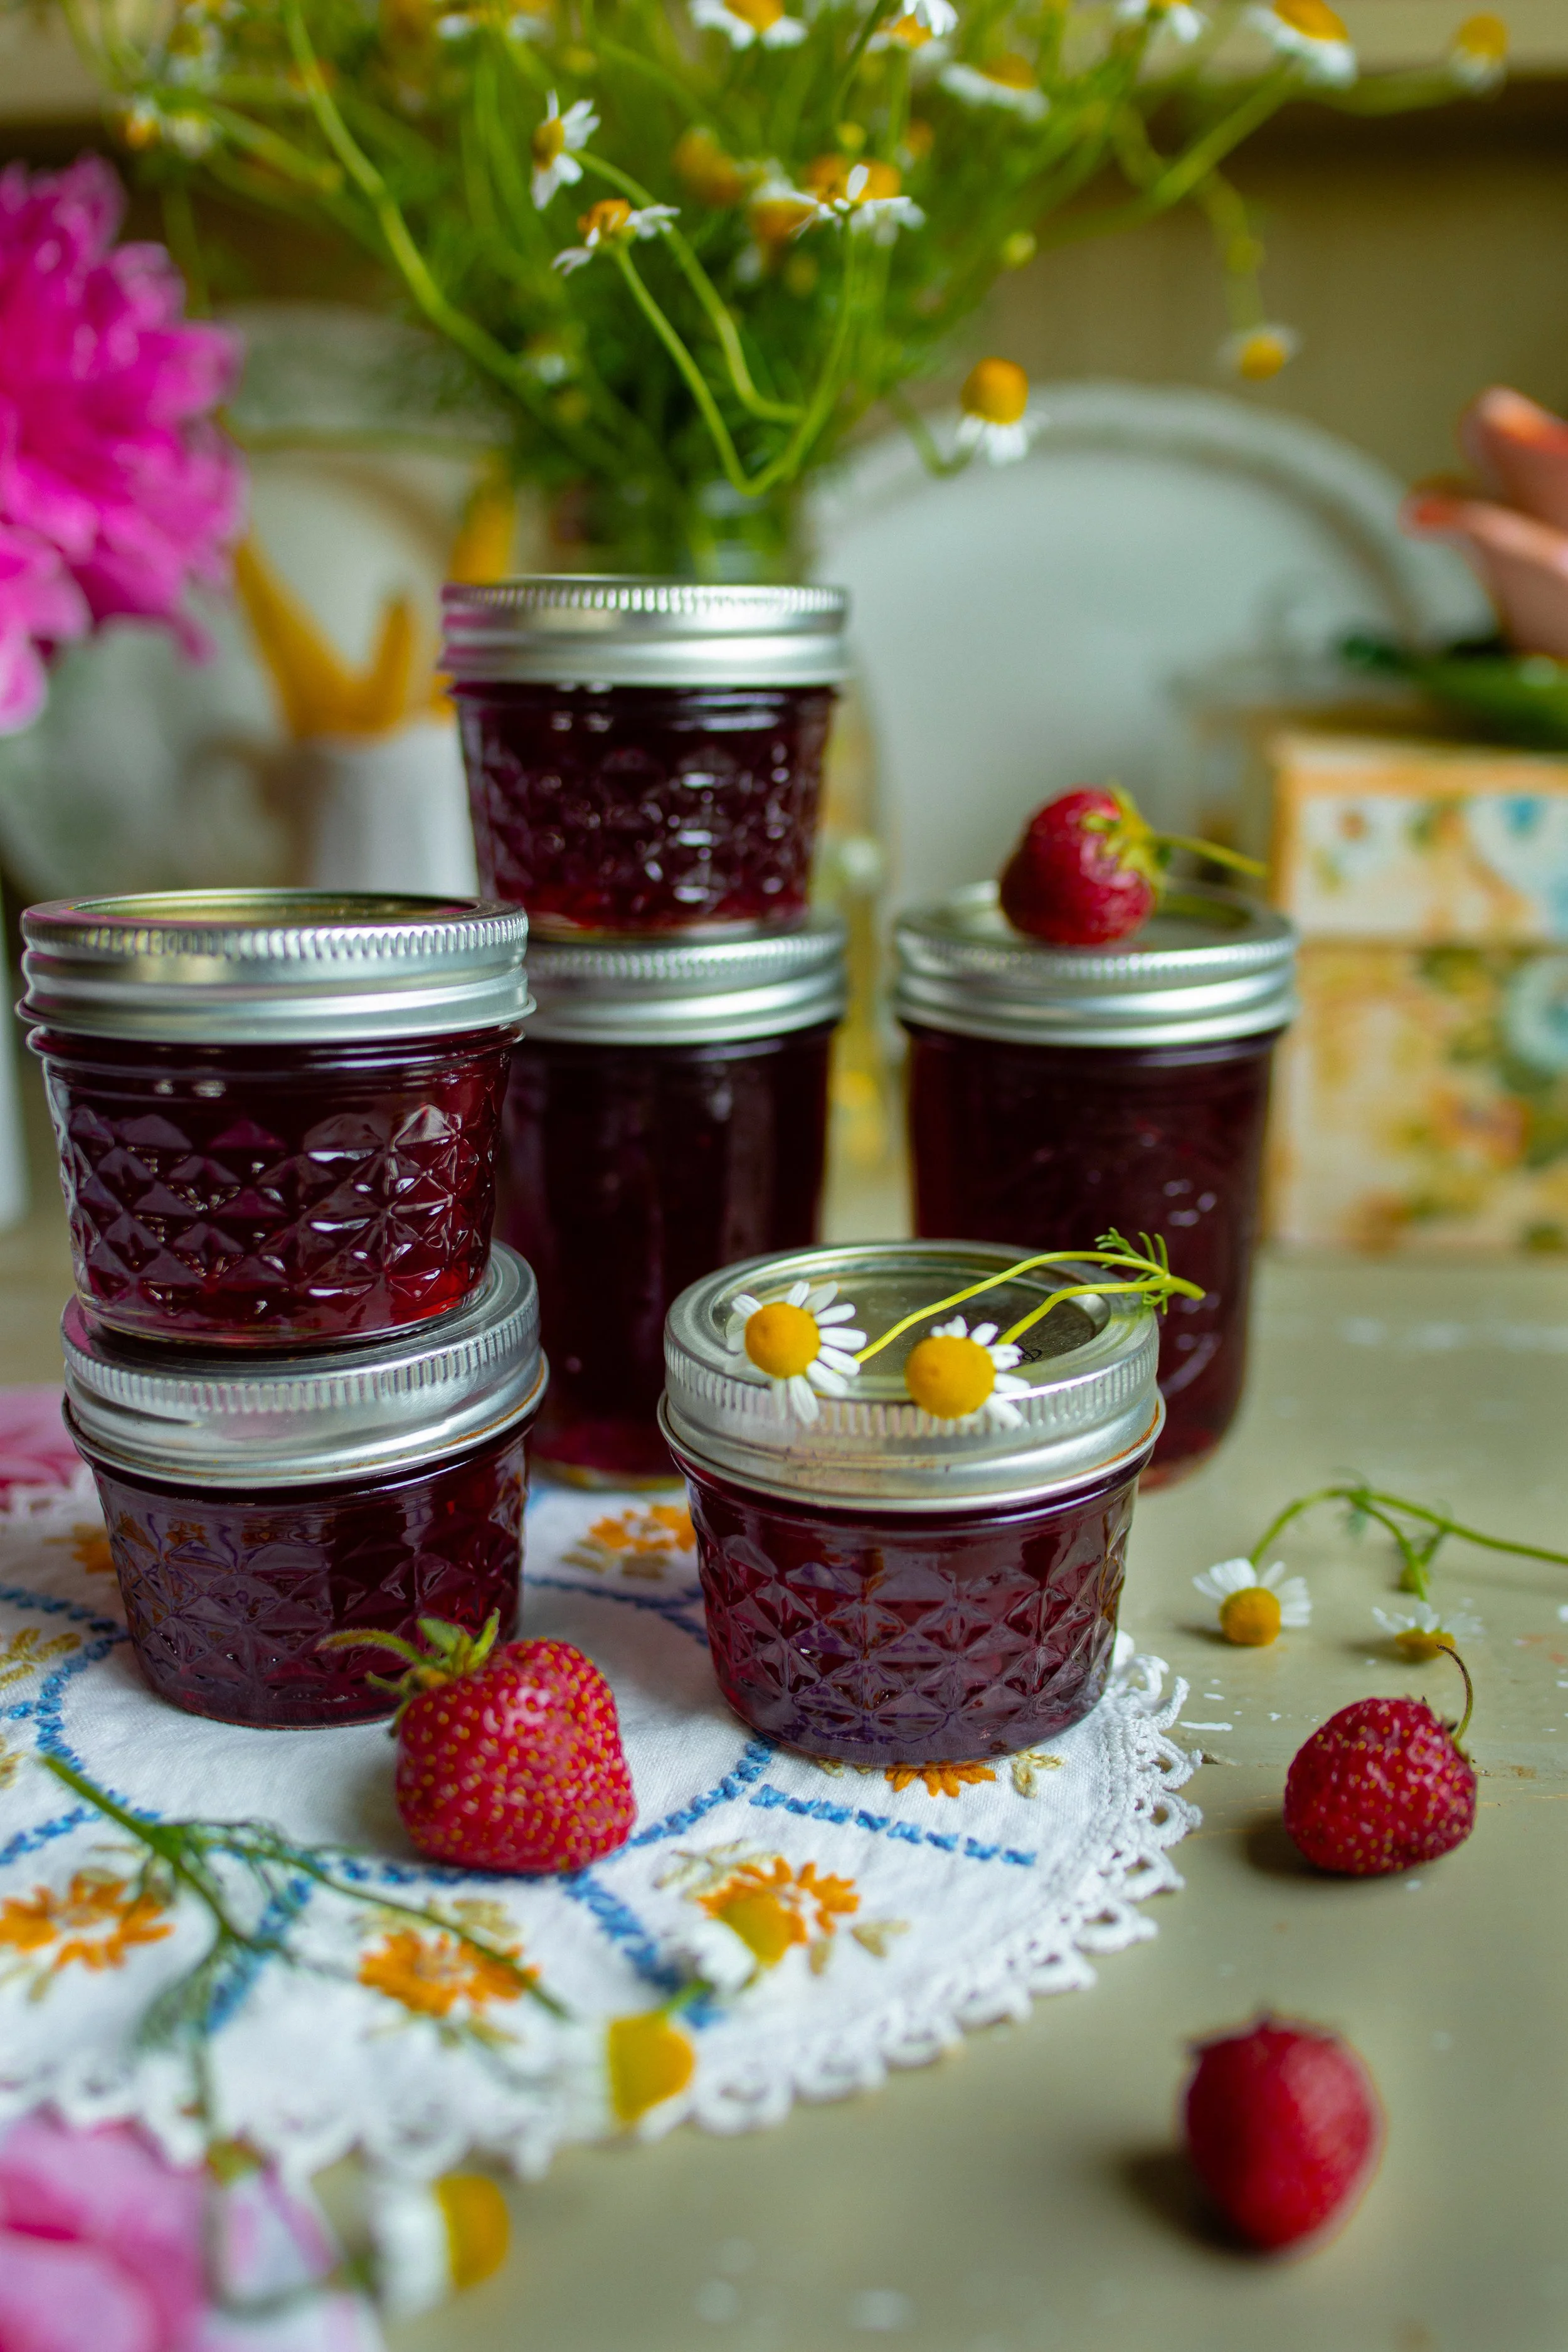
Are the strawberries ready for picking where you live? Our little strawberry patch has been filled with ripe, beautiful red strawberries every day for the last week. I have been enjoying my mornings wandering out to pick them and bring them inside to make some delicious strawberry jam and jelly.

This Strawberry Chamomile Jam is splendidly sweet with the slightest hint of floral flavor from chamomile tea. I made this version with liquid pectin, but you can make this recipe with powdered pectin as well. For more information, I suggest following the USDA guide for safely canning jams and jellies.

gathering ingredients to make strawberry chamomile jelly:
To make this delicious summery strawberry jelly with chamomile, you will need to gather a few key ingredients. This jam is wonderful because it can remain on your pantry shelf for 18 months or longer!
Strawberries. Of course, to make strawberry jelly you will need strawberries! Ripe, unblemished strawberries are the best choice. You will need about 12 cups or about 5 lbs (2.27 kg) of fresh berries.
Chamomile. To give this jelly its lovely floral flavor, I used chamomile in the recipe. I used fresh chamomile, but dried would also work. If chamomile is not available to you, you can skip this ingredient!
Lemon Juice. Bottled lemon juice is best for canning as it has a consistent acidity level of 5% rather than using fresh lemons.
Sugar. To make jam or jelly, you need sugar. You can use any type of granulated sugar for this recipe.
Liquid Pectin. This jelly recipe uses liquid pectin, however you can also make this jelly with powdered pectin. You will have to adjust the ingredient ratios (find the powdered pectin recipe here).

Tips for making jelly:
Use a Thermometer. There are several old-fashioned ways to check if a jam or jelly is finished and will set up, but by far the easiest way is to use a thermometer. Jelly is finished at 220° F (104° C) at sea level. For each 1,000 feet (305 m) of altitude above sea level, subtract 2 degrees. Checking the temperature will ensure that your jelly will set up no matter what.
Only Use Fresh, Ripe Fruit. The ripeness and freshness of your fruit will effect your final product. If the fruit has gone soft or has damage, it can spoil your final product.
Prepare a Spoon and Small Plate. If you do not have a thermometer, you can check the doneness of your jelly with a chilled spoon and plate. If the jelly comes off of the spoon in a sheet, it is ready. If you place a spoonful of the jelly on the chilled plate, and the edges are wrinkly and crinkly, then it is ready.
tips for canning jams & jellies:
Canning jam is quite simple and one of the easiest recipes that you can make for a beginner canner! Because fruit jam is a high-acid food, it can be processed in a hot water bath canner. You can find my full instructions for using a hot water bath canner in this post.
To begin, you will want to prepare your jars, lids, and bands. Wash and sanitize everything, then place them into the canner covered with simmering water. Make your jam recipe according to the instructions. Then, fill one hot jar at a time to the correct headspace, remove air bubbles in the jam, wipe the rim of the jar, and apply the lid and band.
This jam processes for 10 minutes at altitudes of 1,001 - 6,000 feet (305 - 1828 m).

how to make strawberry chamomile jelly:
Step One: Begin by steeping a pot of chamomile tea. Add the fresh or dried chamomile to a tea pot and pour boiling hot water over the flowers. Let it steep for at least 10 minutes before straining. You may choose to let it cool, if you wish.

Step Two: Next, make the strawberry juice. Place the strawberries into a large, deep pot along with the chamomile tea. Bring the mixture to a boil, stirring and gently crushing the berries occasionally. Lower the heat and cover the pot loosely, simmering the fruit for about 5 minutes or until softened.

Step Three: Place a jelly bag and strainer stand over a deep bowl that is set over a towel to protect your counter from splatters. With a ladle, transfer the softened strawberries into the jelly bag until all of it has been removed from the pot.
Step Four: Leave the jelly to drip into the bowl for at least 2 hours or overnight. I have found that 12 to 24 hours is the best for the maximum amount of juice collected. If needed, you can place the bowl into your fridge to prevent any bugs from landing in the juice, or place a grease splatter screen over the bowl.

Step Five: The next day, prepare your canner, jars, lids, and bands to make the jelly. After the jelly has dripped into the bowl, you will combine it with the lemon juice, sugar, and pectin in a large, deep heavy bottomed pot to make the jelly. The jelly only takes about 10 minutes to make with the use of the liquid pectin.

Step Six: When the jelly is ready, remove one jar from the canner with the jar lifter and place it over a towel on the countertop. Place your canning funnel in the jar and begin to fill the jar with jam to 1/4-inch (6-mm) headspace. Remove air bubbles with a spatula or bubble popper. Then, wipe the rim of the jar with a damp clean towel and apply the lid and band.

Step Six: Place the jar into the canner and repeat the filling process with the remaining jars, one at a time. Once all of the jars are filled, close the canner lid and turn up the heat bringing the water to a rolling boil. Process the jars for 10 minutes. Then, turn off the heat and remove the lid. Let the jars sit in the hot water for a remaining 5 minutes before moving them onto a towel on the countertop. Let the jars rest for 12 to 24 hours before removing the rings and checking the seals.

final thoughts:
Making strawberry jelly is one of the easiest canning recipes that you can try, so it’s perfect for a beginner! You can also store this jelly in the freezer for 1 year, if you are not yet ready to try hot water bath canning. I hope that this canning guide at least made the process seem a little less daunting.
This strawberry chamomile jelly is absolutely delicious and the perfect treat to spread on a piece of warm homemade bread with butter.
xoxo Kayla
similar recipes:

Strawberry Chamomile Jelly Canning Recipe
Ingredients
- 3 tbsp (24 g) fresh or dried chamomile flowers
- 5 lb (2.27 kg) fresh strawberries, green tops removed and quartered
- 3 3/4 cup (900 ml) strawberry juice
- 4 tbsp (60 ml) bottled lemon juice
- 7 1/2 cups (1500 g) granulated sugar
- 2 pouches liquid pectin
Instructions
- First, brew the chamomile tea. Place the fresh or dried chamomile flowers into a tea pot. Cover with about 2 cups (480 ml) boiling hot water and let the tea steep for at least 10 minutes.
- Add the strawberries to a large heavy-bottomed pot and cover with about 1 1/2 cups (360 ml) of the brewed chamomile tea. Bring the mixture to a boil, stirring constantly, until it cannot be stirred down.
- Lower the heat to a simmer and cover the pot loosely, stirring occasionally and gently crushing the berries, until they are softened, about 5 to 10 minutes. Remove the pot from heat.
- Transfer the berries to a jelly bag stand set over a large pot or bowl to capture the juice. Let the juice drip into the bowl for at least 2 hours and up to 24 hours. I find that 12 to 24 hours is best! Do not squeeze the jelly bag at all as this can lead to cloudy jelly.
- The next day, measure our your strawberry juice to 3 3/4 cups (900 ml). You may have some extra depending on how juicy your strawberries are. If this is the case, you can store the strawberry juice in your refrigerator for about 3 to 4 days and use it for something else, like homemade strawberry lemonade!
- Begin by preparing your canning pot, jars, lids, and bands. You will want to get the canning preparation started before you make your jam as the process is rather quick, and it always takes a long time for the canning pot to boil!
- To a large sauce pot, add the strawberry juice, lemon juice, and sugar. Bring the mixture to a boil, stirring occasionally. Once boiling, immediately stir in the liquid pectin and bring the mixture back up to a boil. Boil the jelly hard for 1 minute and remove the pot from heat.
- Remove one jar from the canner with the jar lifter and place it over a towel on the countertop. Place your canning funnel in the jar and begin to fill the jar with jam to 1/4-inch (6-mm) headspace. Remove air bubbles with a spatula or bubble popper. Then, wipe the rim of the jar with a damp clean towel and apply the lid and band.
- Place the jar into the canner and repeat the filling process with the remaining jars, one at a time. Once all of the jars are filled, close the canner lid and turn up the heat bringing the water to a rolling boil. Process the jars for 10 minutes. Then, turn off the heat and remove the lid. Let the jars sit in the hot water for a remaining 5 minutes before moving them onto a towel on the countertop. Let the jars rest for 12 to 24 hours before removing the rings and checking the seals.
- Store the jars without the rings in a cool, dark place such as a pantry cabinet for about 18 or more months. Check the seals occasionally and look for signs of mold, discoloration, or anything that doesn't look edible. Always smell your food before eating. When in doubt, throw it out!
Notes
- If you would like to make this recipe with powdered pectin, click here.
Nutrition Facts
Calories
839Nutritional information is only an estimate. The accuracy of the nutritional information for any recipe on this site is not guaranteed.


