Dandelion Jelly: Canning Recipe & Guide
This post may contain affiliate links, please see our privacy policy for more information.
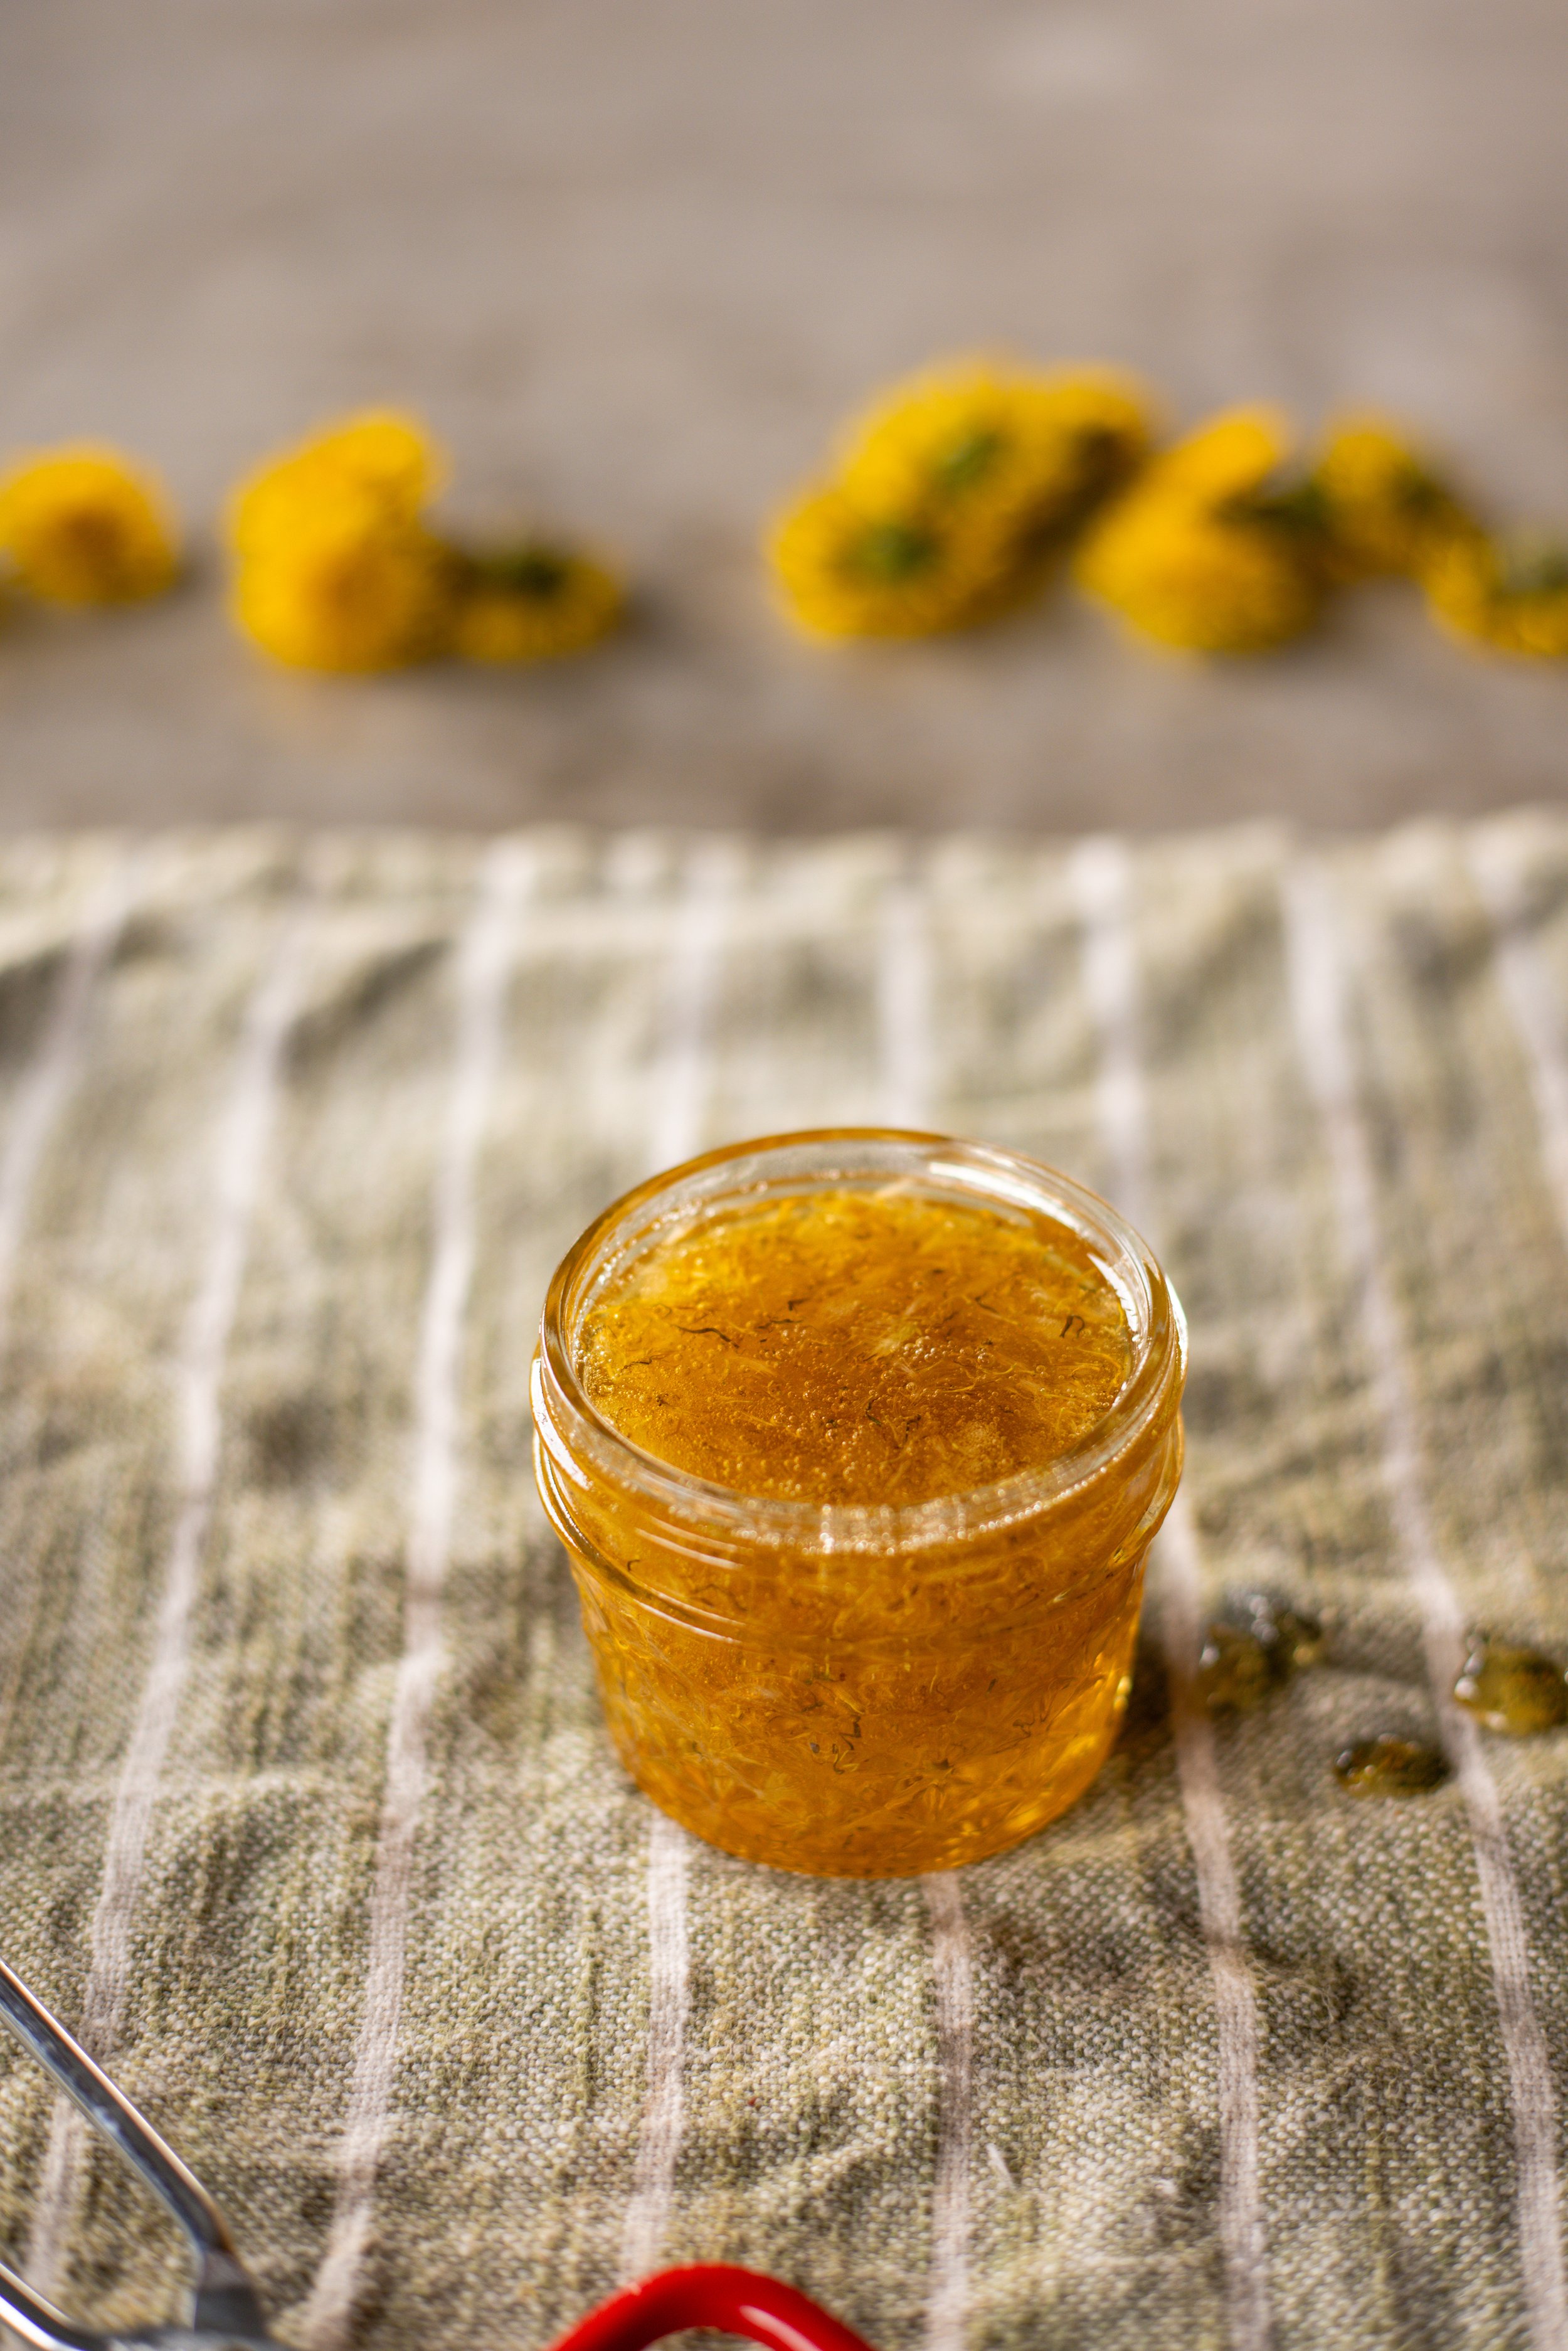
Capture the sunshine of early spring with this old-fashioned dandelion jelly recipe, a sweet, floral preserve that’s perfect for water bath canning and gifting.
Disclaimer: This is NOT a USDA tested and approved canning recipe. Be cautious when making and always check for signs that your food has gone bad before consuming to avoid the risk of botulism.

The first warm days of spring bring a scattering of bright golden dandelions across the fields, a sure sign that the earth is waking up again. While many overlook these cheerful blooms, they have long been cherished by foragers and homesteaders for their delicate, honey-like flavor. Making dandelion jelly is a lovely ritual—a way to honor the season, spend time outdoors, and turn a simple flower into something truly special. Let’s tuck a little springtime away for rainy days to come.

Best Dandelions for Dandelion Jelly
When gathering dandelions for jelly, keep these tips in mind:
Choose blossoms from unsprayed areas (avoid roadsides and treated lawns).
Pick in the morning after the dew dries but before the blooms close in the afternoon.
Use fully open flowers that are fresh, bright yellow, and vibrant.
Young blossoms tend to have the sweetest, mildest flavor.
Pro Tip: Harvest just the flower heads, and avoid too much green (sepals), which can make the jelly bitter.

canning tips for Dandelion Jelly
Pluck only the yellow petals for the cleanest, sweetest flavor. A kitchen shears works wonders!
Make a strong dandelion "tea" by steeping the petals in hot water before beginning the jelly.
Use high-quality liquid pectin and follow package instructions closely.
Test for gel stage by using an instant read thermometer, cold spoon, or cold plate method before canning.

Canning Safety Notes
Follow tested recipes and USDA guidelines to ensure safety.
Use new lids for canning. Most canning jar companies only recommend using lids once, in case that seals become damaged after storing food in a previous season. Using old lids can result in a false seal and spoiled food.
Assembly line can rather than batch canning. This means filling one jar at a time rather than filling all of the jars at once. This ensures that the jars stay hot, keeping them from going through temperature shock when being put into the water bath canner.
Use plastic utensils to prevent cracking your jars.
Dandelion jelly is safe for water bath canning due to the added lemon juice, which ensures proper acidity— HOWEVER. This is NOT a tested and approved recipe, so be cautious.
Use bottled lemon juice or citric acid (not fresh) for reliable pH balance.
Process jars in a boiling water bath for 10 minutes (adjust for altitude if needed).
Always use new lids and clean jars to ensure a strong seal.

Canning supplies you’ll need
Canning Jars, New Lids, and Bands. I prefer to use Ball® jars, lids, and bands. You will need NEW canning lids to safely can your green beans. Do not can with used lids, as the seals can be damaged. For this recipe, you will need 4 oz or 8 oz jars.
Fine Mesh Sieve or Strainer with Cheesecloth.
Large Sauce Pot with a Lid. You will definitely want a large sauce pot with a lid to cook down your sauce! I love using enameled cast iron for cooking tomatoes like this one or this one.
Jar Lifter. You will definitely want this tool to help lift the hot jars in and out of the canner!
Canning Funnel. A funnel can be nice to have to avoid spills. Use a nonmetallic funnel to avoid breakage.
Nonmetallic Spatula. Another tool that can be helpful to avoid breakage of your jars, and it can be great for removing air bubbles.
Headspace Measurer. This tool is made to easily measure the headspace of your food, which is necessary for low-acid canning to avoid siphoning! It can also double as an air bubble popper.

how to can Dandelion Jelly
Step One: Begin by preparing your canning pot, jars, lids, and bands. You will want to get the canning preparation started before you make your jelly as the cooking part is rather quick, and it always takes a long time for the canning pot to heat up. Simmer the jars for at least 10 minutes in the hot water bath before filling.

Step Two: Then, brew the dandelion tea. Place 2 cups (50 g) of the fresh dandelion flowers into a heat safe bowl. Cover the flowers with the water and let the tea steep until it comes to room temperature, about 20 to 30 minutes.
Step Three: Once the tea has finished steeping, strain the liquid through a fine mesh sieve into a heavy bottom sauce pot. To the pot, add the sugar, lemon juice, and liquid pectin.

Step Four: Place the pot over medium-high heat and bring to a rolling boil, stirring continuously to dissolve the sugar. Skim off any foam that forms on top of the jelly while cooking and discard it.

Step Five: Continue to cook the jelly until it reaches the jam stage. This is 220° F (104° C) at sea level. For each 1,000 ft (305 m) of altitude above sea level, subtract 2 degrees. You can check this using an instant read thermometer. Read the recipe notes if you do not have one!

Step Six: Remove the jelly from heat. Gently stir in the remaining 1/2 cup (12 g) dandelion flower petals until evenly distributed throughout the jelly.
Step Six: Remove one 4 oz jar from the canner with the jar lifter and place it over a towel on the countertop. Place your canning funnel in the jar and begin to fill the jar with jelly to 1/4-inch (6-mm) headspace. Remove air bubbles with a spatula or bubble popper. Then, wipe the rim of the jar with a damp clean towel and apply the lid and band.

Step Seven: Place the jar into the canner and repeat the filling process with the remaining jars, one at a time. Once all of the jars are filled, close the canner lid and turn up the heat bringing the water to a rolling boil. Process the jars for 10 minutes, adjusting the time for altitude. Then, turn off the heat and remove the lid. Let the jars sit in the hot water for a remaining 5 minutes before moving them onto a towel on the countertop. Let the jars rest for 12 to 24 hours before removing the rings and checking the seals.

Alternate Preservation Methods for Dandelion Jelly
If you don't want to water bath can your jelly, there are still cozy ways to enjoy it:
Refrigerator Method:
Simply prepare the jelly as directed, pour it into clean jars, and once cooled, store them in the refrigerator. Refrigerator jelly will keep for up to 3–4 weeks.Freezer Method:
You can also freeze dandelion jelly! Use freezer-safe containers or straight-sided glass jars, leaving about 1 inch of headspace to allow for expansion. Freeze the jelly once it's fully cooled. It will keep in the freezer for up to 1 year. Thaw in the fridge before using.
Note: These methods are perfect if you're making a small batch or if you don't want to go through the full canning process!

Storage Instructions
Store sealed jars in a cool, dark pantry for up to 1 year. Refrigerate after opening and use within 2 to 3 weeks.
Serving Suggestions:
Spread dandelion jelly over warm buttermilk biscuits, drizzle over vanilla ice cream, or use it as a glaze for cakes and pastries. It’s a lovely, nostalgic flavor that pairs beautifully with lemon, lavender, and mild cheeses.

Variations:
Infuse the tea with a few sprigs of fresh mint for a refreshing twist.
Add a splash of vanilla extract just before canning for a more dessert-like flavor.
Combine dandelion petals with a few wild violets for a wildflower jelly blend! This will alter the color.

final thoughts
There’s something almost magical about turning simple dandelion blossoms into sparkling jars of jelly. It’s a celebration of the small and wonderful gifts that nature offers if we only slow down to notice them. I hope this recipe inspires you to look at the humble dandelion a little differently—and to fill your pantry with a little sunshine. If you try this recipe, I’d love to see your beautiful jars! Tag me @underatinroof so we can celebrate spring together.
xoxo Kayla
watch on YouTube:

Dandelion Jelly: Recipe & Canning Guide
Capture the sunshine of early spring with this old-fashioned dandelion jelly recipe, a sweet, floral preserve that’s perfect for water bath canning and gifting.
Ingredients
- 2 1/2 cups (63 g) fresh dandelion flower petals (no green parts)
- 2 cups (480 ml) boiling water
- 2 1/4 cups (450 g) granulated sugar
- 1 tbsp (15 ml) bottled lemon juice
- 3 fl oz (85 ml) liquid pectin
Instructions
- Begin by preparing your canning pot, jars, lids, and bands. You will want to get the canning preparation started before you make your jelly as the cooking part is rather quick, and it always takes a long time for the canning pot to heat up. Simmer the jars for at least 10 minutes in the hot water bath before filling.
- Then, brew the dandelion tea. Place the fresh dandelion flowers into a heat safe bowl. Cover the flowers with the water and let the tea steep until it comes to room temperature, about 20 to 30 minutes.
- Once the tea has finished steeping, strain the liquid through a fine mesh sieve into a heavy bottom sauce pot. To the pot, add the sugar, lemon juice, and liquid pectin.
- Place the pot over medium-high heat and bring to a rolling boil, stirring continuously to dissolve the sugar.
- Continue to cook the jelly until it reaches the jam stage. This is 220° F (104° C) at sea level. For each 1,000 ft (305 m) of altitude above sea level, subtract 2 degrees. You can check this using an instant read thermometer. Read the recipe notes if you do not have one!
- Remove one 4 oz jar from the canner with the jar lifter and place it over a towel on the countertop. Place your canning funnel in the jar and begin to fill the jar with jelly to 1/4-inch (6-mm) headspace. Remove air bubbles with a spatula or bubble popper. Then, wipe the rim of the jar with a damp clean towel and apply the lid and band.
- Place the jar into the canner and repeat the filling process with the remaining jars, one at a time. Once all of the jars are filled, close the canner lid and turn up the heat bringing the water to a rolling boil. Process the jars for 10 minutes, adjusting the time for altitude. Then, turn off the heat and remove the lid. Let the jars sit in the hot water for a remaining 5 minutes before moving them onto a towel on the countertop. Let the jars rest for 12 to 24 hours before removing the rings and checking the seals.
- Store the jars without the rings in a cool, dark place such as a pantry cabinet for about 18 or more months. Check the seals occasionally and look for signs of mold, discoloration, or anything that doesn't look edible. Always smell your food before eating. When in doubt, throw it out!
Nutrition Facts
Calories
602Nutritional information is only an estimate. The accuracy of the nutritional information for any recipe on this site is not guaranteed.


