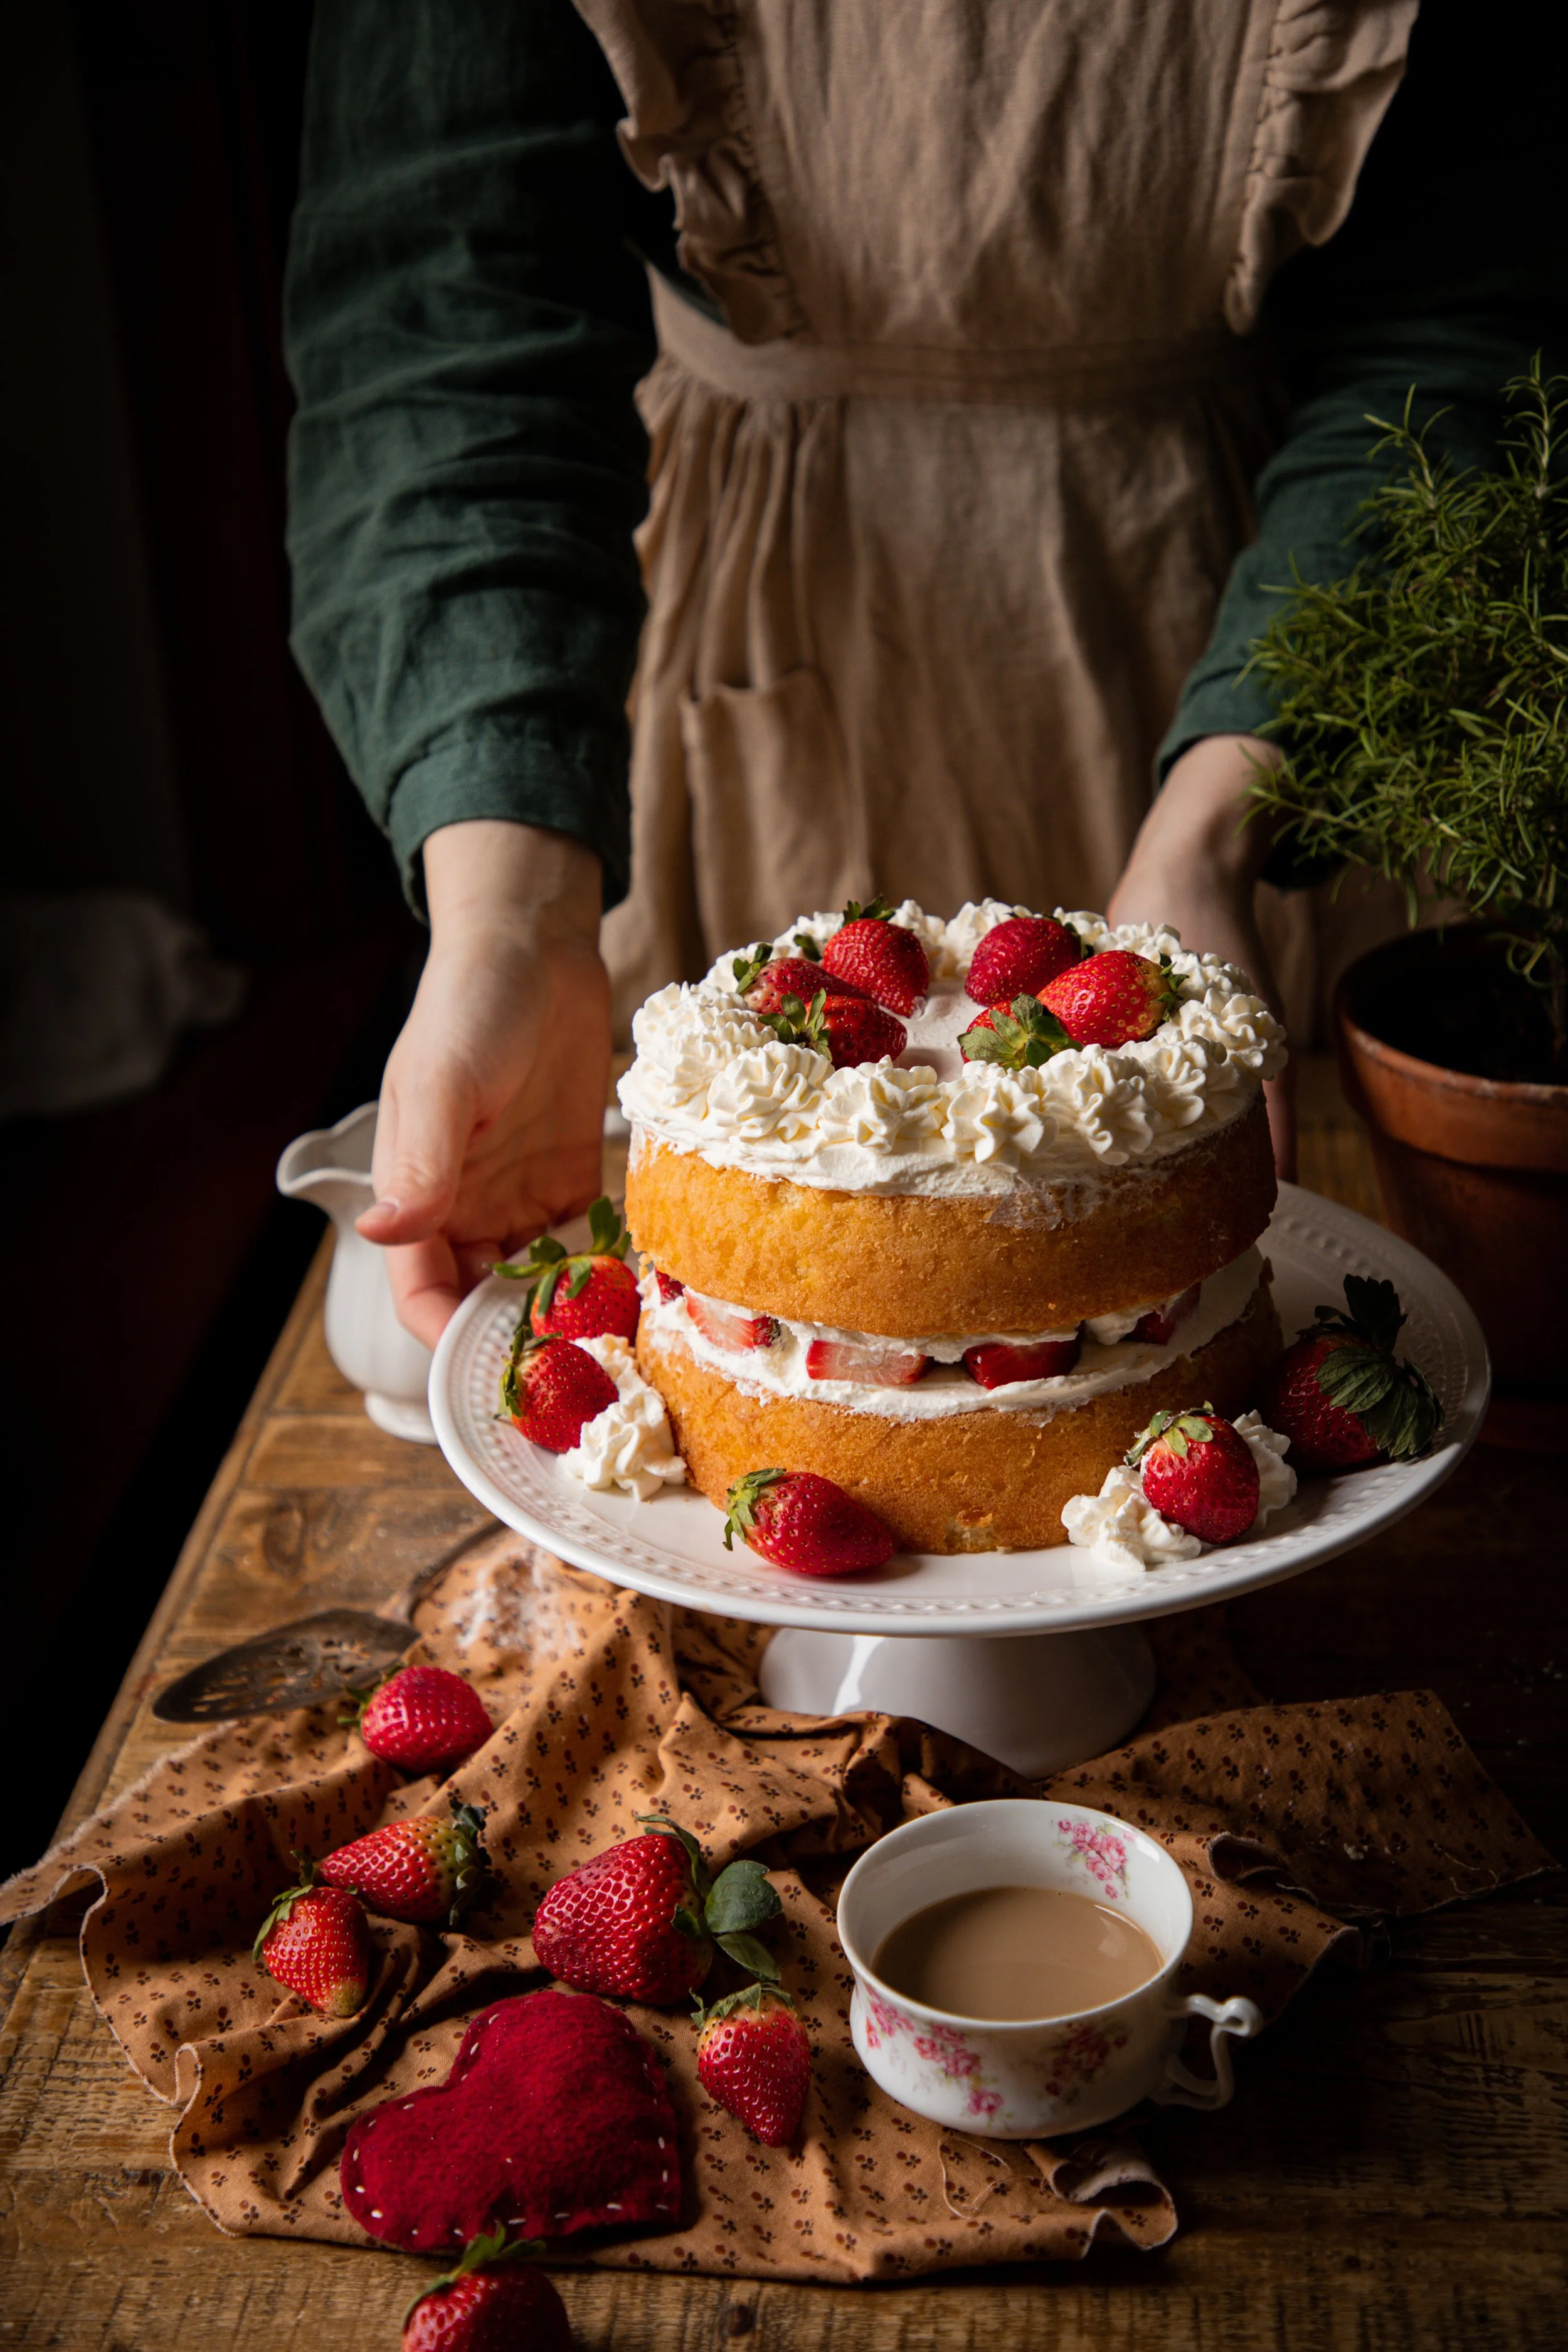
Strawberry “Shortcake” Sponge Cake
My love for romantic childhood cake continues! Someone on our Instagram suggested we make a strawberry shortcake cake for Valentine’s Day, and I thought it was a delightful idea. I decided to use a classic Victoria Sponge version of a cake to embody the beloved shortcake. This cake is sweet and simple, a perfect treat alongside a cup of tea or coffee, and is not overly sweet at all. It feels light and airy, and I have to say that I absolutely adore whipped cream as frosting over buttercream any day. Are you the same?
Making a sponge cake is rather simple, and there is not a lot of decorating involved if that is intimidating to you! I like to pipe my whipped cream to add a bit of vintage romance to my cakes, and this is easily done if the whipped cream has been chilled for a bit of time before shaping!
where did strawberry shortcake come from?
Of course, this cake is not technically a strawberry shortcake. A shortcake is actually a biscuit! Traditionally, a strawberry shortcake is a biscuit split in half and filled with fresh strawberries or other fruit and topped with whipped cream and perhaps a drizzle of syrup.
The earliest documented shortcake recipe is from 1588. The dessert is actually named after a character from Shakespeare’s play “The Merry Wives of Windsor,” which I was surprised by!
The dessert became popularized, as many have I am learning, in the mid 1800s. The biscuit was served with hot butter and sweet cream rather than whipped cream, and they were eaten during strawberry harvest parties. Doesn’t that sound so sweet? It is still a celebration that is held in some parts of the United States on National Strawberry Shortcake Day, which is June 14.
the method:
Making a sponge cake can take a bit of practice, if you are new to the concept. I like to make my sponge cake with egg yolks rather than whole eggs. I think it creates a lovely crumb to the cake, and I have had plenty of sponge cakes separate after baking when I have used whole eggs. Don’t let that scare you, though! Using only yolks makes for a denser cake than if you used whole eggs.
To make sure that you are making a truly spongey crumb, be sure to beat the egg yolks before adding the sugar and then slowly incorporate the sugar. It will be very thick and syrupy. When you list the whisk from the bowl, the yolk-sugar mixture should drizzle and leave a trace in the batter for a few seconds.
When you fold in the dry ingredients, the mixture will become very crumbly, almost like pastry. This is supposed to happen! You will then incorporate the hot milk and butter, and your cake batter will be ready. Be careful to not over mix, or you may end up with some separation after baking, meaning the bottom of the cake will be a different texture than the top.
As you can see from my photos, I place my strawberries in a single layer. While this was lovely for a photo, I would highly suggest loading the entire middle section with strawberries! The more strawberries the better, I say!
To pipe the sweet little florets on top of the cake, I used a large open star tip. If you are not eating this cake right away, it will need to be refrigerated to keep the whipped cream from eventually falling. I suggest serving it chilled anyway. It’s a lovely little treat to enjoy on Valentine’s Day!
xoxo Kayla
Strawberry Sponge Cake

Ingredients
- 2 cups all-purpose flour
- 2 tsp baking powder
- Pinch of salt
- 4 egg yolks
- 2 cups granulated sugar
- 1 cup whole milk
- 10 tbsp butter, softened
- 2 cups heavy whipping cream
- 1/4 cup granulated sugar
- 1 lb strawberries
Instructions
- Directions
- Preheat the oven to 350° F. Grease and flour two cake pans and set aside (I prefer to use coconut oil for greasing cake pans - works every time!).
- In a medium bowl, whisk together the flour, baking powder, and salt. Set aside.
- In a medium bowl, whip the egg yolks with an electric mixer until bright yellow and foamy, about 4 minutes. Slowly add the sugar, about 2 tbsp at a time, until light and fluffy. Add the flour mixture to the eggs and beat until well incorporated.
- In a small saucepan, heat the milk and butter until about 120° or the butter has just began to melt. Add to the flour-egg mixture and beat on medium speed until just combined.
- Pour the batter into the two cake pans, dividing it equally. Bake for about 25-30 minutes or until the cakes spring back when touched.
- Allow the cakes to sit in the pans for about 10 minutes before transferring to a wire cooling rack. Let them cool to room temperature before decorating.
- Meanwhile, in a chilled bowl whip the heavy cream and 1/4 cup sugar on high speed until stiff peaks form, about 4-6 minutes. Chill until ready to use.
- To assemble the cake, place one layer of cake with the bottom side facing up. Spread the whipped cream over the surface of the cake. Layer sliced strawberries over the whipped cream and then layer on more whipped cream over the strawberries. Place the second cake on top of the filling.
- Pipe or spread the whipped cream over the top layer of cake. Decorate with strawberries. Serve at room temperature or chilled.


A light and fluffy sponge cake sweetened with maple syrup, filled with toasted walnuts, and topped with cream cheese frosting. This rustic naked cake is simple to bake and charming enough for any spring celebration.