How and When to Start Seeds: A Beginner’s Guide to Seed Starting
This post may contain affiliate links, please see our privacy policy for more information.
Learn how to start seeds at home with this beginner-friendly guide. We cover everything from choosing seeds and containers to creating the right conditions for strong, healthy seedlings.

Video: Seed Starting for Beginners
Why Start Seeds Indoors?
There are several benefits to starting seeds indoors!
Starting seeds at home allows you to grow a wider variety of vegetables, herbs, and flowers than you’ll find at the garden center. For kitchen gardeners especially, seed starting gives you more control over what ends up on your plate.
It gives you a head start on the growing season. For many of us, we do not live in ideal climates to start various types of plants by putting seeds directly in the ground. Warm-season vegetables such as tomatoes, peppers, and broccoli need more time to grow to develop fruit. There are not enough growing days for those plants to get to harvest if they are started outside.
Starting your own seeds can save money in the long run. The initial costs of seed starting supplies can be a bit expensive up front, but you can reuse these supplies every year afterwards. If you do not start seeds indoors, you will need to buy young plants called “transplants” or “starts” from a greenhouse or garden center. These plants can get pricey!
Most greenhouses only sell the most basic varieties that everyone loves, so if you want something a bit more unique, you’ll have to start them yourself. There are so many amazing varieties out there to be started.
You can control how your seedlings are raised, whether that’s organically or whatever garden method you prefer.

Best Time to Start Seeds Indoors
Determining the time to start your seeds indoors will depend on your last frost date. If you live in a warmer climate, you may not have to start seeds indoors at all! As a general rule, most seeds are started about 6 weeks before the last frost date in spring.
You can figure out your last frost date by checking your USDA Plant Hardiness Zone.
Read the Back of Your Seed Packet— Most seed packets will list the when the seeds should be started and how they should be started (indoors or direct sown outside). For example, it may say something like, “Start indoors 6-8 weeks before last frost.” You will then count backward from your average last frost date. This is usually listed on the back or inside of your seed packet.
Use a Planting Calendar— If you do not have seed packets yet, you can usually determine when to start your seeds indoors by knowing which vegetables, herbs, and flowers you hope you plant. Each type of plant generally has the same amount of “days to maturity” or days it takes to grow the plant from seed to harvest. Find my planting calendar printable at the bottom of this post!

What Seeds Should You Start Indoors?
Not all seeds need to be started inside. Which seeds you need to start indoors is going to depend entirely upon where you live and which Plant Hardiness Zone you live in. I live in southeast Iowa— this means that I am in Plant Hardiness Zone 5b. Once you have figured this out, you can start looking into which types of vegetables you will need to start indoors for your location.
These plants are typically started indoors:
Tomatoes
Peppers
Eggplant
Broccoli and Cabbage
Herbs like Basil and Chamomile
Flowers like Snapdragons, Zinnias, and Cosmos
These plants are typically direct seeded outdoors:
Cucumbers and Melons
Pumpkins and Squash
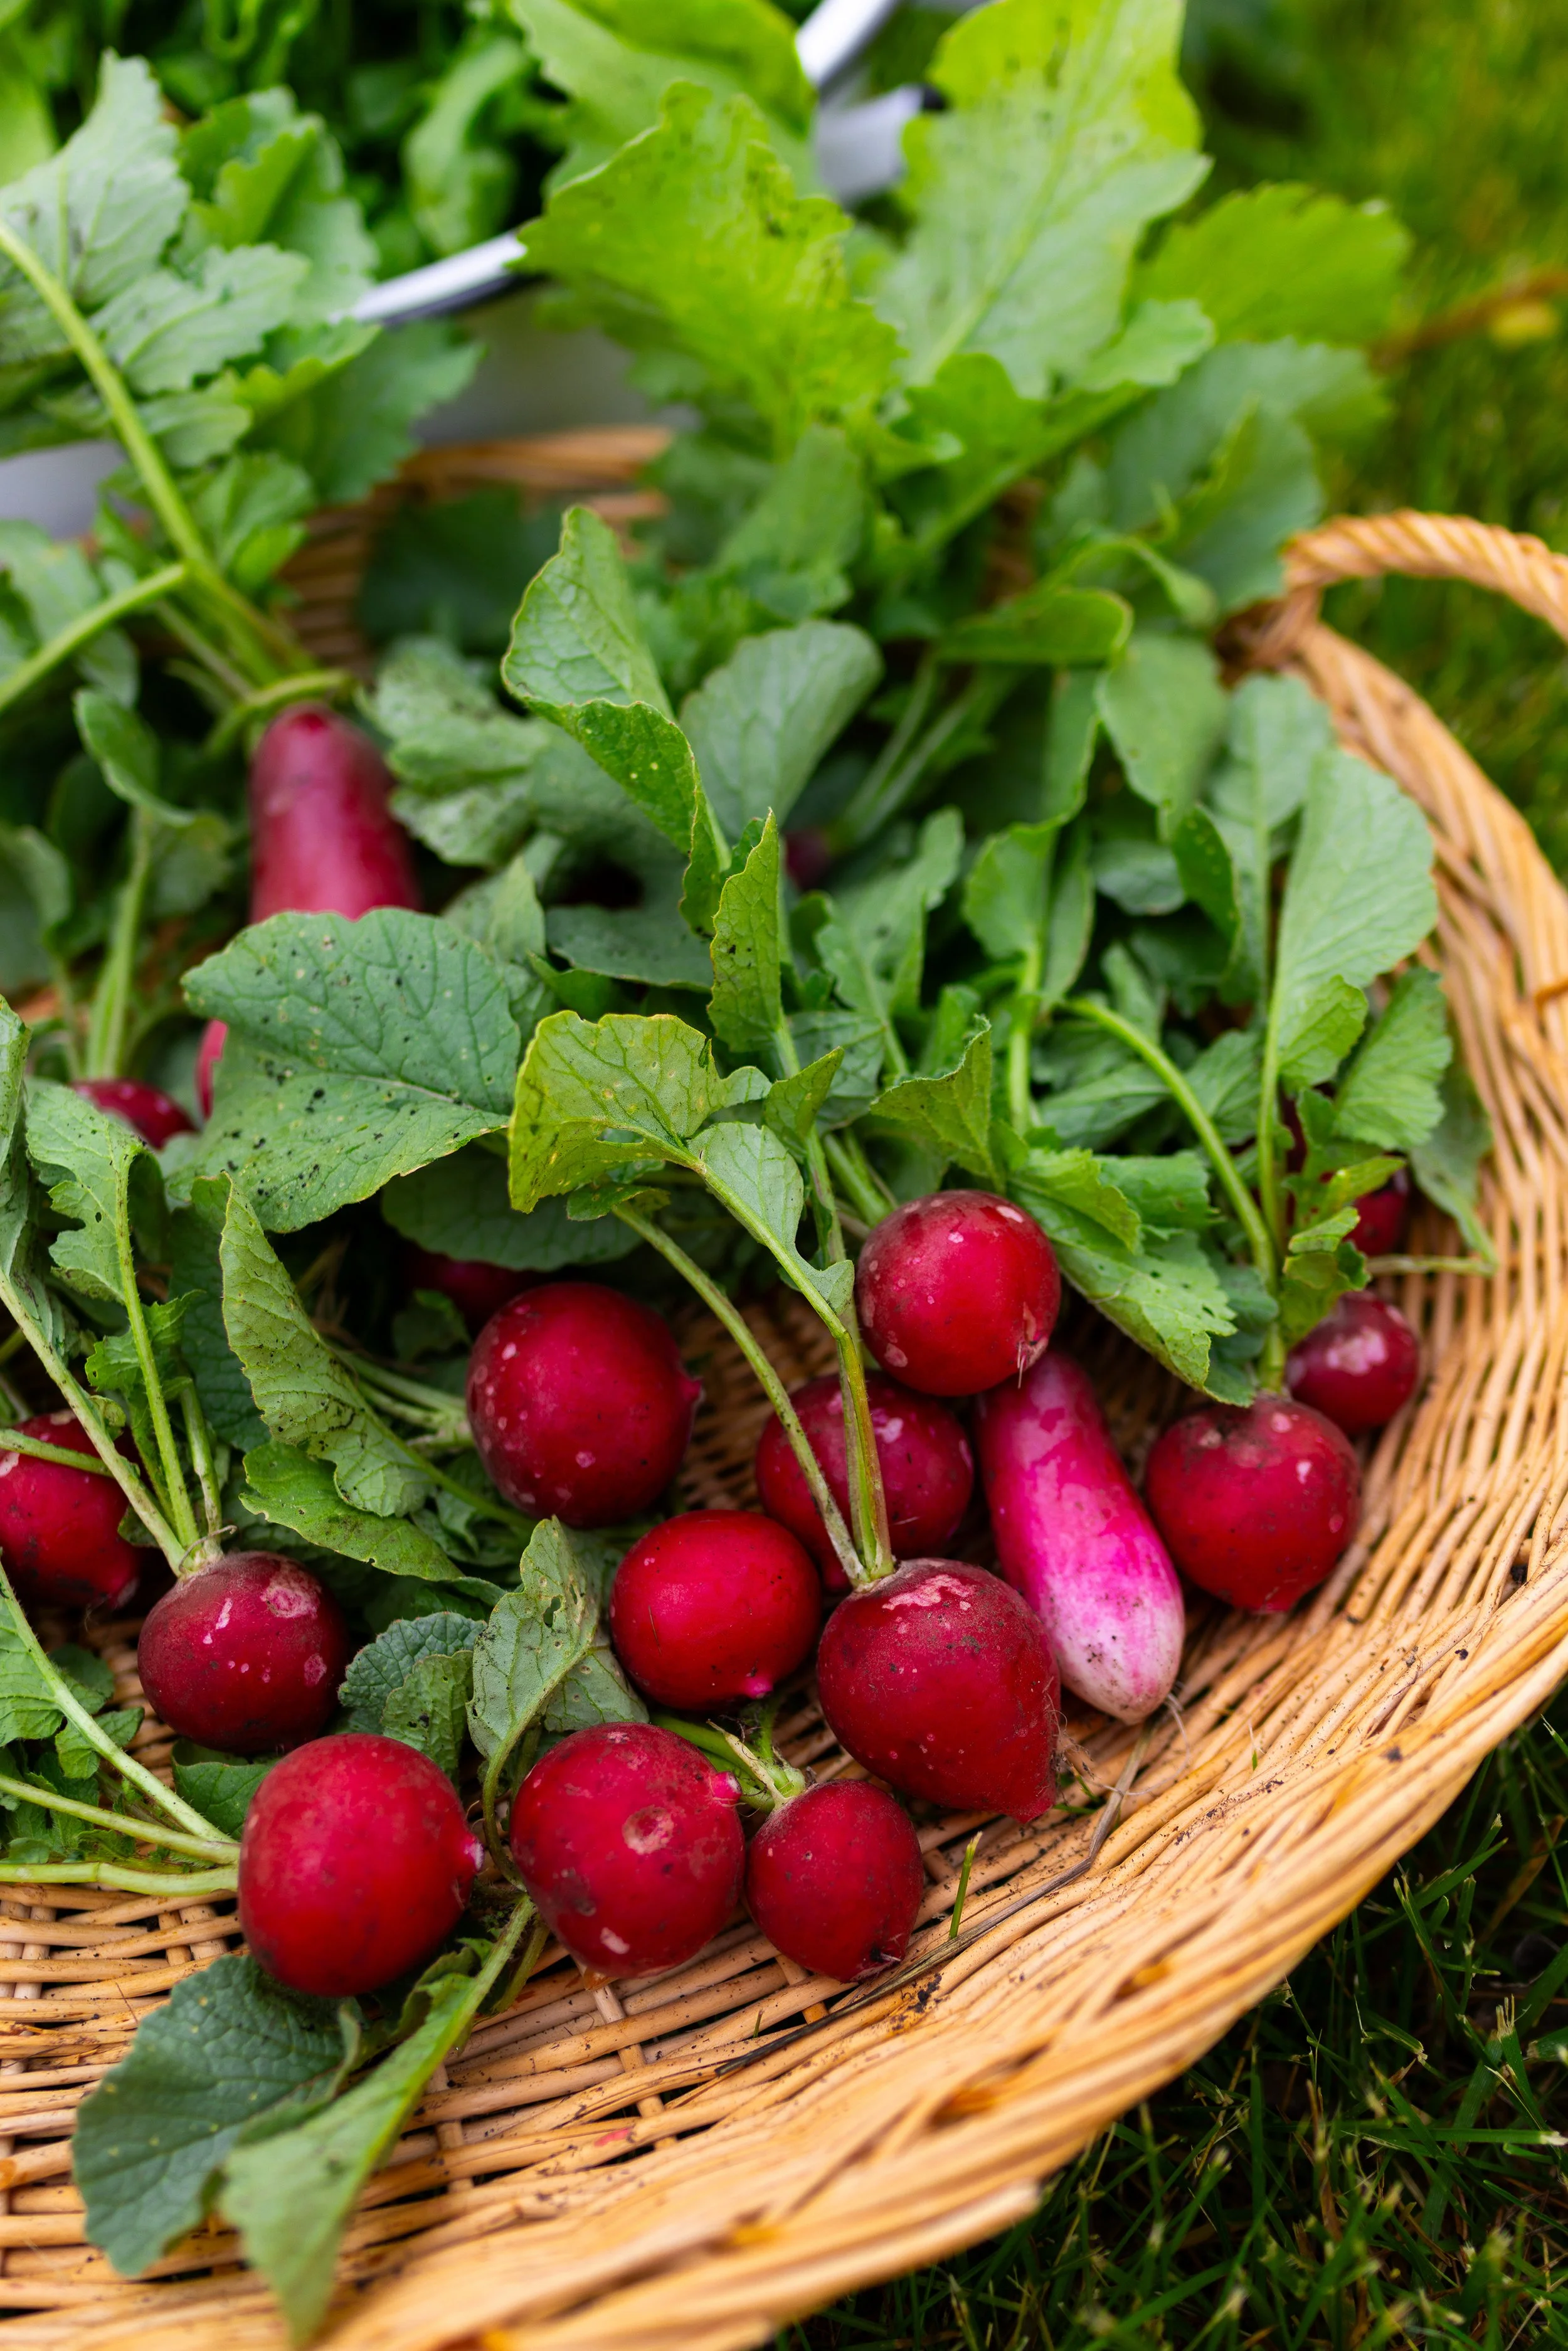
Carrots, Turnips, and Radishes
Remember, there are no set rules to starting seeds. You can do whatever works best for you based on your planting zone and experience.

Tools & Supplies You Will Need
Seed Starting Trays or Cell Packs— There are so many different types of containers you can use to start seeds! You do not need anything fancy. You can even start seeds in old yogurt containers or toilet paper tubes. Whatever container you use, make sure that it has holes in the bottom for water drainage.
Quality Seed Starting Mix— To start seeds, I cannot recommend using a “Seed Starting Mix” vs Potting Soil more. Seed starting mixes are specifically made for starting young seedlings and are made with the perfect amount of nutrients, which allows your seedlings to live in their containers for a couple of months without having to be fertilized (or fed plant food). Most seed starting mixes are made with peat moss or coconut coir, perlite, vermiculite, and shredded bark. Never use the soil from outside— it is too compact for the young seedlings to push through the soil in their pots.
Humidity Dome or Plastic Wrap— Your plants need humidity to get started. It’s more important that the soil is kept moist and warm than the air! A humidity dome is needed to germinate, or sprout, the seeds. Once the seeds have sprouted, the humidity dome is taken off. You can either purchase domes for seed starting or simply use plastic wrap to cover the trays.
Plant Labels— You will definitely want these to remember which seeds you sowed. This is especially true if you are planting different varieties of tomatoes or peppers. Make sure to use something that will not wash away while you are watering your seedlings.
Spray Bottle or Watering Can— Watering can be tricky with young plants! I prefer to bottom water, but I also often use a spray bottle for more delicate seedlings like snapdragons. Otherwise, a small watering for seedlings will work.
Heat Mat (optional)— Like I said above, it’s much more important that the soil temperature is warm for the seeds to germinate rather than the temperature of the air. A heat mat can be really helpful for getting those seeds to sprout! Once sprouted, you can turn off the mat. This is nice if you can only purchase one mat so that you can rotate it between your trays of seeds.
Grow Lights (optional)— I highly recommend getting a set of grow lights! You do not need them to grow plants. All you need is a sunny window! However, in the late winter and early spring, daylight coming in through your window is often not as strong as it is in the late spring and summer. Grow lights can help make sure that your plants are getting all of the light they need without having to worry about overcast or rainy days. Grow lights also help prevent having leggy seedlings!
Looking for more ideas on different types of seed starting supplies you can use? Read my guide to Sustainable Seed Starting Supplies here!

Step-By-Step: How to Start Seeds Indoors
1. Prepare Your Containers
Choose seed trays, repurposed yogurt cups, or soil blocks. Ensure there are drainage holes no matter the type of container you are using. I prefer to start my seeds in soil blocks these days, but I have used just about every type of container that’s available!
If you are using older containers, make sure that you wash them with a gentle soap and sanitize with vinegar or a diluted bleach solution.
Pro Tip! Soak Your Seeds (optional): This can be a good idea to help boost your chances of having your seeds germinate! Some seeds prefer to be soaked before being planted, so make sure to read your seed packet to see if there are any extra steps you need to take before sticking them into the soil. This can also help speed up the germination process, sometimes by 50%! Seeds only need to be soaked for about 12 to 24 hours.
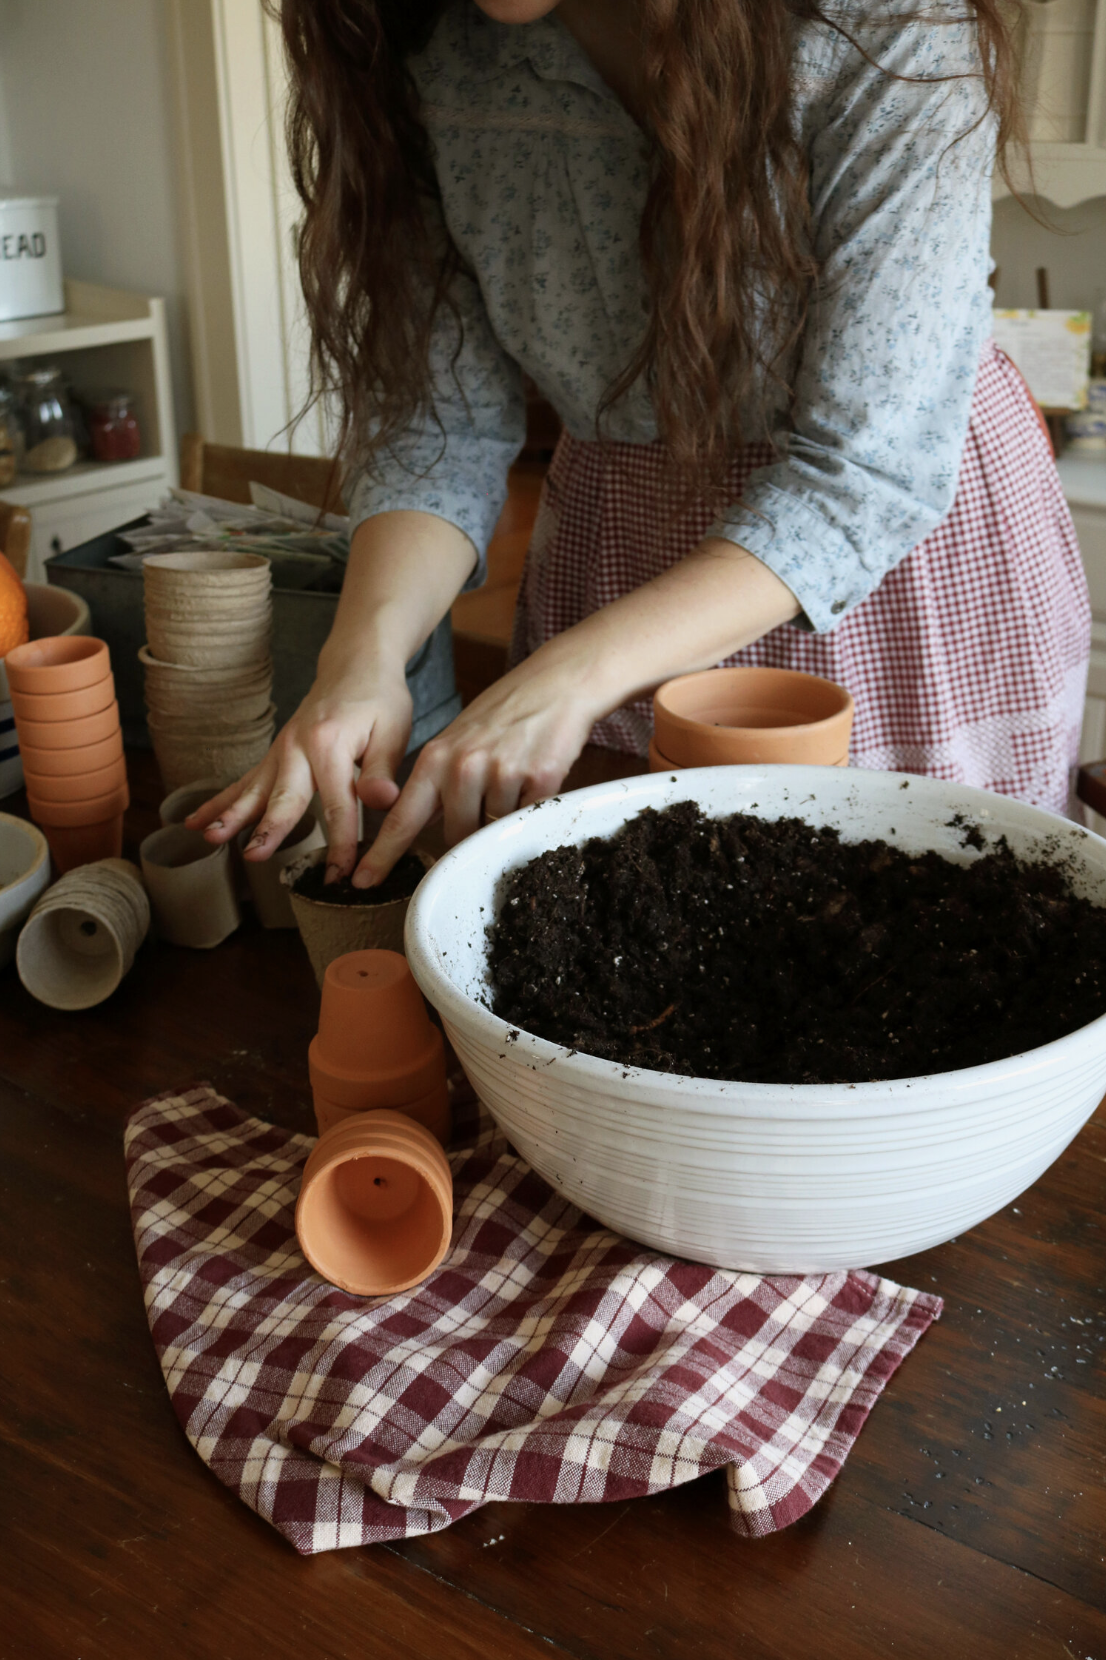
2. Fill with Seed Starting Mix
Before putting the seed starting mix into your containers, place it into a large tub and moisten it with water. The soil mix does not need to be overly wet, only dampened. It should feel like a wrung-out sponge. Try squeezing it together with your hands— only a few drops of water should fall out.
Once the soil is moistened, fill your seed starting trays or cell packs all the way to the top. Tamp the soil down tightly with your fingers, pressing firmly until it is well packed. This is why it is helpful to work with damp soil rather than dry, as the dry soil will not fully compact. If you do not tamp down the soil, you risk the roots not having anything to hold on to.
Click here to read how to plant your seeds with a soil block method!

3. Plant Your Seeds
Follow the recommended seed planting depth on the seed packet. With a pencil or plant dibber, make a small divot in the soil where you want to plant your seed.
Drop 1-3 seeds in the hole— This is a good idea in case one of the seeds does not germinate!
Gently press down to ensure good contact. Some seeds need to be planted deeper than others, and some do not need to be covered with soil. Tiny seeds such as snapdragons or chamomile prefer to simply be placed on top of the soil and covered with a bit of vermiculite.

4. Label Your Sowings
Don’t forget to add labels so that you remember what you planted! Not the date of sowing and the variety you’ve planted.
5. Add Humidity and Warmth
Cover the tray with a humidity dome and place the tray on a heat mat, if using. Most seeds germinate best around 65 to 75°F (18 to 24°C).
Pro-Tip! Do Not Plant Different Types of Plants in the Same Tray— Different types of vegetables have different germination rates. For instance, it may take tomatoes 7 to 14 days to sprout, and chamomile 10 to 21 days to sprout. You will want to remove the humidity dome for the tomatoes, but if the chamomile hasn’t sprouted yet, then it will need to stay on.

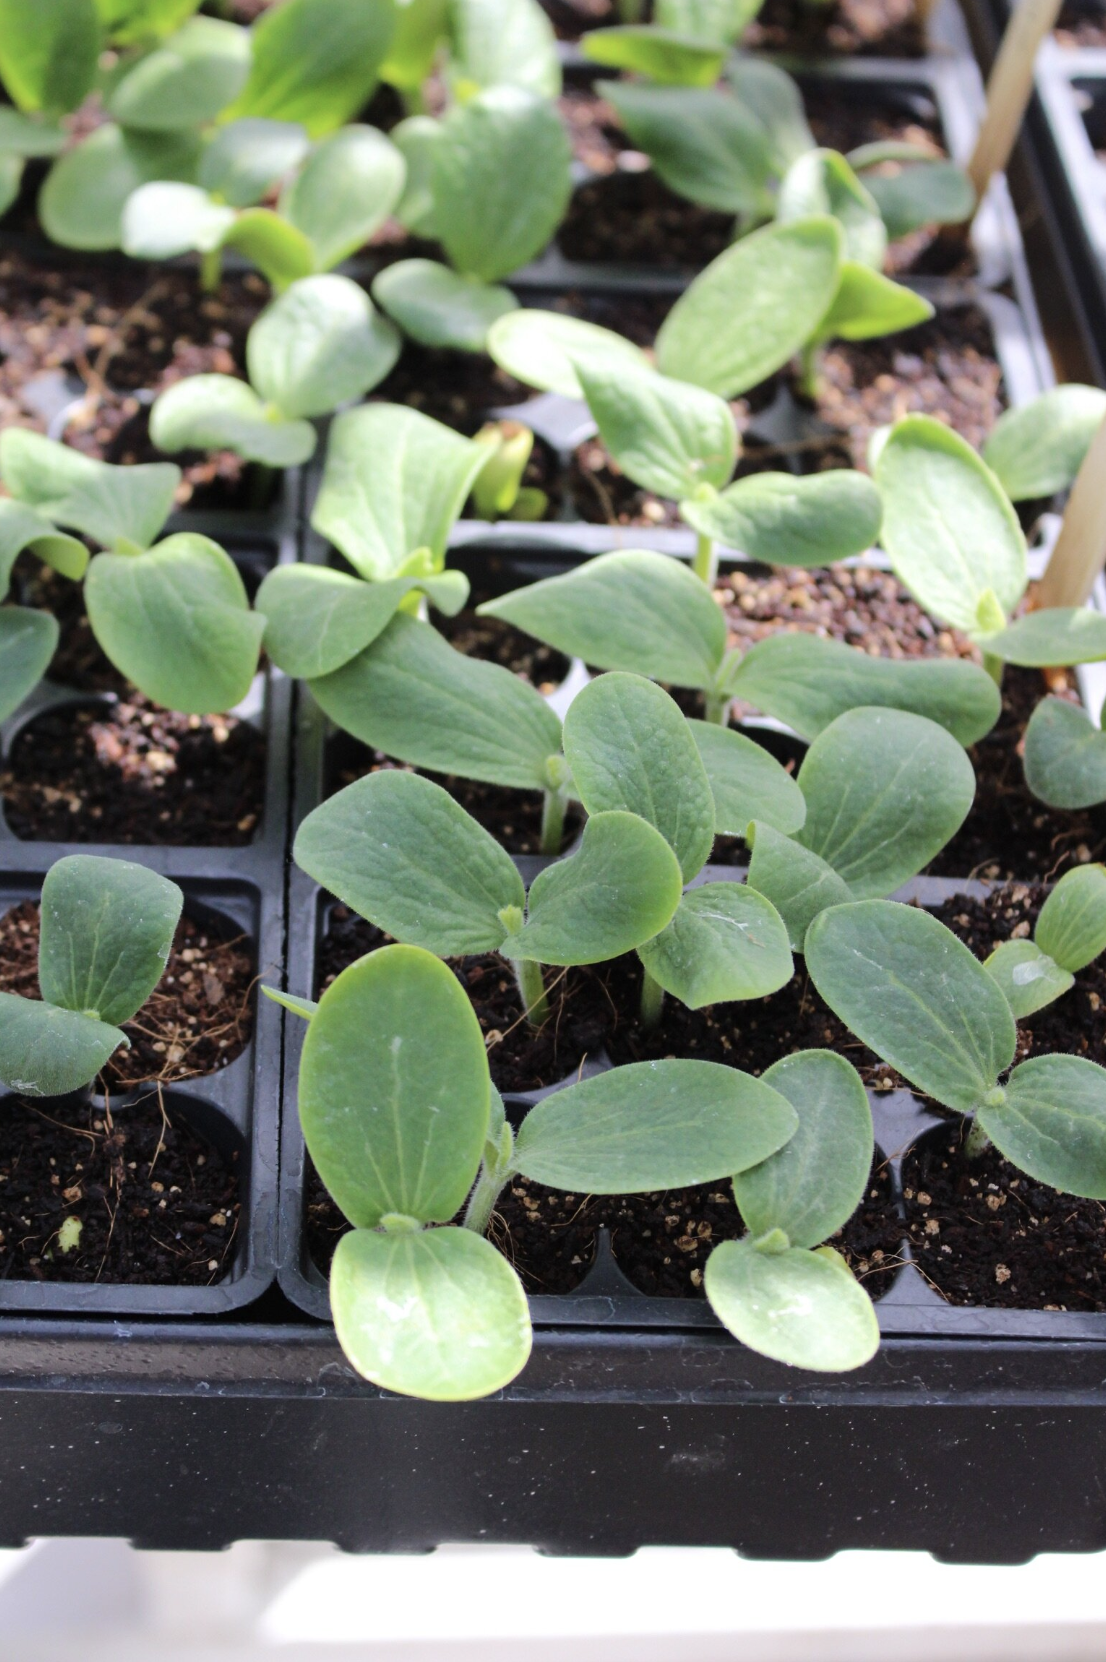
6. Provide Light
Once sprouts emerge, move them under grow lights or into a south-facing window for 12 to 16 hours a day.
Having poor light levels is one of the most common problems with successfully starting seeds indoors. It is definitely worth investing in grow lights if you do not have ideal natural light coming in through your windows in the winter and early spring. If you cannot get grow lights, turning your seedlings throughout the day to make sure they all are receiving adequate sunlight can be helpful.
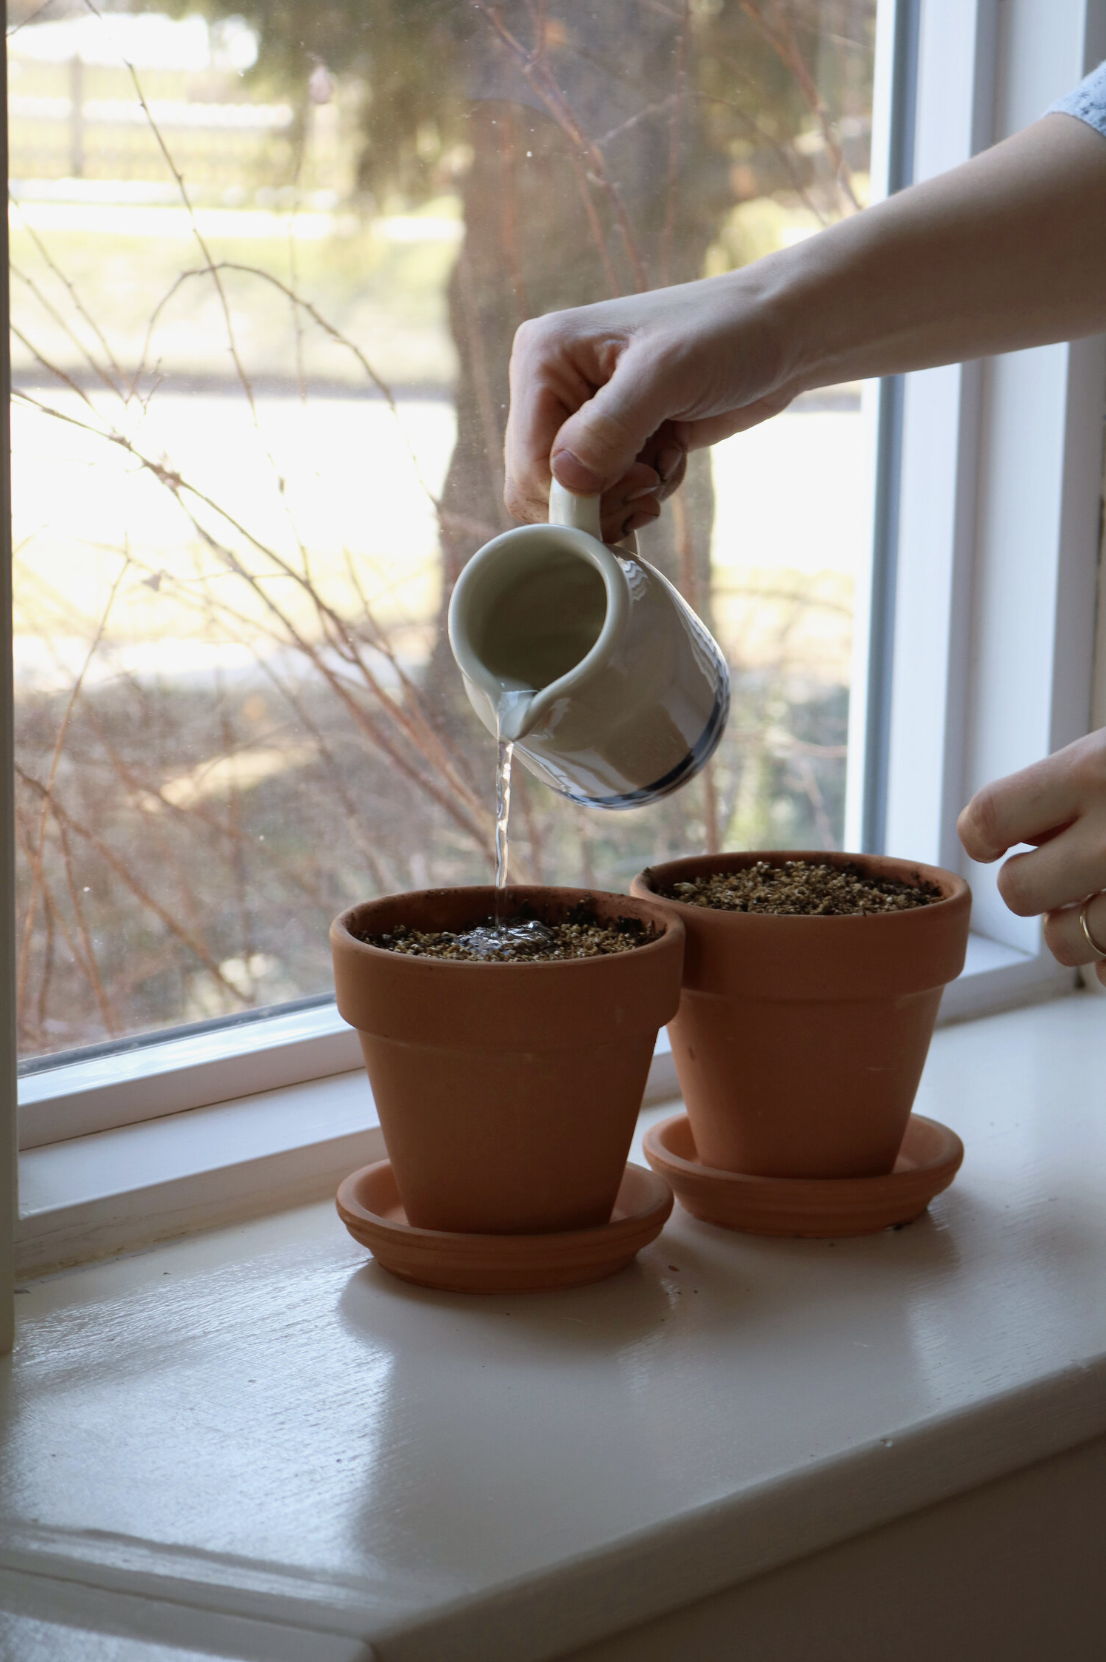
7. Water Carefully
As your seedlings grow, keep the soil evenly moist but not soggy. Bottom watering can help prevent damping off. If you are growing tiny, delicate seeds, bottom watering can help to prevent them from washing into the corners of the seed tray when overhead watering. Overhead watering can also cause some plants to begin to rot or develop diseases like powdery mildew.
You can easily bottom water your plants by using a tray underneath the cell packs that does not have any holes. This can be purchased or you can simply use an old baking sheet or dish with sides to hold the water in.

8. Thin Seedlings
Once the seedlings develop true leaves (the first set of leaves after the initial cotyledon), snip or gently pull the weaker ones at the soil line to avoid crowding. Essentially, you will want to choose a single plant per cell in your seed tray.
Pro Tip! Transplant Second Seedlings— If you are gentle enough, you can transplant these “second choice seedlings” into a new tray. This is easily done by creating a hole deep enough to encase the plant’s entire stem up to the leaves. Gently place it in the hole and press soil firmly around it. Water immediately after planting.
Common Seed Starting Mistakes (and How to Avoid Them)
Using garden soil – It’s too dense and can harbor pathogens. Always use a sterile seed starting mix rather than potting mix, which has thick hunks of bark in it.
Too little light – Leggy seedlings result from low light levels. When in doubt, use grow lights.
Overwatering – Watering your seedlings too often leads to root rot and fungal issues. Water only when surface is dry. You can easily determine if you are over or under-watering by looking at the leaves. If the leaves are yellow, they need more or less water.
Planting too early – Start too soon and your seedlings may outgrow their space before it’s warm enough to plant outside. If this is the case, you can supply your plants with more nutrients by using a liquid plant food or transplanting them to a larger container with refreshed seed starting mix.

What to Do After Seeds Sprout
Remove any covers to increase airflow. The humidity dome or plastic wrap is only needed to help the seeds germinate. After that, they need airflow for proper growth.
Start feeding seedlings with diluted fertilizer, if needed. This is generally only needed if your plants are in the trays for more than 6 weeks!
Gently brush your hand over seedlings daily or run a fan for sturdier growth. This will help promote sturdy stalks and prevent legginess. This can also help prevent mold growth on the surface of the soil.
Pot up seedlings into larger containers, if needed. This can help prevent your plants from becoming root bound, or when the roots begin to grow in circles around themselves in the pot. You will often notice this in plant starts from garden centers.
Set seedlings deeper. If you have leggy seedlings or seedlings that need to be transplanted to prevent crowding, then you will have to transplant them. With a pencil or plant dibber, make a hole in a new seed tray or small pot that is deep enough to hold the plants stem up to the first set of true leaves. Carefully place the plant into the hole— be careful not to break the roots or stem— and then firmly pack the soil around the stem. This will get the plant back on track and help the stem to become sturdier!

How to Harden Off Seedlings Before Planting
Before your indoor plants can be transferred to living outdoors, they need to be acclimated to their new environment. Suddenly moving plants from a controlled indoor environment to one with temperature, light, wind, and water variations can be a lot! If you do not harden off your plants, they can go through transplant shock. You will notice symptoms such as wilting, yellowing leaves, leaf drop, and slowed or stunted growth.
About 7 to 10 days before transplanting, begin to harden off your plants by:
Placing seedlings outside in dappled light for a few hours. Make sure the spot is sheltered from strong winds and cold temperatures.
Gradually increase the light and time spent outdoors. On the first day, place your seedings in full sunlight for about 1 to 2 hours. Extend the amount of time each day until they are able to stay out all day long.
Water consistently. The addition of dry air and spring winds can cause the soil to dry out quickly. Check consistently throughout the day to make sure that the soil is remaining moist and water as needed.
Cool-season crops do not need to be babied as much. This includes crops such as lettuce, peas, broccoli, and cabbage. They can be hardened off in a few days or even directly planted as soon as the ground is ready.

Storage & Seed Longevity Tips
Store unused seeds in a cool, dark place in a sealed container.
Most seeds last 1 to 5 years depending on the variety! They have found seeds that are thousands of years old that have been able to be started. So do not get rid of any leftover seeds and use them next year or swap them with a friend!
Label everything clearly and record planting dates in a garden journal.
Related Posts You’ll Love

Final Thoughts
Starting seeds may feel intimidating, but once you see your first sprout, it’s hard to stop! With a little practice, you’ll be growing strong, healthy seedlings that thrive in your garden. Remember, it’s important to not be too hard on yourself if you make mistakes or something goes wrong. You can always try again. Happy growing!
xoxo Kayla
You Might Also Like


Learn how to grow big beautiful onions easily in this beginner planting guide.