How to Start Seeds Without Trays: Easy Bulk Tray Method for Gardeners
This post may contain affiliate links, please see our privacy policy for more information.
It’s lovely to be entering another gardening season. This year, I am filled with positivity and joy at the prospect of having another chance at growing some beautiful vegetables, fruits, herbs, and flowers in our cottage garden. Perhaps you are also looking forward to planting a new garden this year, whether it is your first time or your twentieth!
After many years of growing crops for other people as a market gardener, I have learned various seed starting tips to ensure that there is success in the greenhouse and garden. I feel like I have tried it all: professional seed starting equipment, hundreds of plastic trays, drip watering systems, natural planting containers, soil blocks, etc. Each style of seed starting has its benefits and losses. This year, I am trying something that is new to me but rather old-fashioned: planting in bulk trays.

An Easier way to start seeds:
This is not a new concept, so do not be fooled! However, I do believe that planting your seeds in a large bulk tray is a technique that has become lost among the various tools and equipment for sale by garden tool suppliers.
The concept is fairly easy: press some seed starting soil into a large tray, box, or pot and plant your seeds in it. It’s easy and no fuss, taking literally 10 minutes to complete. You do not have to fumble with little plastic seed modules or specialty equipment.
Now before you stop here and begin planting your seeds this way, there are a few helpful seed starting troubleshooting tips to prevent seed starting mistakes. In this case, you can’t just fill a tray and sprinkle an entire packet of seeds on top. You’ll end up with a big root mat and no way to break them apart without damaging all of your hard work. Continue reading to learn how to start seeds without equipment.

gathering seed starting supplies:
Before you begin planting, you will want to gather up some supplies. I have a full post on Pretty and Sustainable Seed Starting Supplies. This post covers some ideas for using common household items to start your seeds rather than purchasing specialty equipment.
To plant seeds in a bulk manner, here are my recommended supplies:
Trays. You will need some sort of tray or container to plant your seeds. Now, this can be made from any manner of tray as long is at can drain properly out of the bottom. You can use plastic trays made for seed starting, or even a wooden crate lined with weed barrier fabric to prevent soil loss. You will want something shallow and with a generous amount of surface area.
Seed Starting Soil. To start seeds, I always recommend using a soil mix specifically made for starting seeds. These mixes have added nutrients and fertilizers to ensure that your seedlings get all of the food they need before being transplanted out into the garden. These mixes are made to only last for the short amount of time you are growing your seeds indoors. I love Purple Cow Organics soil mixes.
Bench Scraper. I know, this is a bit of a weird “gardening” tool to use! But it works amazingly well for this style of seed starting. Trust me!
Dibber. You will need this tool to create holes for your seeds. While this tool is nice to have, I honestly just use the pointed end of a pencil!
Labels. To finish off the task, you will want to make sure that you use plant labels. I generally just like to use popsicle sticks.
Humidity Dome. You can use pre-made humidity domes or get a little creative by using plastic wrap or even a cake stand dome. You only need this tool until your seed sprout. Then you take it off.

what are soil blocks?
For this method bulk tray of seed starting, you are essentially making soil blocks without using a soil block maker. It’s much easier, faster, and less of a mess overall.
Soil blocks have become increasingly popular as a way to start seeds without using plastic. The wet soil is molded into the soil block maker, compressed, and then stamped out in the form of little square blocks. It’s like using a seed starting tray with cells… but without the tray. You also need to purchase special soil block mix or make your own (a mixture of peat moss, lime, perlite, blood meal, sand, phosphate, compost, and soil).
Soil blocks are just fine, I think! But they are kind of a pain to make over and over again. If you have a small garden, then I say go for it. For a garden as large as ours, it became an increasingly annoying aspect of trying to save money by not having to use cell trays. Honestly, I think both options are unnecessarily long and tedious. I wanted a way to make the entire process easier and faster!

getting started bulk planting:
To begin bulk planting, here are the steps to saving you time, money, and most importantly… energy! This is how I started seeds without using plastic trays:
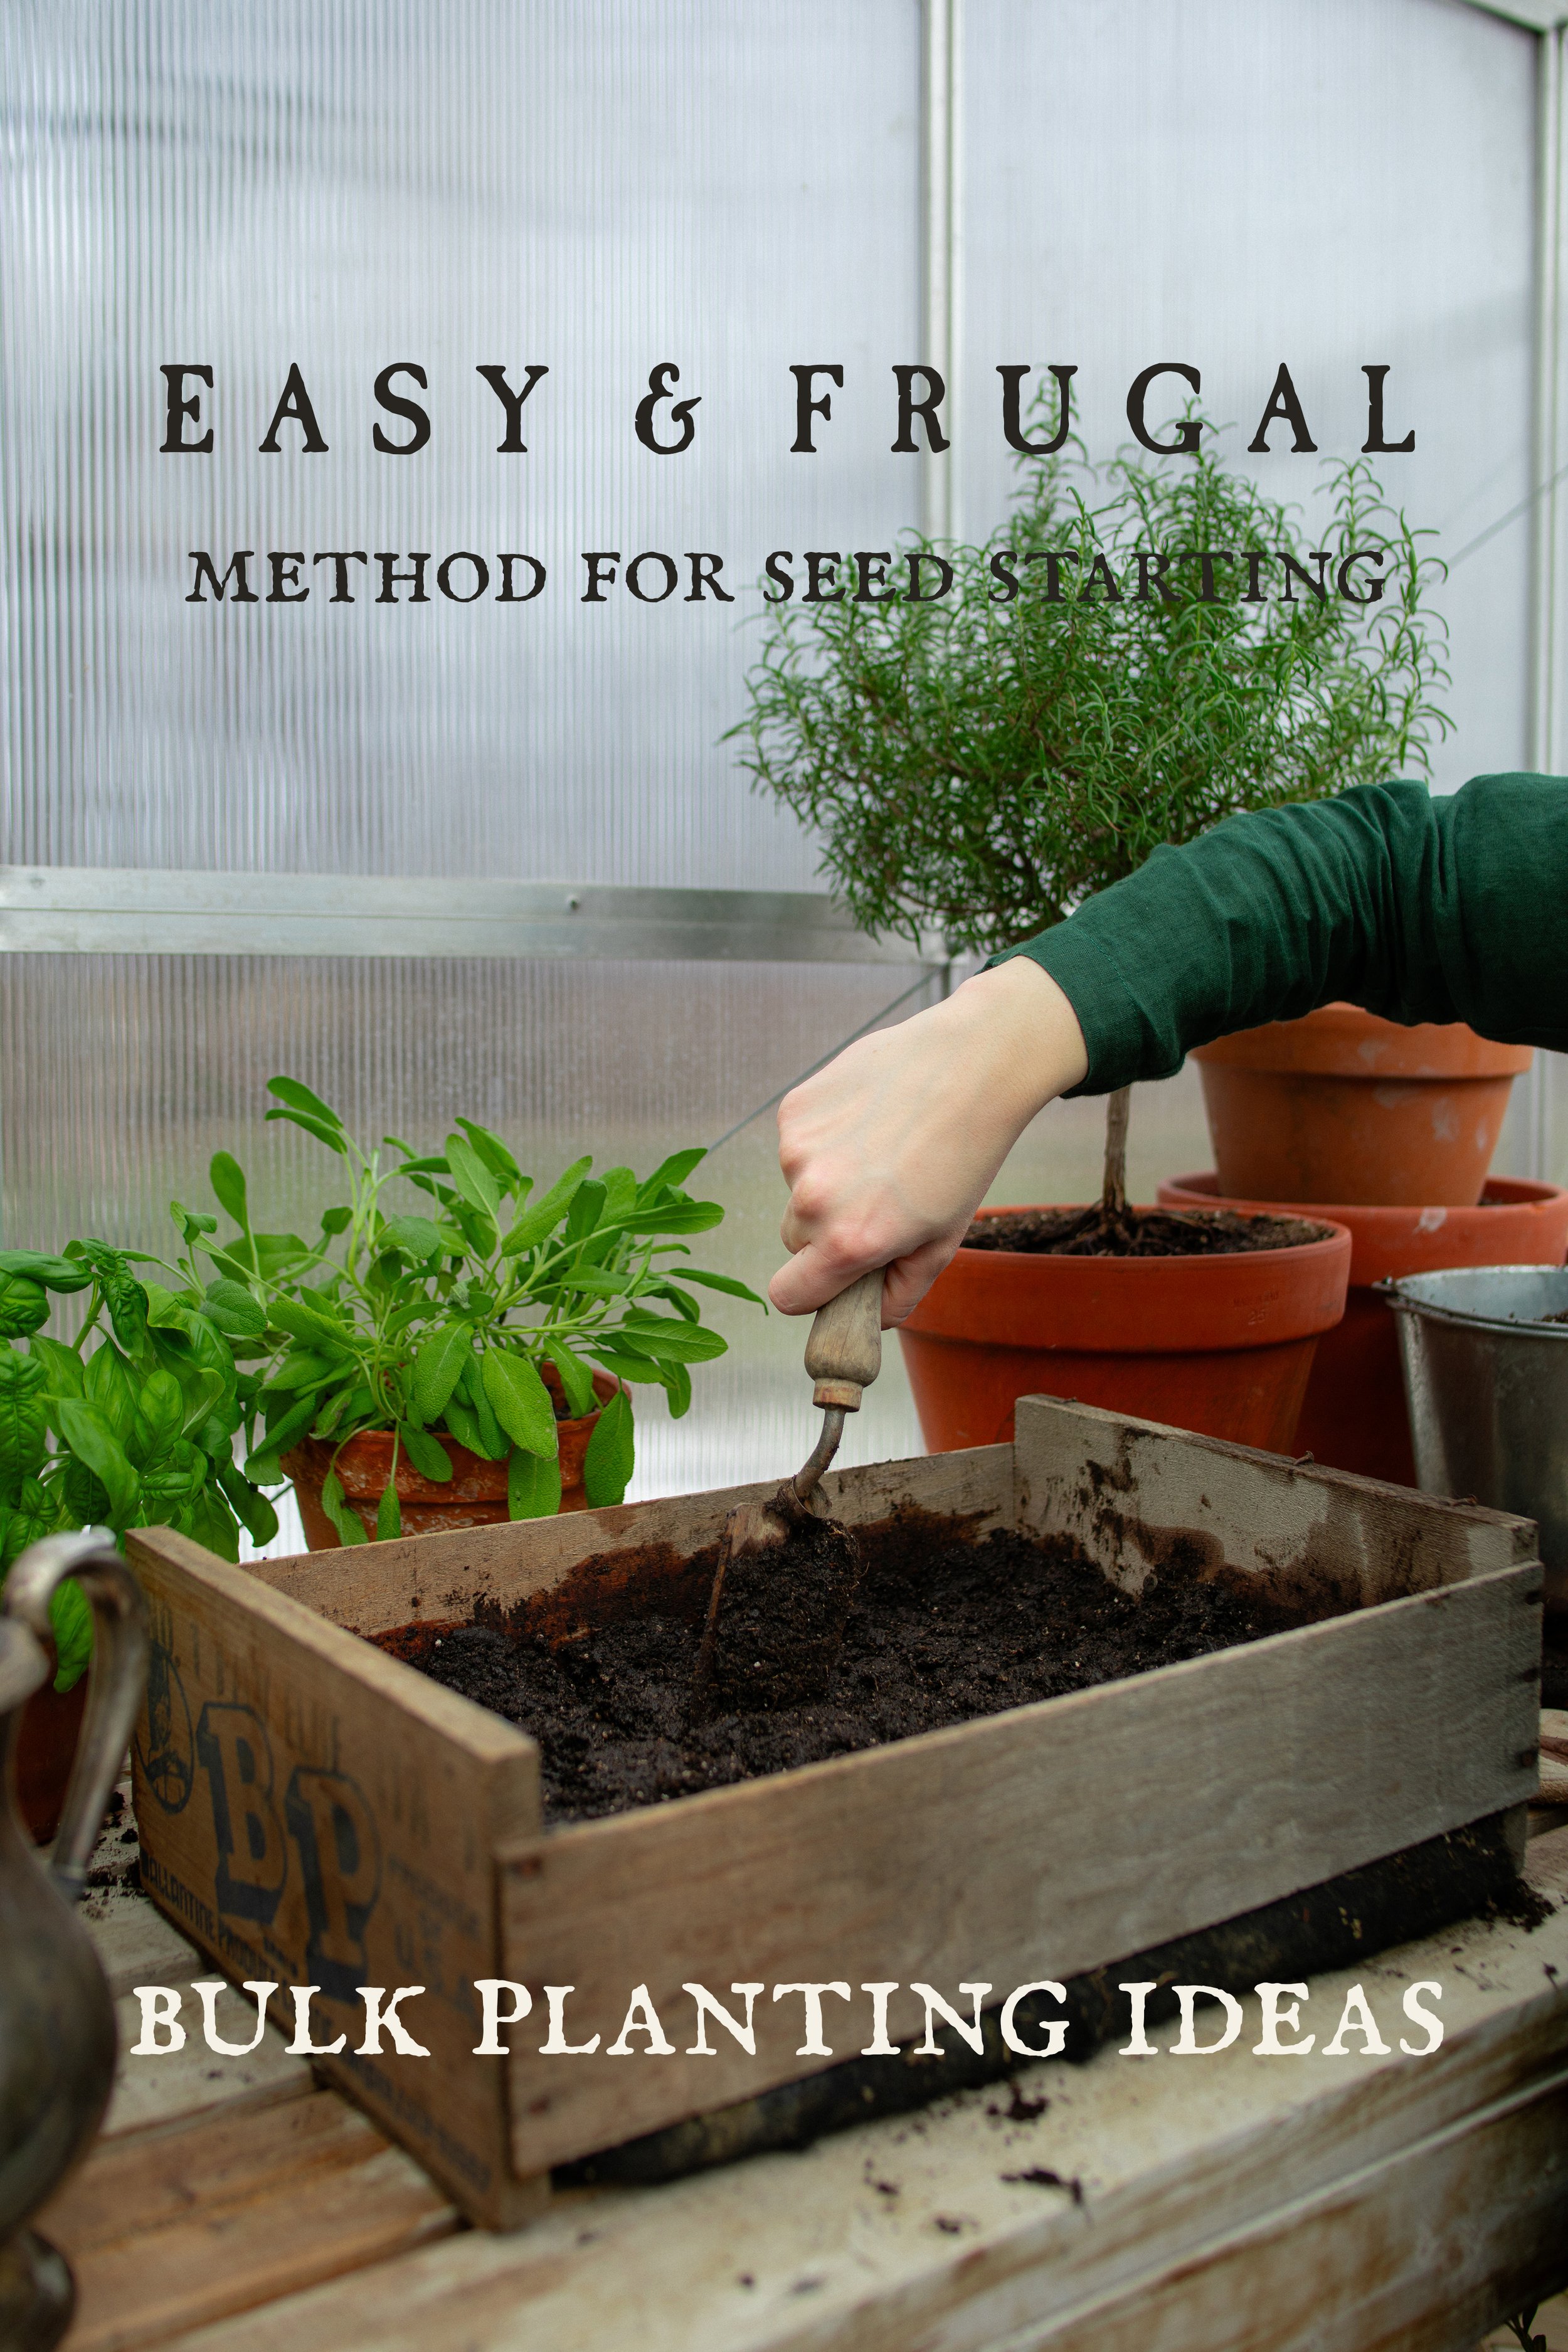
Step One: Begin by gathering your supplies. Set out your tray of choice. In these photos, I used some old soda bottle crates that we have had for years. Of course, your setup does not have to be this aesthetic! As stated above, any flat tray will work, even the plastic trays with drainage holes.
If you are using an unconventional tray that has large openings where soil can fall out, make sure to line the tray with a weed barrier fabric or burlap fabric.
Once your tray is lined, set up your station. Have your seed starting soil, water, bench scraper, dibber, seeds, and labels all ready to begin planting!

dampen the soil:
Step Two: Before you begin planting, it is wise to pre-dampen the soil rather than watering it down after adding the seeds.
Pre-dampening the soil helps for two very important reasions:
It allows the soil to tamper down, or become compact, which will be a solid structure for the roots to grow into.
It prevents the seeds from shifting around from where you originally planted them. They are already watered without you having to spray them directly. This is especially important for tiny seeds like snapdragons, chamomile, etc.
To pre-dampen the soil, spray it generously with water and mix it well with your hands or a hand shovel. Continue to mix until it feels like wet sand. It should be able to compact in your hand and hold its shape fairly well, without having loads of water fall out when squeezed.

create the blocks:
Step Three: Once your soil is damp, transfer it to your tray. Tamp the soil down with your hands until it is filled and compacted well. It should be taught, holding its shape. If it still feels loose, it may need more water and you can water it in the tray. Press it down as much as you are able to.
Step Four: Once the soil has been tampered down, you can begin creating the “soil blocks.” Rather than making them with a soil block maker, you will be using your bench scraper. Similarly to cutting a cake, you will be cutting straight down into the soil and making squares that are about 3 to 4-inches (8 to 10-cm) large. In these photos, I am using a hand shovel, but I recommend using a tool that is straight and not curved! Though anything sharp like that works fine.
See how easy that is? No packing blocks into a tiny tool. Separating the blocks like this has a purpose. While you can leave the soil as one large mass, it will be much easier to separate the plants if the little blocks have been pre-cut. The roots will begin to grow together depending on how long the plants are growing indoors.

make divots for the seeds:
Step Five: Now that the soil blocks have been made, it is time to create spaces for the seeds to grow. Just like with traditional soil blocks, you will be making little divots, or holes, in the tops of the soil to place your seeds.
DO NOT just sprinkle your seeds all over the surface of the soil and cover it up with more soil (unless the seed packet recommends this method). The very first time I ever planted seeds many moons ago, I did exactly this and it was a disaster. Almost all of the seed germinated and looked like a tray of wheatgrass… except that it was a bunch of tomatoes. I could not separate them at all, and I ended up losing all of the plants.
Spacing out the seeds in each block will ensure that you can easily separate the plants from each other when it comes time to transplant. It is okay if the roots break a little as long as the plant’s main stem and new leaves remains strong and unbroken.
Read your seed packets planting instructions to determine how deep of a hole to make with your dibber or pencil.

Plant the Seeds:
Step Six: Place the seeds in the little holes that you made. If you are using very tiny seeds, they are often recommended to be planted on the soil surface. For this type of seed, it is important to not water directly over the seeds with a hose or watering can. Instead, you will want to lightly mist them with a spray bottle.
Once the seeds are planted, press a bit of the soil from the top of the seed block over the hole to cover it. If the seed does not need to be covered, you can sprinkle a bit of vermiculite over the top to help retain moisture. Vermiculite is great for all types of seeds, too!

caring for the seedlings:
Step Seven: Now that your seeds are planted, all that’s left to do is make sure they grow and thrive until it’s time to transplant them out in the garden. Sounds simple enough, right? We all know how that story ends…
For this type of seed starting method, I have noticed that it’s best to gently water the plants until they are strong enough to handle a stronger stream of water. This is usually once they have grown about 3 sets of leaves. Because the soil is so compact, it should not break apart, but it can become weak from being watered with too much water pressure.
Once the plants’ roots have created a good anchor for the soil to retain its structure, then you can begin using a bit more power with your watering.

final thoughts:
This frugal seed starting hack has become a lifesaver for me. Because we grow such a large cottage garden, it can be daunting to begin this task every year while also maintaining all of the other chores on the homestead. As a person with ADHD, I am highly attracted to more efficient options for tasks that I find overwhelming or even boring. This has worked so well, and I doubt that I will ever go back to using all of the fancy seed starting equipment that I used to use in the past.
So what do you think? Will you give it a try? If this is new for you, just try the method on a couple of trays and see how it works in comparison to your usual method. I hope that you enjoyed learning more about this easy seed starting method.
xoxo Kayla