Video: Starting Seeds, Transplanting, and Making Paper Pots
The time of year for starting seeds has come again! I have been only the slightest bit busy sowing my first seeds indoors. My garden is much smaller this year, as you may have read in my previous posts, so I only have about 5 trays worth of plants to work with. That still sounds like a lot for the amount of space we will have! Though, I use the trick of planting closer together for maximum production that I’ve learned CSA farming for several years. I’ll have to share more on that with you this year! I have learned so much after becoming a market garden farmer.
I have decided this year to expand my territory when it comes to sharing content. I have been working hard the past few months making videos and more for Youtube, Tiktok, and Instagram. I would absolutely love if you followed along with me there! Your support means the world and helps to provide an income for my family (did I mention last year was the first year I made a salary from my blog?! I am so thankful and amazed!). I have shared all of these seed starting tips and more in previous posts over the years, but I thought it might be nice to have a bit of a review and share them in a new way in a video I made recently. I hope that you enjoy it!


seed starting tips:
Here are some of my most used and favorite seed starting tips.
Moisten your soil medium before planting and putting in pots. The moisture helps for the next step, tamping the soil down. It also works as a wonderful way to avoid having to pour water over your newly planted seeds. It should be wet like sand; moist enough to clump together but not soggy enough for lots of water to drop out when squeezed.
Tamp down your soil into your pot/plant cell. Have you ever started seeds, went to plant them, and all of the potting soil falls off around your baby plant’s roots? Those tender roots need something to grab onto! Tamping down soil is what the professionals do and why their plant roots and soil stay in tact when you pull them from the pot.
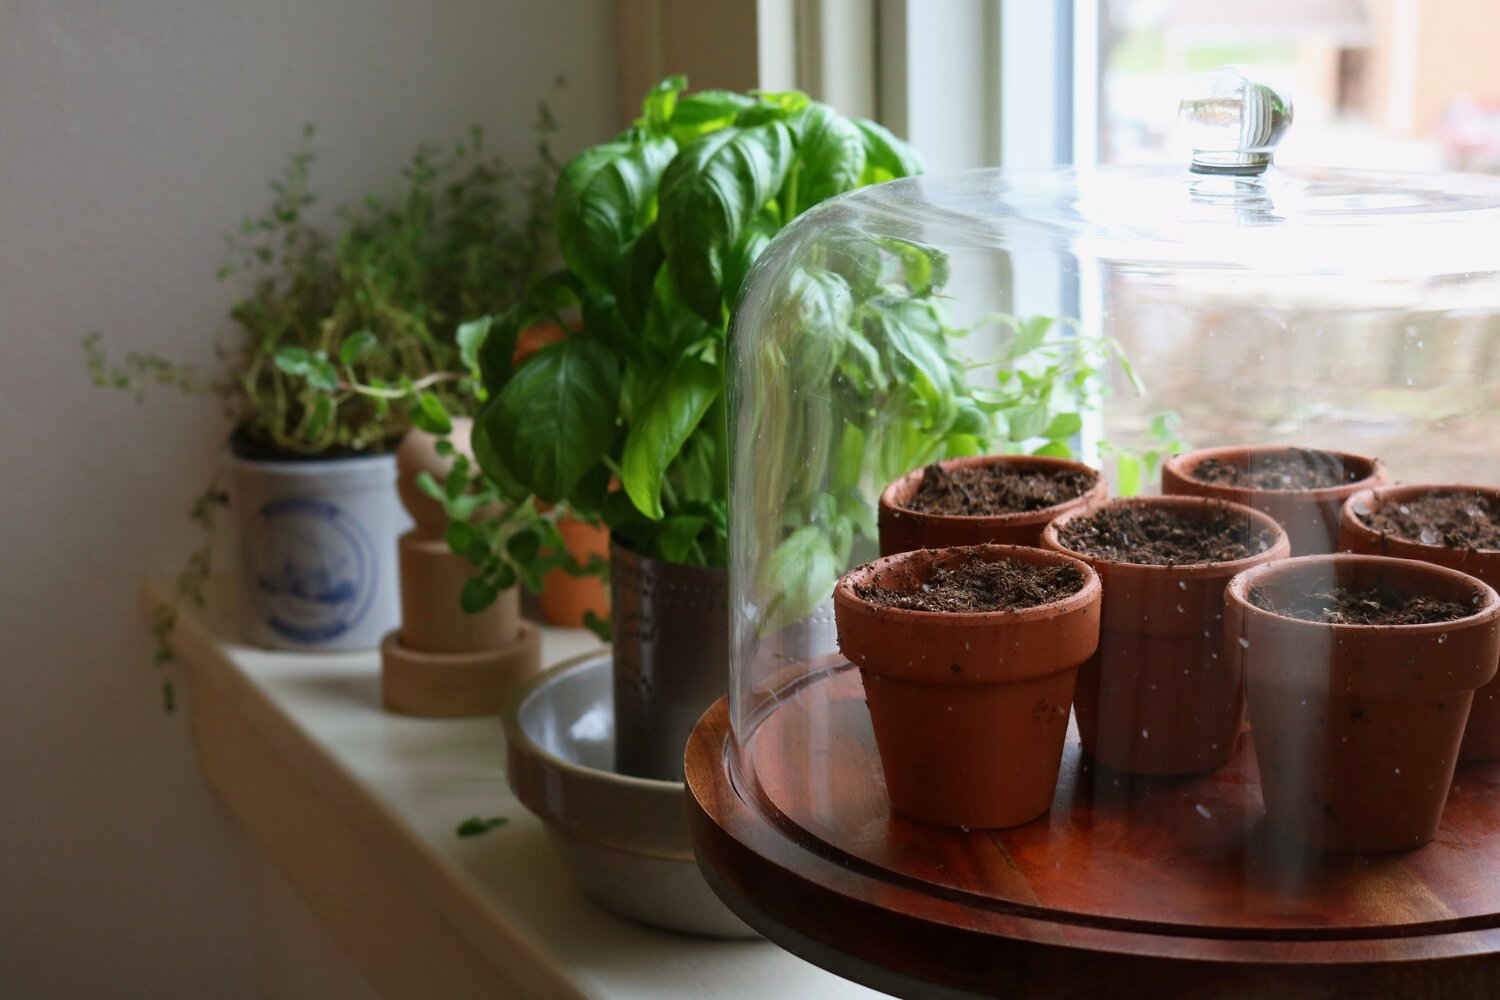
Use a humidity cover. This can be made from a lot of things: a plastic dome specifically for seed trays, a glass cloche or drinking glass, a piece of plastic wrap, etc. As long is it is transparent enough to let in sunlight (colored glass would work, too!) and covers your seeds to trap moisture, then you are good to go. This only needs to stay on until your seeds germinate; remove the humidity cover once they poke out their little heads!
Bottom watering is best. It really is! This allows your plant’s surrounding soil to soak up exactly what it needs and no more. Watering over the top leads to over watering, it can send the little seed you planted into the corner of the pot, and sometimes damage and drown your little sprout.
Use adequate light. Plants need sunlight. If you want to avoid leggy seedlings, make sure they are in direct sunlight for at least 6 hours per day. You may have to make the leap and invest in grow lights like I did this year (I bought these and love them!), or move your plants around your house as the light moves.
transplanting tricks:
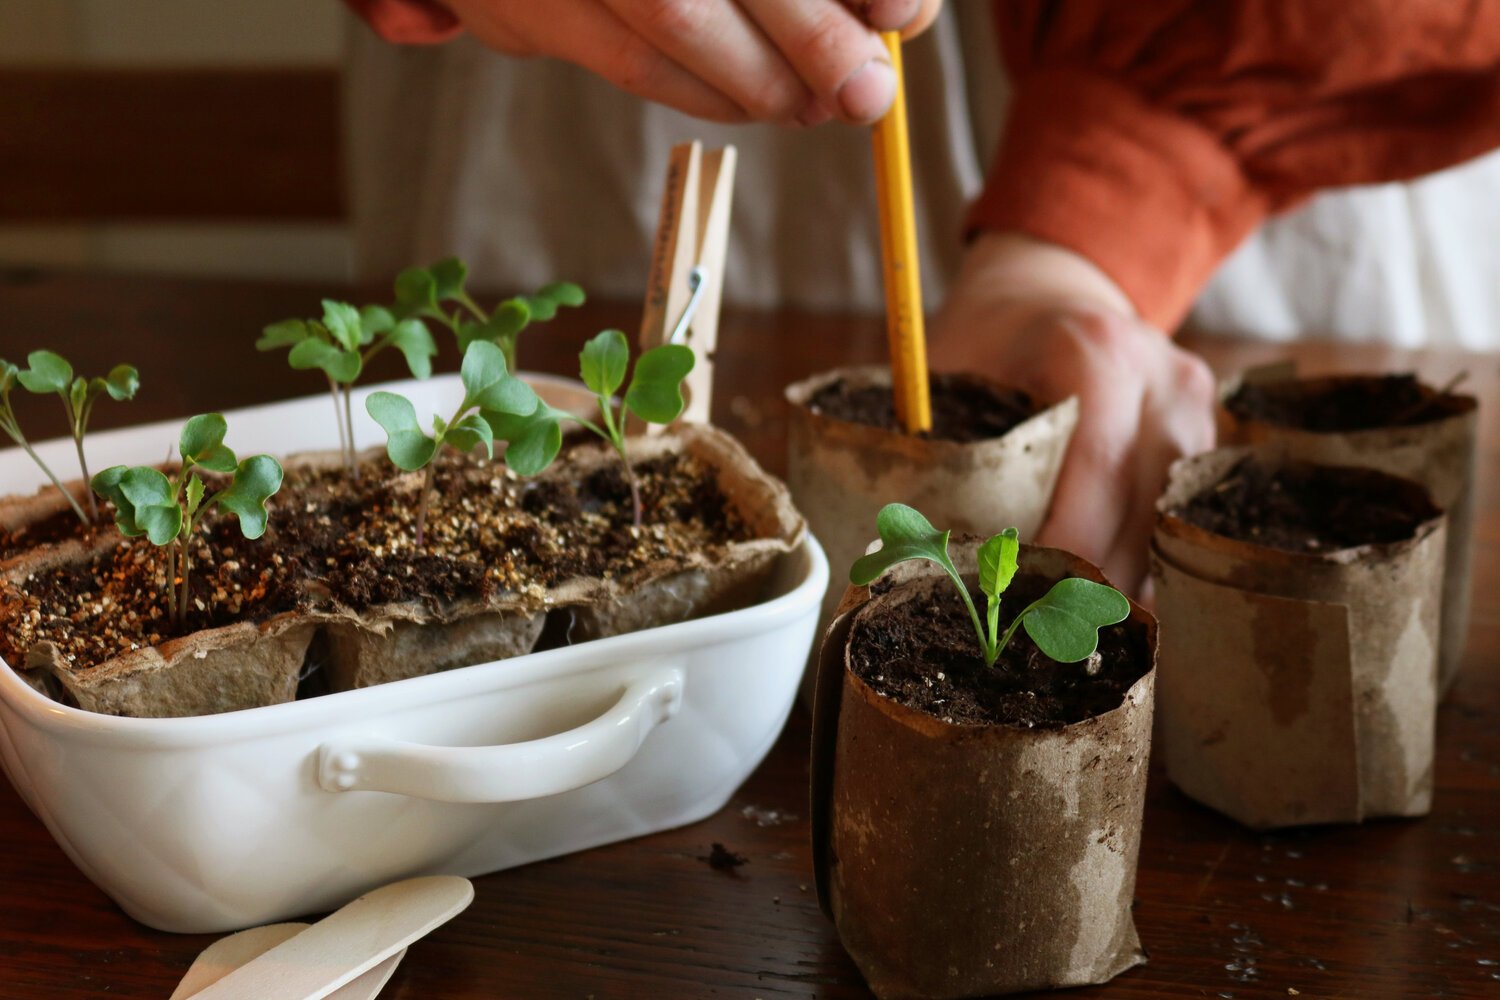
It is best to transplant your newly sprouted seedlings around when their first set of true leaves appears. By this time, they have set out some decent roots. The hard part is removing them from the pot without breaking or heavily damaging said roots! Dig around the base of the stem with your finger and gently tug them away from their neighboring sprouts and potting soil.
Dig a hole with a pencil or plant dibbler deep enough to bury the entire plant’s stem up to the first set of leaves, or cotyledon. This will help strengthen the stem and focus the plant’s energy on growing bigger and bushier.
If you are transplanting because your seedlings are leggy, make sure to correct your light situation after fixing them.
Allow a few days of time for them to recover from their big move before giving up on them. Make sure to give them water and adequate sunlight or place under grow lights. You do not need to fertilize until the plants are much older, so just be patient!
I hope that you enjoy our new video above! If you are having trouble with the player, you can watch it here.
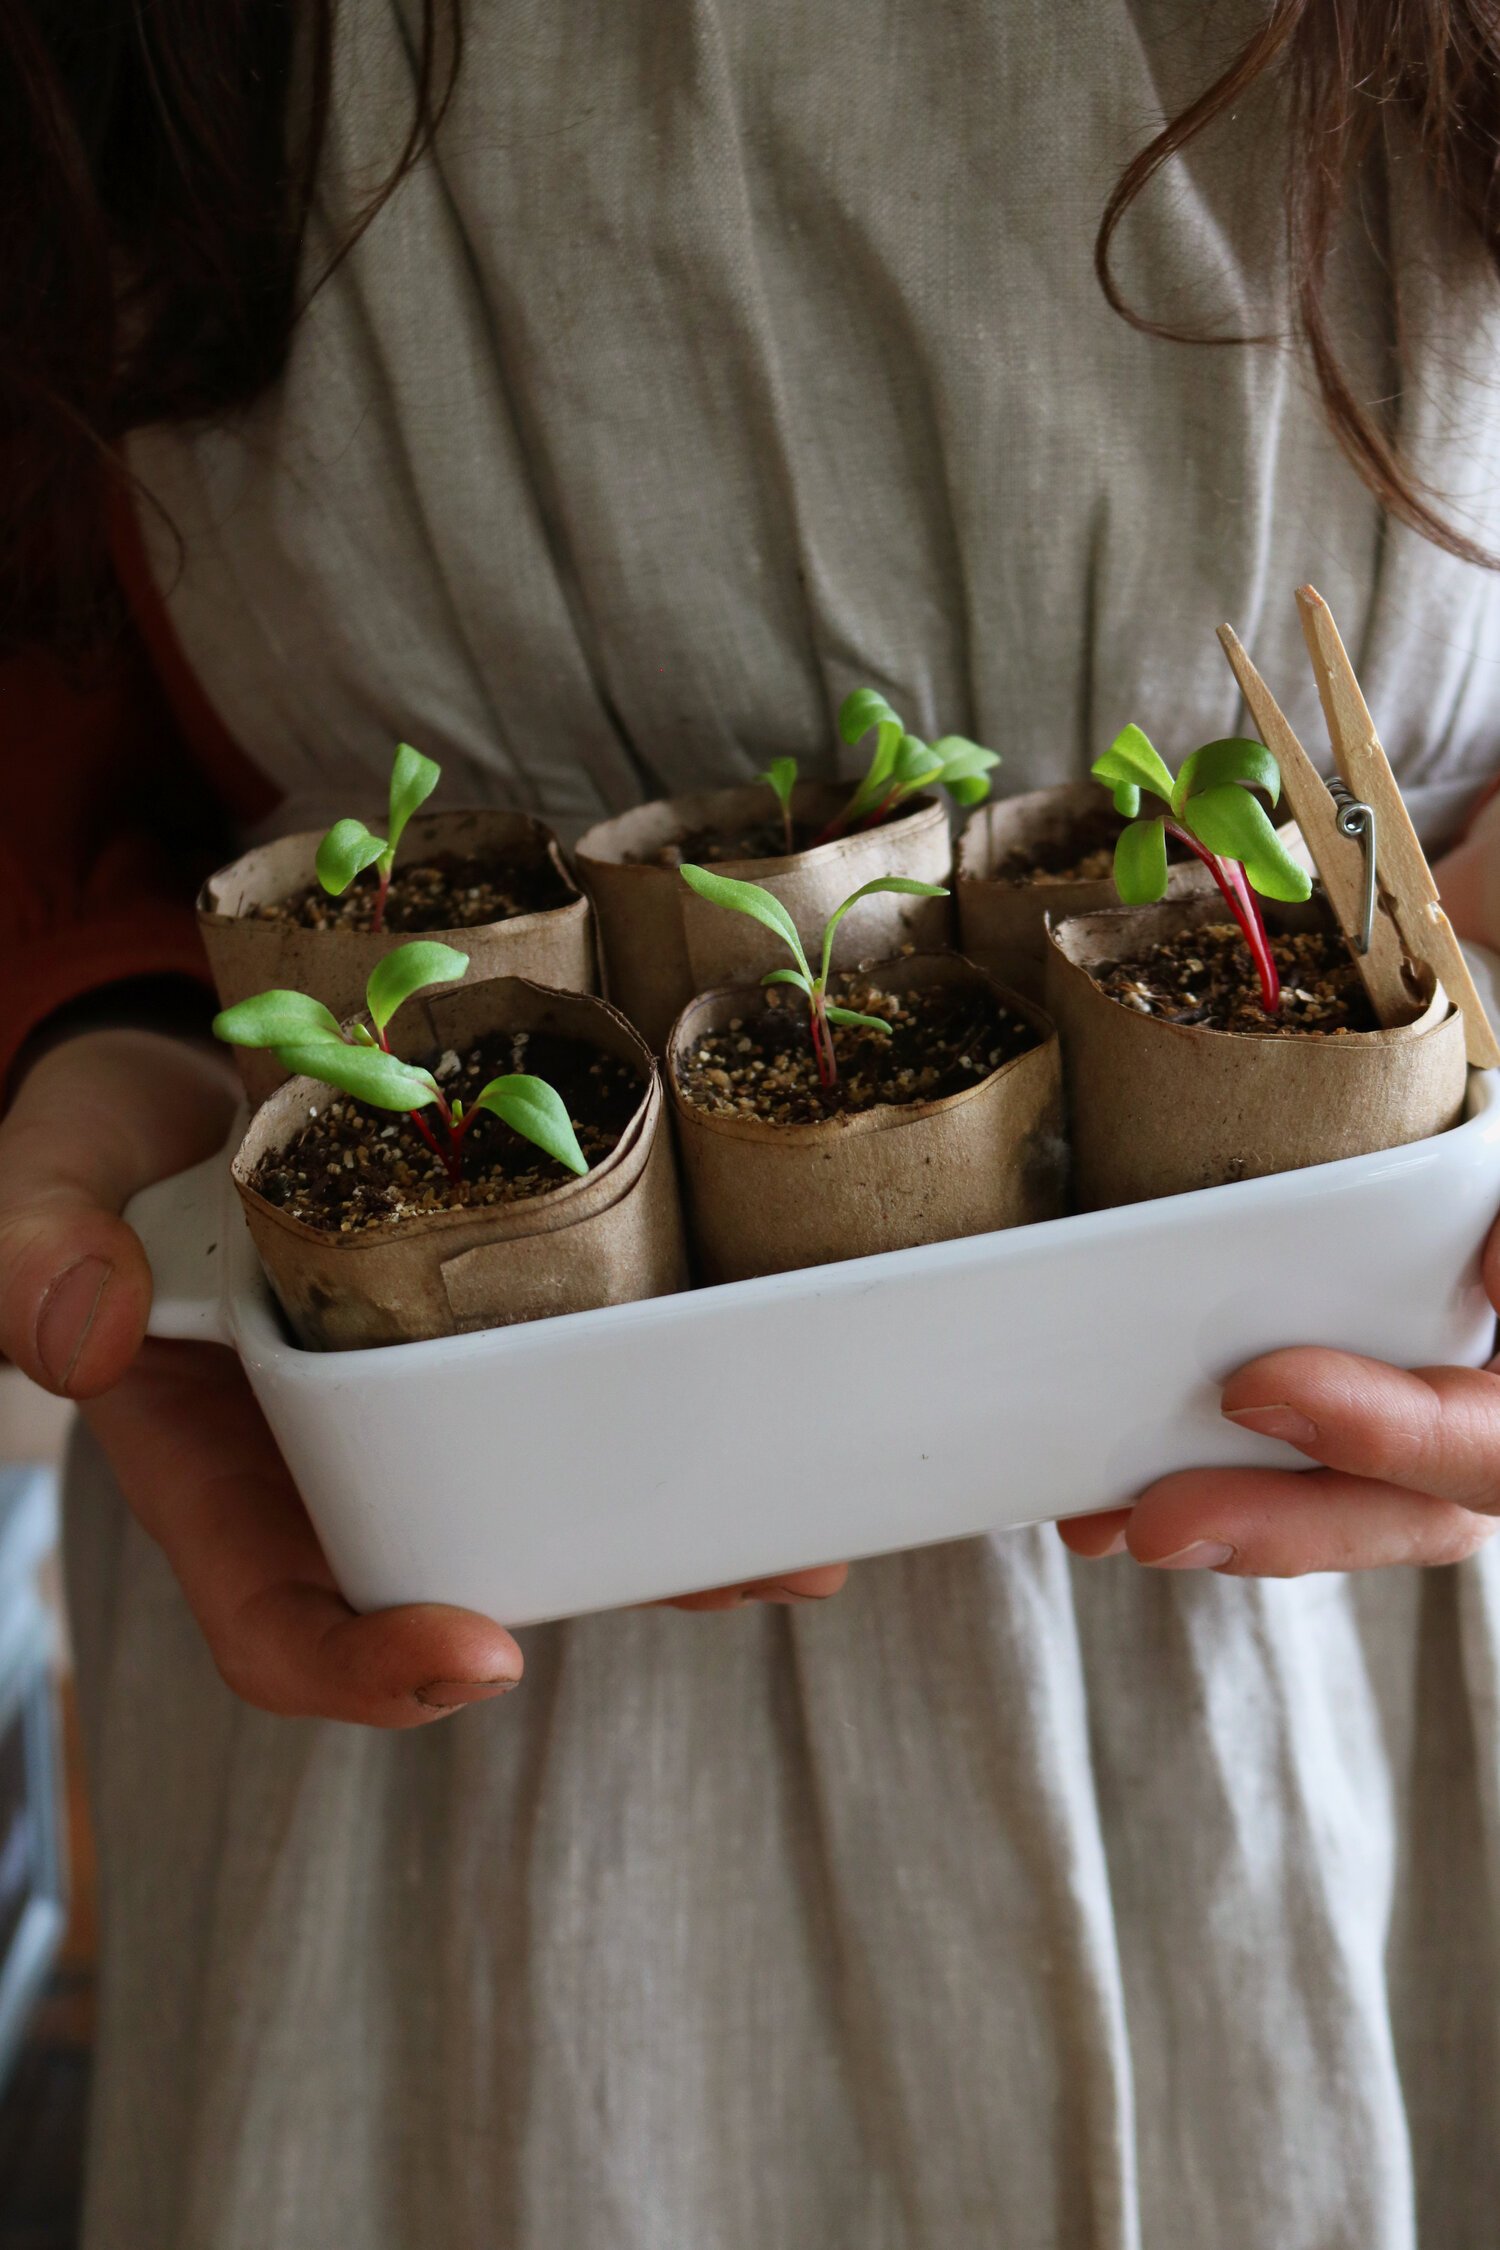
Here is the link to my paper pot maker.
Here are some links to our other blog posts about seed starting, transplanting, and making paper pots:
Hope you have a wonderful spring day starting your seeds!
xoxo Kayla