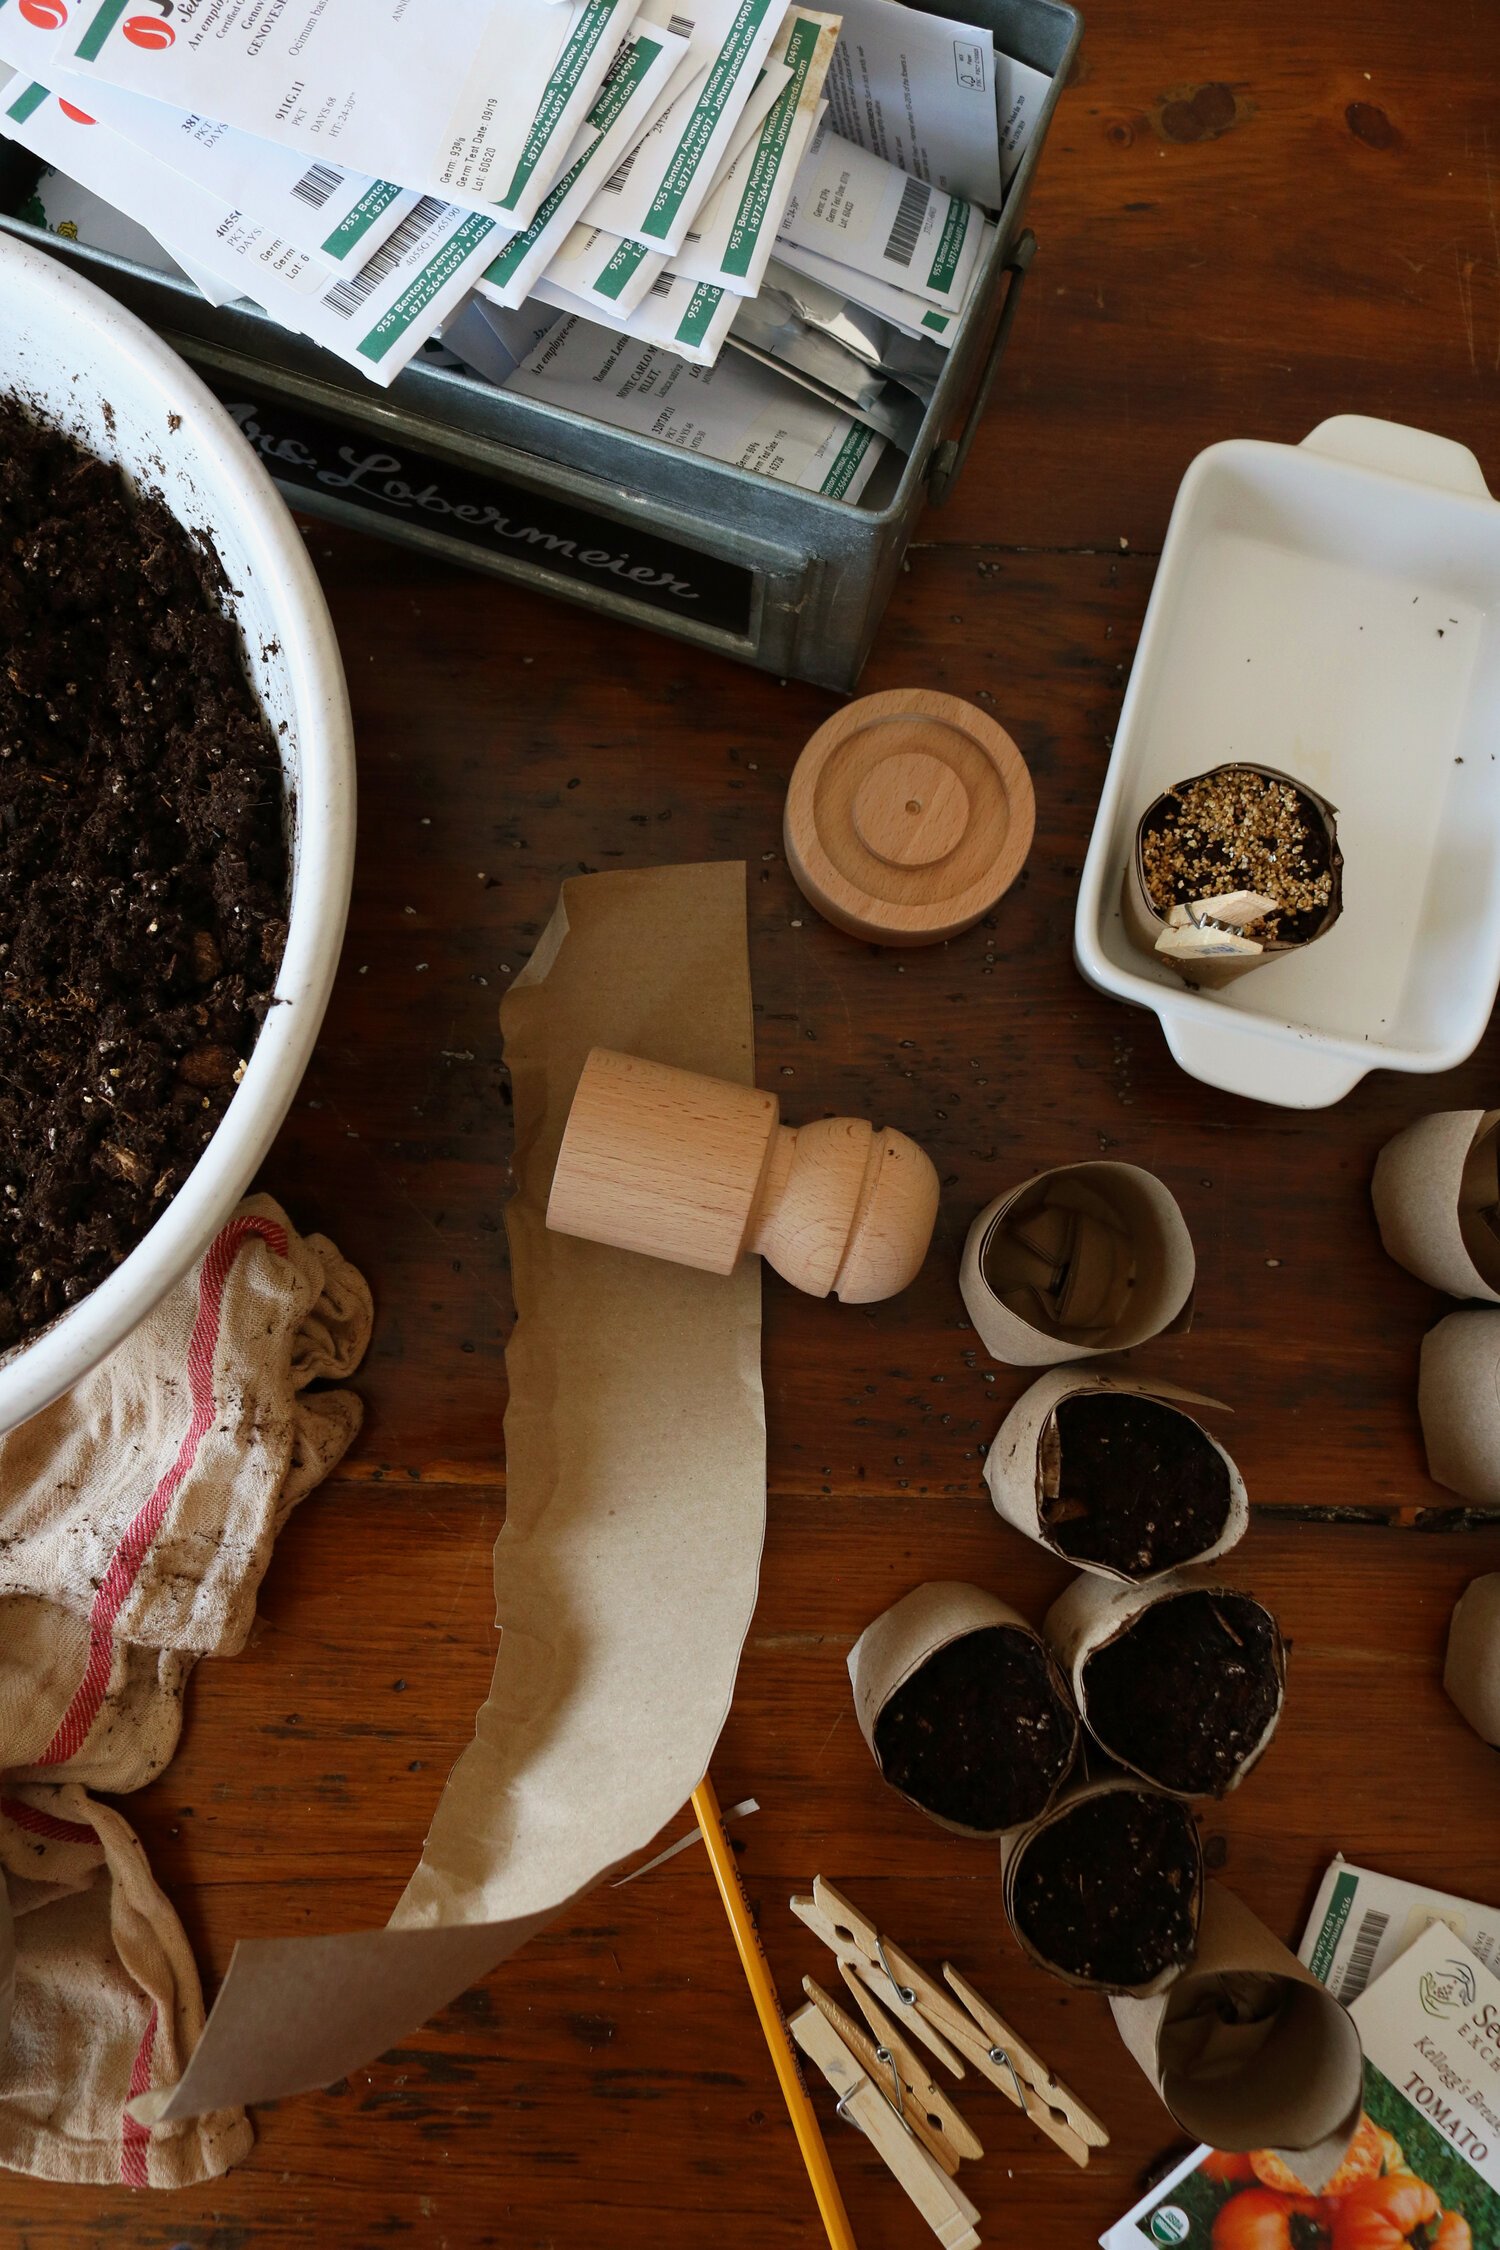
How to Make Paper Planting Pots
When we moved into town, I left behind a lot of gardening equipment back at the farm. We no longer needed our riding lawn mower or big planting tools like the seeder or flame torch. In fact, I even left behind a lot of my seed starting supplies like trays and humidity domes because, well, my garden was only going to be made up of a few raised beds. What did I need trays and trays of plants for? They were left behind on the farm to be used in our new greenhouse to start flowers for the 2021 season. Which left me with, well, not much in terms of starting supplies!
I knew going into this year that I really did not want to concern myself with starting lots of plants. I tend to start my own much too early, which results in somewhat weakened plants, or I plant too early in hopes that spring will stick around only to have a late frost. This often leads to me purchasing plants at a local greenhouse. If I am being honest, even if my own starts did thrive, I would still probably splurge at the greenhouse. It’s an addiction! So, this year I am trying to be smarter and only start a few things at home. Why even start them at all? Well, our local greenhouse doesn’t necessarily have a ton of variety to choose from when it comes to vegetables, so I like to have a few funky tomatoes and peppers in my garden.
I knew that I wanted to be more conscious this year about my plastic use, so I decided to take a different approach to seed starting by using what I already had around the house and purchase some more sustainable supplies. I decided to purchase a little paper pot maker, which I am so happy with! Paper pots are a wonderful way to start seeds. They can be made with any type of paper, but most often you’ll see them made with newspaper. The plant is transplanted into the ground with the pot, and the paper breaks down quickly and allows the roots to break through.
what you will need:
Paper Pot Maker (this is the one I bought!) or some sort of cylindrical tool like a 1/2 pint jar
Biodegradable paper (i.e. newspaper, kraft paper, etc)
directions:
Cut your paper of choice (I used a biodegradable kraft paper) into strips that are 3 1/2 inches wide x 18 inches long
Roll the paper around the base of the paper pot maker or jar.
There will be an overhang on the bottom of the base. Fold it up underneath the paper pot maker, as pictured above. Then press it into the bottom of paper pot maker, smashing it into shape.
Pull the paper pot off of the handle, and that’s it! You may have to fold the paper up into itself on the bottom a bit, but there is no glue or tape involved.
Fill your pots (gently) and plant your seeds!
I have always been a bit skeptical about these because they seem flimsy, but so far I am really impressed by the durability of the paper. I have been looking into different ways to start seeds because I am not always happy with my results each spring. This year I am taking things a bit more seriously and trying to avoid transplant shock as much as possible by using paper pots, and I am also finally getting grow lights! I think it’s going to make a huge difference.
What new seed starting tools have you introduced this spring?
xoxo Kayla
This post contains affiliate links.


