Blackberry Lambeth Cake
This post may contain affiliate links, please see our privacy policy for more information.
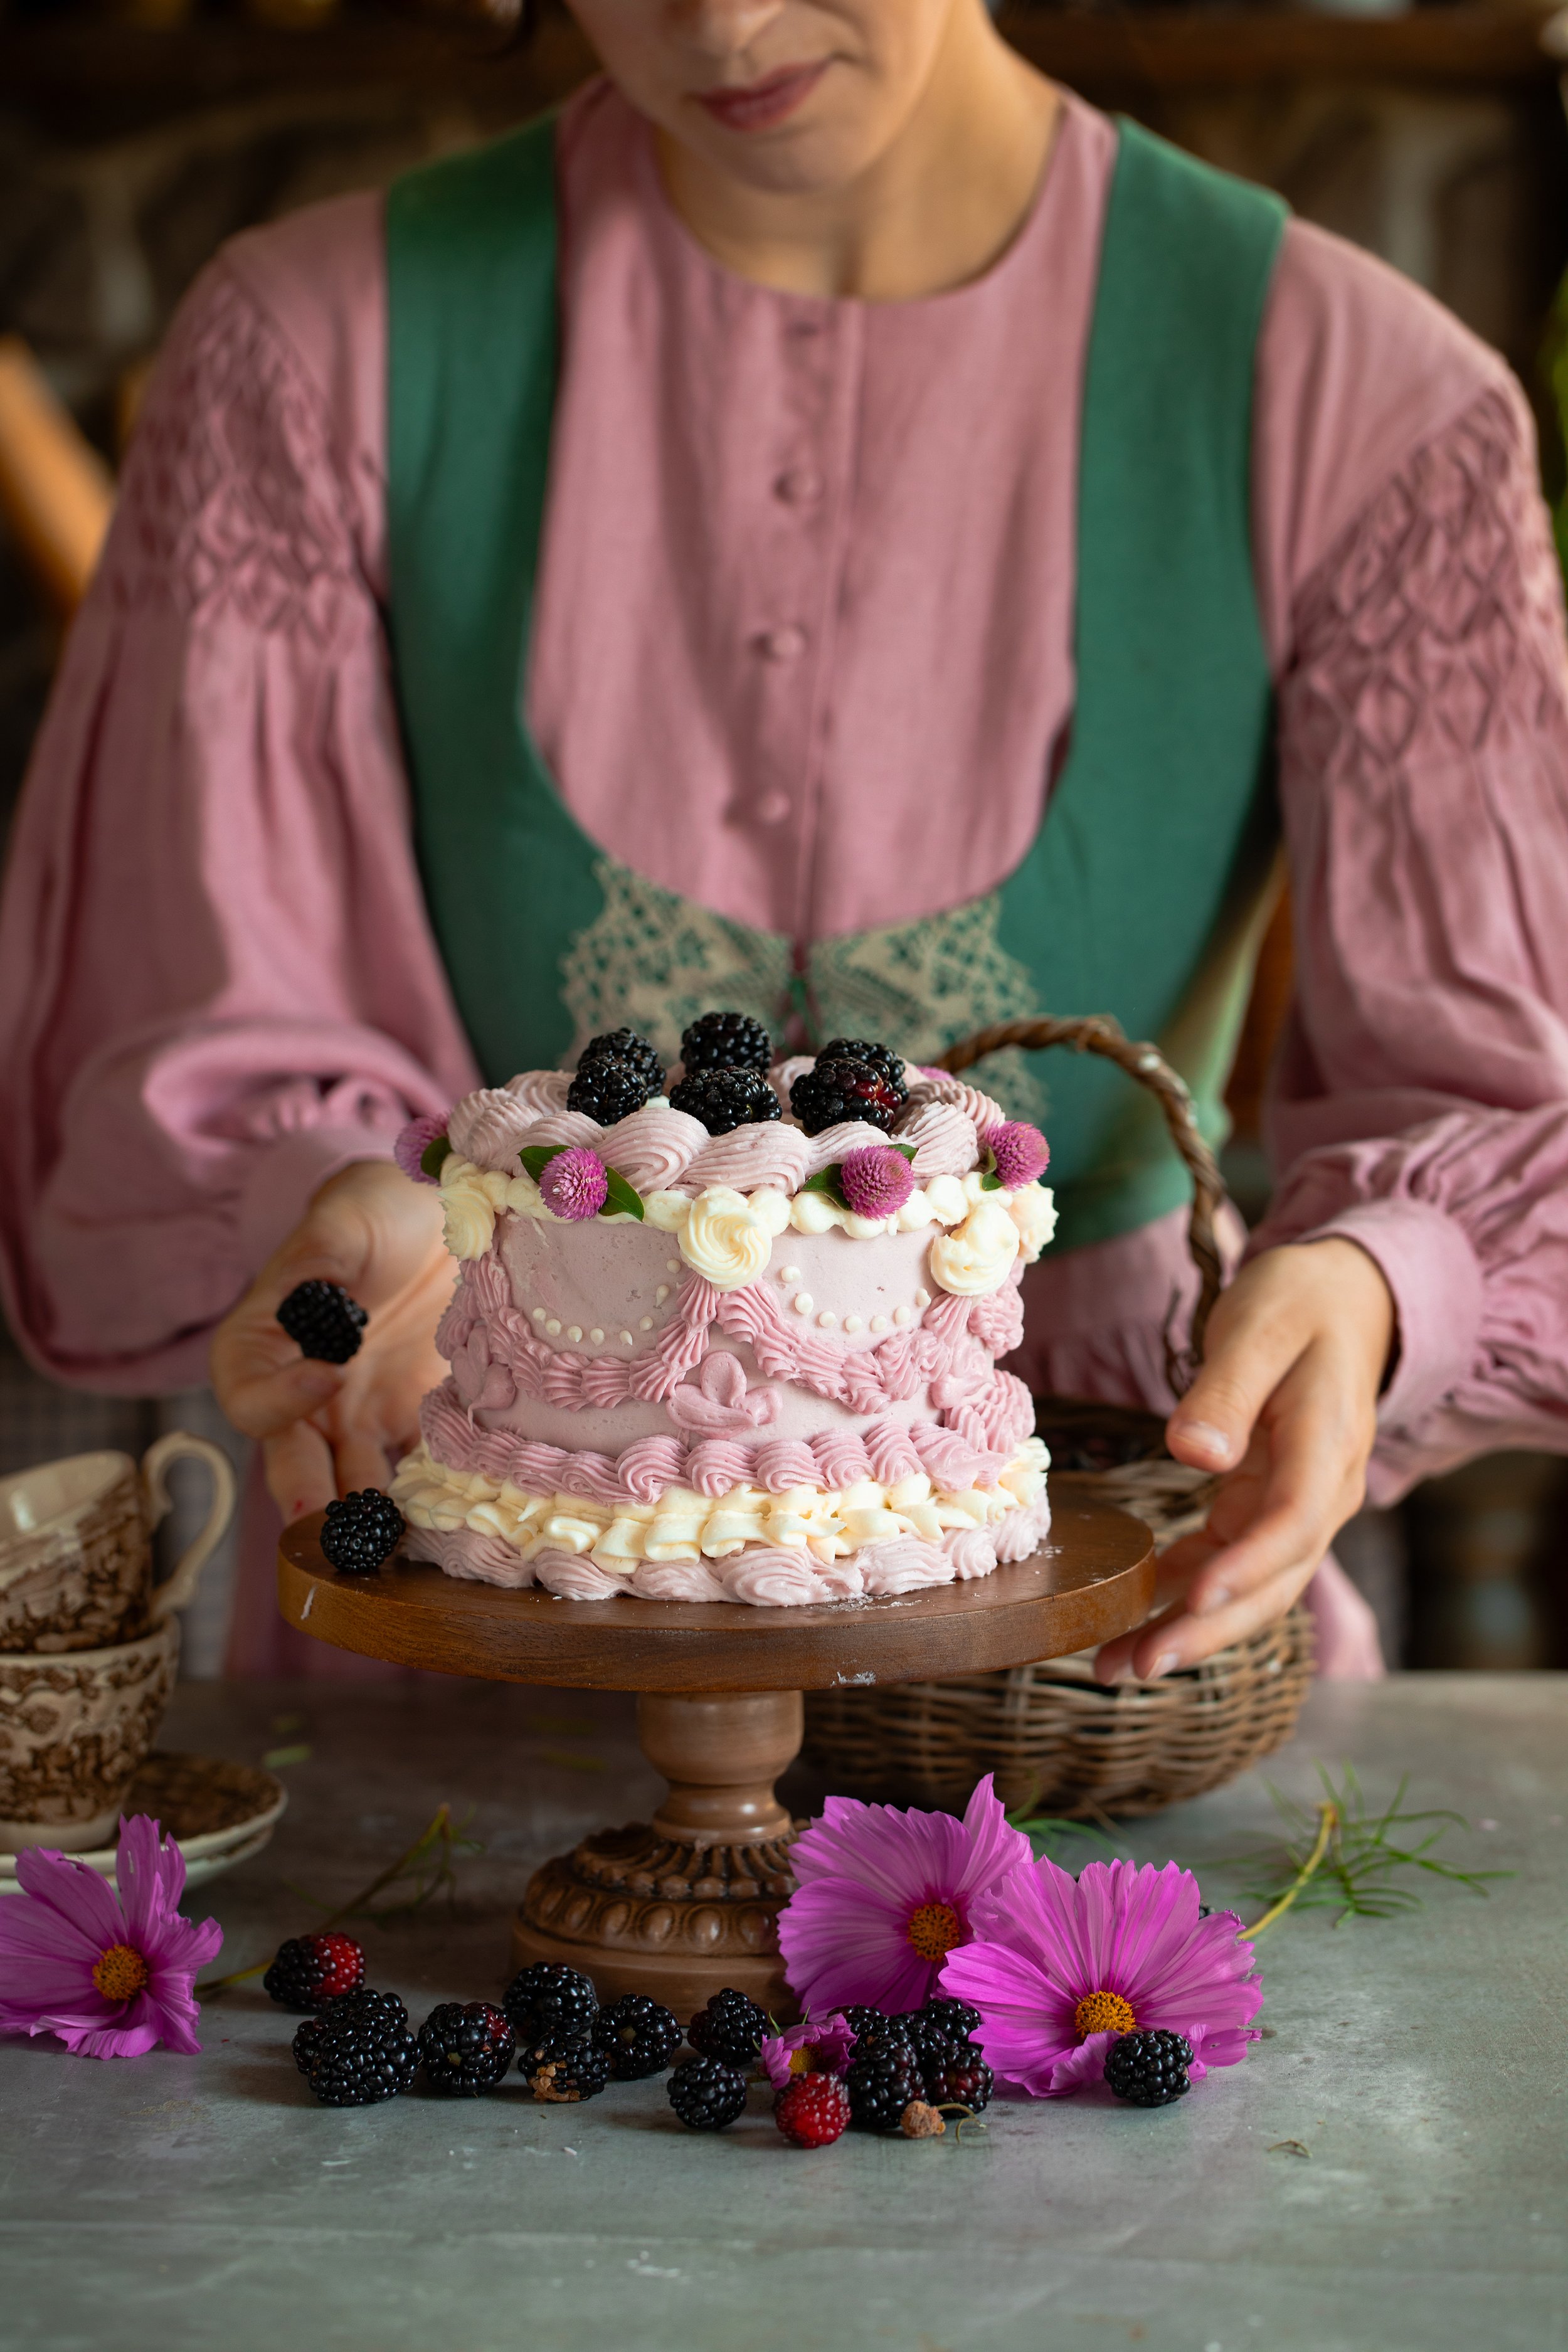
Have you ever heard of a Lambeth cake? In short, it is a vintage style of cake decorating that was popularized in the 1930s. These cakes are decorated with intricate piping details, layering the buttercream and creating what looks like a fluffy, ruffly dress. These are the cakes that I always think of when I imagine illustrations from my favorite children’s books!
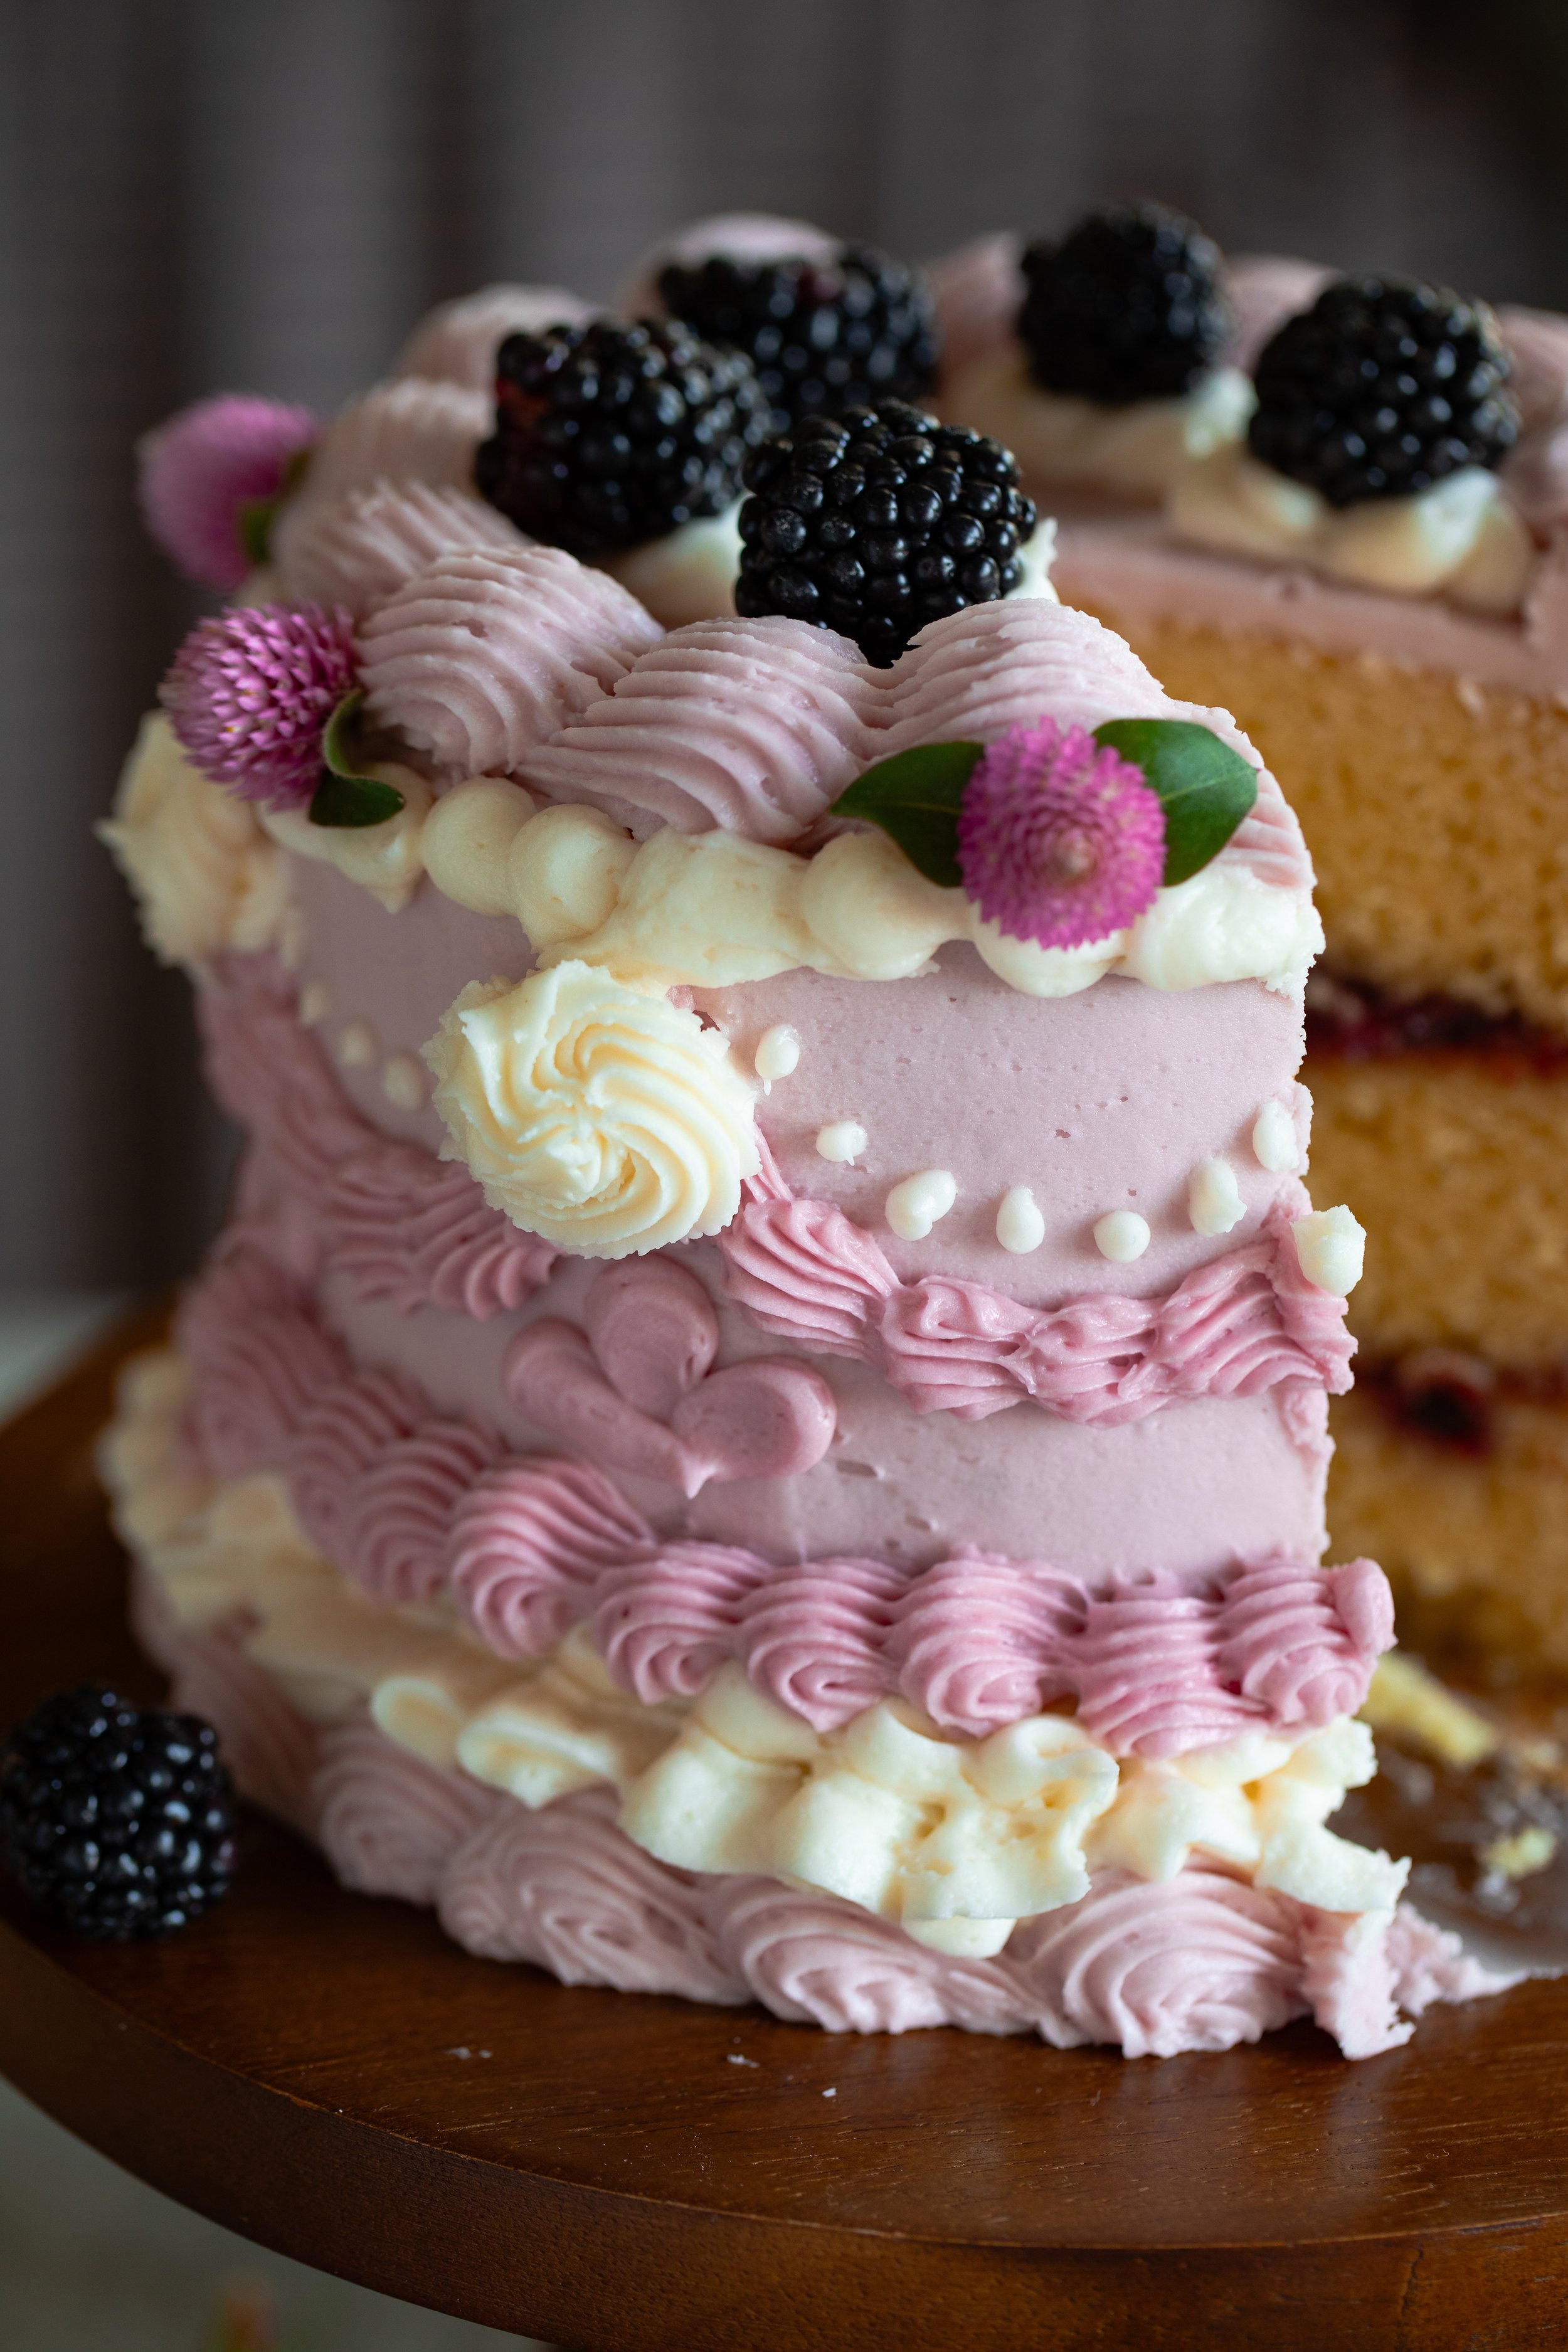
I have only made a few Lambeth style cakes in my experience, and I still have a lot to learn. I am not going to be winning any cake decorating contests! The sheer joy of creating this cake was enough for me. I knew that I wanted layers of soft, moist white cake with a blackberry jelly or jam filling, and a pretty purple outside. This cake was nearly exactly how I imagined!

the history of lambeth cakes:
This style of cake decorating dates back much father than the 1930s. In fact, there are many books written about “Overpiping techniques” that are from the mid to late 1800s. This style of cake is what I picture from 19th century dessert illustrations. I found it interesting the the overpiping decorating technique is named after a man, Joseph Lambeth, who published a book on the style in the mid 20th century.
The idea of overpiping frosting is first thought to have originated in Italy, eventually making its way to the UK. Now, it is internationally known as “English overpiping” even though its origins are not necessarily English.


the method:
This cake is built and frosted like any other layered cake. I decided to make a smaller cake with a 6-inch round pan. This cake recipe only fills two 8-inch or 9-inch pans, and I wanted 3 layers.
The filling is a simple Blackberry Jelly. Rather than fill the layers with frosting, I decided to go for a jam or jelly filling. This helped balance out the amount of frosting beautifully!
Then, the buttercream is layered on. The trick to making a perfectly flat surface to pipe the buttercream designs on is to use a bench scraper. While turning the cake as you scrape, you are given a beautifully flat and even surface of frosting.
You may want to chill the cake in between layers for about 15 minutes. This will help the frosting layers adhere to the cake as well as prevent any buttercream from beginning to melt. The consistency of the buttercream while piping is key to success. It does have to be much softer than you might expect! You want it a bit foamy, closer to softened butter than to a crusting frosting.

final thoughts:
I absolutely love how this cake turned out! This was only my fourth or fifth attempt at making a Lambeth cake, and I think I did an alright job at making it happen. I do think that the next blog post I make about decorating in this style will need some step-by-step guidance. While I was building this cake, I was more focused on making sure that it worked out. Ha!
Overall, the cake flavor is perfection. I love the subtleness of the blackberry jelly in the frosting. It’s just lovely. I hope you enjoy baking this cake!
xoxo Kayla
Blackberry Lambeth Cake

Ingredients
- 2 1/2 cups (325 g) cake flour or all-purpose flour
- 1 tsp baking powder
- 1/2 tsp baking soda
- 1/2 tsp kosher salt
- 1/2 cup (116 g) salted butter, softened
- 2 cups (400 g) granulated sugar
- 4 egg whites
- 1 tsp vanilla extract
- 1 1/3 cups (320 ml) whole milk
- 1 1/4 cup (232 g) salted butter, softened
- 5 to 6 cups (590 to 708 g) powdered sugar
- 2 to 3 tbsp (30 to 45 ml) milk
- 1/4 cup (60 ml) blackberry jelly
- 1/4 cup (58 g) salted butter, softened
- 2 to 3 cups (236 to 354 g) powdered sugar
- 1 to 2 tbsp (15 to 30 ml) milk
- 1/2 tsp vanilla extract
- About 6 ounces (170 g) blackberry jelly
Instructions
- Preheat the oven to 350° F (177° C). Butter and flour 3 6-inch (15-cm) round cake pans and set these aside.
- In a medium bowl, whisk together the flour, baking powder, baking soda, and salt. Set this aside.
- In the bowl of a standing electric mixer, cream together the butter and sugar until the butter is light in color and has become fluffy, about 3 to 4 minutes. Then, add in the egg whites and beat for about 4 minutes. Beat in the vanilla for another 1 to 2 minutes.
- Alternately add the mixture of dry ingredients with the milk, beginning and ending with the dry ingredients. Beat the cake batter for about 3 to 4 minutes or until it is smooth and uniform looking.
- Divide the batter between the prepared baking pans. Bake the cake for 30 to 35 minutes or until a toothpick inserted in the center comes out clean. Let the cakes rest for about 10 minutes in the pans before transferring them to wire cooling racks. The cakes must cool completely before decorating them.
- In a large bowl, cream the butter until smooth. Add the powdered sugar, about 1 cup (118 g) at a time, alternately with the milk, vanilla, and blackberry jelly until the frosting begins to form.
- Beat the frosting until it comes to soft peaks, or the tips curl slightly when standing up. This will take about 4 to 5 minutes total.
- Cover the frosting with plastic wrap until ready to use, and keep it at room temperature. You will use about half of this frosting for covering the cake and the rest for piping designs.
- In a large bowl, cream the butter until smooth. Add the powdered sugar, about 1 cup (118 g) at a time, alternately with the milk and vanilla until the frosting begins to form.
- Beat the frosting until it comes to soft peaks, or the tips curl slightly when standing up. This will take about 4 to 5 minutes total.
- Cover the frosting with plastic wrap until ready to use, and keep it at room temperature. Transfer the frosting to piping bags with the tips of your choosing.
- When the cake is room temperature, slice off any domes from the cake with a serrated knife to make the entire layer even.
- Spread a small layer of buttercream frosting on the surface of your cake plate or stand. Then, place one layer of the cake with the bottom side facing up. Spread this layer with blackberry jelly. Layer on the next piece of cake and spread a second layer of blackberry jelly. Finish the cake off with the final layer of cake.
- To make things easier, you may want to place plastic straws or barbecue skewers in the cake so that it won't tip over or fall apart.
- Spread on the crumb coat, or the first layer of frosting. This layer should be fairly thin and will look messy, as you will be gathering up little bits of crumbs from the cake. Scrape the sides and to as smooth as possible with a bench scraper. Place the cake into the refrigerator for about 15 minutes.
- Layer on the next layer of frosting, which will be the outer coating. Spread this on generously all over the top and down the sides. To achieve a perfectly smooth edge and top, rotate the cake while you scrape the frosting with a bench scraper. Save any leftover frosting for piping. You should have about half of the frosting left.
- Divide the remaining frosting into piping bags. This part will be where you are creative! You can use any piping tips or designs that you want. I used some large French star tips, leaf tips, and round tips of all sizes. Pipe on the designs, layering them. If your buttercream is becoming too soft, place the cake or the piping bags into the fridge for a few minutes and then begin again.
- Finish off the cake with a few fresh blackberries! Slice and serve.