How to Render Lard
On the first weekend of October, my dad told me that it was time to slaughter the hogs we had been raising. Back in April, our friends from Wild Farm sold four six-week-old piglets to us to raise on our own. Not living at the farm for this past year, I say “we” and “us” lightly as it was really my dad who did all of the work learning, preparing, and raising the hogs to feed our family for the next year, if not more.
The hogs came to us as the sweetest little pigs and grew into almost 300 pound monsters in only about eight months. In the past couple of years, we have been spending our time learning how to do things on the homestead that we never thought we would do, including raising and killing our own animals for meat. As we stood around the hog dangling in the air from its hocks, carefully peeling back the finest layer of skin to prevent ourselves from cutting off too much fat, I told my dad, “Remember when we would just talk about doing something like this and kind of laughing at ourselves?” I never in a million years thought I would ever kill a pig, let along kill anything, in my entire life (at least not on purpose).
This entire process truly opened my eyes to how much we have learned, grown, and changed over the past years. We have been teaching ourselves how to homestead for almost a decade. In the past seven years, we went from panicking over if we’d have to take a pet chicken to the vet because she seemed “off” to shooting pigs in the backyard. It does not sound romantic or glamorous, and trust me, it’s not… but it is essential to the lifestyle that we want to live. Because look at what we have! Food on the table that was raised the way we want it to be: outdoors and on grass and mud, fed a healthy diet of non-gmo grain and table scraps (they devoured watermelons!), and given a life that only had one bad day. We did it!
But this is not the tale of my hog butchering. I will have to share that another time. I did not capture great photos or video from that day as I was too immersed in figuring it all out, but my hope is that the next time we do this, which we hope to next spring, is to share more in detail the entire butchering process.
what is lard?
Today we are discussing the topic of lard and rendering it for use in the kitchen and other places in the house.
Lard is, simply put, the fat from a pig. There are two different types of lard that are important depending upon how to plan to cook or bake with them in the kitchen. The leaf lard is the purest lard found in the hog, on the belly/loin right beside the kidneys. If you are at all interested in baking with lard, leaf lard is going to be the kind that you want as it is of the highest grade. It makes tender, flaky pie crusts and has little to no pork oder or discoloration making it ideal for pastries.
Conventional lard, or the lard used from all other areas of the pig, will most likely be white to tan in color, have a more porky flavor, and is not as solid and pliable. It is best used for cooking vegetables or making gravy, though I do use it for baking as well.
If your lard is coming from a pastured happy hog, all of the lard from it is good lard! Some are just better than others for certain types of cooking.
is lard bad for you?
As always, this depends on how processed the lard is. Most lard found at the grocery store is hydrogenated and highly processed, making it far from the original product that does hold health benefits for your body. The best type of lard is the kind that has not been tampered with, making its shelf life shorter but better for your body.
Natural fats on their own are not altogether bad for you. Like any fat, they are best eaten in moderation, but they are an essential part of making food taste delicious. Lard is high in Vitamin D, it has the most monounsaturated fats (48%) meaning it can help to lower cholesterol levels, it has a high smoking point making it safe for deep frying, sauteing, and baking without burning, and it contains choline which reduces the risk of heart disease. All together, I personally think that it is a much better option than other types of fats like processed seed oils such as canola, peanut, etc.
how to render lard:
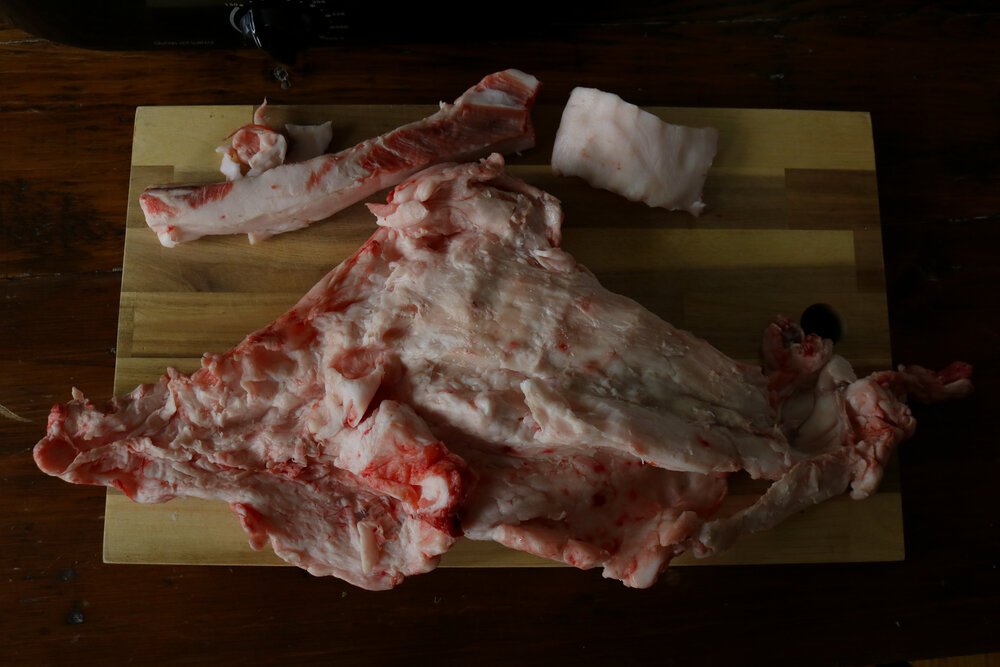
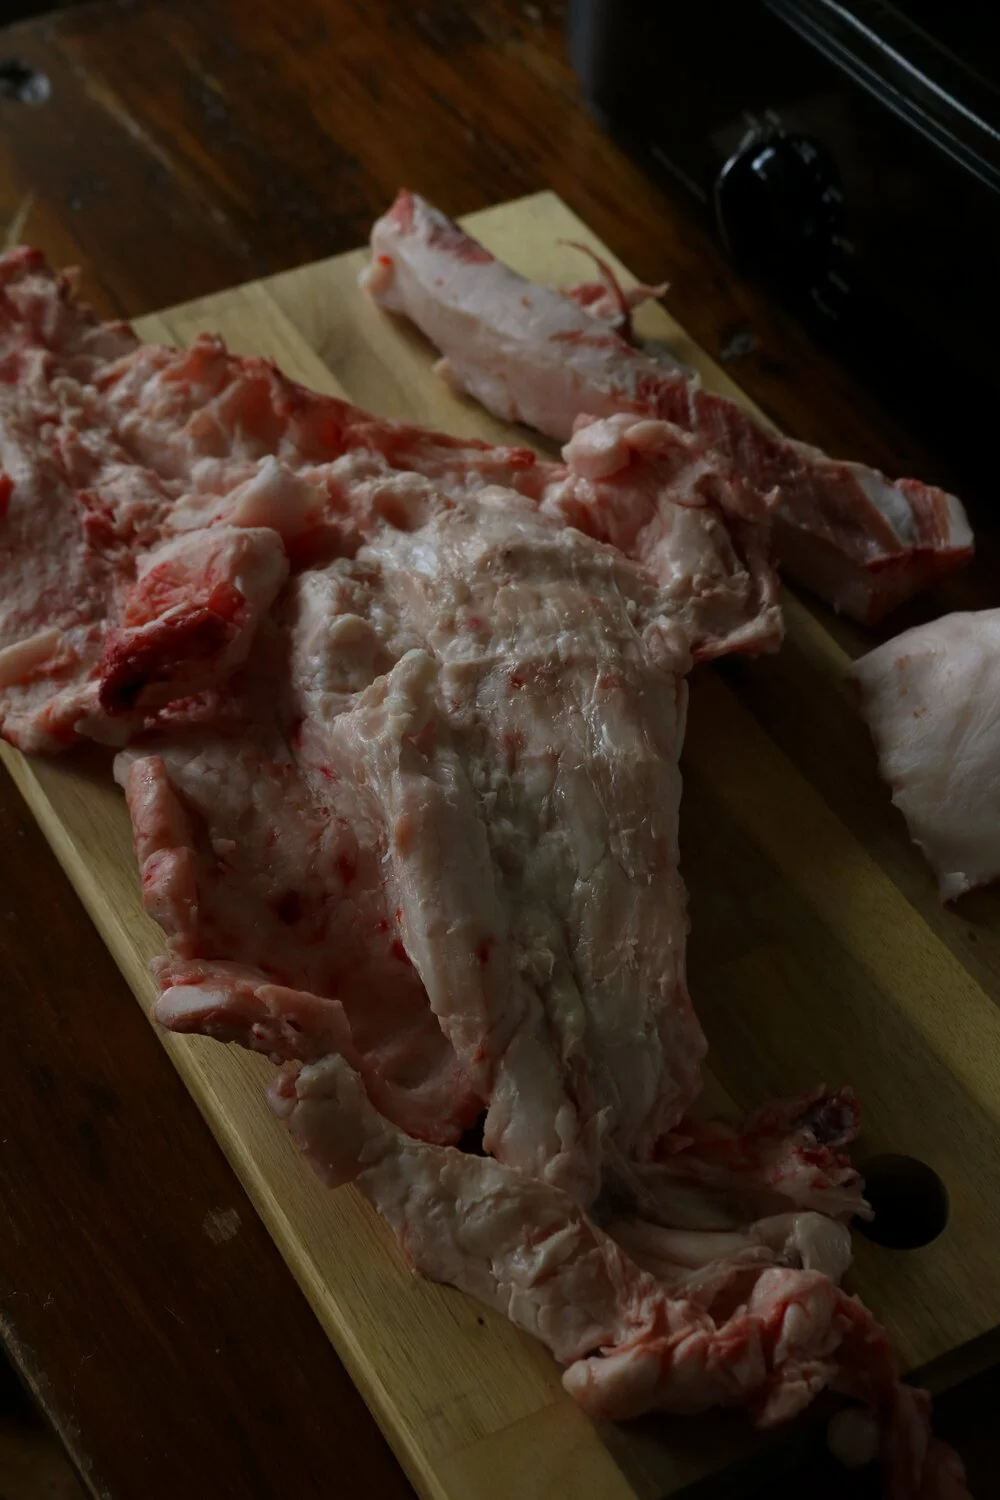
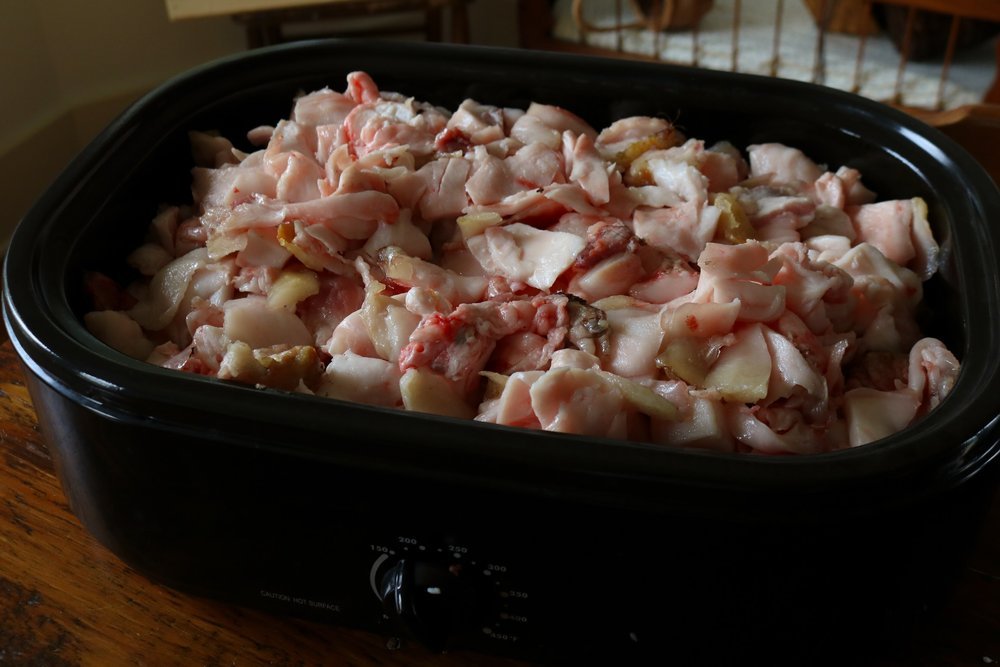
Start with unrendered lard, or pork fat that still had bits of meat on it. It should be raw, not previously cooked. This can be purchased or trimmings from a cut of meat you are about to cook. If it is trimmed fat, you can store it in the freezer and continue collecting fat until you have enough to render a decent amount.
Trim off any larger chunks of meat from the fat, if possible. This will end up floating to the top of your fat once it has boiled for a while.
If you can, grind down the fat with a meat grinder. If this is not possible, chunk the fat into 1-inch pieces or as small as you can. The smaller the fat is, the quicker and more pure the rendering process will be.
Once ground, place the fat into a slow cooker or large pot. You can render the fat over the stove or in a crockpot, it really just depends on your preference. I prefer the crockpot as I usually have a lot of lard to get through, and I’d rather not take up valuable space on my stove or leave my burners on for hours and hours.
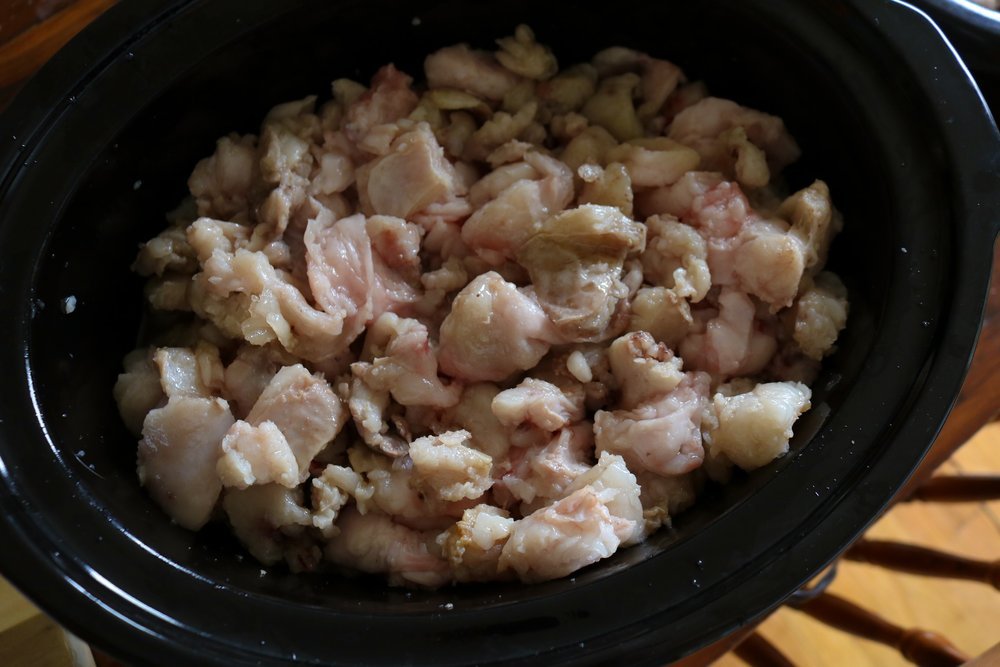
Cook the lard down over low heat until it begins to simmer. It will become liquefied and the meat pieces will sink and then float. The fat is done rendering when the meat pieces, or cracklings, have risen to the top. Some people recommend adding water to the lard while it is rendering to prevent scorching on the pot. I do not like to do this because it is too difficult to tell when the water have evaporated.
If you overcook the lard, it will begin to brown and have a smoky, more porky flavor. It is still fine to use, but it may not be ideal for pie crusts and pastries.
Strain the liquid fat through a sieve with a cheesecloth. You need to use a cheesecloth or flour sack towel to catch every last bit of meat!! If you do not remove all of the cracklings from the lard, it will spoil quickly. True lard does not spoil or mold, it goes rancid.
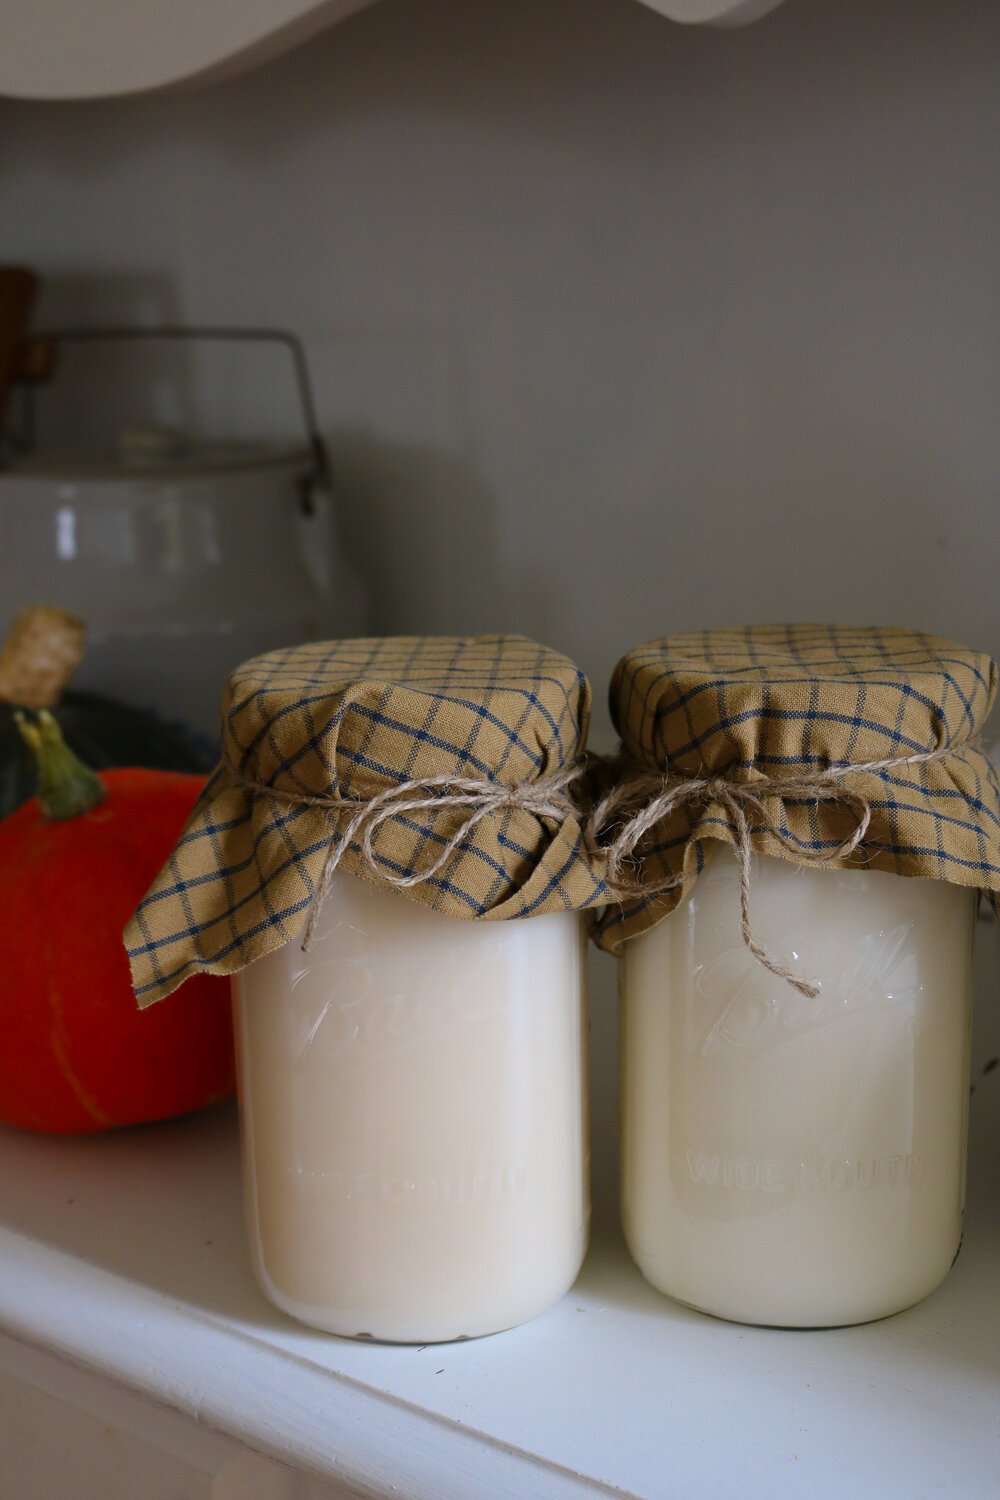
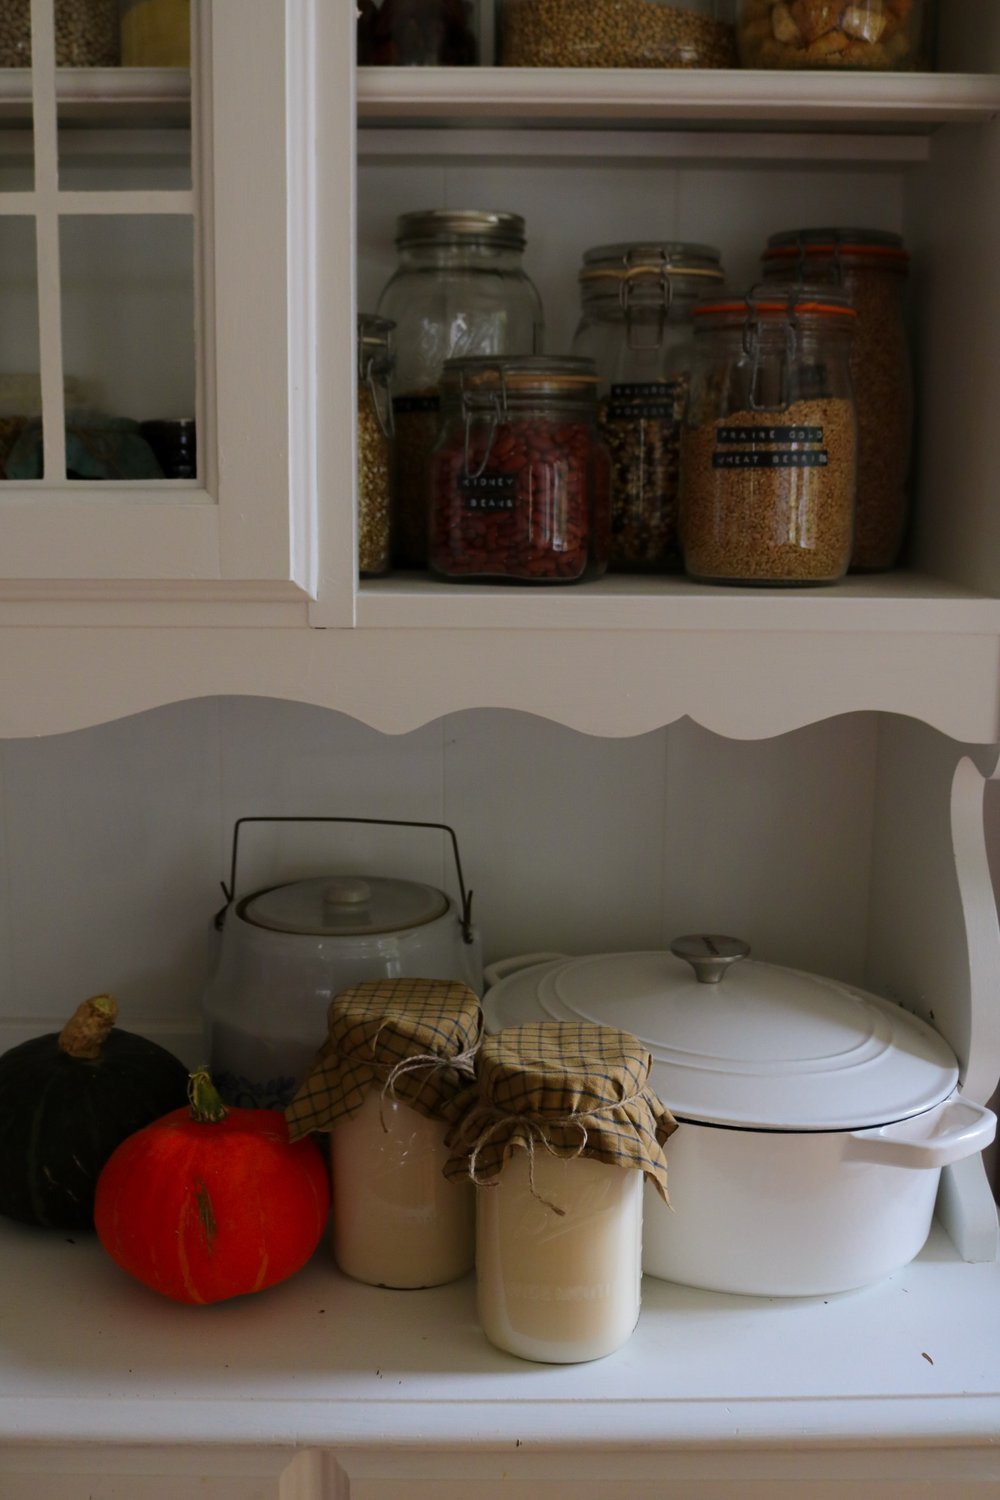
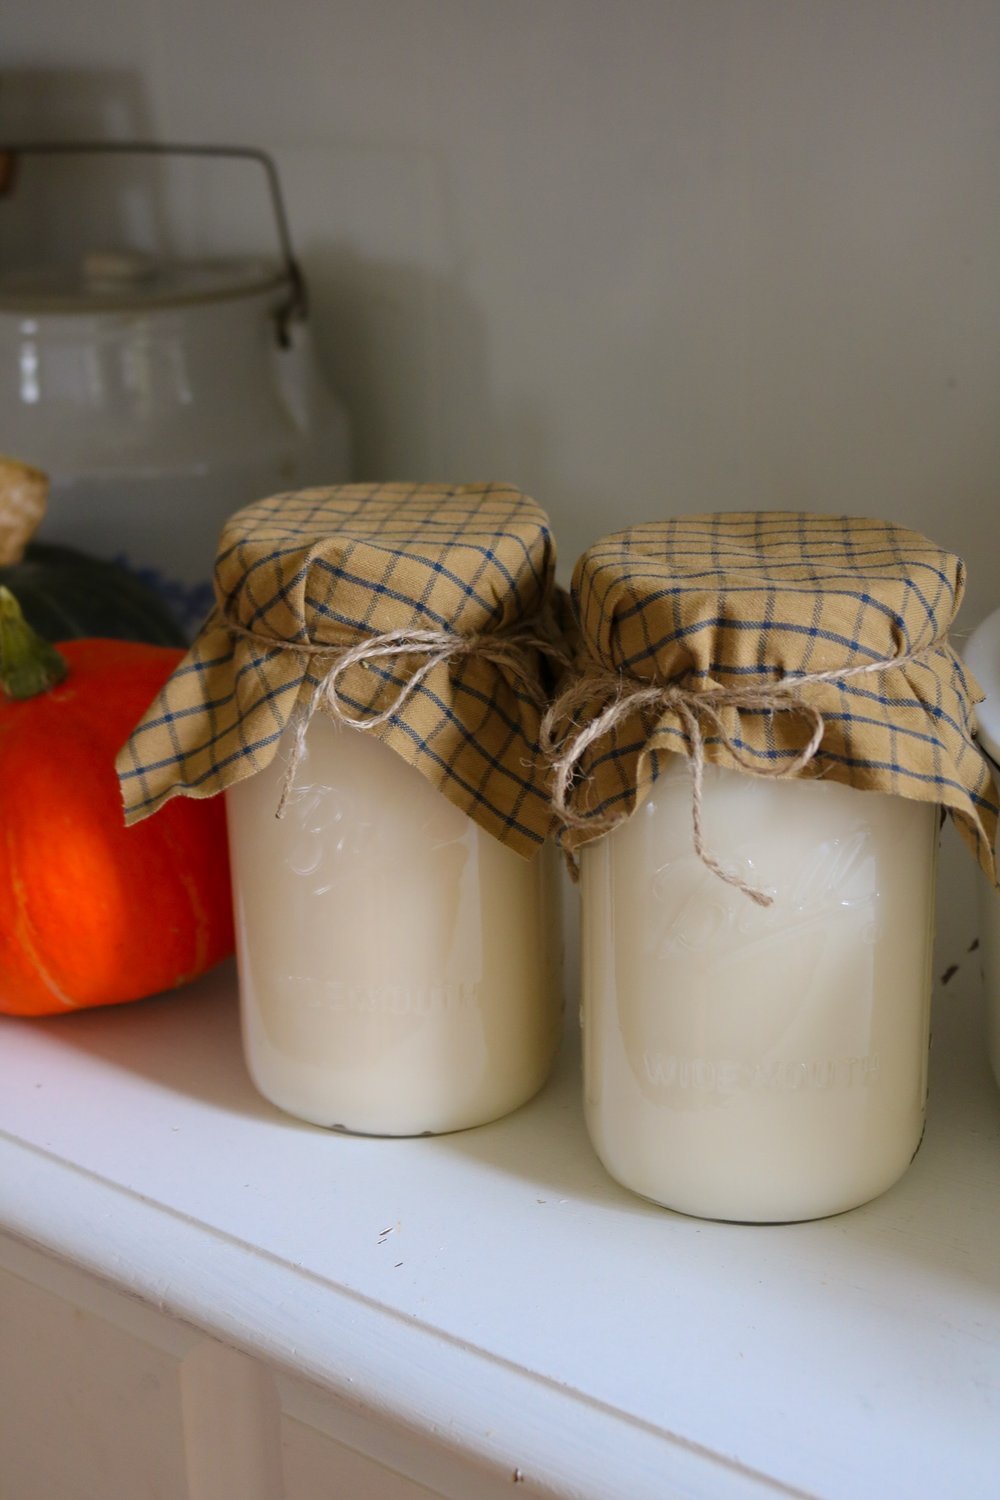
Strain into a container with an airtight lid such as a mason jar or tupperware. Allow to cool completely before putting on the lid, and you can cover with a towel if you are worried about critters getting into it.
Once solidified again, leaf lard will be a bright white color, and regular lard will be a creamy tan color. Place a lid on the container and store in a dry pantry for about 1 year or in the refrigerator. It can also be frozen.

I have absolutely been loving having my own rendered lard in the house! The leaf lard from four 280 pound hogs has left me with 6 quarts worth, and about 12 quarts of excess lard. It took me about three days to finish the process from start to finish, as I did not grind the lard down and was trying to be quick rather than efficient. Looking back, I would take the time to grind it all.
I recently rendered some beef tallow from a local farmer, and I ground that beforehand. The processing time was cut by at least half, if not more! I am looking forward to using the tallow for candle making and herbal crafting such as balms and salves.
What do you like to use lard for? Perhaps you will give it a try? It was used for thousands of years for its wonderful flavor and flakiness before the food industry began pushing seed oils! I hope that this made the concept of rendering fat a bit easier to grasp. Another good idea, if you do not have access to lots of pork fat, is to save the bacon drippings from your breakfast! These can be rendered as well and used for frying eggs, vegetables, and creaming mashed potatoes. Yummy!
xoxo Kayla