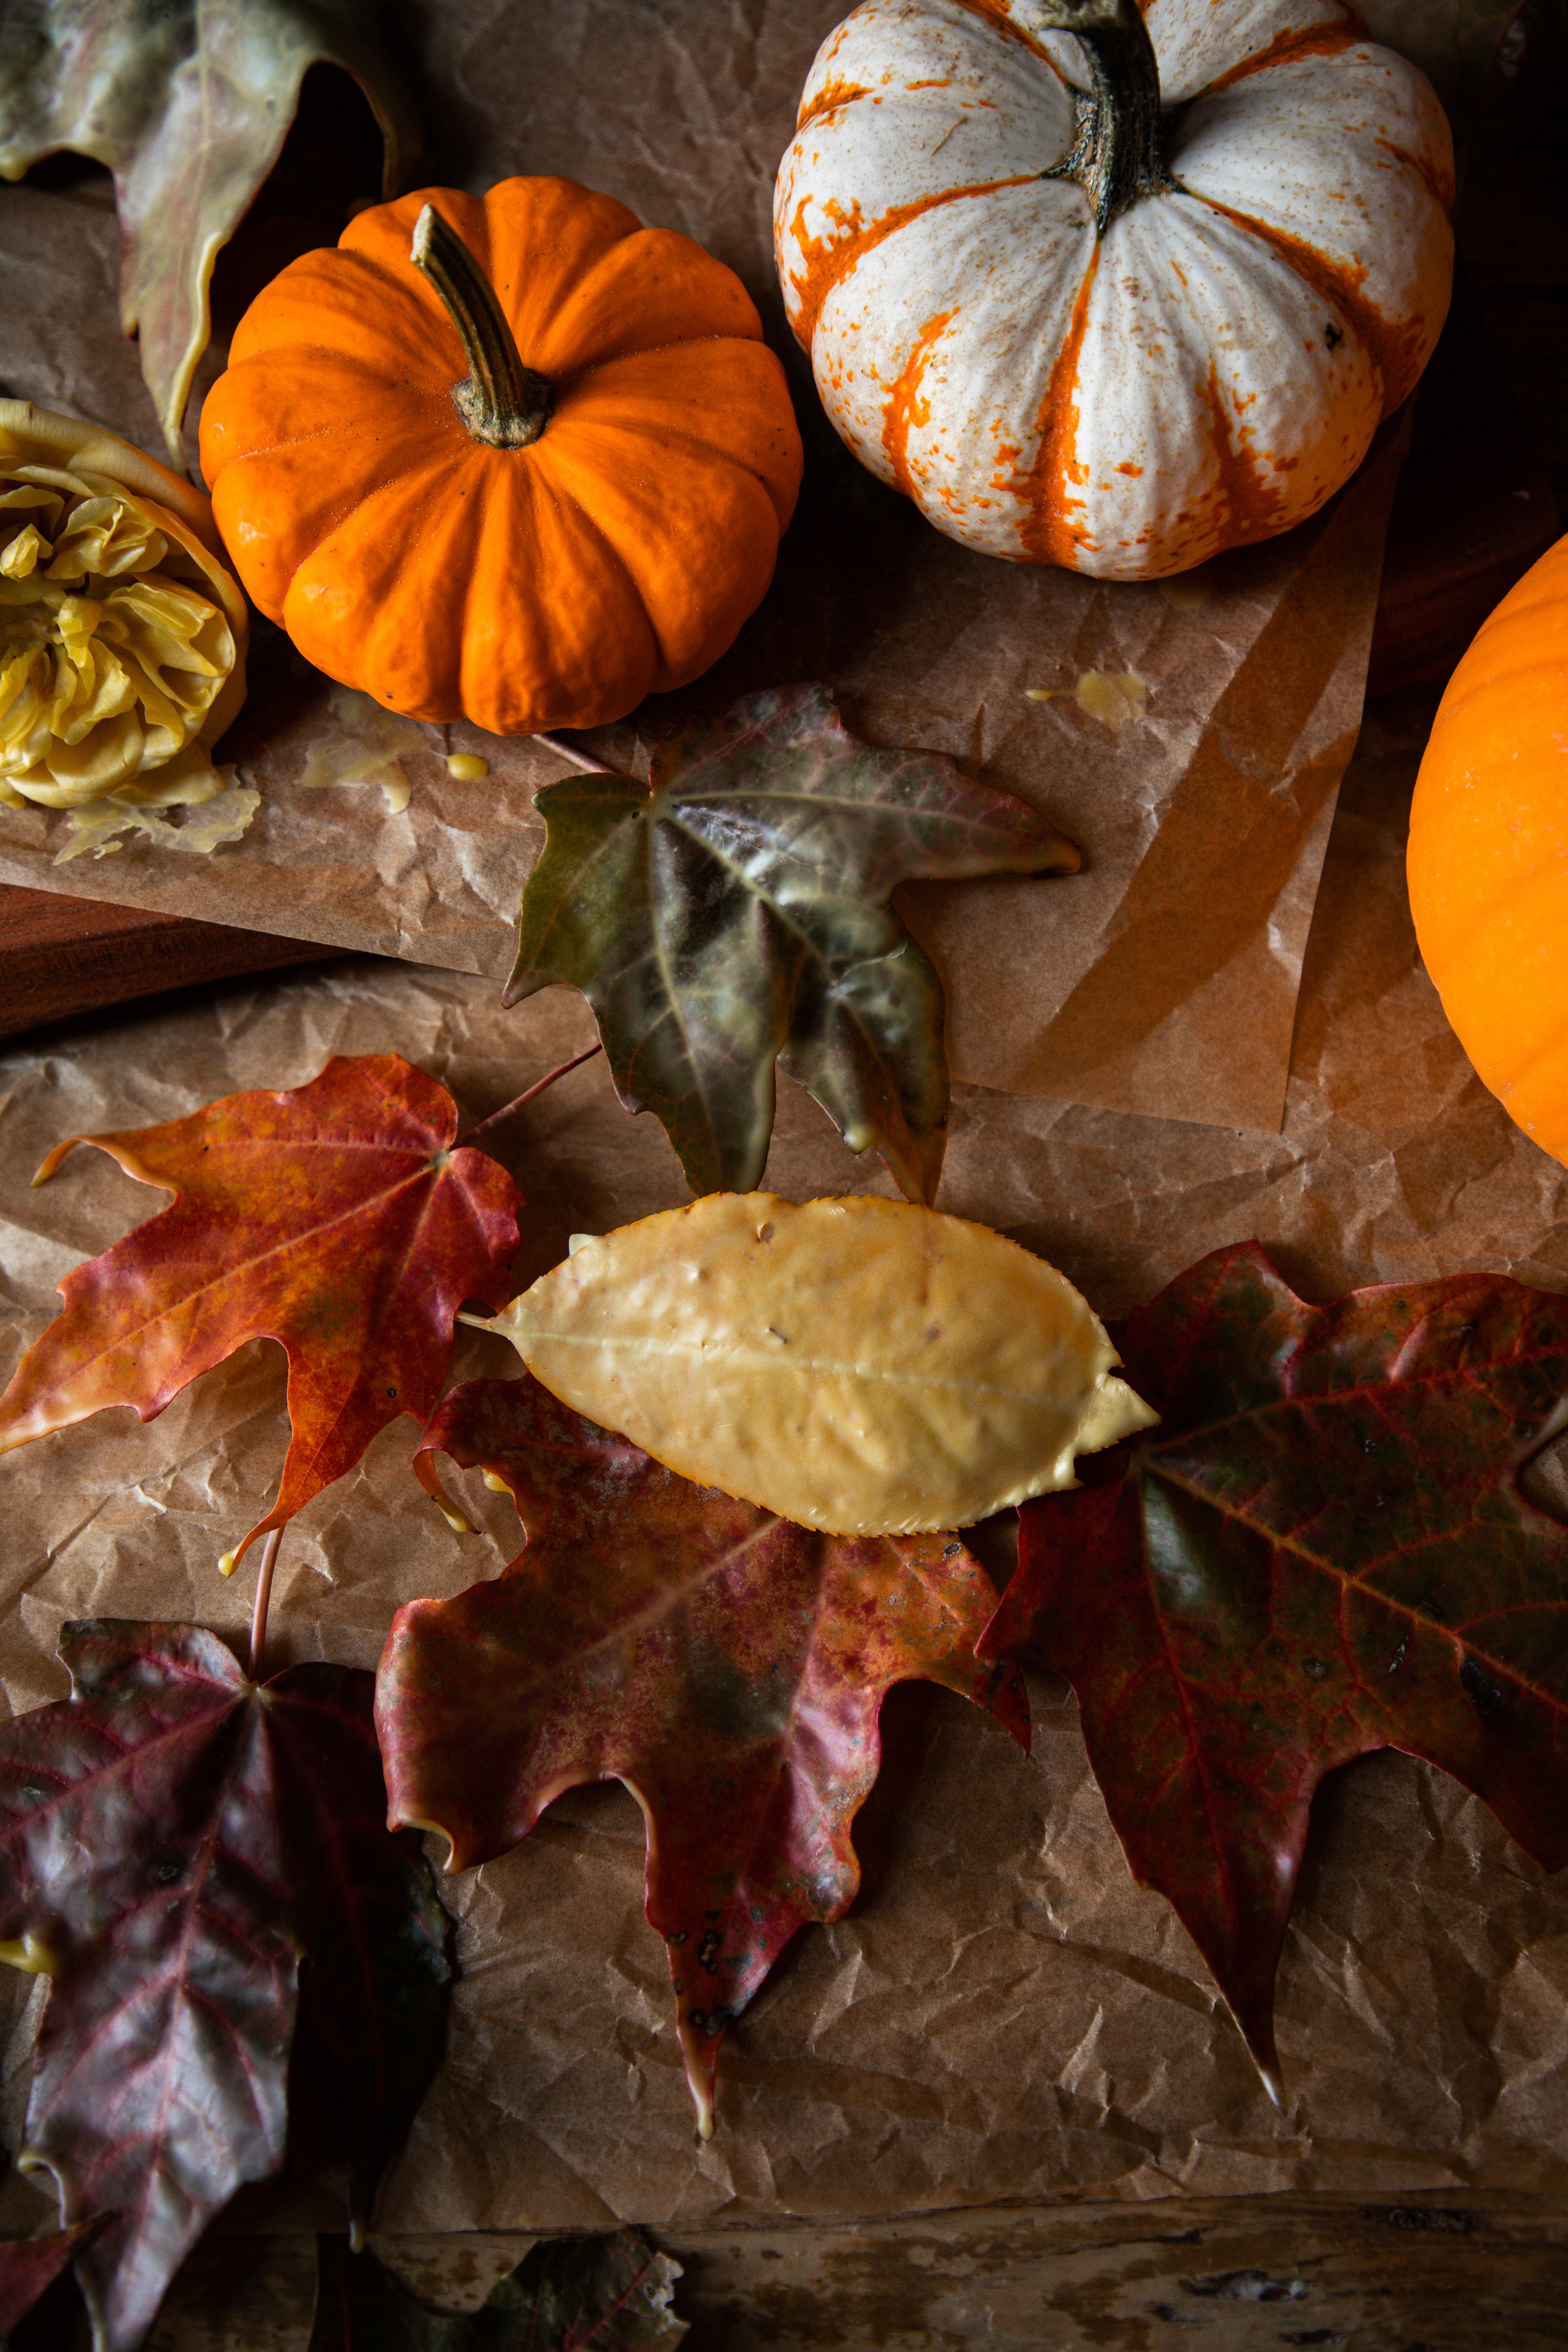
How to Preserve Autumn Leaves in Beeswax
The leaves are falling all around outside on the farm. I have been wanting to capture their magnificent beauty on camera, and I hope that I can get out to a few locations with some gorgeous autumnal foliage before they all drop! Meanwhile, we gather the pretty hues of red, orange, gold, yellow, and brown from the leaves on our land to preserve. Did you know that it is simple to preserve the colors of autumn with beeswax?
This is an age old craft that is incredibly simple to do. While little came up in my search of historically wax dipped leaves, I can only imagine that this is a craft that has been passed down through time. It is such a simple pleasure, and one that results in remarkably preserved color and flexibility, almost as if the leaves were fresh. Rather than leaving autumn leaves to dry, discolor, and crumble dipping them into wax keeps them as if they had just fallen from their branches.
what are wax leaves used for?
Wax dipped leaves will last for years, if they are kept in proper conditions. For instance, layering them on top of each other or crumpling them up will harm the preservation process. Otherwise, they should last quite a long time. This is a wonderful way to enjoy the colors of the season even after it is long gone.
What can you use beeswax dipped leaves for? Mostly, they are used for decor and crafting. They can be placed into autumnal wreaths or you can make a wreath fully out of leaves! We love stringing them for garlands or making little sprays with them and dried Indian corn. They can be placed on entryway tables or in little decorative bowls. My favorite way to use them is as photo props!
what you will need:
Beeswax
Fallen Leaves, fresh and not dried
Wax Paper or Parchment Paper
Directions:
In a large pot, boil a shallow level of water. Place the wax into the wax pouring pot, then put the pouring pot into the hot water. Melt the wax until it is completely liquified.
Remove the pouring pot from the water and place it on the counter top. Taking a leaf by the stems, dip them into the wax until your fingertips reach the wax. Let the wax drip off the leaf.
Lay the finished leaf on a piece of wax or parchment paper. Repeat with any remaining leaves. Let the wax harden completely before using the leaves in decorating projects.
This is a wonderful project for little hands as well. Because it is so simple and with quick results, this makes it an ultimately satisfying craft for children. They can dip to their hearts’ content and instantly see the beauty they’ve created. Not to mention that one of the most fun parts of the project is collecting the leaves themselves! This can be an activity that begins as a nature walk with baskets, finding the perfect leaves to save and show in your home. My kids have been doing this for years, and they still love it!
I hope that you have some fun preserving your own beeswax leaves.
xoxo Kayla


