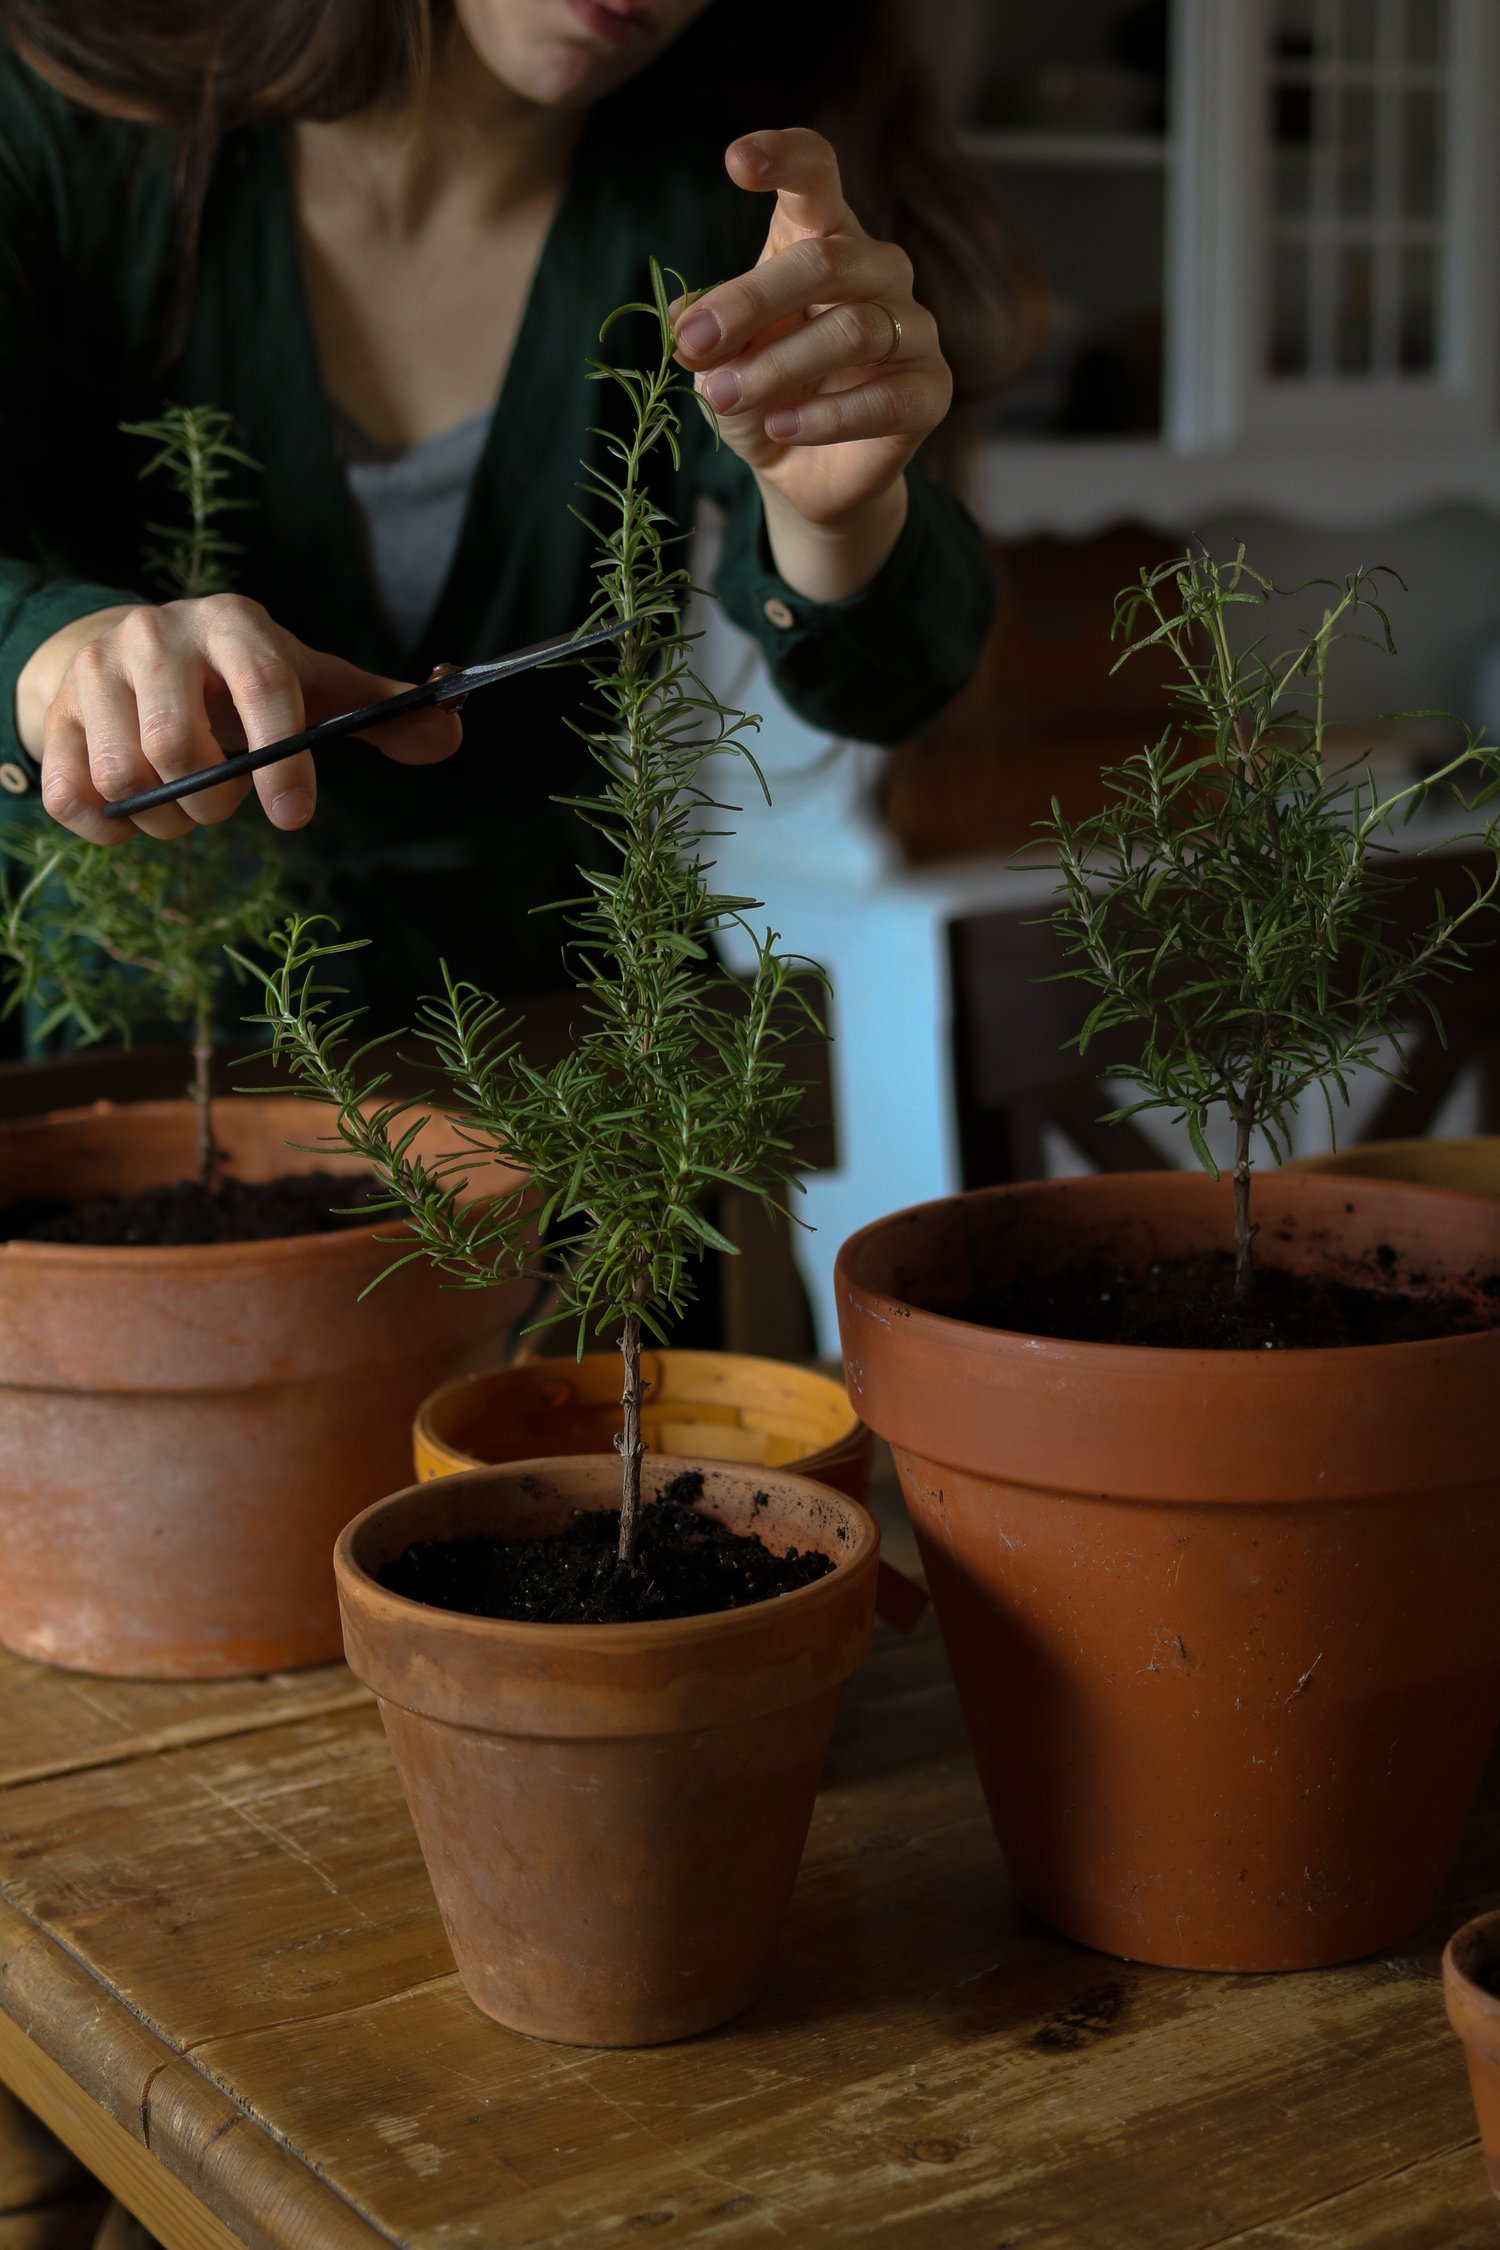
Propagating Rosemary
Each year we learn new gardening skills that help us in our journey to become more self-sufficient on our farm. One goal my mom, Jill, had this past growing season as she ran our flower farm was to become better at propagating plants. We had found a rather large rosemary plant at our local garden center that we bought and took home to begin taking trimmings from. Propagating plants is a wonderful way to expand your garden without waiting for seeds to grow. Rosemary and many herbs take over 100 days to mature, or become ready for harvesting, which is not always ideal when you have a shorter than average growing season. I have always preferred purchasing herbs from the greenhouse as they can be harvested much sooner than those grown from seeds. Now that we have learned the art of propagating, we will most likely never have to purchase herbs again!
One thing that you must remember is that a propagated plant is an exact clone of the original plant, or the Mother Plant. If a particular variety is not working for your gardening zone, you may want to reconsider making cuttings or look into which varieties would best suit your needs.
step one:
Begin with an already established rosemary plant, which is typically called the Mother Plant. You want it to have substantial growth, so that it may continue to grow on its own. We had a rather old rosemary that was very large, about 2-3 feet tall, which we had purchased from a garden center in the spring. Be sure that the Mother Plant has lots of fresh, green growth and is not showing any signs of distress or disease.
step two:
Take stem cuttings from the Mother Plant. With sharp, clean scissors trim off fresh cuttings that are about 6 inches in length. These must come from a fresh growing tip, not the hard and woody part of the stem. We tried both and the ones with woody stems did not grow! You will want to cut plenty of them to try, as some may not grow roots or break as you are handling them.
step three:
With your fingers gently grasped onto the top of the cutting, gently pull off the lower 2 inches of leaves from the stem. This is similar to when you are removing leaves for cooking.
step four:
There are several different ways that people believe producing roots from cuttings should happen. We tried several including putting the stems into water or using a rooting solution. We learned that simply placing the cutting into a pot filled with potting soil up to the first set of leaves worked just as well as any other method. In fact, using a rooting solution resulted in far less rosemary cutting with roots than when we did not use it!
Fill a pot with fresh potting soil, slightly wetted. Make a small hole in the soil with a pencil. Place the rosemary cutting in the hole, up to the first set of leaves, and press the soil around the stem to prevent it from falling over.
Place in direct sunlight and watch it grow! Water when soil is dry, watering deeply rather than frequently. In about 2-3 weeks, you should have little white roots growing from the stem of your rosemary cutting!
tips for growing:
Remember, do not use cutting from the bottom or woody part of the plant. You want fresh, green cuttings!
Rosemary does best in open air and mild temperatures. We tried growing our rosemary cuttings in the greenhouse, and they did not fair well when the temperatures climbed into the 80s and 90s. They did much better on the porch where there was plenty of sunshine and breeze.
As the plant grows larger, which will take some time, it will need to be repotted so that it continues to grow. From what I have learned over the years, plants that are not repotted or fed will become stunted in their pots. An easy way to check if your rosemary is ready for a new pot is to loosen it from its current home and see if the roots fill up the pot and wrap around themselves. Break these up with your fingers and place into a new pot with fresh potting soil.
Trimming your rosemary results in a bushier plant. If it begins to flower, simply trim off the flowers and watch it continue to flourish!
Many other herbs can be propagated from cuttings. These include basil, mint, oregano, thyme, lavender, marjoram, lemon balm, and sage among others. Consider taking cuttings before you start putting money aside for a new set of herbs from the garden center! Perhaps you have a nice gardener friend with established plants who would not mind you taking a few trimmings. This is a wonderful way to save your established plants over the winter and getting a continual harvest.
For our rosemary, it has done really well so far sitting in the window! We have made a few new cuttings that we are thinking will fair better under grow lights than the already established plants who are doing well with natural sunlight. One thing that we have not done so far is to feed the plants any food to refresh the nutrients in their soil, and we are noticing that their growth has slowed. Most potting soils have enough nutrients built in to last a handful of weeks or until your plants are ready to move outdoors in the spring. Rosemary does well in temperatures around 65-70° F, which is what most homes remain at during the winter.
Have you propagated before? What have you learned?
xoxo Kayla
Thank you to Son de Flor for gifting me this gorgeous wrap linen dress!


